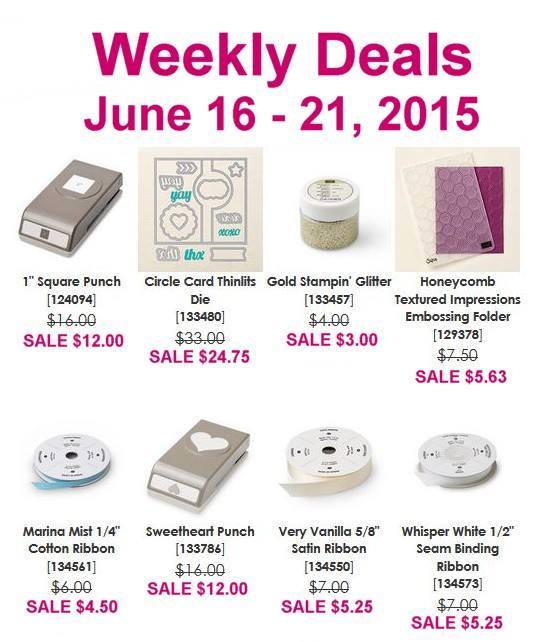
Here are the deals – good through Monday, June 22:
 Shop HERE!

Here are the deals – good through Monday, June 22:
Shop HERE!
I earned a free stamp set at Convention 2014 and chose the Larger Than Life Numbers and Letters:

The honeycomb pattern is created by inking the raised side of the TIEF and pressing the paper into it – VERY easy with a big WOW factor. I added a little sploosh of Gorgeous Grunge on this one as I didn’t press as hard on the TIEF.

I’m a big fan of monograms, although I know they’re somewhat outdated. And boy oh boy, am I a fan of the new Handheld Stapler! It dispenses short little staples – oh so cute!
 This is the same concept but without the Grungification…I like it grungified better.
 Don’t miss the Short and Sweet promotion – $150 in Stampin’ Up! product for $99 when you sign up to be a demonstrator (and discounted Stampin’ Up! product for-evah!) No obligation, no pressure – click HERE for more information.
 And if you – like me – have boxes of photos that need taming, stop by tomorrow (Sunday August 24) from noon til 4pm to find out how you can quickly and affordably take those pictures from forgotten to FABULOUS!
I’m pretty sure Blackberry Bliss is going to be my favorite 2014-2016 In Color, although when I first saw the colors I would have bet on Lost Lagoon (blue, you know.) I’m working on ideas for an In Color swap at convention, and this was my first take:

You know, I should have used this design with Very Vanilla – it would have been good enough to eat!

The Gold Bakers Twine has a stinky little habit: the metallic threads untwist rapidly from the twine when it’s cut. I’ve solved the problem for the most part by tying a pair of quick overhand knots and cutting between them. It takes just a moment and it saves a lot of frustration.
Do you add a little extra on the inside? It’s one of the things that sets a hand-made card apart:

You’re likely to see more Blackberry Bliss before we get to convention. I have more ideas to work out. It’s just a month away!!!
Do you select between Whisper White and Very Vanilla intentionally or randomly? Sometimes I really think about it, and other times I just grab the one that’s closest at hand. I started this card with Very Vanilla, but as soon as I stamped the first tone I wanted to see what it would look like on Whisper White. At that point it was just as easy to make both cards, and so I did:
Here’s the Vanilla Version:
 I see a substantial difference between the two. In my eyes, the colors are much crisper and cleaner on Whisper White. I guess I should know that, but it was something I hadn’t really thought about. Very Vanilla changes the color of the ink.
 Have some fun experimenting on your own. I don’t think you would see the same dramatic result if you were working with warm colors – Tangerine Tango, Tangelo Twist and Pumpkin Pie, for example. I’ll think more purposefully about my neutrals now.
My daughter’s wedding invitations were in Blushing Bride and Pear Pizazz, and I’ve needed a little time to fall back in love with those colors…

I’m sorry to see both of these ribbons retire – especially the Naturals Trim – but I know that there are new ribbons waiting in the wings that are going to rock my socks! That’s the nature of change – you have to let go of the things you know and love in order to make room for things you don’t know. I’m OK with that.
 There’s a vellum layer over the butterfly, and if you look REALLY closely you might be able to see that I used Glue Dots to keep the layers together. When you go to tie that Linen Thread around the butterfly, don’t scrimp – you’ll need a nice long piece to be able to tie a knot without saying Bad Words.
 The Petite Petals Punch is STILL on the backorder list. I know it’s shipping out, because a couple of my customers got theirs this week – but it looks as though the supplier just isn’t able to keep up with demand. Boo. I guess you just have to get in line.
 Don’t forget that there’s free shipping until April 25th. That means you can order just one thing and not have to worry about the minimum. I’m doing my best to update the Sticky post at the top of the blog page with Retiring product that is sold out. Great new stamping goodies are on the way!
Whoa, hang on, crafters! Through October 28th there are 25 sets available at 25% off! Log in to http://www.AnneMatasci.StampinUp.net to save big! Click HERE for the list of stamps sets being discounted!
And if that’s not enough, TODAY only (October 24) you can add a list of goodies that are specially priced for Thank You Thursday. HURRY!! TODAY ONLY!!
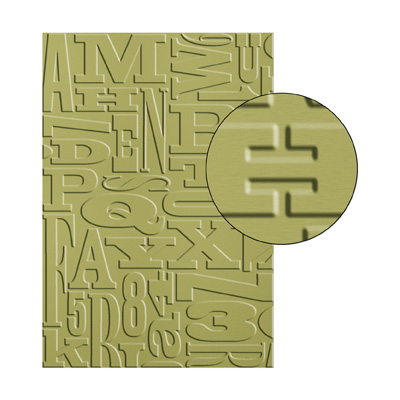
| Alphabet Press Textured Impressions Embossing Folder | 130916 |
| Price: $7.95 $5.96 | |

| Chalk Talk Framelits Dies | 129983 |
| Price: $24.95 $18.71 | |

| Envelope Liners Framelits Dies | 132172 |
| Price: $26.95 $20.21 | |

| Hearts A Flutter Framelits Dies | 130159 |
| Price: $24.95 $18.71 | |
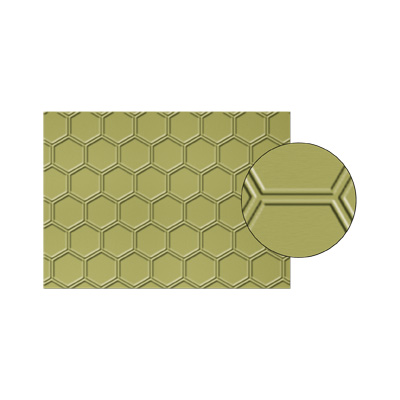
| Honeycomb Textured Impressions Embossing Folder | 129378 |
| Price: $7.95 $5.96 | |

| Window Frames Collection Framelits Dies | 129021 |
| Price: $26.95 $20.21 | |
I inked up my Undefined Pineapple:

Yeah, I kinda pulled out everything in the stamp studio for this one 🙂
 The pineapples are inked with markers and masked. I carved just one pineapple, and I carved it in a hurry! It has a folksy, rustic look to it.
 Didja break down and get the Thinlets Flip Card die yet? I confess that if I hadn’t seen them in person at convention I might not have been so anxious, but I did and I was so I ordered them on August 1st – the first day I could. The 5 chevron pieces are one of the accent dies that accompany the Circle Flip die.
 I stamped this sentiment from Yippee Skippee three times in three colors of ink and cut them up. There’s a strip of Crushed Curry card stock stamped with the diagonal lines from Gorgeous Grunge behind the words to serve as an anchor. Lining that up was definitely a job for the Stamp-a-ma-jig.
 If you stretch the entire card out, this is what the first side looks like. You’re seeing the front of the card, the back of the flip, and the inside of the card. The Baked Brown Sugar panel was run through the Honeycomb TIEF before I adhered it to the Old Olive card base. I added a strip of white card stock (more details HERE) to the inside for additional writing space, and I put a Crushed Curry 2 1/2″ circle behind the flip to give it a finished look. I might write an additional note here, or I might add a photo. And yes, this is an extended card. Patty Bennett has made an excellent tutorial – see it HERE.
 Turn the card over to see the second side. If you look closely at the Natural Trim ribbon you’ll see that I butted the edges on the diagonal to create a finished edge – I didn’t want a knot or a bow. It also creates a more finished look over the scallop trim from the Tasteful Trim Bigz XL die. I used a full-height piece of Sticky Strip to secure the trim.
 This card looks a lot more complicated than it is – you could surely make one yourself.
 I love the textures and colors of the This n That Designer Series paper (that’s DSP to those who’ve ever cracked a Stampin’ Up! catalog). I love how Stampin’ Up! DSP – and every other product that we sell – coordinates perfectly. And I love making cards 🙂

 Have you seen the new Holiday catalog? There’s a link right over there in the sidebar – or you can just click HERE! LOTS of great holiday decorating and packaging options to make your holiday planning and preparations enjoyable and easy! Let me know if you need a copy.
And keep your eyes here on the Maui Stamper – I’m expecting my new Thinlets Flip Card dies this week! They were announced at convention, but we had to wait for August 1st just like the everyone else to order them!
 I wanted to do another oval card for one of my swaps. It’s fun, it’s easy, it fits in a standard envelope, and you don’t see too much of it.
The technique is simple. You fold a 4 1/4 x 11 inch piece of cardstock in half at the 5 1/2 mark and place the folded side slightly inside of your oval framelit. This works best with our lighter weight cardstocks, Very Vanilla and Whisper White. The framelit will cut cleanly through two layers of these papers, giving you the card base. Once that’s ready, I like to cut another complete oval out of my featured color of cardstock and adhere that to the Very Vanilla card – I use Tombo, the Wonder Adhesive.

 On August 24th, I’m holding a class to make two of my swaps. We are definitely going to make the Very Vintage card, but I haven’t decided if I should include this card or the Too Kind swap I’ll be posting in a few days. I’d love to hear what you think!
When it comes to a WOW product, I can’t think of a better bang-for-your-buck than the Sizzix Textured Impressions Embossing Folder (TIEF – you don’t think I’m typing all that every time now, do you??). For just $7.95 – well, plus the cost of a Big Shot, but you needed that anyway – you can take any project from Ho, Hum to Whoo Hoo! in a matter of moments! The Honeycomb TIEF from the Spring catalog is one of my current favorites, and the Very Good News is that we will see it in the 2013-2014 catalog as well.
 Now I’ll bet you’ve seen people do this Honeycomb mosaic thing and thought “WHAT A PAIN!! I could never cut out all those.”
There is a trick, my dears.
Run your DSP through the Honeycomb TIEF. Then take your paper snips and go zigety zagety down the line of combs, in that little trough. You’ll end up with a row of hexagons with very little effort. Now snip off what you need and whoop-dee-doo you are done! What’s more, those hexagons just scoot right into their spots on the honeycomb panel. No fuss, no muss.
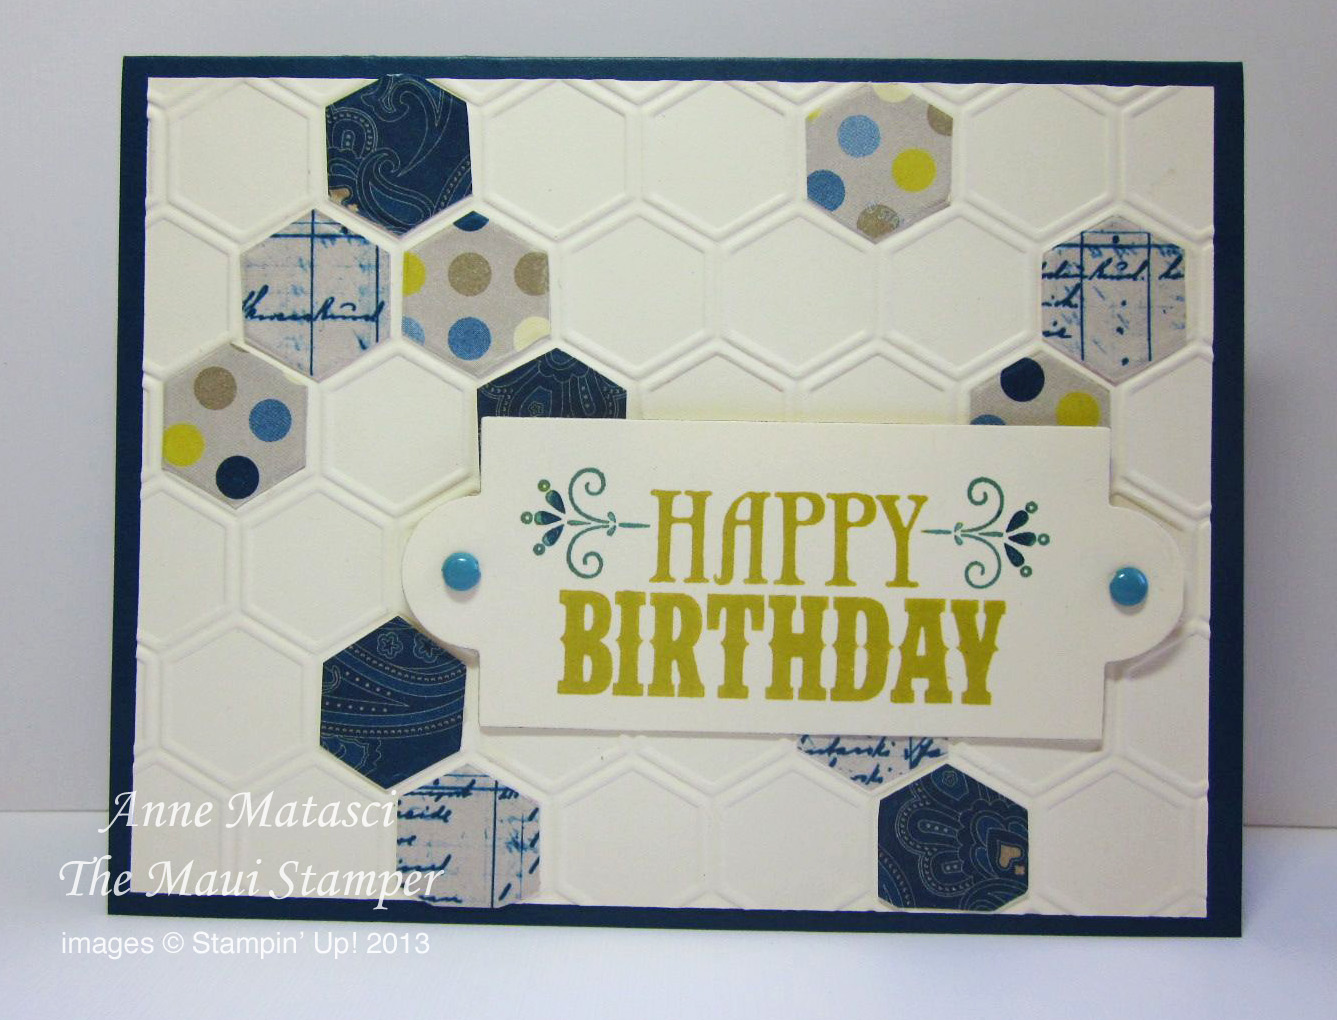
You could do this with any DSP you have – even scraps – and you could do it for Moms and Dads, Brides and Grads and Birthdays and Babies and – well, anything!
Go on, go and make a card.
EDITED TO ADD:
Here is the latest update of the Retired Accessories List, with availability as of May 8:
