BEACH SCENES WITH THE ROLLING WAVES DIES

I brushed the Water mask with Pool Party ink on Pool Party card stock. I also added a little Petal Pink ink to the shells with a dauber. These small additions give the card depth and keep it from feeling flat.

I’ve found so many uses for Rolling Waves! Take another look beyond the sea foam.

Processing…
Success! You're on the list.

COLOUR INKSPIRATION 213 – ON THE BEACH WITH ROLLING WAVES

This reminds me of the color scheme of the local diner when I was in high school, and let’s just say that was the Flower Power Era. I struggled for a bit with those bold, bright colors, but decided a beach umbrella seemed like the perfect image.

There are Rolling Waves dies to make a solid umbrella as well as a set of concentric shapes that coordinate with it. I alternated the shapes as well as the base colors of the umbrella.

Our 12×12 Water and Dotted Line masks made perfect, subtle backgrounds for this bright card. I find myself reaching for them a LOT – expect to see them again!

Colour INKspirations is a Facebook based color challenge group. Take a minute to check out the CI#213 entries as well as previous color challenges – there are some very talented crafters participating in this group!

Processing…
Success! You're on the list.

EXCITING TIMES BACKGROUNDS

If you’d like to replicate this concept, I have a few tips for you:

  • Choose 3 colors with similar color value (all light/medium/dark)
  • Create continuity by using the same color for the card base, sentiment, and accents
  • Use a Stampin’ Blend around the edge of the Bordered Rectangle punched sentiment to create a faux layer
  • Take a look at the 3 photos below for help in placing each color!

Does that help? I hope so!!

The Exciting Times bundle is currently showing as low inventory, so now is a good time to add it to your cart. Don’t forget the Stampin’ Blend to coordinate with your color palette – we’ve got all the colors!

Processing…
Success! You're on the list.

DIY CALENDAR BLOG HOP: JULY 2026 CUTEST CREW

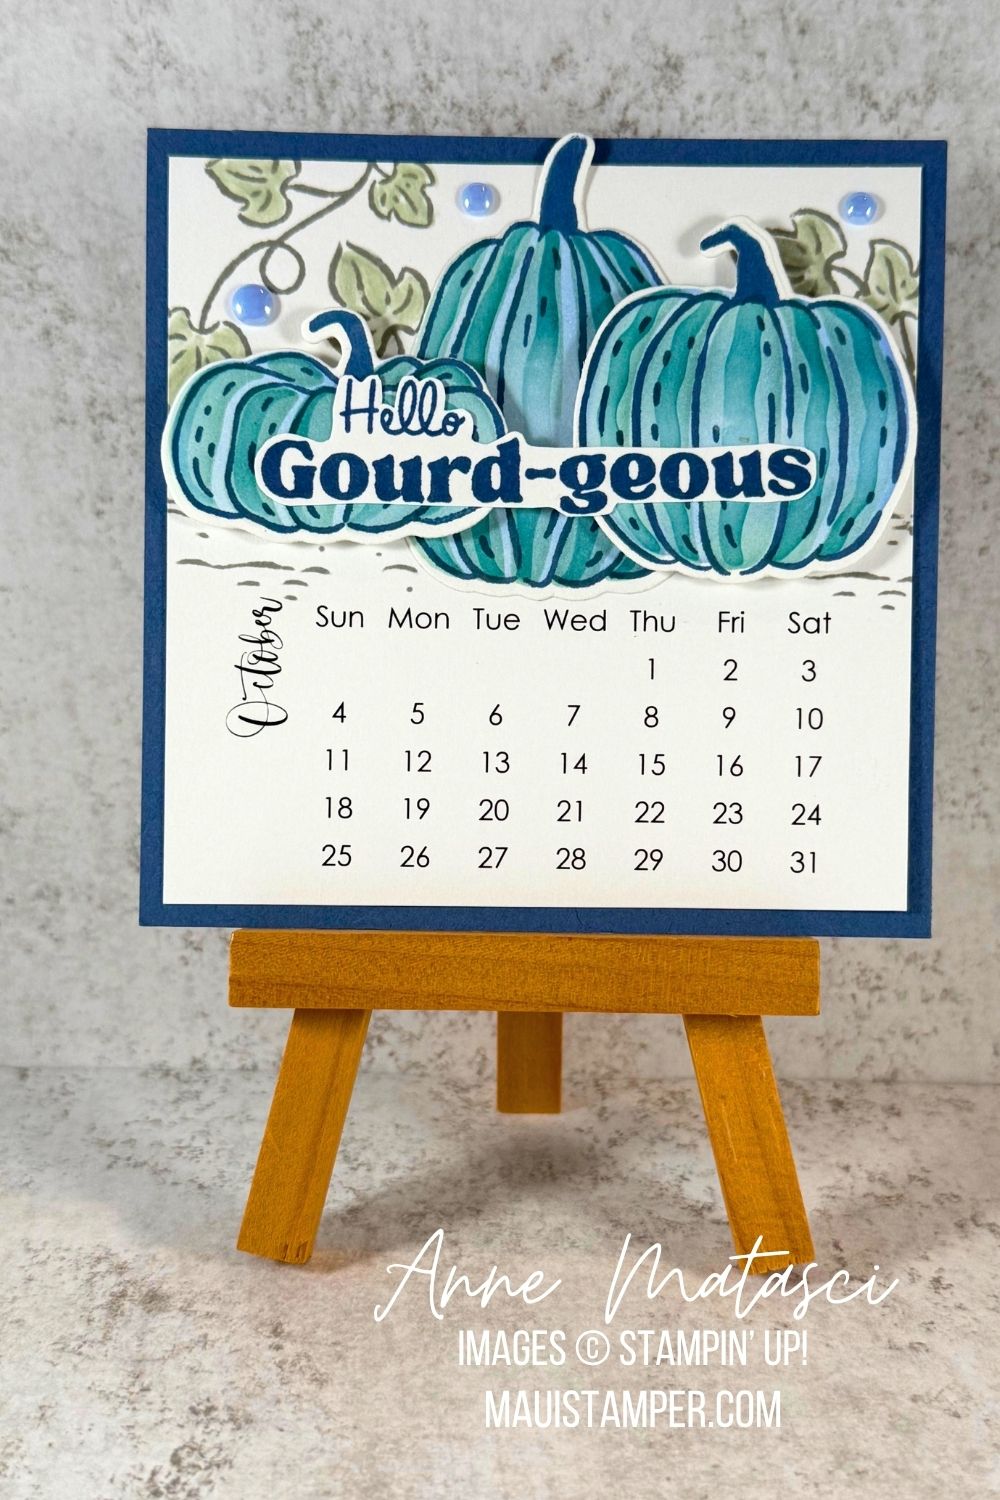
Welcome to DIY Calendars! Thanks for joining us this month – and every month – as we share our creative ideas. I’m back with one of my very most favorite current stamp sets: Cutest Crew!

I love these birdies 💕 The Cutest Crew dies include individual dies for each bird, so I cut out a little flock. In the process I discovered that the dies cut out their wings!! The bodies are colored in the light tone of Stampin’ Blends, and the wings are in the dark tones.

As much as I love our new Glimmer Pens, I am still a huge Wink of Stella fan. I used it on the Rolling Wave sea foam die cut and used a Blending Brush to add a little color underneath. I also spattered a little Cloud Cover tinted water for texture. There’s a little bit of Lemon Lolly brushed across the top as well. I find the secret to good Blending Brushing is patience. Take your time and don’t rush it.

Click the button to travel through the Blog Hop and see what Sharon and Cheryl have created this month. We’re so glad you’ve joined us!

Don’t miss the July Product of the Month! Begonia Belle is available with a qualifying order while supplies last. Shop early!!

Would you like to make your own DIY Calendars? The template is just $6. Visit my secure page to make your purchase. (You can also find the page on the banner across the top of my home page.) You’ll receive links to download the templates in an email after you’ve paid. You’ll need to cut and paste those links into your browser. (You may need to check your spam folder to find that email.)

You are only purchasing a template, which you can download and print for your personal use. I hope you’ll enjoy it!

Processing…
Success! You're on the list.

FLOWERS FAIR WITH A GINGHAM DSP

  • Color Palette: Basic White, Peaceful Pine, Hydrangea Hue, Golden Glow, Barely Blush, Hybrid Black
  • Accessories: Stamp Cut & Emboss Machine, Everyday Arches dies, 26-28 In Color Dots, Gingham Gallery DSP (coming July 1), 26-28 In Color Ribbon, Stampin’ Blends, Stampin’ Dimensionals

I am absolutely smitten with Flowers Fair and love experimenting with new color combinations. I have a stamped stack of images sitting on my craft desk for whenever I’m inspired!

Processing…
Success! You're on the list.

FLOWER FAIR: GET TWO CARDS FROM ONE IMAGE

Don’t you love getting double the results from one image? A large image like Flowers Fair is a great candidate for double dipping. Take a look at what I did:

After I’d colored the original image, I cut out middle with the Everyday Arches dies and used it for the second card. It was easy to cover the opening on the first card with a matted second image, and I stamped the same full image for the second card in Lemon Lime Twist to keep it softly in the background.

I kept the focal panel for the first card simple with plenty of white since the background was so colorful. The little butterflies from Cutest Crew fit perfectly on the edges.

Keeping the background softer allowed the focal panel to, well, be the focus. I stamped the sentiment in black to mute what was otherwise a very colorful card.

Flowers Fair was released during the March 2026 Online Exclusives. It’s a keeper – have some fun with it!

Processing…
Success! You're on the list.

FREE SHIPPING THROUGH JUNE 13th!!

You won’t want to miss this Product of the Month 💕

And if you’re looking for deals, shop LAST CHANCE!

LAST CHANCE DEALS FOR CRAFT LOVERS: BIG SAVINGS!

Handmade and Heartfelt is my favorite kit – I’ve purchased multiples – and it’s only $16. It makes a fantastic gift, too.

This bundle and DSP – Sunshine/Boho Vibes – is fun, colorful, and perfect for cheery cards. Buy the stamps ($9) and dies ($15) separately, not in the bundle, and save big bucks. The DSP is just $7.50!

Pro tip: Watch for Two Tone Card Stock Assortments to go to Last Chance. It’s a great way to build a small collection and try out this awesome product!

Enjoy shopping, my Crafty Friends.

Processing…
Success! You're on the list.

ENHANCE YOUR CRAFTING WITH MOONLIT FLORA DSP

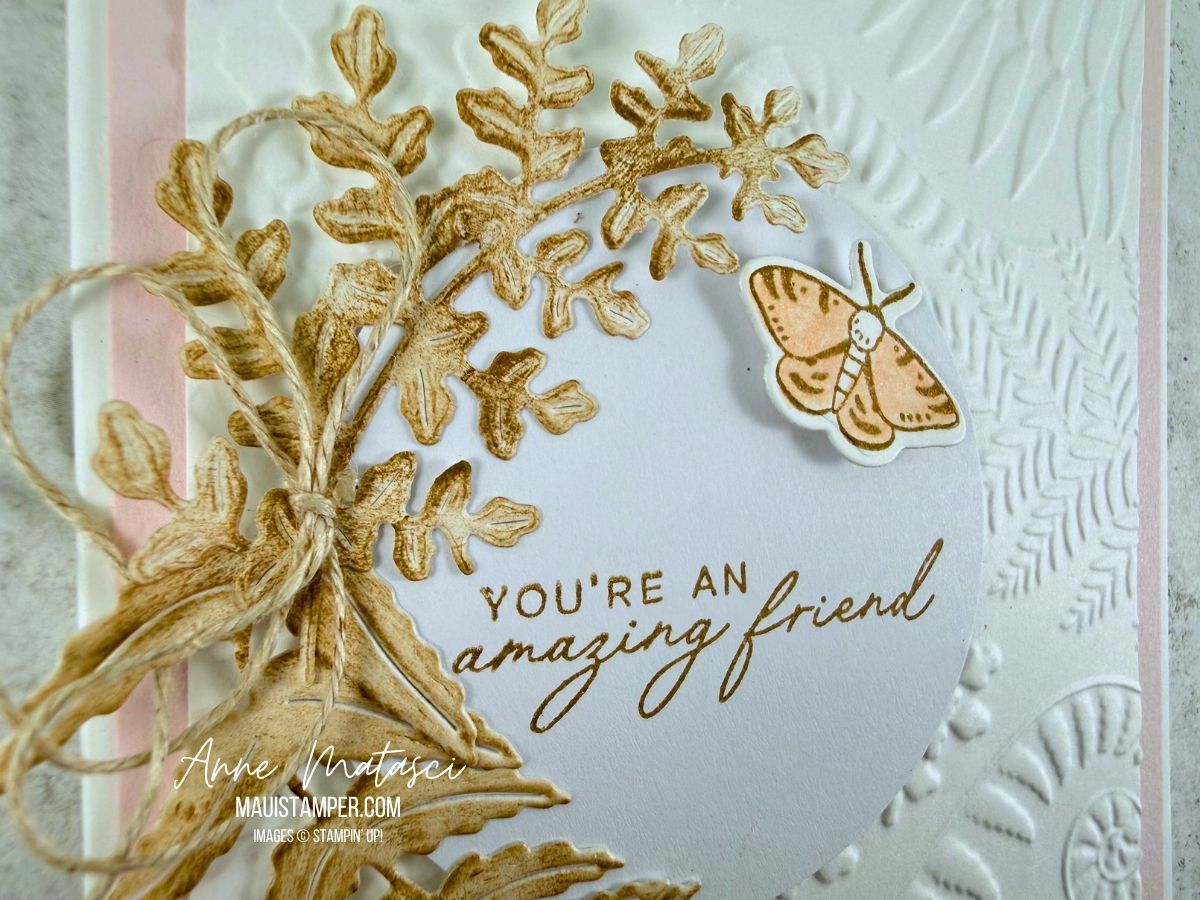
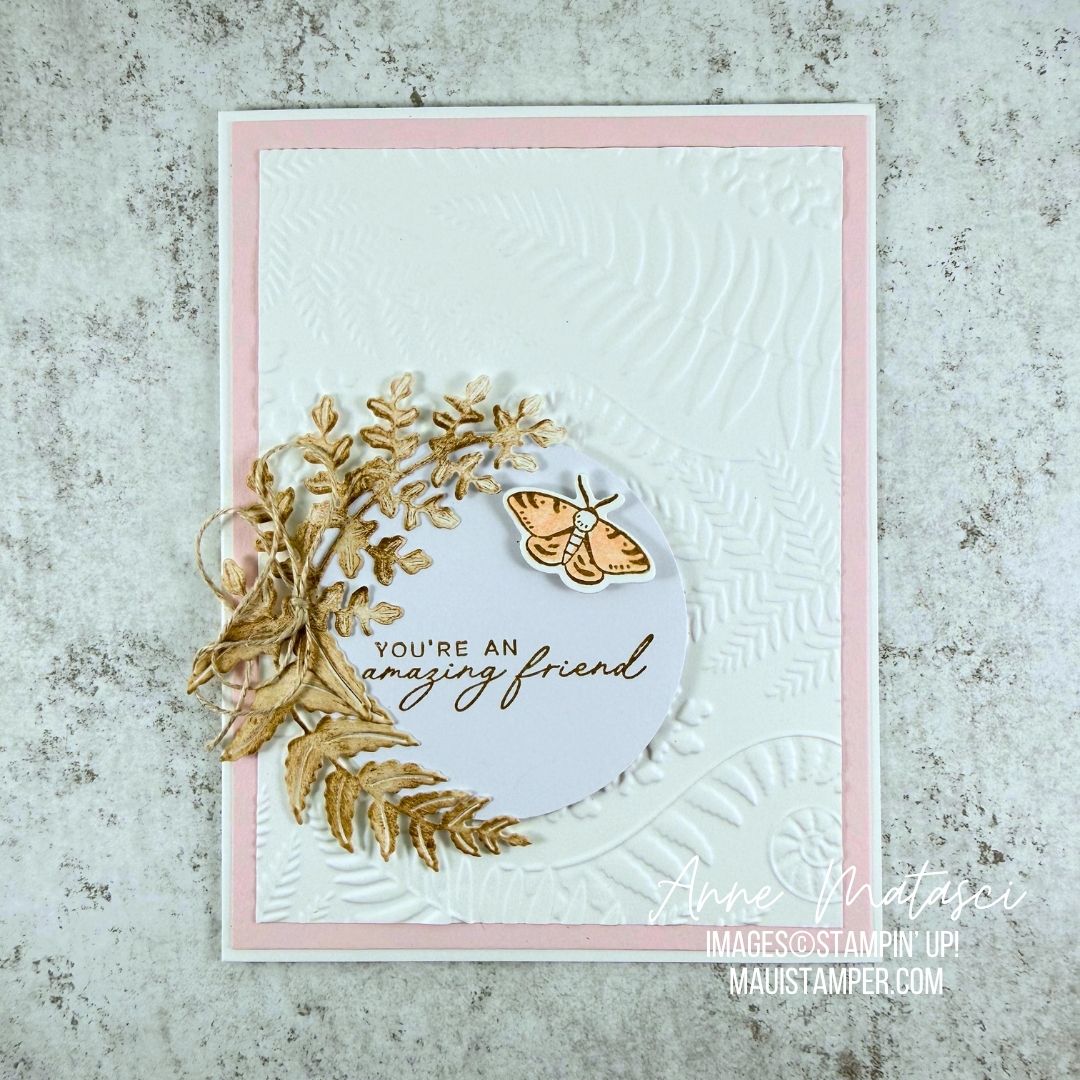
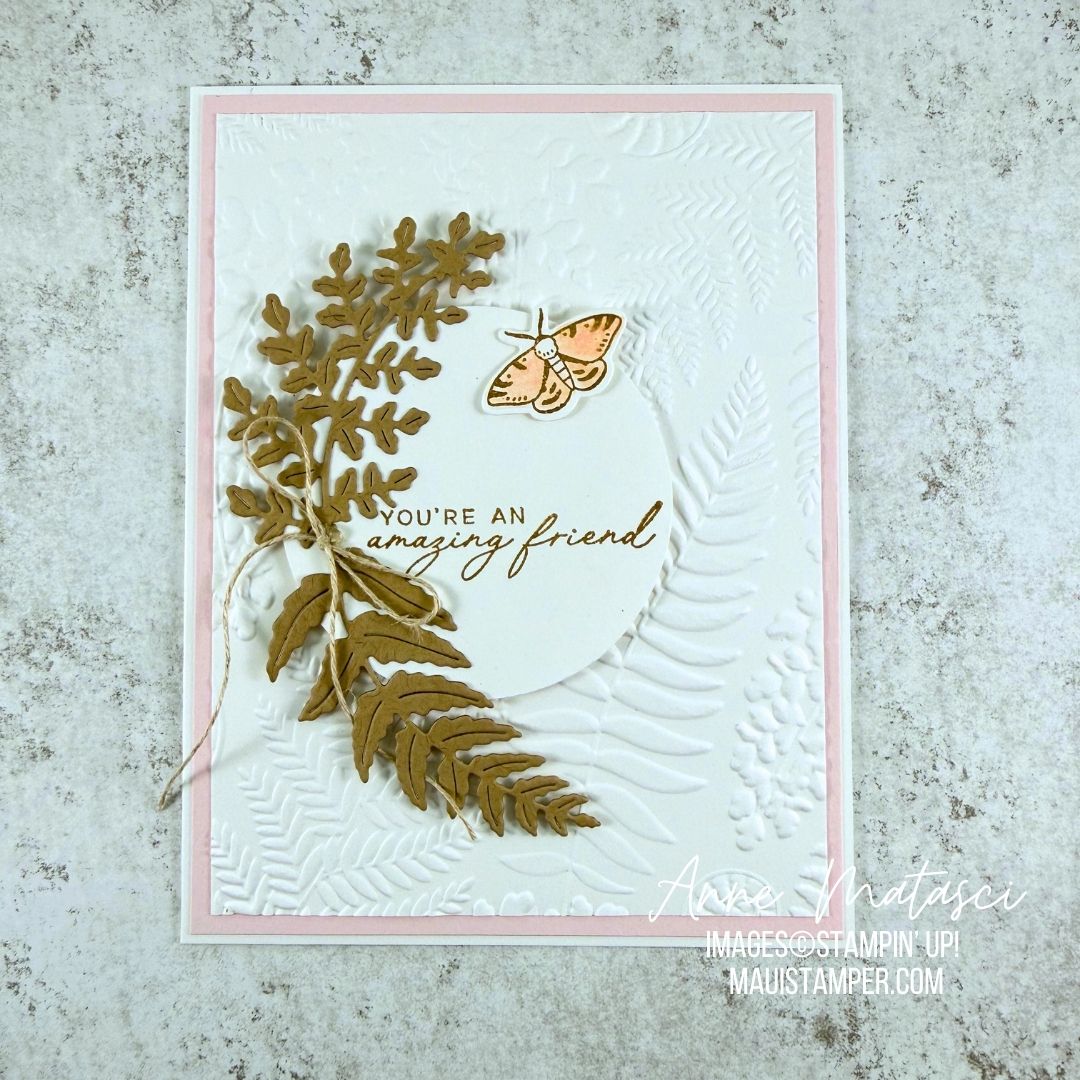
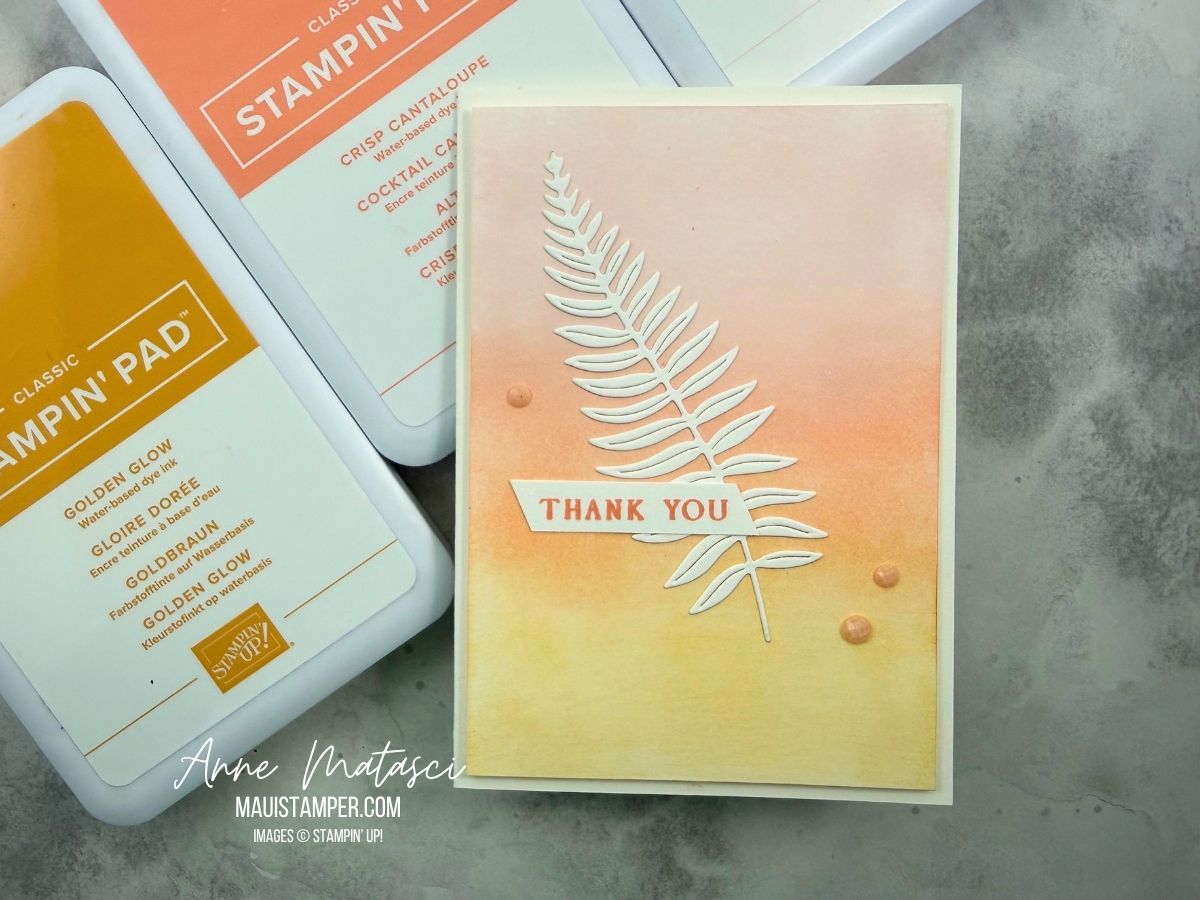
I’ve added some shimmer to the fern die cut with our new Shimmer Brush. I got the idea after I’d adhered the fern to the card front, so the accent isn’t as precise as I’d like. In my house we call this Delayed Intelligence. Sigh.

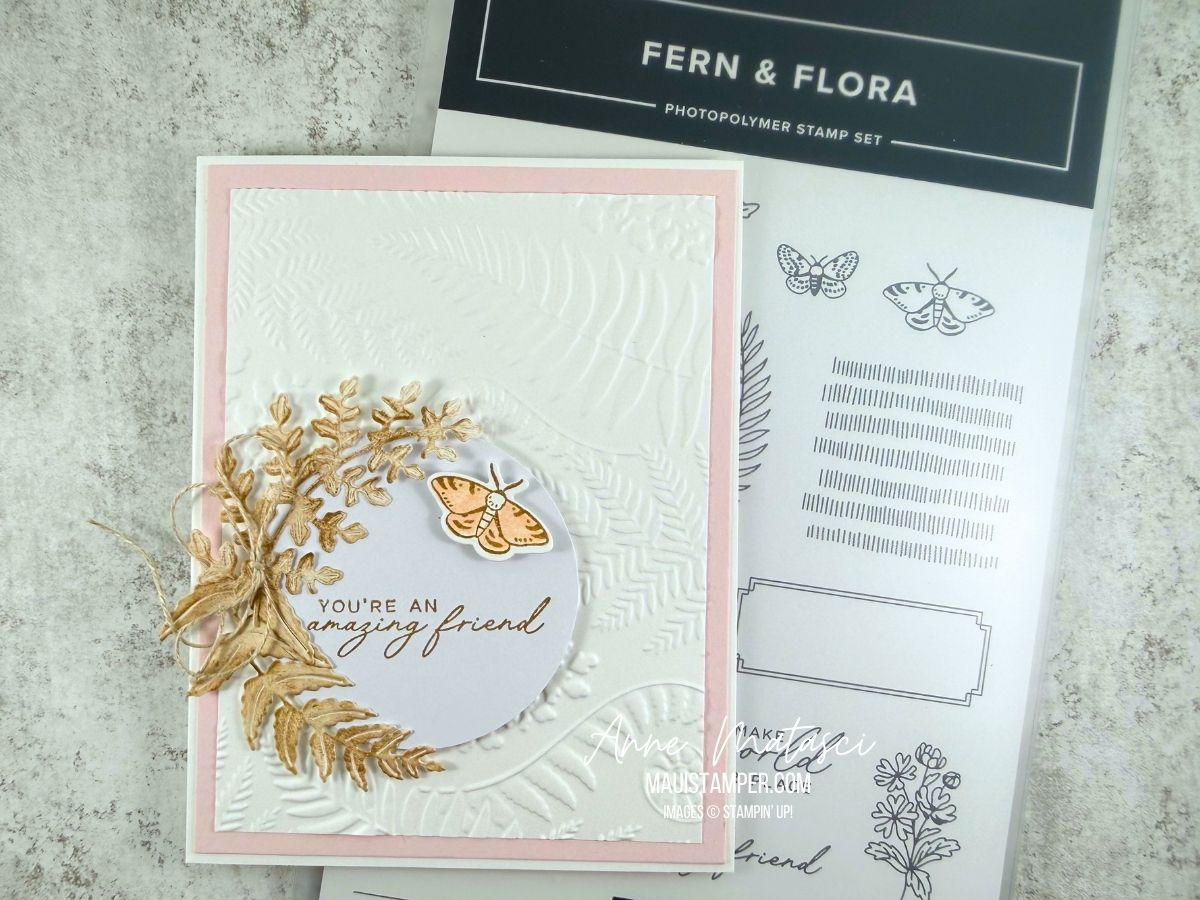
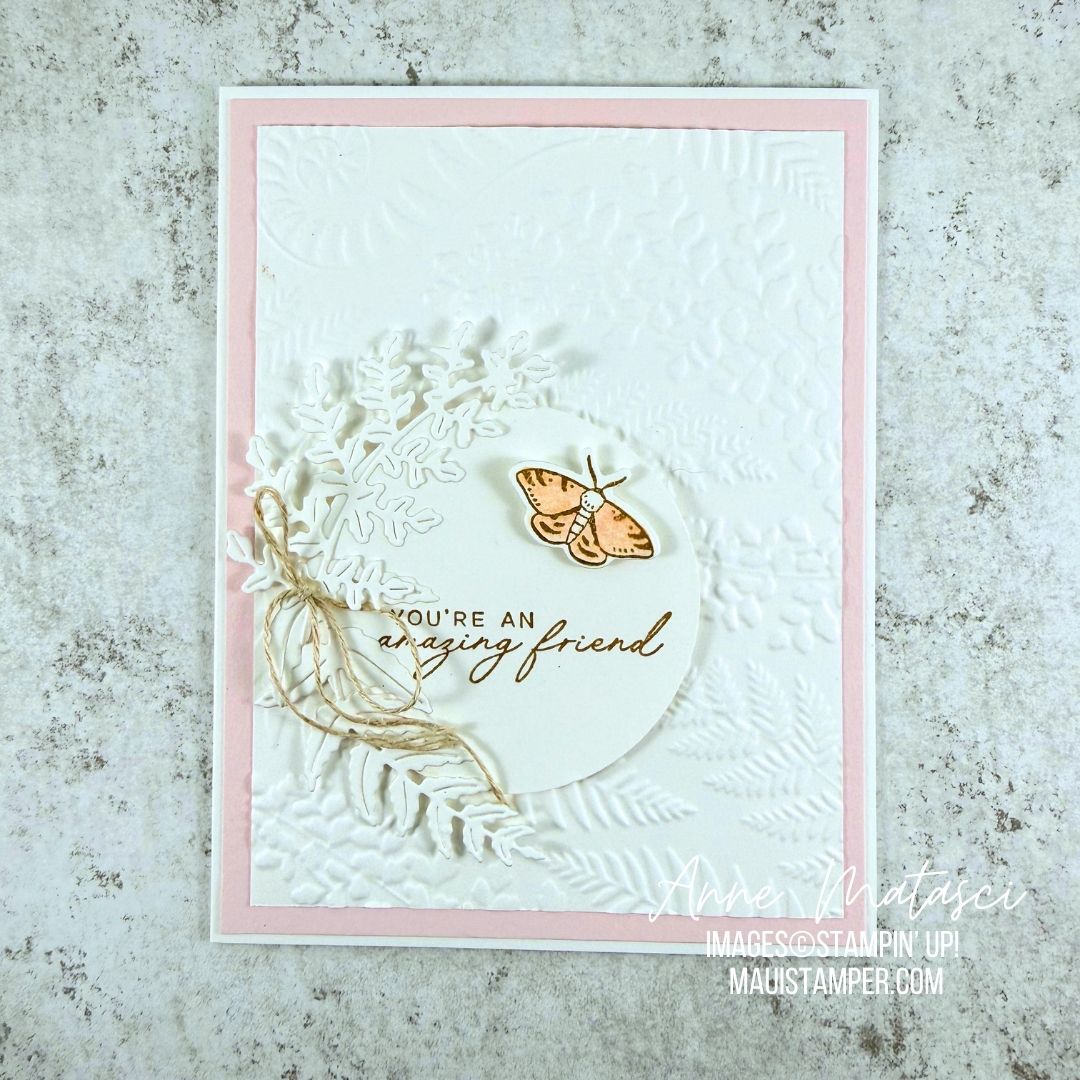
All of the Fern & Flora images are beautiful, but I chose to use just the paper and the die cuts for this card. This layout is very simple – it uses 2 pieces of DSP and a strip of Secret Sea run through the Fern & Flora embossing folder. The hardest part is choosing which papers to feature!

Give this one a try with the Moonlit Flora DSP or any other paper you have in your stash. You’ll love the results!

Processing…
Success! You're on the list.

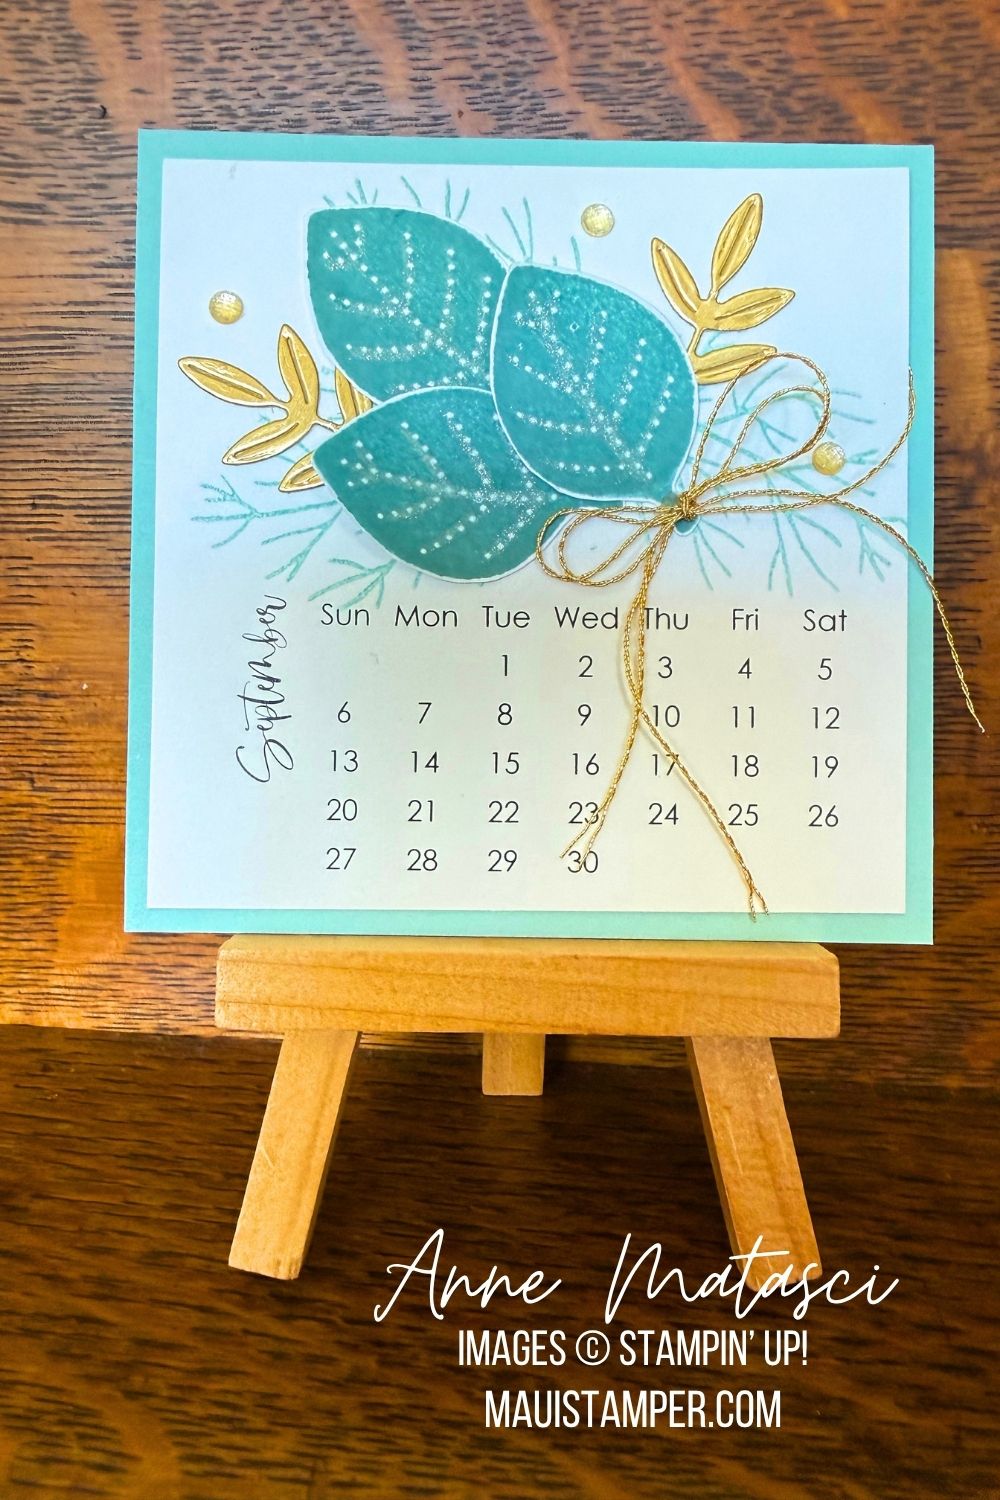
DIY CALENDAR BLOG HOP: JUNE 2026 – FERN & FLORA

Welcome back to DIY Calendars! Thanks for joining us this month – and every month – as we share our creative ideas. This month, I’m using a bundle from the May-August 2026 catalog called Fern & Flora. It has tender sentiments and beautiful line drawn botanical images, making it a very versatile bundle.

  • Stamps: Fern & Flora
  • Color Palette: Basic White, Hybrid Black, Daffodil Delight, Mossy Meadow, Highland Heather, Fresh Freesia
  • Accessories: DIY Calendar Template, Fern & Flora dies, Stampin’ Blends, Blender pen, Stampin’ Dimensionals

The panel of lines in the back has been stamped off to create a softer look. The calendar is mounted on a Highland Heather panel. It’s a color I don’t use very often, but I’m very happy with the way it combines with Mossy Meadow and Daffodil Delight. I’m debating on working my way through the entire Stampin’ Up! color collection – what do you think? There are a few colors that will definitely provide a challenge for me!

Click the button to travel through the Blog Hop and see what Sharon and Cheryl have created this month. We’re so glad you’ve joined us!

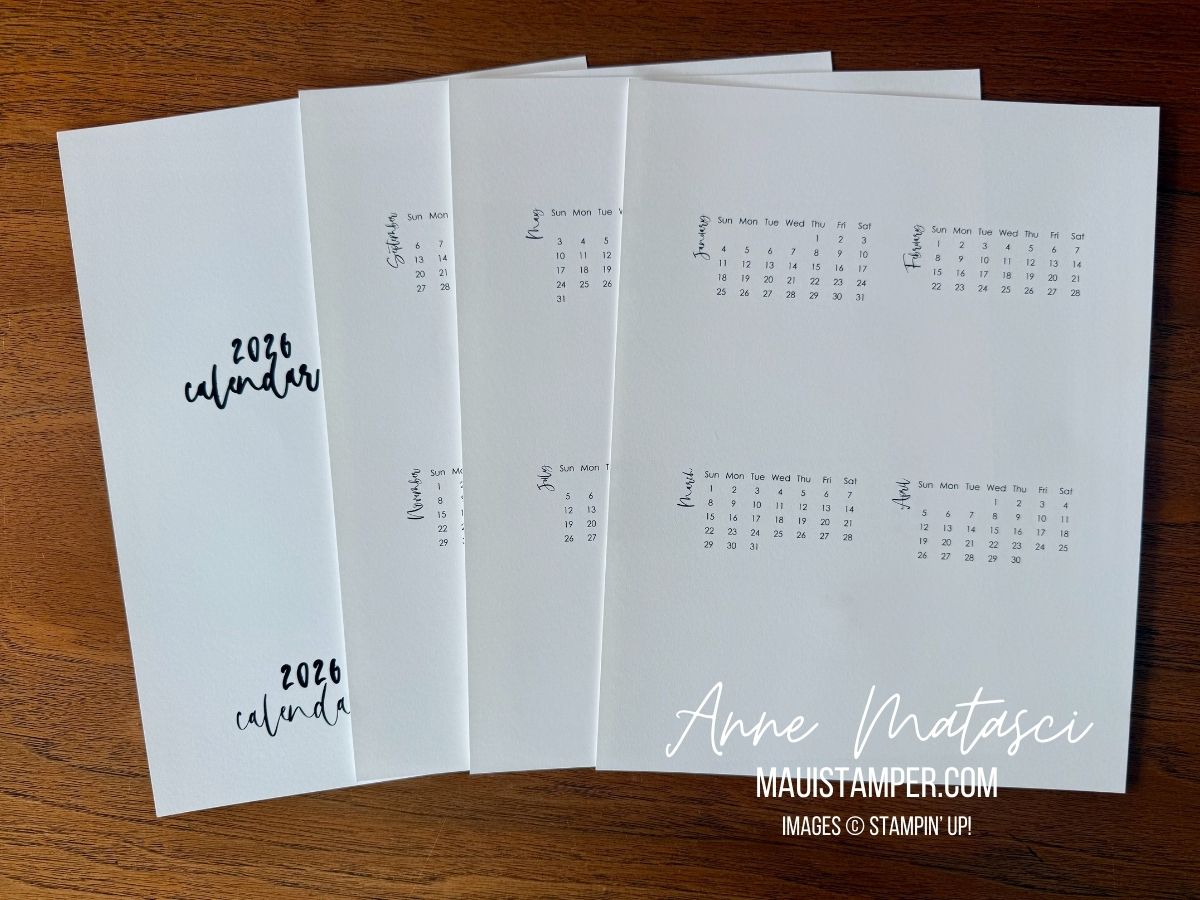
Would you like to make your own 2026 DIY Calendars? The template is just $6. Visit my secure page to make your purchase. (You can also find the page on the banner across the top of my home page.) You’ll receive links to download the templates in an email after you’ve paid. You’ll need to cut and paste those links into your browser. (You may need to check your spam folder to find that email.)

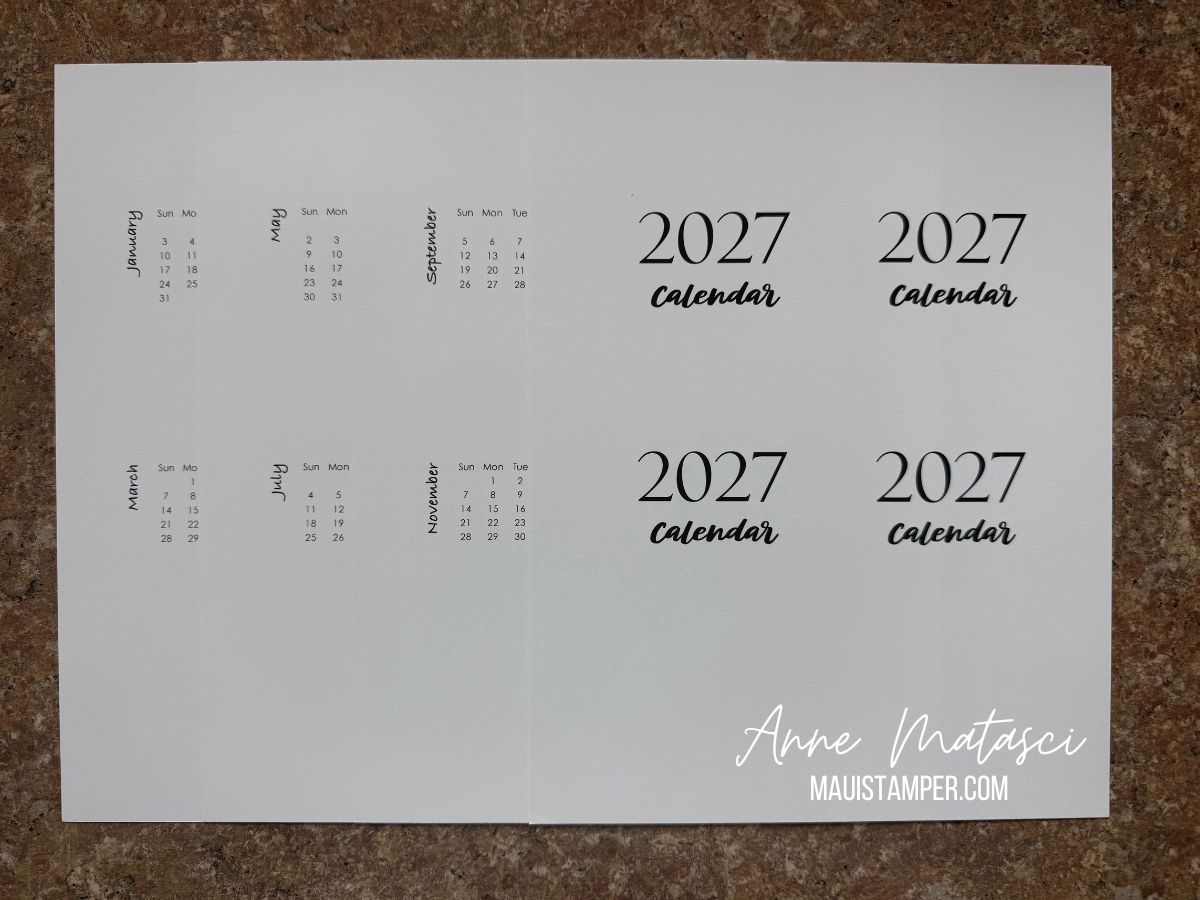
The 2027 Calendar will be available in September. I know some of you are already counting the days! For now, it’s only 2026 that’s available.

You are only purchasing a template, which you can download and print for your personal use. I hope you’ll enjoy it!

Processing…
Success! You're on the list.