These cards have been everywhere – I’ll bet you’ve seen them too. Kylie and Bruno Bertucci in Australia popularized this technique they call #ScrappyStripTechnique and created a video to show how it’s done. It’s just as easy as they say!

- Stamps: Peaceful Moments, Free As A Bird
- Color Palette: Rich Razzleberry, Mossy Meadow, Pool Party, Poppy Parade, Old Olive, Whisper White
- Accessories: Layering Circles dies, Multipurpose glue, Paper Trimmer, Peaceful Poppies DSP (retiring June 2, 2020), Pearl Jewels

Once I got started, it was hard to stop! I had a desk full of strips cut every which way and spent a delightful afternoon arranging, adhering, and adding sentiments to my cards. (The sentiment and dies are from the So Sentimental Bundle.)

I think this one is my favorite. I used all neutrals with a few Bermuda Bay strips added in for contrast and no DSP. It would be a great masculine card, but I think it works for anyone. I love the way the neutrals are so, well, you know, neutral.

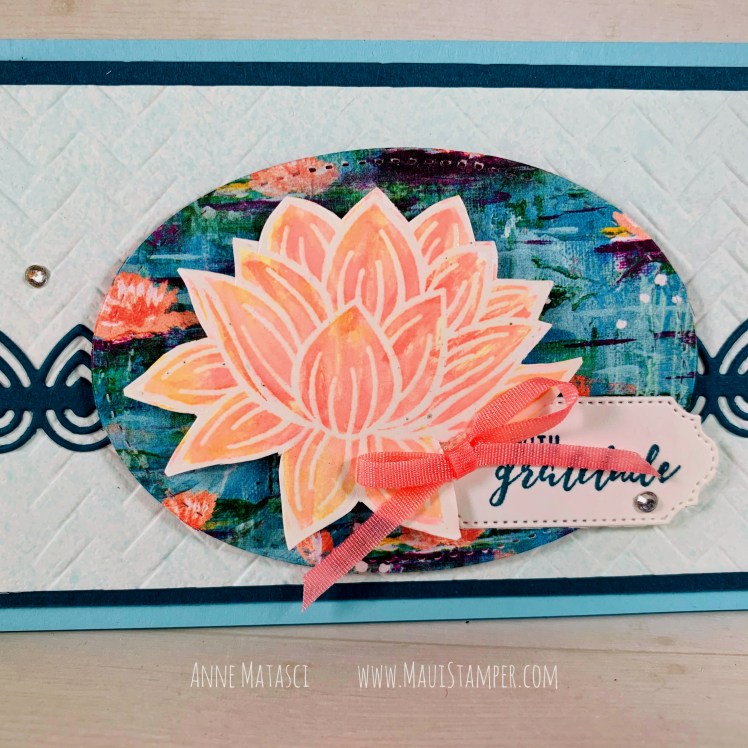
This one is based on the Lily Impressions DSP offered as a SAB 2020 choice (and no longer available, I’m sorry!) This was one of the first cards I did and it has a decidedly chaotic feeling.

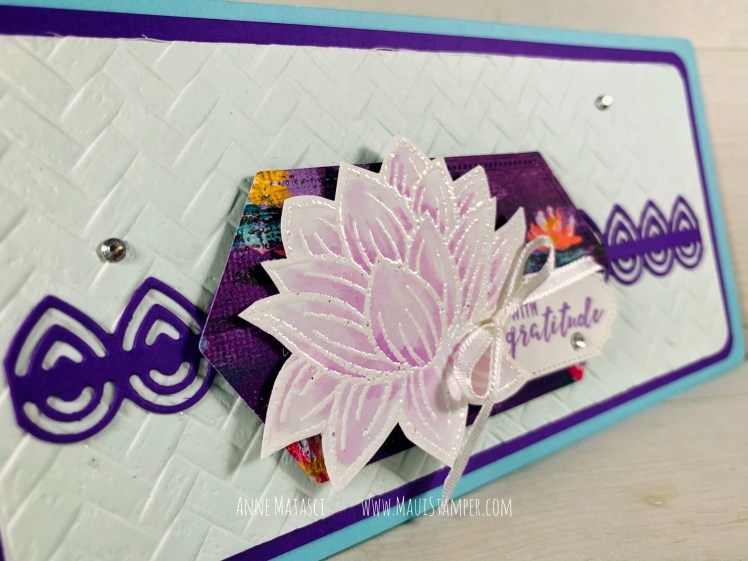
The fun thing is that this is the reverses side of the above DSP. Even though some of the colors are repeated, the feeling of the design is completely different.
Honestly, I could go on and on (actually, I did!) I hope you’ll pull out some scraps and your paper trimmer and have some fun. The video gives great instructions so I’m not going too replicate the Bertucci’s fabulous effort – just cut up some paper and get started with cut and paste!
LAST CHANCE products are available WHILE SUPPLIES LAST or through June 2, 2020, whichever comes first. Don’t miss out.
If you happen to be flat out of paper (SERIOUSLY? Is that possible?) or perhaps if you’ve used the last of your Multipurpose Glue, I’d be delighted if you chose to shop HERE.