
If you’ve been crafting for a minute or two, you probably have a stash of Designer Series Paper (DSP). Maybe you bought the pack for one design that you loved and the rest has been untouched. Maybe you’ve used most of the pack but there are just a *few* sheets left. Or maybe you just bought too much and need to use it before you buy more. (Ugh, the truth can hurt.)
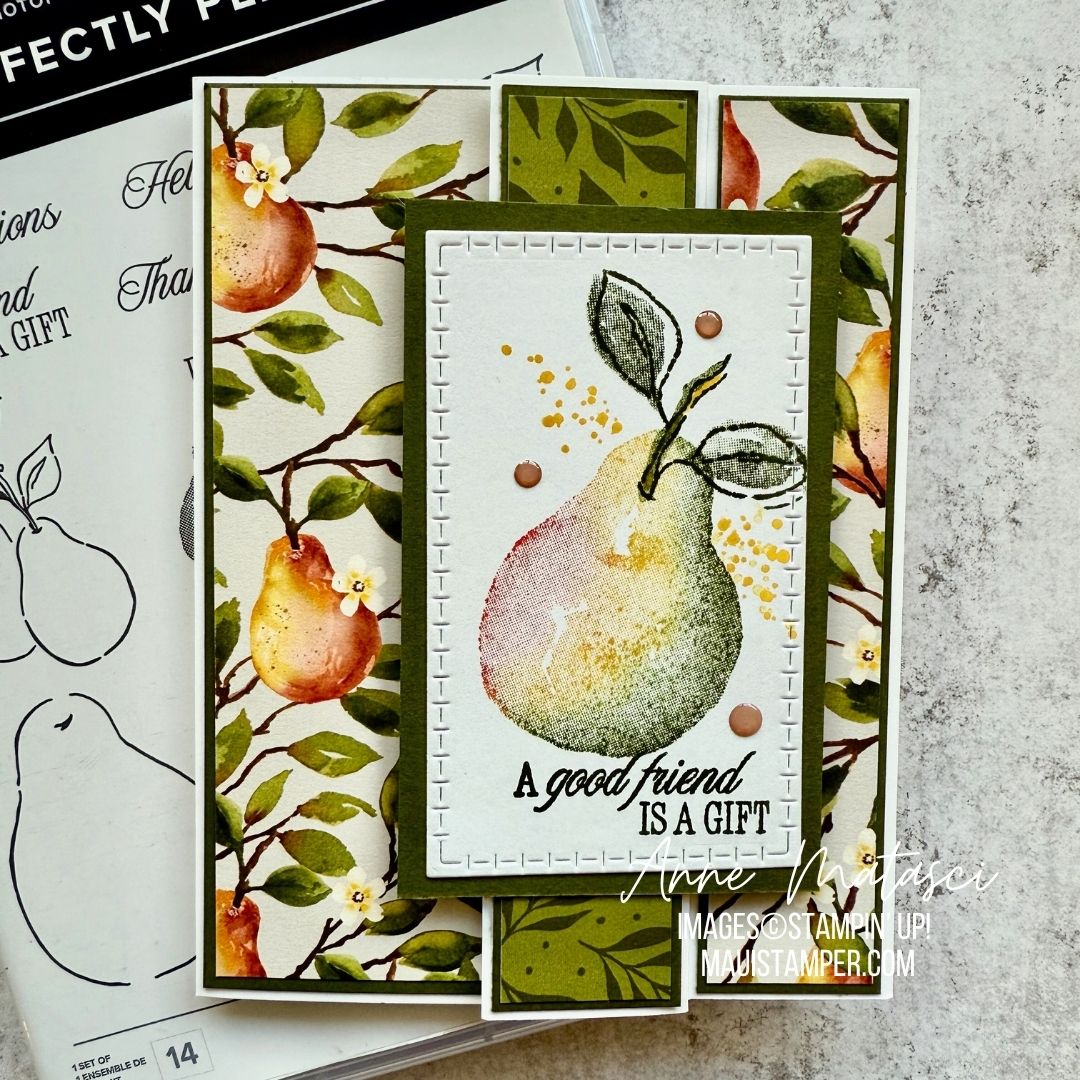
- Stamps: Perfect Pears
- Color Palette: Basic White, Daffodil Delight, Flirty Flamingo, Mossy Meadow
- Accessories: Stamp Cut & Emboss Machine, Textured Note dies, Painterly Pears DSP, Daubers, Blender Pen, Low Profile Dots, Stampin’ Dimensionals
I am obsessed with coloring the pears with Daubers, and love that every time it’s just a bit different. I pulled the color palette from the DSP and added a bit of Mossy Meadow to the edge for a little drama. The sweet row of blossoms under the writing panel is stamped in Daffodil Delight and has a little center added with a Blender Pen.
If I may be so bold as to say it, if you don’t have the Textured Notes dies, Do Not Pass Go, Do Not Collect $200, just click on ADD TO CART. (There. I feel better.)
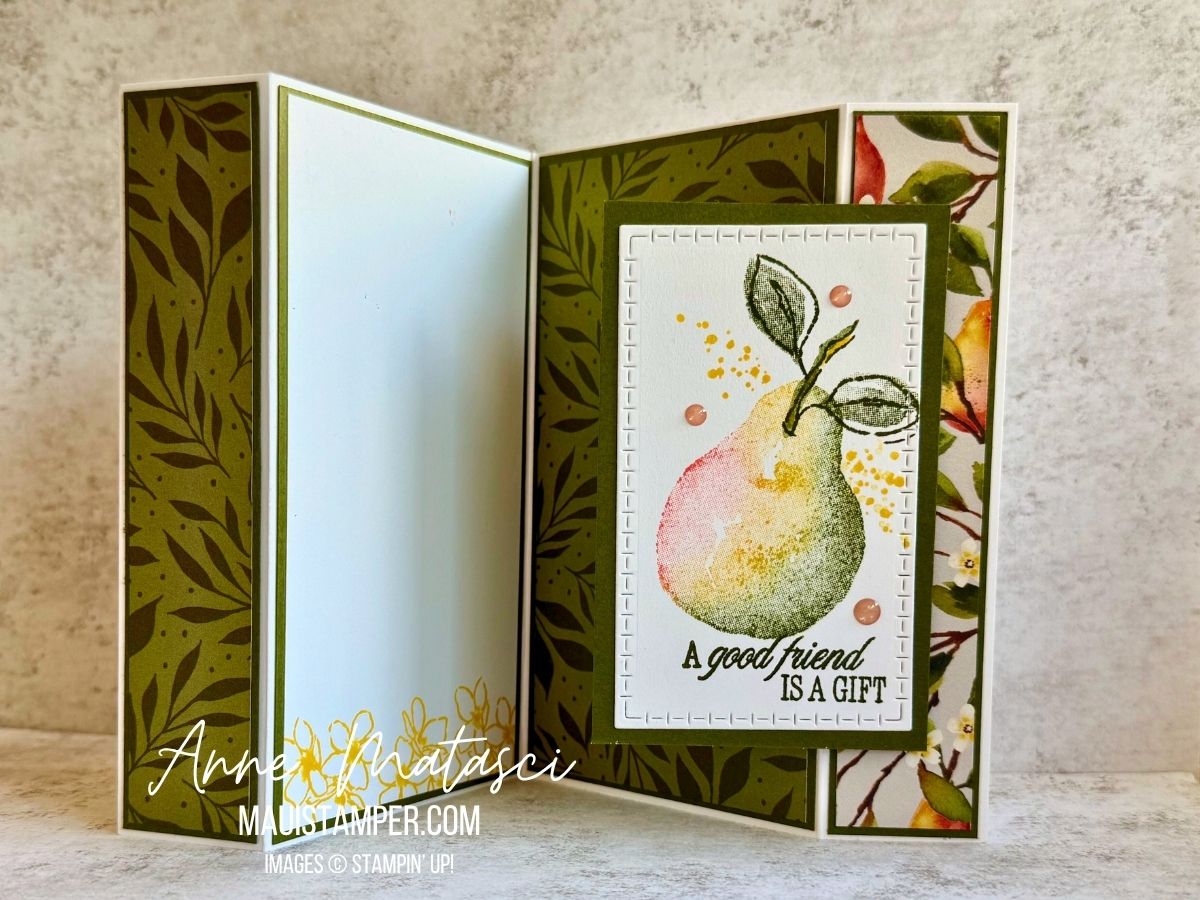
My dear crafty buddy Sharon showed me this great fun fold. Score a standard 8 1/2″ x 5 1/2″ in the center (4 1/4″) and also 1 1/4″ from either end (that’s 1 1/4″ and 7 1/4″ if you need the exact numbers). It creates a perfect canvas for DSP.

Everything else is just cut-and-mat DSP! This is another quick and easy card to assemble, and it features my favorite “just enough room for I-Love-You” writing panel. Those Low Profile Dots are a great product for cards you intend to mail, too. I usually put a piece of card stock over the front of a card when I mail it, but it’s almost not necessary with these Dots.

The Perfectly Pears bundle is a great option to add color and variety to your crafty stash. There are flowers, sure, but they’re quite understated. It’s all about the pears – and of course, that gorgeous Painterly Pears DSP. Try it, you’ll like it.


