Memories and messages from the guests

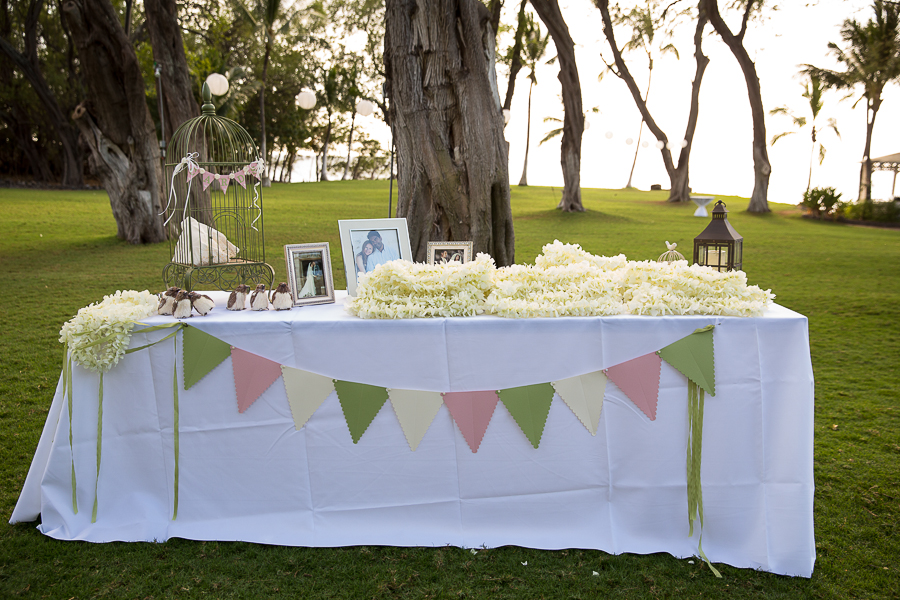
My daughter’s wedding was a very personal event.  She and Clarence had many choices to make, but each of them had a very personal touch.   They were looking for a different sort of guest book – not the traditional “sign your name” variety.  Since everything had to go back to Australia (boo!) after the wedding, we didn’t think one of those big photo mats would work.  I came up with the idea to encourage each guest to write a little “love note” to the bride and groom, and of course they couldn’t write those notes on scratch paper:

Maui Stamper Wedding Guest Book
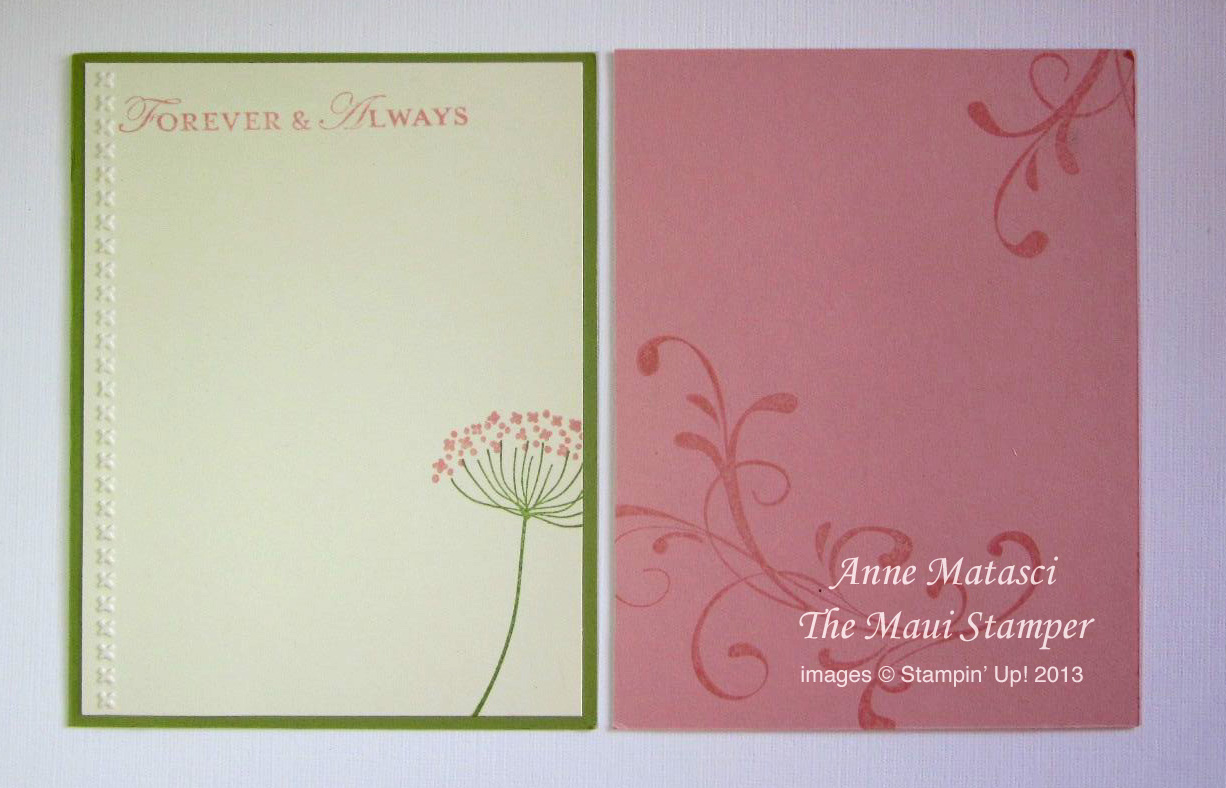
Once again the fabulous Needlepoint Border TIEF added just the right touch!

Maui Stamper Wedding Guest Book

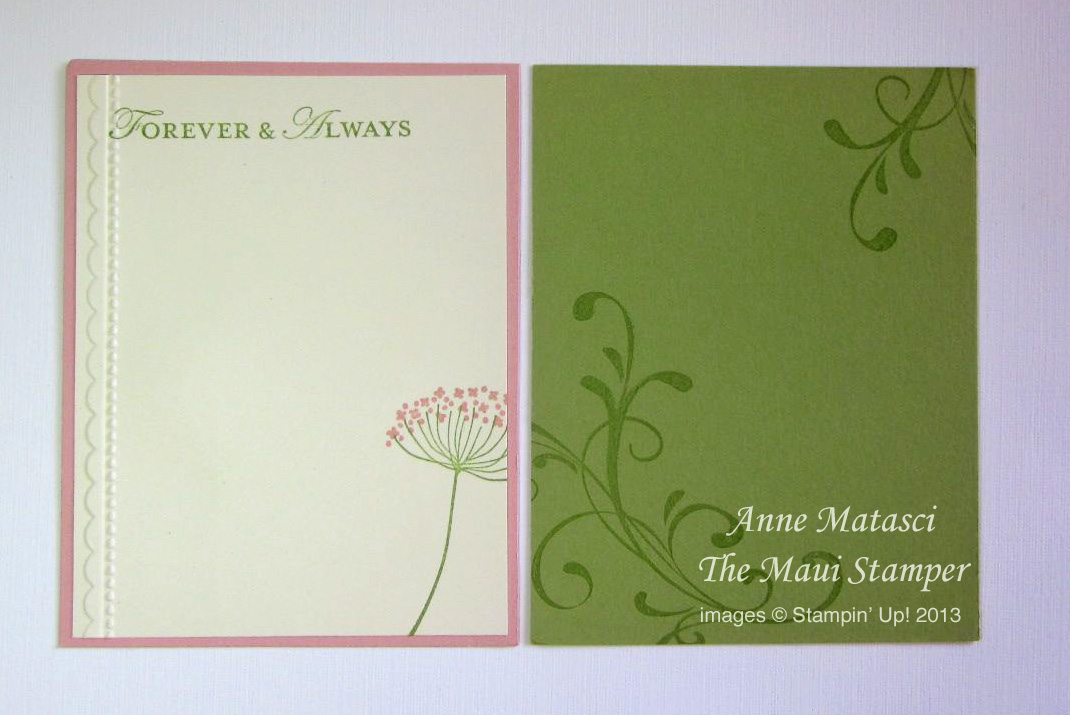
I used stamps from the Summer Silhouette, Loving Thoughts, and Everything Eleanor stamp sets to embellish the cards.  One was at each place setting along with a sign designed by Crystal:

Maui Stamper MDS Wedding Memories Table Sign

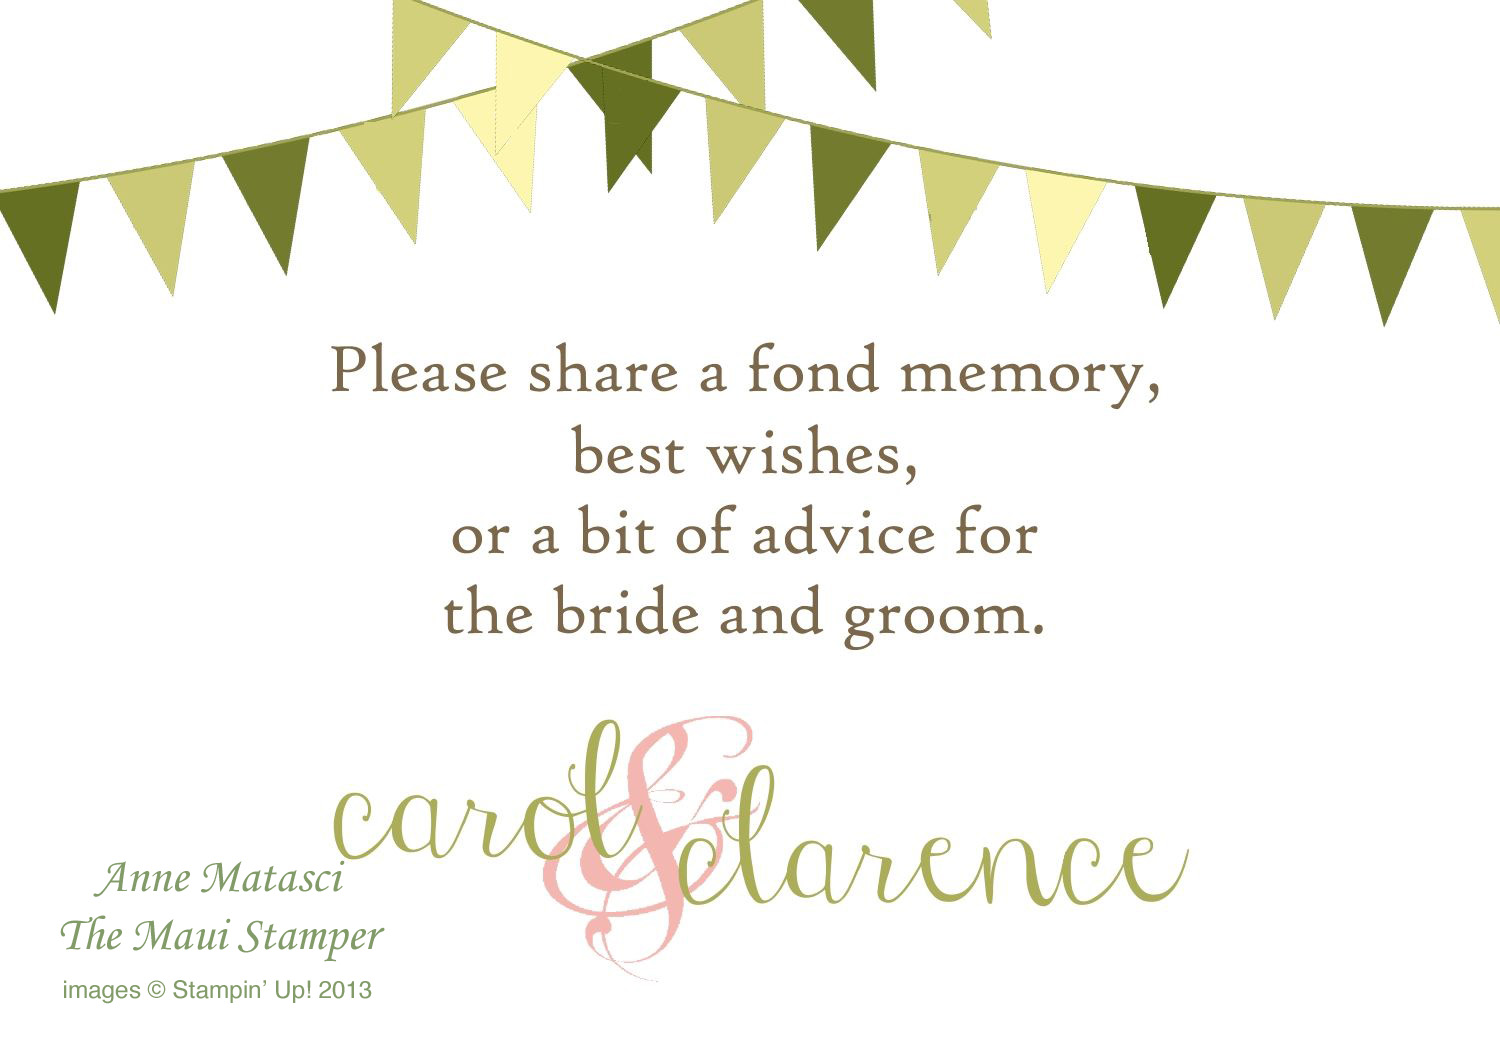
These signs were printed 3×5 inches on Very Vanilla card stock and were put on small table tents, two per table.  The guests drew, told stories, gave advice, and created a wonderful reminder for the bride and groom.  I didn’t get a photo before they left, but when all the cards were gathered together I created a front and back cover and made a book to hold all these wonderful messages.

A special wedding welcome

My daughter Carol and her husband Clarence wanted to be sure every guest at their wedding felt welcomed, and they wanted that welcome to be very personal.  They decided to give each guest a lei greeting and take a photo with them.  We set up a table for the lei:

MauiStamper wedding pennantsOne thing I have to make clear before I go any further is that when I say “we” I mean Crystal.  Honestly, if you are planning a wedding you need a lot of friends to help!  Crystal has a great designer’s eye, and she offered to set up decorations at the reception site while I was being MOTB.  We did lots of pennants – sorry to say I don’t have photos of all of them.  The bird cage (courtesy of Cheryl) was to hold cards and our idea of a guest book.  Wish I had another photo of those goofy birds at the foot of the birdcage – they were hilarious – and 75% off after-Christmas clearance!

Maui Stamper Birdcage Pennants

The pennants were cut from the Perfect Pennants Bigz die and embellished wtih the new Needlepoint Border TIEF from the Spring catalog.  I also used the fabulous new 5/8 inch flower trim from that Spring catalog – THANK YOU STAMPIN’ UP!, your timing was impeccable!!  And if you are wondering about the color scheme, we used Blushing Bride and Pear Pizazz – both retired In Colors from 2010-2012.  Again, Stampin’ Up! had incredible timing as these two colors of cardstock (and a number of related accessories) hit the Clearance Rack just when I needed them!  I had been hoarding bits and pieces, but with all the paper I bought I was able to do anything I wanted!

Check in later this week – I have more photos for you to enjoy!  It was such fun to create these small touches for my daughter’s wedding day.

Pool Party Valentines

My first run through the Spring catalog was not exactly inspiring.  I’m not sure what I was looking for or expecting, but whatever it was I didn’t see it.  All my other demo friends were excited as can be and I was just kinda meh.

But of course I placed a pre-order and hoped for the best.  The box arrived and I opened it and something happened.  The things in the box were so much better than their pictures!!  I take it all back!!!  I am an Official Spring Catalog Fan.  And as such, I have been busy creating:

Maui Stamper More Amore Valentine

  • Delightful Dozen stamp set (annual catalog)
  • Pool Party card stock
  • Primrose Pink Core’dinations card stock (Spring catalog)
  • More Amore DSP (Spring catalog)
  • Primrose Pink FFIP
  • Finishing Touches Edgelit
  • Hearts Collection Framelits
  • Needlepoint Border TIEF (Spring catalog)
  • Big Shot (well, duh!)
  • Stampin’ Sanding System

Those little peek-a-boo hearts are easy to achieve – just place a couple of Heart Framelits on your card front and run it through the Big Shot.  Cut a piece of DSP – I used More Amore from the Spring Catalog – to 4 x 5 1/4 inches – just a hair smaller than your card front.  Adhere it to the inside of the card and the DSP shows through the openings.  Even better, you’ve got the reverse of the DSP as relief on the inside of the card.

The DSP also covers up the line where that strip of Embossed and trimmed Core’dinations is attached to the front of the card on the inside edge.  I trimmed off 3/8 inch from the front of the card to make space for that trimmed piece.

We made these last week at Hostess Club.  There’s a sweet little favor that matches, so tune in later this week to see it.  There’s also a very special event coming soon in my family, and I’ll have some fun things to share from that too.  I can’t wait to show you!!