Sand and Sea Suite: Unconstructed

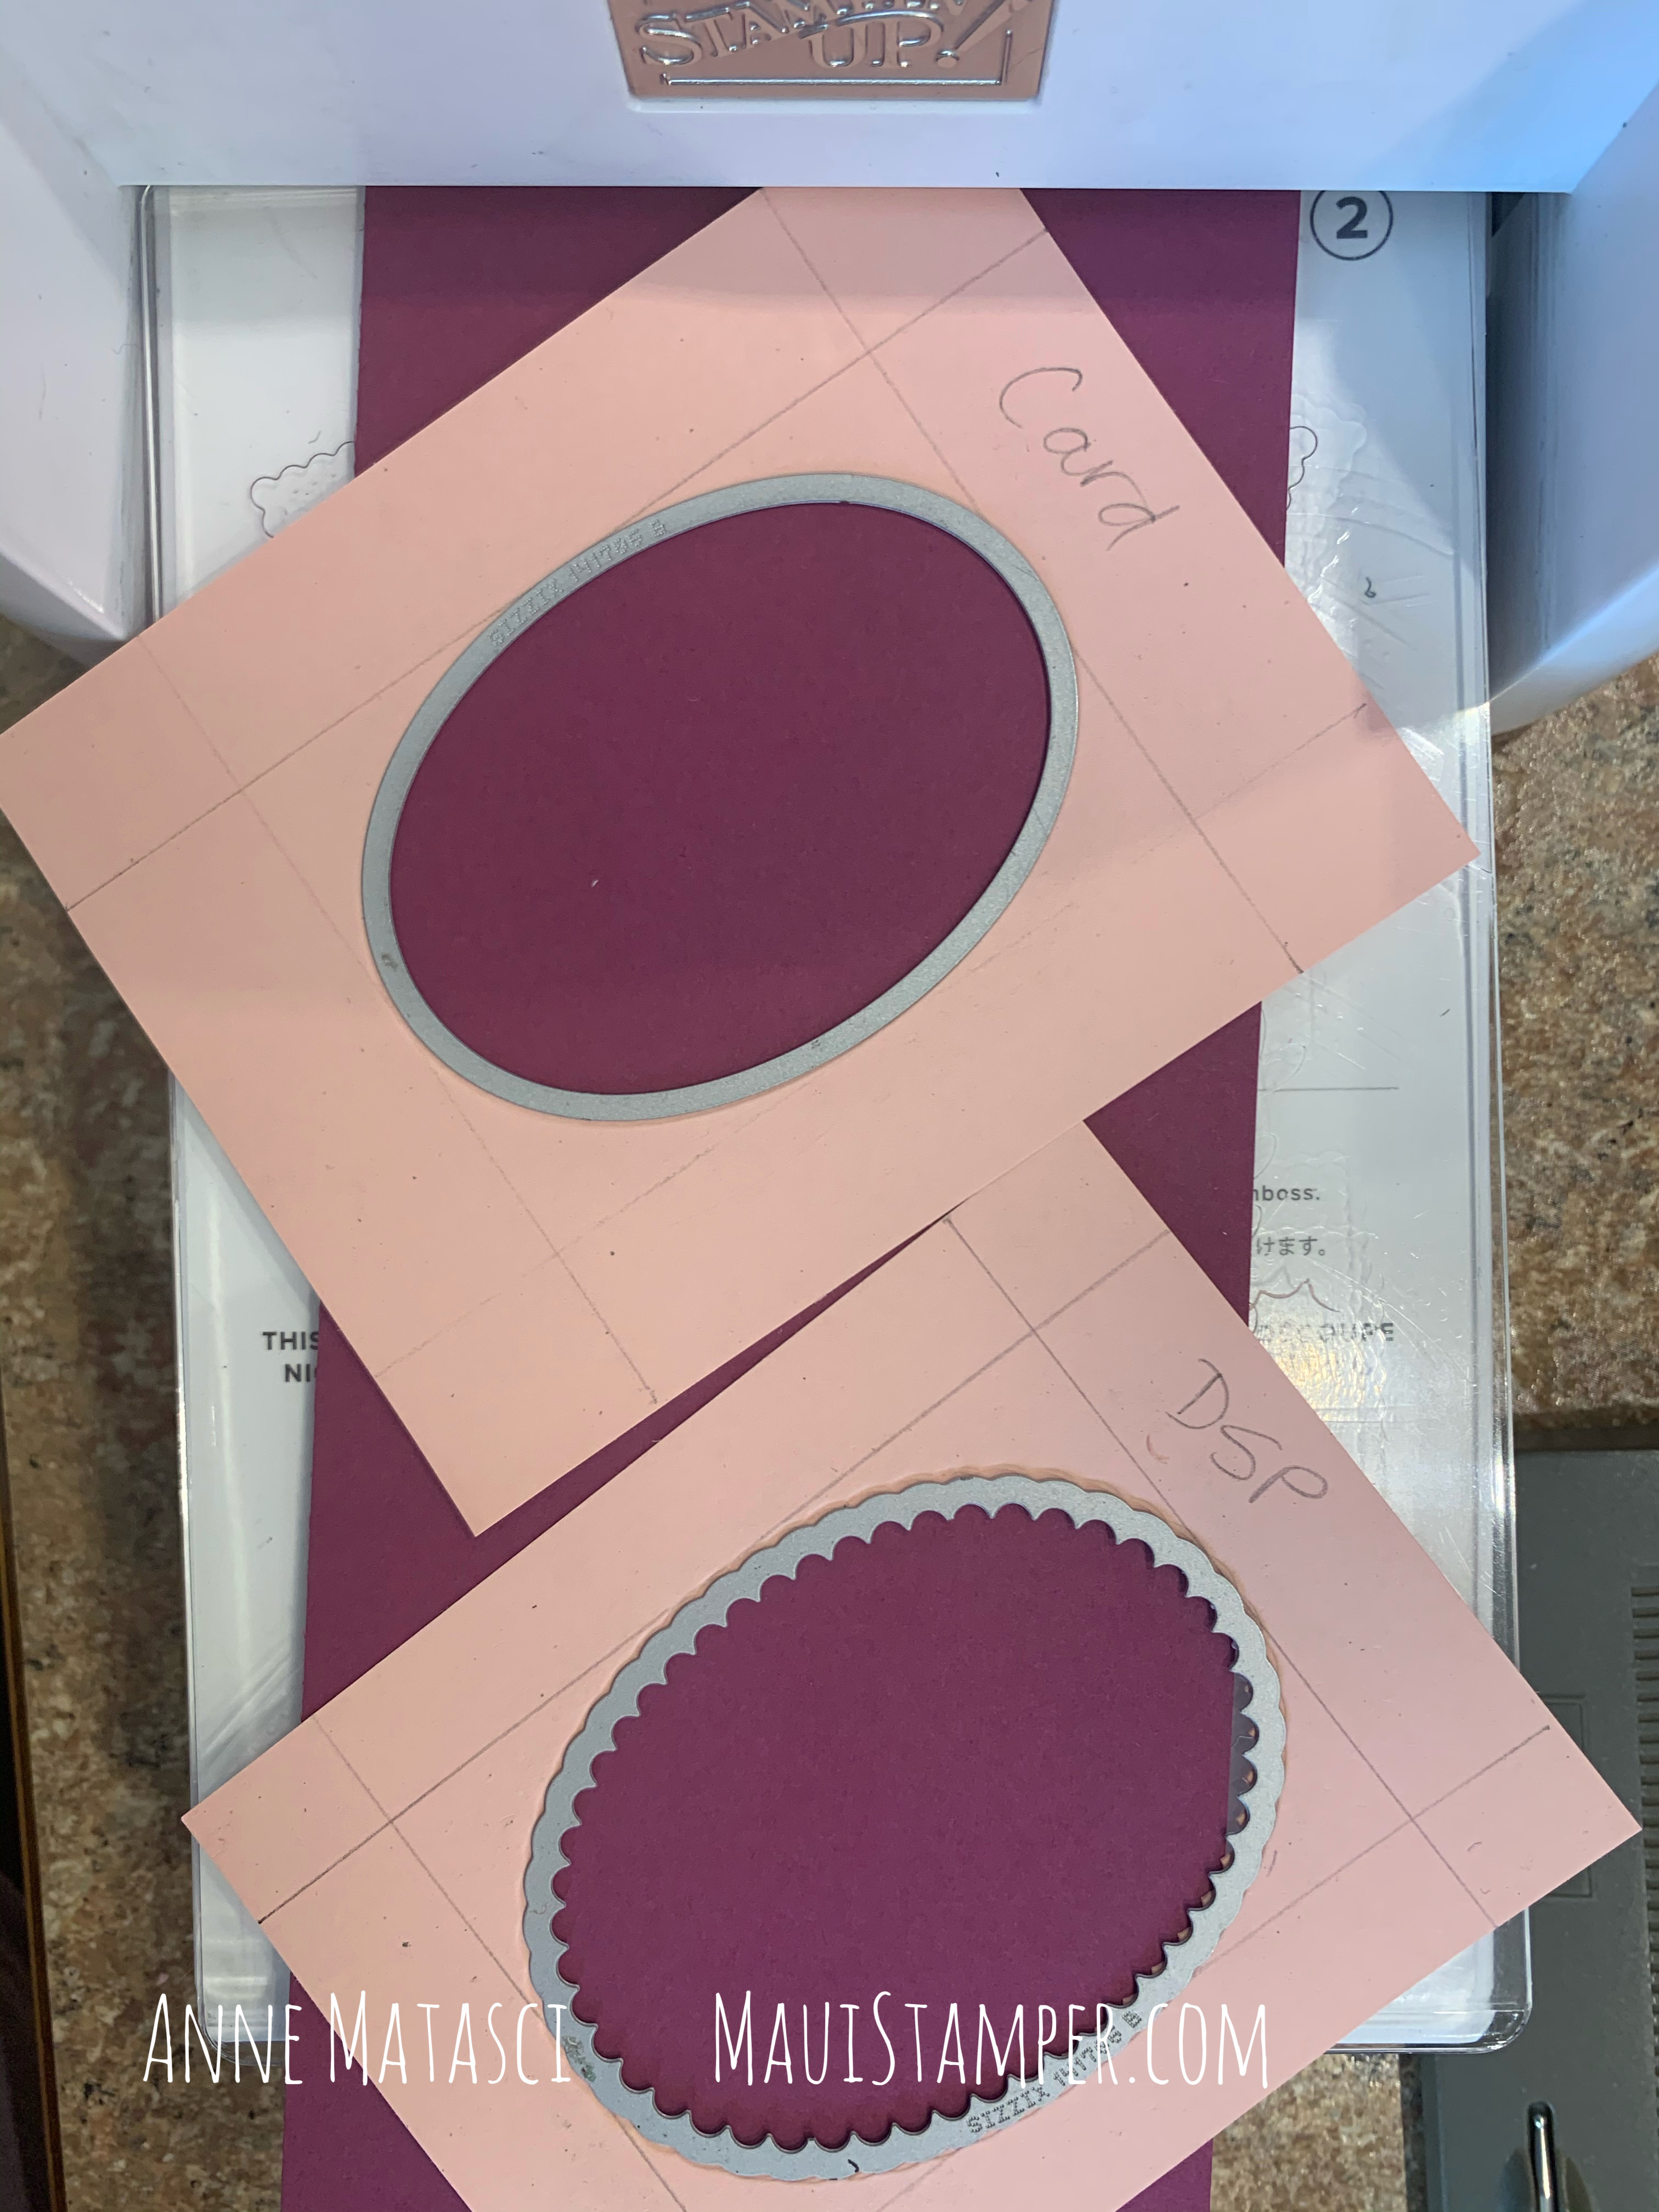
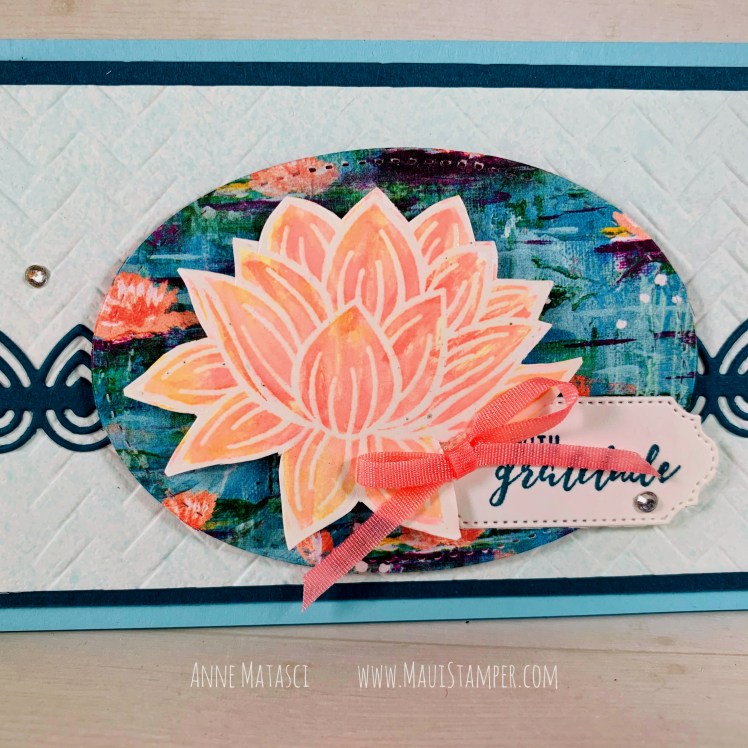
When you combine the Seashells Embossing Folder from the Sand and Sea suite with the all-in-one die, you get a stunning panel that works all by itself. But when you cut apart all the elements, the combinations are endless:

Maui Stamper Stampin Up Sand and Sea Suite Friends Are Like Seashells
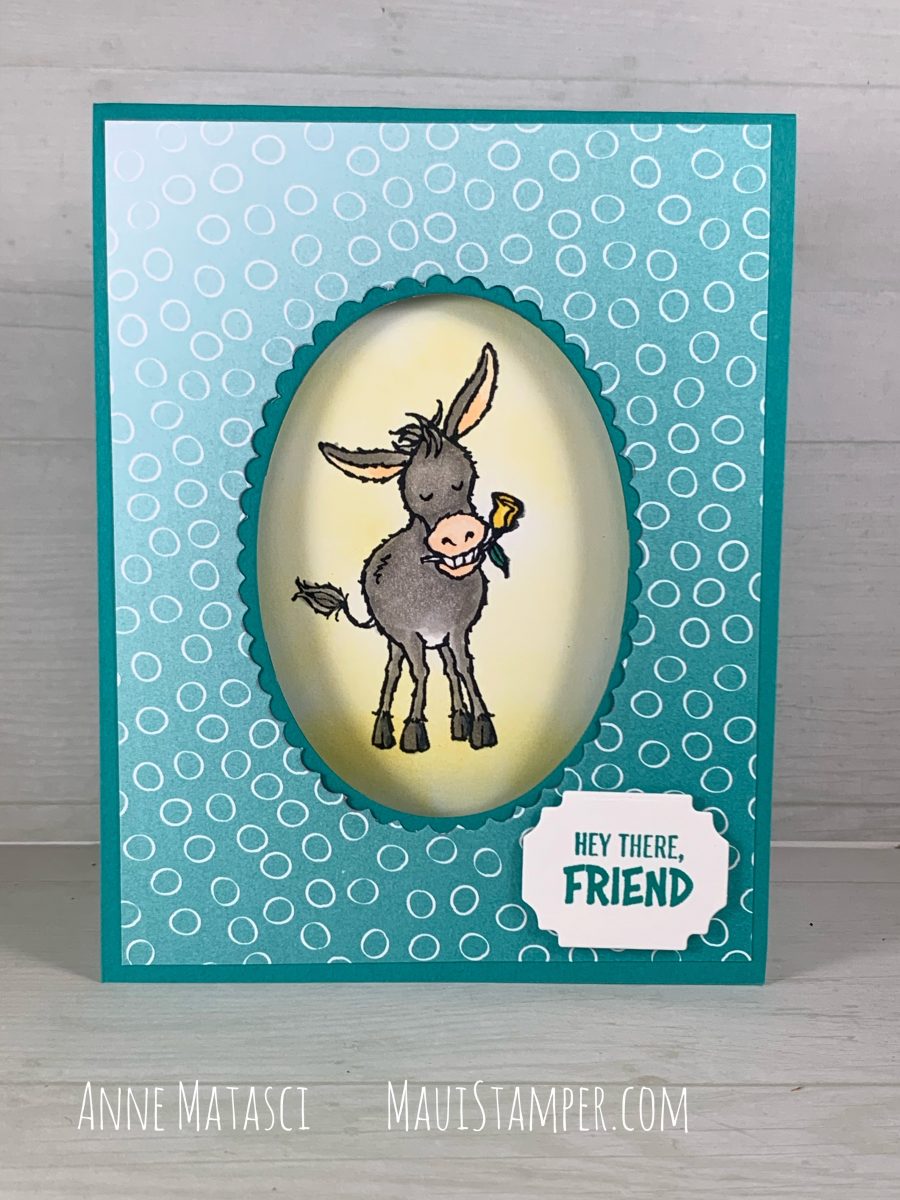
  • Stamps: Friends Are Like Seashells, Itty Bitty Greetings
  • Color Palette: Whisper White, Sahara Sand, Petal Pink
  • Accessories: Stamp Cut and Emboss (Big Boss), Seashell Embossing Folder, Subtle Embossing Folder, Seaside Seashells dies, Ornate Frames dies, Shimmery White paper, Linen Thread, Opal Rounds, Stampin Dimensionals, Blending Brush, Paper Snips

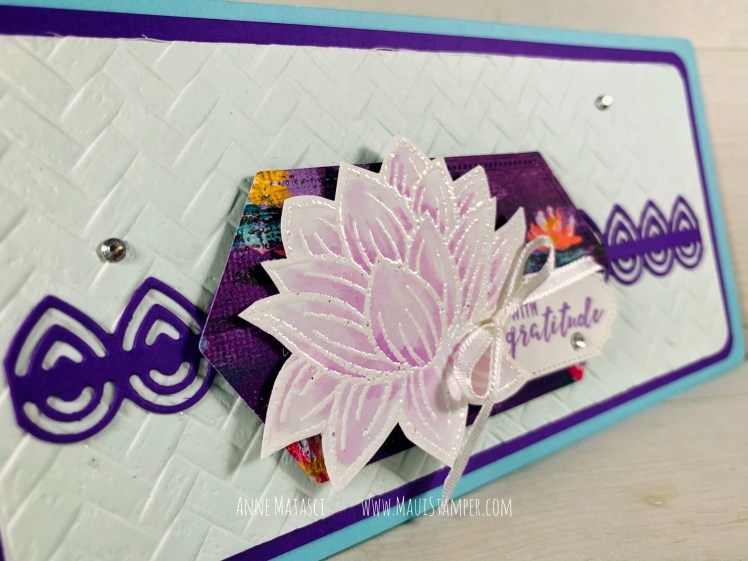
You really need Paper Snips for this task, because they are super sharp and their pointy little tips get right into the littlest spots! The other indispensable tool I used is the Blending Brush, which layers color consistently and smoothly. I KNOW they’re not available to order right now 😟 but they are due in the warehouse the week of April 5!

Maui Stamper Stampin Up Sand and Sea Suite Friends Are Like Seashells handmade card

Did you notice the Opal Rounds in the January-June Mini Catalog? I completely missed them until just a few weeks ago, but I’m doing my best to make up for that now! They’re perfect with the Shimmery White card stock (or any other project you might be working on.) And I think it is a universal truth that there is no substitute for Linen Thread.

Maui Stamper Stampin Up Sand and Sea Suite Friends Are Like Seashells handmade card

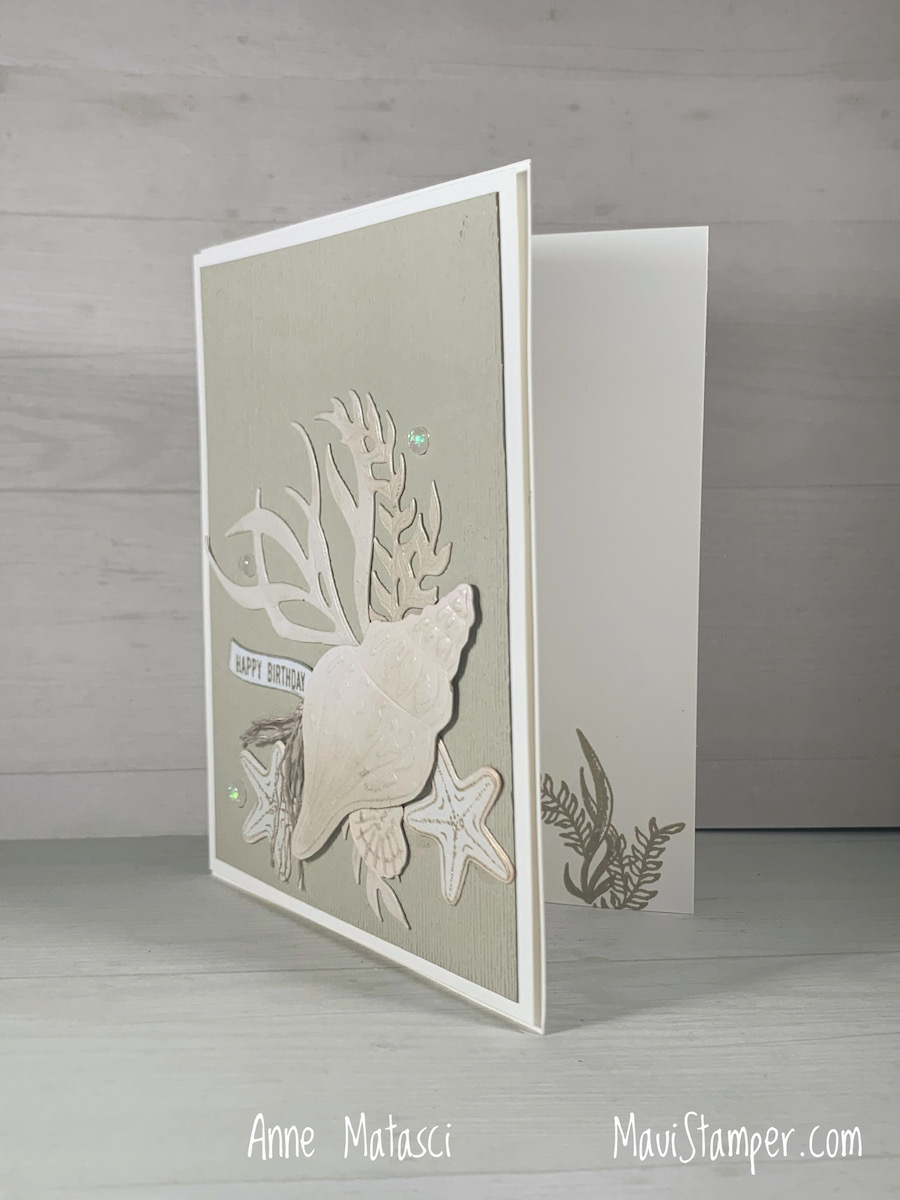
The Friends Are Like Seashells stamps include the images on the Embossing Folder, but also include a great assortment of other images that really round out the suite. I used a little bit of ocean flora on the inside of my card – because it’s there, just waiting for some ink!


156205 Friends Are Like Seashells Bundle

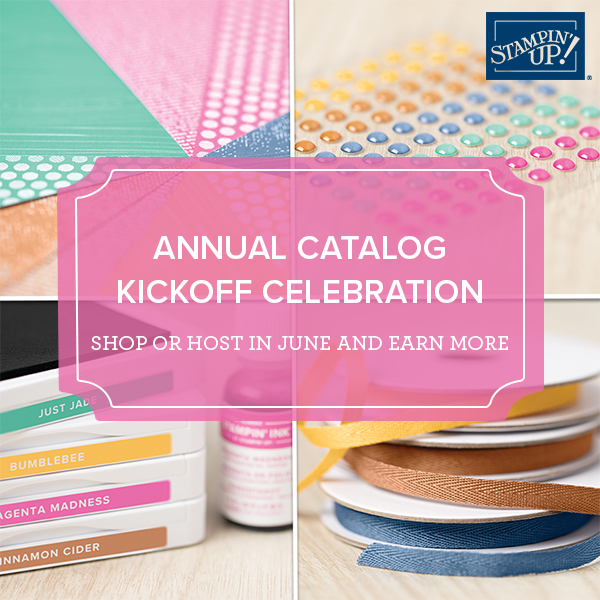
The Retiring List for the 2020-2021 Annual Catalog comes out today (March 24) at 1pm MST. Every year, there’s a lot of excitement swirling around what will stay and what will go, and I confess that I get a little nervous when I think about some of my favorites! This year the calendar is a little different, so pay close attention: The 2020-2021 Annual Catalog is available (while supplies last once the list has been published) until May 3, 2020. The new 2021-2022 Annual Catalog will debut on May 4th!

The January-June Mini Catalog remains current until June 30 (again, there’s that pesky “while supplies last” clause). If you’re making a plan, be sure to make note of those two dates!

And if you’re ready to shop, please visit the Online Store.

Maui Stamper Stampin Up Sand and Sea Suite Friends Are Like Seashells handmade card

Back to that Darling Donkey

Stampin’ Up! has set me up! What is with snails and donkeys? I didn’t anticipate falling for such off-my-radar critters, but here I am. After I finished the January DIY calendar, I was on a Donkey Bender – but I didn’t really want to cut him out. I mean, I’ll fussy cut with the best of them, but enough is enough.

Maui Stamper Stampin Up Darling Donkey Oh So Ombre DSP
  • Stamps: Darling Donkeys
  • Color Palette: Whisper White, Bermuda Bay, Gray Granite, Daffodil Delight, Petal Pink
  • Accessories: Stampin Cut and Emboss (BIG BOSS), Layering Ovals dies, Ornate Frames dies, Stampin Blends, Blending Brushes, Stampin Dimensionals, Oh So Ombré Designer Series Paper (SAB 2021.1)

I’ve based this card on a design by Mary Knabe of Stampin’ Peace. I loved her concept and color palette, and reinterpreted them for this card. One of the delights of this design is that by using an opening on the front of the card, the image can be expanded when you open it:

Maui Stamper Stampin Up Darling Donkey Oh So Ombre DSP

The Blending Brushes are VERY easy to use, and in this case I didn’t even bother to mask off the donkey before I created that Daffodil Delight aura. (You know donkeys have auras, right??) I also added an additional message in the corner that isn’t visible from the front of the card. (I am quite proud of myself, as I normally struggle to use images AND sentiments from the same set, and on this one I have used 3 of the 4 sentiments!)

But wait, there’s more!

Maui Stamper Stampin Up Darling Donkey Oh So Ombre DSP

You could call this technique a card within a card. The card base is 11″ x 8 1/2″, scored at 5 1/2″. The white card inside is 10″ x 3 3/4″, scored at 5″, so it fits well within the first card. The bottom panel is completed adhered to the card base, much as a layer would be. That leaves a front for artwork to peep through the window, and an interior page for your message – or more artwork!

As you can see, I accidentally inked up this kick-up-your-heels donkey in Bermuda Bay instead of Memento Black, and had to be extra careful to avoid pulling in the Bermuda Bay ink when I colored with my Blends.

Maui Stamper Stampin Up Darling Donkey Oh So Ombre DSP

I prepared quite a few of these for a virtual stamping event, and I wanted to be sure I had the ovals in the center every time. To simplify that task, I made templates to use with the BIG BOSS:

Maui Stamper Stampin Up Darling Donkey Oh So Ombre DSP

There’s a little math involved, so bear with me. I began by measuring the height and width of each die, then subtracting that number from the height and width of the card panel. For example, the plain oval is 2 1/4″ wide, and the card front is 4 1/4″ wide, so the difference is 2 inches. I divided that number by 2 and measured in that amount from each edge, drawing a line at 1 inch. That gives me the left-to-right guideline for placing my die.

I went through the same process with the height of each die, creating two panels that had a rectangle in the center of each one. I centered the appropriate die in each panel (note that I wrote which panel was which on the template, I am famous for mixing up things like this!) When I ran the centered die through my BIG BOSS I created a template that I could use repeatedly without having to mark each piece of paper.

Maui Stamper Stampin Up Darling Donkey Oh So Ombre DSP

Just place the template squarely on top of your card or panel, drop the die into the pre-cut opening, and crank ‘er through! When you have a bunch of cutting to do, this is a real time saver.

Have some fun with your own Darling Donkeys, or any other spotlight image for that matter! Darling Donkeys and the Oh So Ombré are only available in January and February 2021 as Sale-a-bration selections. Don’t miss out! Shop HERE.

Painted Poppies Split Card

I playing with the Split Card technique again. Sometimes I like my results, and sometimes I don’t. Therein lies the beauty of paper-craft: paper, in general, is cheap. Don’t like it? Throw it away! The Split Cards I made with Painted Poppies were keepers:

Maui Stamper Stampin Up Painted Poppies Split Card technique

Working with Stampin’ Blends allows you to get deep, intense images while still allowing you highlights and shadows. The bold colors of this card pop right off the page! I stamped the flowers with Poppy Parade ink, then used my Poppy Parade Blends to color them in. I did the same with the leaves in Mossy Meadow. Since I used the same color to stamp the image as to color it in, I didn’t have to worry if the outline ran a little.

Maui Stamper Stampin Up Painted Poppies Split Card technique

This card front was a split card project so I had another side to color. I chose to go the opposite direction and use colored pencils. They are much more nuanced, and allowed me to create a much softer look:

Maui Stamper Stampin Up Painted Poppies Split Card technique

The color palette is the same, but I used our Watercolor Pencils and a Blender pen to create this more subdued look. The sentiment is from Beautiful Friendship, and the trim is our new Braided Red Linen. I also slipped in a few splooshes (that is the technical term, btw) from the Forever Fern stamp set.

Maui Stamper Stampin Up Painted Poppies Split Card technique

You can fluff and stretch and unravel that red trim to get a BUNCH of different looks. The natural linen is still my favorite, but this is going to be a great addition to my embellishment stash.

So tell me, what do you think? Do you like the bold, intense poppies, or do you prefer the gentler version? I want to try this again using watercolor paper and our new Water Painters. The possibilities are endless! It’s amazing I ever get anything done.

Need supplies for your next project? Shop HERE.

Forever Greenery meets Lovely You

The Forever Greenery Suite practically designs itself. These gorgeous colors lend themselves to any kind of card for anyone on your card-sending list!

Maui Stamper Stampin Up Forever Greenery Suite

I am so delighted with this Forever Greenery Suite! The Old Olive/Pretty Peacock two-sided ribbon is absolutely gorgeous with this DSP, and right now I can honestly say this would be my marooned-on-a-deserted-island suite.

Maui Stamper Stampin Up Forever Greenery Suite

I did a little stampin’ magic to create this sentiment. “Hello” is part of the Forever Fern stamp set, but I markered just the word “Friend” from the phrase “Cherished Friend” in the Lovely You set to finish this look. Stampin’ Up! found a winner in that font selection!

Maui Stamper Stampin Up June 2020 Bonus Host Dollars

Don’t forget that June 2020 Hosts (or regular shoppers with BIG budgets!) earn an extra $25 in Host Rewards when their workshop/order reaches $250. I’ve got the Zoom Workshop down to a science, and there’s room in my schedule for a couple before the end of the month. I’ve just done a couple of workshops with this suite, and everyone loved it!

Rather just order it for yourself? Shop HERE.

A Congratulations Easel Card

I’ve gotten VERY creative with projects for my clubs the past couple of months, as we’re crafting together via zoom. It’s not quite the same as being together in one place, but it’s much better than not being together at all! Since I can only provide paper and my club members have to go through their stashes to find stamps, ink, and any extras they want, I’ve been working to come up with designs that are flexible. Last month we created an easel card for a graduate:

Maui Stamper Stampin Up Congratulations Easel Technique

This card is more about the concept than the execution. The card base is 4.25″ x 11″ and is scored at 5.5″ and 2.5″. I cut a Whisper White panel to 2.5″ x 4.25″ (the same size as the bottom half of the card front) so that I could be sure and get a perfect Buffalo Check grid. The Stamparatus is an indispensable resource.

The little label from the Ornate Labels dies is the “bumper” for the folded top of the card. It’s mounted on two mini-dimensionals, which are just high enough to hold the easel, but still soft enough to mail with regular first class postage. I’ve used a piece of rogue washi across the card below that bumper, and I can’t begin to tell you anything about it other than the fact that I’ve had it along time!

Maui Stamper Stampin Up Congratulations Easel Technique

On the inside of the card, I created an optional gift card pocket. If your graduate was naughty, well then, leave the pocket off – this is only for graduates who have earned a little reward! The pocket is 4 5/8″ x 2 5/8″ and is scored on 3 sides at 1/2″. Use a circle punch to create a little extra space to slide the card in and out. It looks like it’s upside down, but when you hold the card upright it’s right side up.

There are so many ways to stamp and embellish this card! But if you need a quick and simple version, this will do. And if you need supplies, please visit the Online Store.

The Gorgeous Lilypad Suite

I’ve been playing with coloring techniques using an embossed image from Lovely Lilypad. I went back to the Aqua painter and found more success this time by remembering to wet the entire image before I start. Those of you with any training likely do this automatically!

Maui Stamper Stampin Up Lovely Lilypad

The Lily Impressions DSP is bold, and creates a great background pop on this otherwise neutral card. The card base is from DEEP in the archives, something I discovered recently during a mad “what the HECK is in here anyway?” clean up. It’s 6 1/2″ wide by 3 1/4″ tall, and was sold with matching envelopes. Speaking of…

Maui Stamper Stampin Up Lovely Lilypad

I get busy and forget to do this, but I love the sense of anticipation that comes with a stamped envelope! I’m also completely smitten with the new Coastal Weave embossing folder – the additional textures are gorgeous! I spritzed it with a few drops of Coastal Cabana ink mixed with rubbing alcohol in a Stampin’ Spritzer.

Maui Stamper Stampin Up Lovely Lilypad

I liked the first one so well, I made a second in an alternate color palette. The lily is colored with Purple Posy (the ink has been retired for quality issues, but there are Stampin’ Blends available) and the accent color is Highland Heather. I used the Stitched Nested Labels for the ground shape.

Maui Stamper Stampin Up Lovely Lilypad

Which do you prefer – I can’t choose! But I’ll tell you this – these cards are headed out in the mail quite soon, so if you placed an order in the last month, watch your mailbox. Two of you will get a Lovely Lilypad!

If you’d like to create your own, shop HERE.

Mini Curvy Spooktacular Keepsakes

The Curvy Keepsake die in its first form (slightly larger than this one) was one of my favorites, but I confess that it was expensive to fill a big batch of them with treats (I like expensive chocolate, lol.) This Mini Curvy Keepsake die is perfectly sized for exactly ONE Ferrero Rocher. Did I say it was perfect?

Maui Stamper Stampin Up Spooktacular Mini Curvy Keepsakes

We have Googly Eyes!! And not just white ones, but green ones and orange ones and purple ones!!! Be still my heart.

Maui Stamper Stampin Up Spooktacular Mini Curvy Keepsakes

This guy is really fun, too. But trust me, really, when I say you NEED the Stamparatus for him. Solid images, especially solid black images, almost require being stamped more than once. Now I don’t know about you, but my eyes aren’t sharp enough and my hands aren’t steady enough to pull this off. But I can do it with the Stamparatus!

Maui Stamper Stampin Up Spooktacular Mini Curvy Keepsakes

I think it’s hilarious that the mummy is giving the side-eye to the left and Vampy is doing it to the right. What a pair.

If you’re ready to invite these two spooky guys into your home (say it like the old wild and crazy guys skit from SNL), shop HERE.

October 2019: Spooktacular Bash DIY Easel Calendar

Happy October First! It’s the month of ghosties, ghoulies and mummies as well as yummy treats – I’m not sure I’m as excited about these treats as the mummy is, but to each their own, right?

Maui Stamper Stampin Up October 2019 DIY Easel Calendar Spooktacular Bash

I’m kinda in love with the Mummy. I think it’s the eyes. I mean, really, look at them all side-eye! Perfect for the jars o’ bits, and perfect for coloring with Stampin’ Blends.

Maui Stamper Stampin Up October 2019 DIY Easel Calendar Spooktacular Bash

Enjoy your October! It’s a fun month as autumn starts to feel real (OK, who am I kidding – I live on Maui – all we’re asking is that the insane heat we have had all summer Goes Away!!) Halloween is a fun time here in the islands, because trick-or-treating doesn’t require boots or parkas.

Please stop by to see what Crystal and Cheryl have created for October. If you are interested in creating your own DIY Easel calendar, I have the 2020 pdf for sale. It’s only $5 – let me know if you’re interested.