A dressy little thank-you

We just finished another round of Hostess Club last month, and I wanted to say thanks:

Maui Stamper Stampin' Up! Dresses FramelitsThese are super-simple – two dresses adhered to either side of a basic little box just the right size for a Chapstick.  Add a Rhinestone Jewel and a Floral Trim rosette (sob!  they’re retired…) and that’s it!

Maui Stamper Stampin' Up! Dresses Framelits
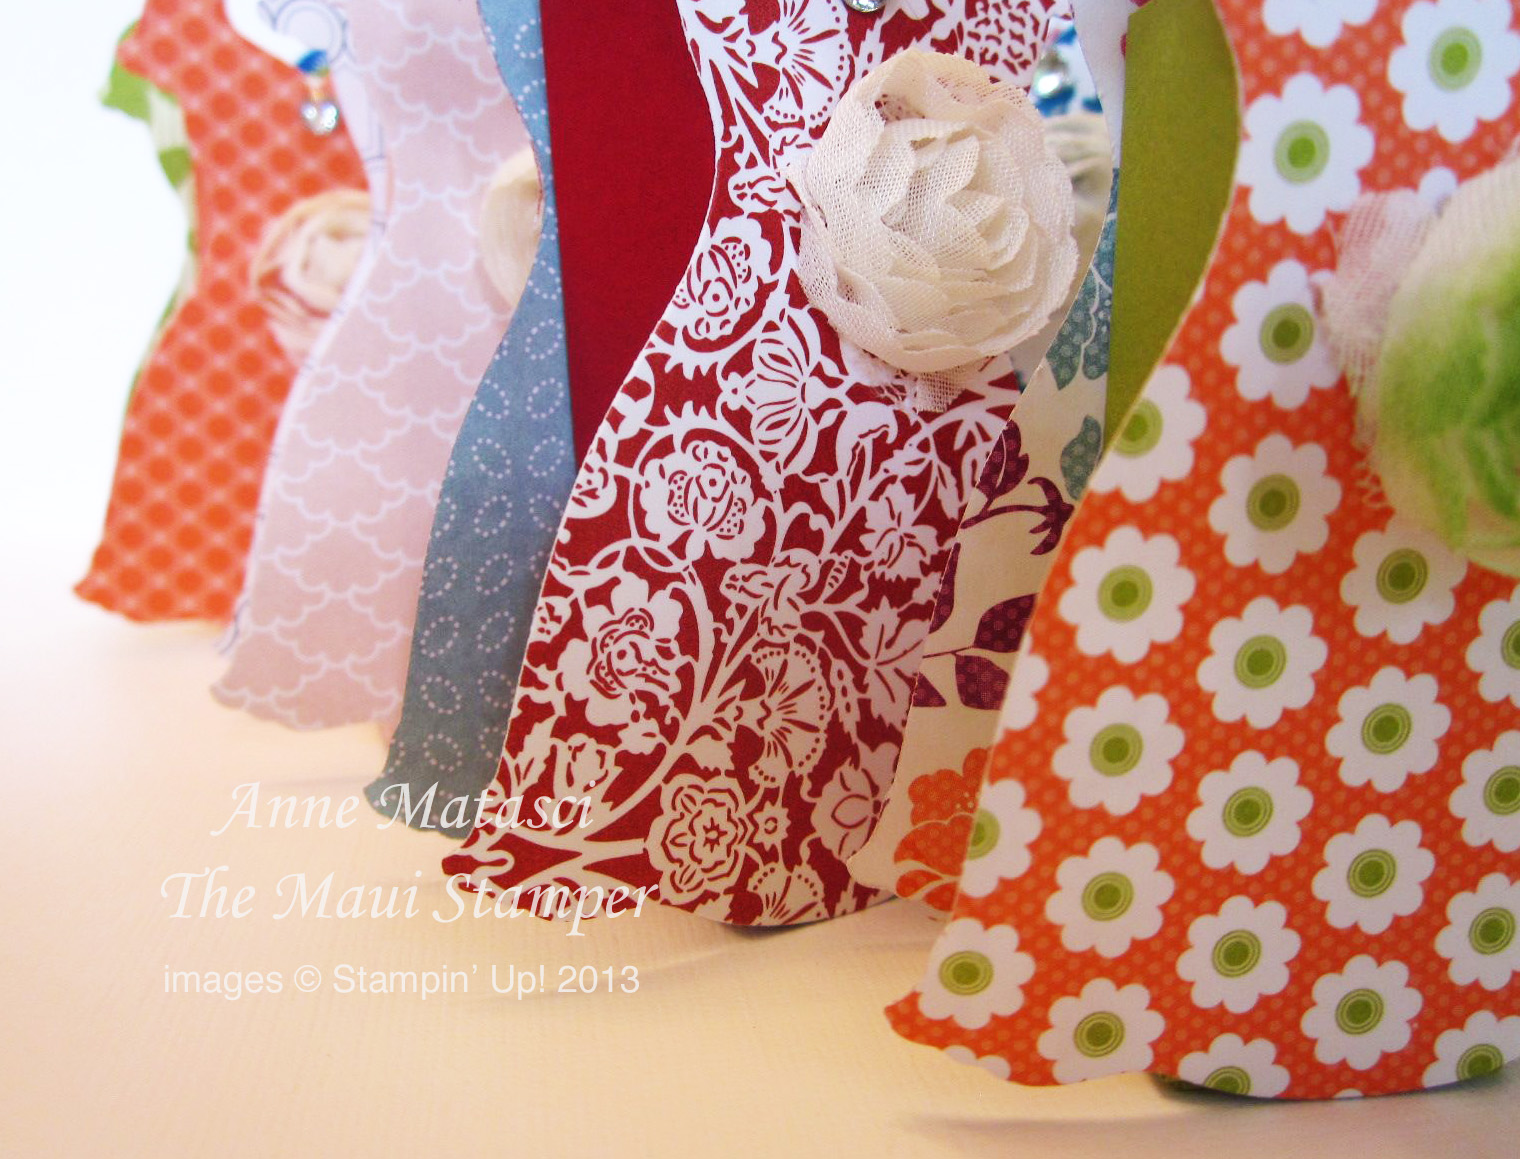
I really enjoyed choosing the DSP for these – just like fabric shopping!

Maui Stamper Stampin' Up! Dresses Framelits
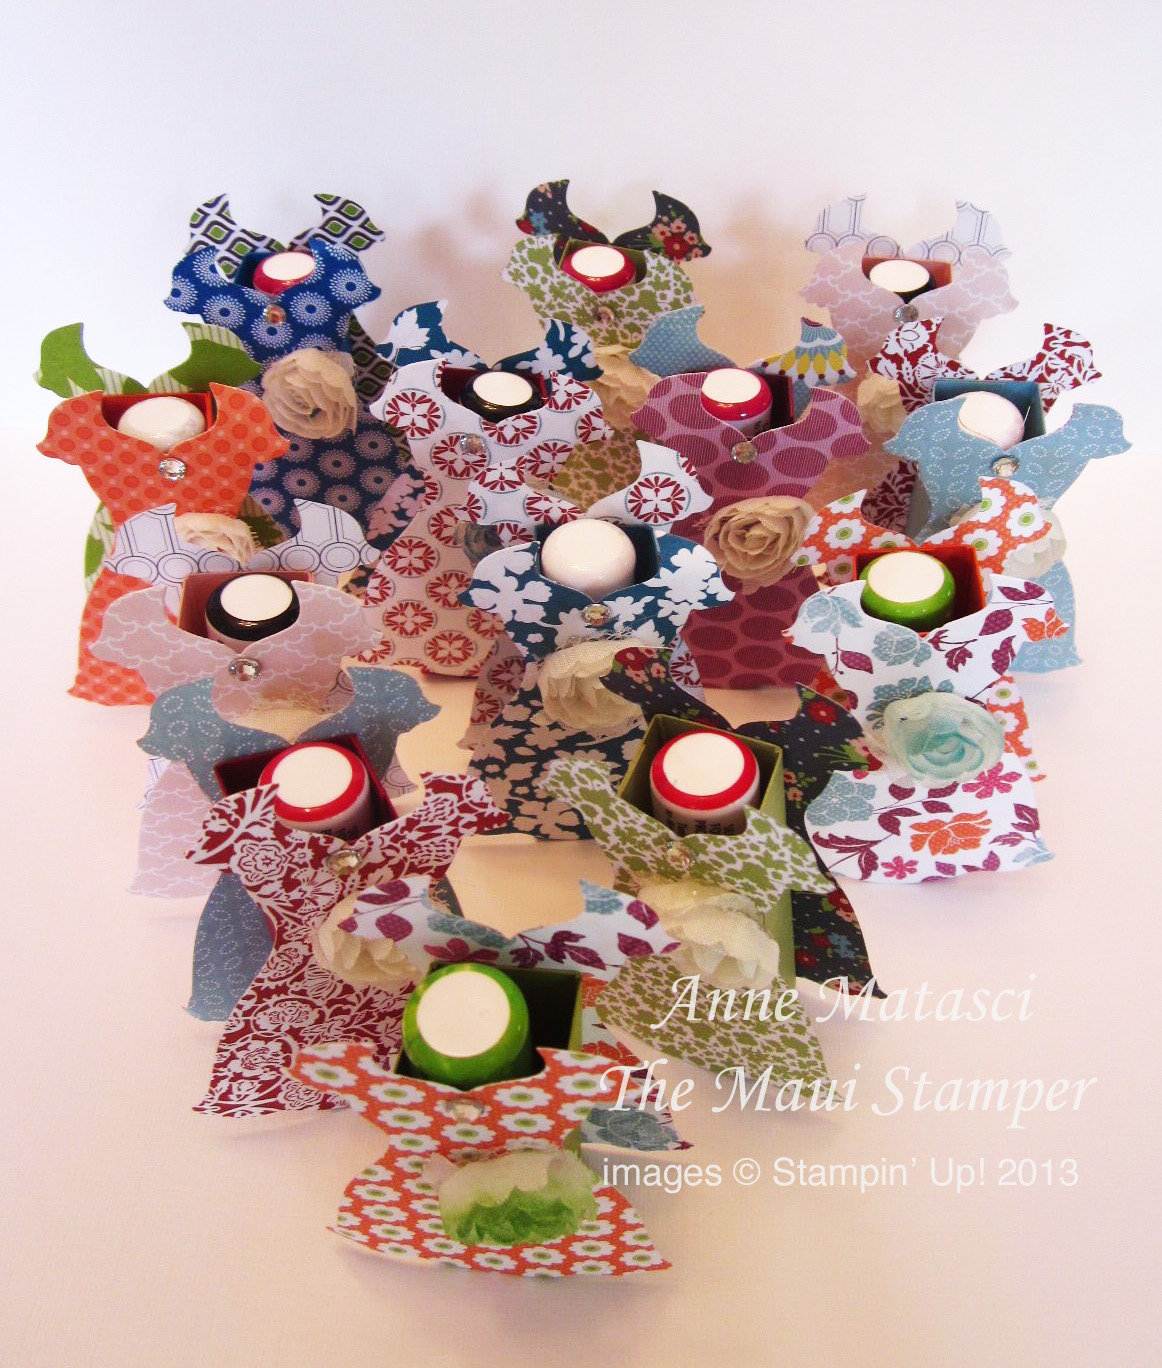
The box is just a little shorter than the dress from hem to neckline – I think I made it 2 1/2″ tall – and it’s 3/4″ on each side.  They took no time at all with my Simply Scored.

Maui Stamper Stampin' Up! Dresses Framelits
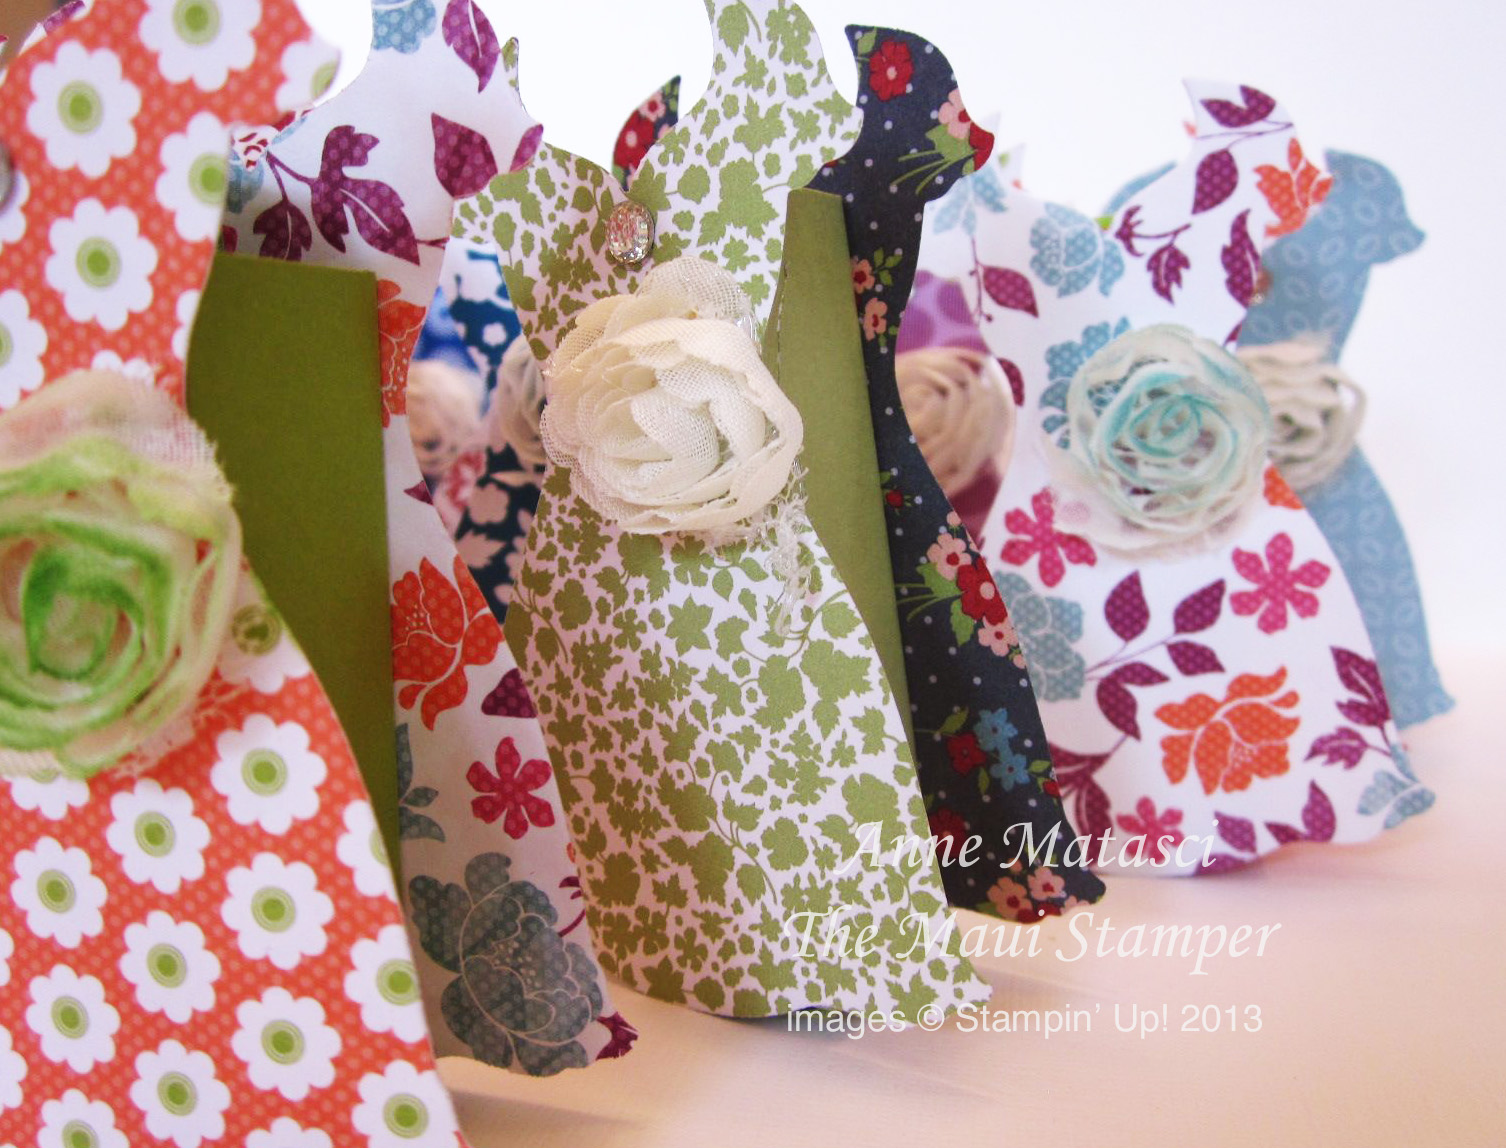
Each one is a little different from the next – just like my Hostesses 🙂

Maui Stamper Stampin' Up! Dresses Framelits
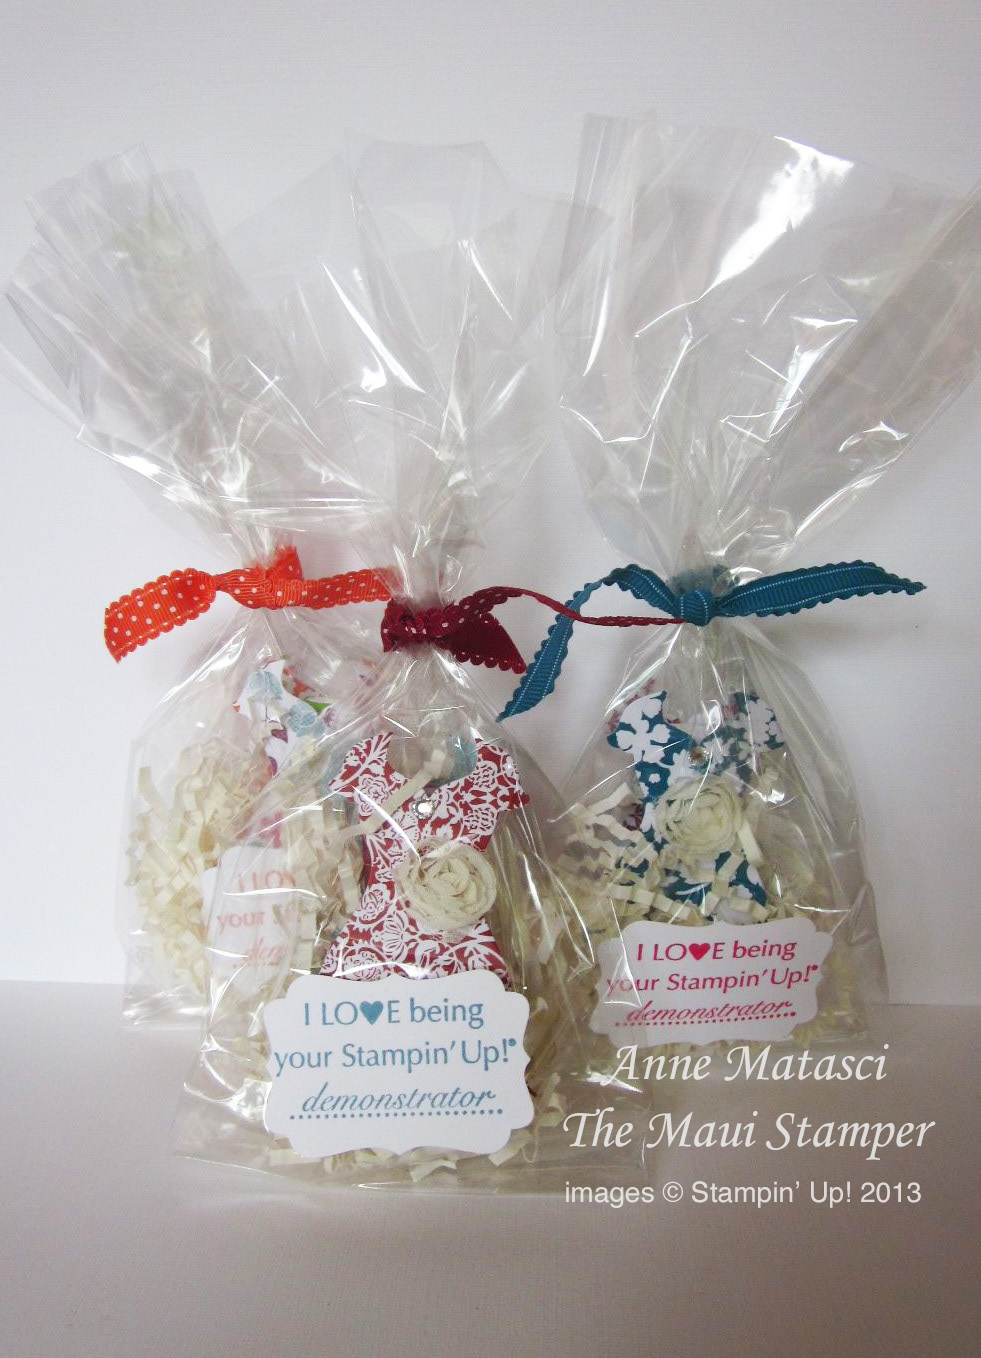
I put them in clear bags with a few shreddies in the bottom and tied them with a snippet of ribbon.  Don’t ask me about that stamp set – it was a VERY special giveaway at convention a couple of years ago.  Can’t wait to see what Stampin’ Up! has in store for us this year!

Shoppin’ in your jammies

The sales, crowds and parking lots driving you mad?  When you make your list and check it twice, I hope you’ll remember the small businesses in your area.  Yes, some of us have an online presence, but we are small business owners just the same!  Attention to detail and personal service are what set us apart.  Experience the difference a relationship can make!

If you’re looking for something fun and simple for a holiday gift, I have an idea for you.  I sold a bunch of these last weekend at our craft fair. Some of the Designer Series papers that are pictured are retired, but the concept is the same:

Pull off the belly band and you can see this isn’t much more than some card stock, some Designer Series paper and some stamps:

You probably have most of these items in your stash right now…or you can pop on over to the Online Store and in a couple of minutes you’ll have them winging their way to your craft room.

Maui Stamper Photo Memories flip album open all the wayHere’s the final expansion!  Perfect for a few photos and thoughts for someone special who isn’t able to join you for Christmas, and easily adaptable to other events with a quick switch of color scheme and images.  Think new baby, wedding, graduation, retirement – and it would be easy enough to tuck a gift card or two into these pages for a special birthday gift!  These go together very easily – you could have a handful done this evening.

It’s Raining Flowers

What a perfect name for a stamp set!


It's Raining Mambo Flowers

  • Raining Flowers and Fabulous Phrases stamp sets
  • Whisper White, Melon Mambo and Early Espresso card stock
  • Pocketful of Posies Designer Series Paper
  • Baha Breeze, Melon Mambo and Early Espresso Classic ink pads
  • Medium Jewelry Tag punch
  • Big Shot; Two Tags Bigz and Fun Flowers Bigz L dies
  • Early Espresso 1/8 inch taffeta and Rose Red Seam Binding ribbons
  • Stampin’ Dimensionals, Stampin’ Sponges
  • Crystal Effects

Don’t forget – Designer Series Papers are on sale this month – buy 3 packages and get one free!

Speaking of free, Raining Flowers was one of the many free stamp sets I brought home from convention (talk about excess baggage – next year I’m bringing an extra suitcase!).  It’s a Two-Step Stampin’ set, but even better, the various pieces coordinate and layer really well together.  It’s almost like Stampin’ Up! MEANT TO DO THAT!!  (I know.  What a concept.)

Speaking of things I’ve been meaning to do, I finally got my two bites (ok, three) of pancakes.  My son has been on the mainland for a month and he flew home yesterday.  To celebrate his return home, the two of us had breakfast at Longhi’s this morning.  A couple of weeks ago, Mr. Maui Stamper and I had breakfast there, and he rejected my suggestion that he order Longhi’s famous and perhaps even more fabulous Ricotta and Mango Stuffed Pancakes.  Mr. Maui Stamper cares about his health, and I care about my waistline, and neither one of us could justify an entire plate full of such decadence.  But I wanted some of those pancakes, so I convinced my son that we should go out to breakfast this morning since his dad is now away.  Of course, I would be happy to order for him.

I have been anticipating those pancakes for two weeks, and when our server told us we had JUST (by 3 minutes) missed breakfast I was in shock.  I told him how much I’d been looking forward to those TWO BITES of pancakes, and he returned in a couple of minutes to say the chef wouldn’t mind making us an order of Ricotta and Mango Stuffed Pancakes.  WOW!  Did that ever make my day!

Would you like to see the pancakes?

Longhis Ricotta and Mango Stuffed pancakes

Look carefully…there are two forks.

I had exactly 3 bites and my son polished off the rest no problem.  They were DIVINE.

A sweet and whimsical basket

The Weekly Inkling from SplitCoastStampers had a tutorial for a charming little basket last week.  I had an idea I wanted to try but it’s taken me a while to put it together:

SCS Easter Basket

  • Very Vanilla, Blush Blossom, So Saffron, Barely Banana and Apricot Appeal cardstock
  • Various Designer Series Papers
  • Scallop, 1  3/8″, 1  1/4″, 1″, and 3/4″ circle punches
  • Piercing tool, mat and gold brads
  • Sticky Strip and Vanilla Taffeta ribbon

It takes a while to punch all those circles and smush them all up.  If I do it again, I’ll  spritz them with water to make them more pliable.  The brads go right through the center of those stacked up circles and into the side of the basket.

I love the soft, romantic look of these pastel colors.  These baskets would make great bridal shower decorations if you had help putting them together.  Or if you only needed one.  I’m not so sure I would sign up to do a bunch of them myself.

Blast from the Past Page Two

This was the first paper I found in my foray through the scrap bin.  I loved this paper the first time I laid eyes on it, and it took me a while to cut into it – I kept thinking there was something I needed to save it for!  Upsy Daisy is so appealing.

Always Upsy Daisy

  • Always Stamp set
  • Baja Breeze, Brushed Silver and Gloss White card stock; Retired Designer Series Paper
  • Baja Breeze Classic ink pad
  • 1 3/4″ circle punch; Embossing Buddy, Clear Detail Embossing Powder and heat tool
  • White taffeta ribbon and Stampin’ Dimensionals
  • Paper Snips

I think I’ve rhapsodized about the Stampin’ Up! Paper Snips before, but if you weren’t listening, well, here I go again!  They are so sharp and precise and they making cutting details so easy.  Did you notice I even cut out the space between the bird’s two skinny bird legs?  I made an X with a craft knife then used the snips to finish the job.

Speaking of craft knives, I have the one that belonged to my grandfather.  I remember finding it in his desk drawer when my sister and I went through the house before it was sold, and at the time I just wanted it because it was his.  Now I keep it on my craft table and and I get so much pleasure from using it.  Such a small thing, but it reminds me of him.

I’m a Big Fan

I love Becky Roberts’ blog, Inking Idaho.  She has great projects, great photos, and a very “in-person” writing style that makes you think she’s sitting right next to you.  I find loads of inspiration on her blog and am a faithful follower.

That said, I have a shameless CASE of an Inking Idaho project, her Cute Clothes Pins.

Valentine Clothes Pins

These little gems are for the members of my hostess club tonight.  They were so quick and easy to do!  Here’s a closer look:

One Cute Clothes Pin

You just need a tiny strip of paper, a button, some linen thread and a few tissue paper flowers.  I used Tombo to put everything together – attach the paper to the pin, add the tissue flowers, and stick the button on top.  I could have used Mini Glue dots which would have probably been quicker and not so sticky on my fingers, but shoots,  the Tombo was out and my fingers were deep into it!

Here’s a hint for punching tissue paper.  It’s so thin and formless that it will shred in a punch by itself, but if you fold up a few layers and stick a scrap of cardstock in the back, it punches beautifully!  I only used 3 tissue flowers, and only stamped 2 of the 3 to keep it from looking too dizzy.  You could use an abundance of tissue flowers for that full ruffly look, or you could use other papers.  Cardstock would need some serious abuse to get soft enough to scrunch, but Designer Series Paper should be easy  to work with – just check Becky’s February 10 post!

I’ll try more later, but it’s time to get set up for tonight.