
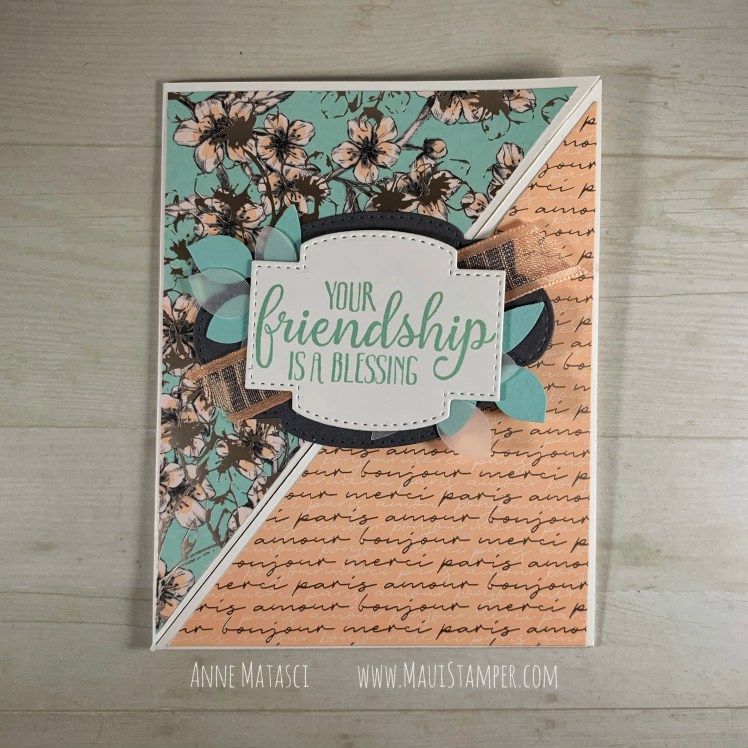
I made a big stack of cards to swap at an event…that has been deferred. This was to have taken place a couple of weeks ago, and I was so discouraged that I set the entire project aside for a while, but they’re done now – and I’m quite happy with them, if I do say so myself:
- Stamps: So Sentimental
- Color Palette: Whisper White, Petal Pink, Pool Party, Basic Gray
- Accessories: Stitched So Sweetly dies, Parisian Blossoms Specialty DSP, Vellum card stock, Petal Pink Organdy Striped ribbon, Leaf Punch, Stamparatus, Stampin’ Dimensionals, Paper Trimmer, Die cutting machine.
This is an exceptionally easy fun fold to do, especially with our paper trimmer. Score a sheet of 8 1/2″ x 11″ card stock both horizontally and vertically. Place it diagonally along the cutting edge of your trimmer, making certain that you’ve centered the top and bottom corners. (The “X” in the center of the scored lines should be along the cutting line of the trimmer as well.) Cut your card stock diagonally – the trimmer cutting edge isn’t quite long enough to make it to the ends, but if you slide the cut piece of card stock out of the trimmer, you can finish it up with your snips – it’s less than 1″ on either side.
Cut your DSP into 4″ x 5 1/4″ rectangles, and cut them diagonally as well. One design goes on one triangular panel, the other design goes on the other. A focal point/shaped image attached to one panel finishes the card and helps to keep it closed at the same time.
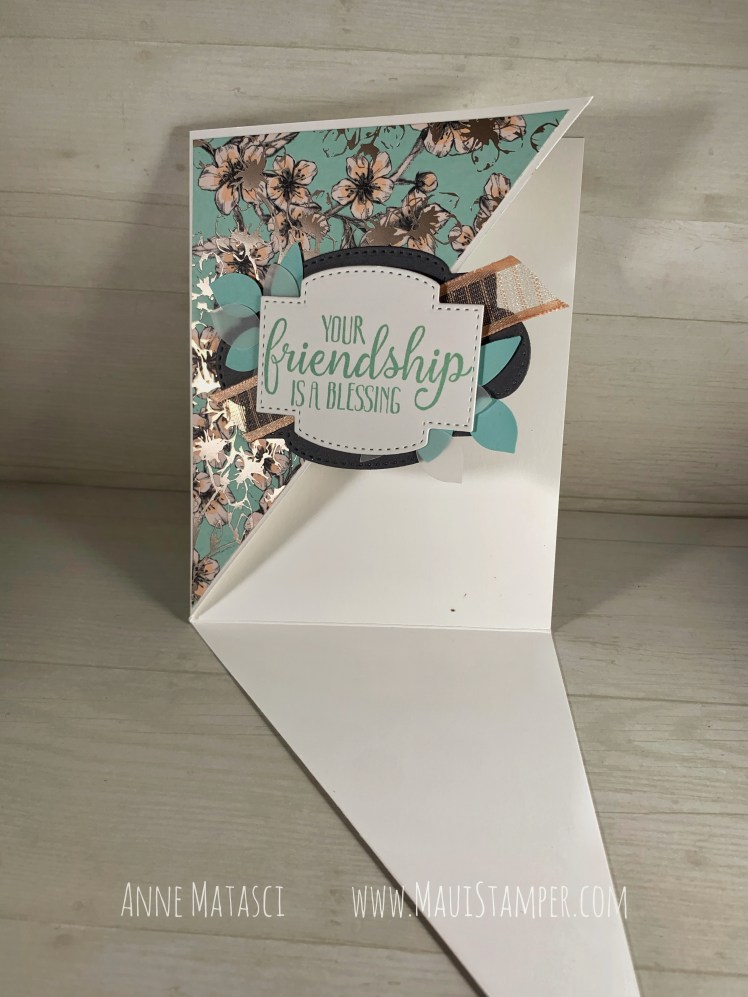
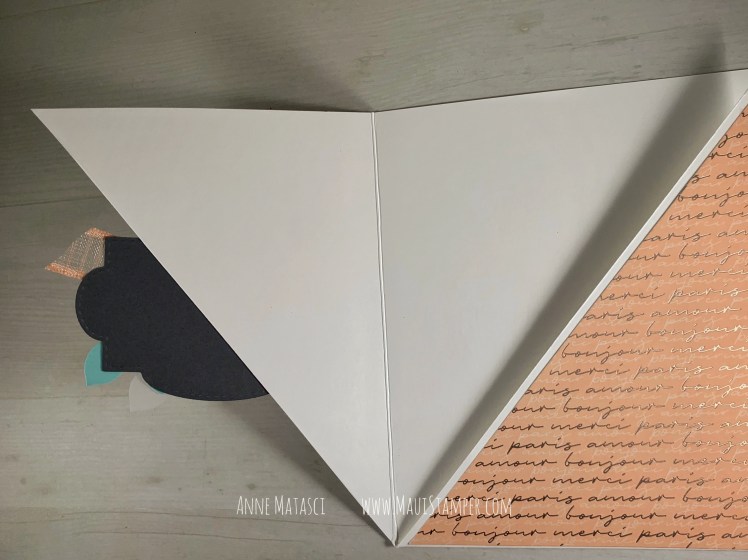
Here’s what it looks like with one panel open. And here it is with the other panel open:
I used the Stamparatus to mass-produce those white die cut sentiment panels. It’s MUCH easier to cut them without the sentiment – you don’t have to position the die so precisely, and if it wiggles a little before it goes through the die cutting machine it’s NBD (No Big Deal). If you use the lighter weight Whisper White card stock, you can even cut two at a time!
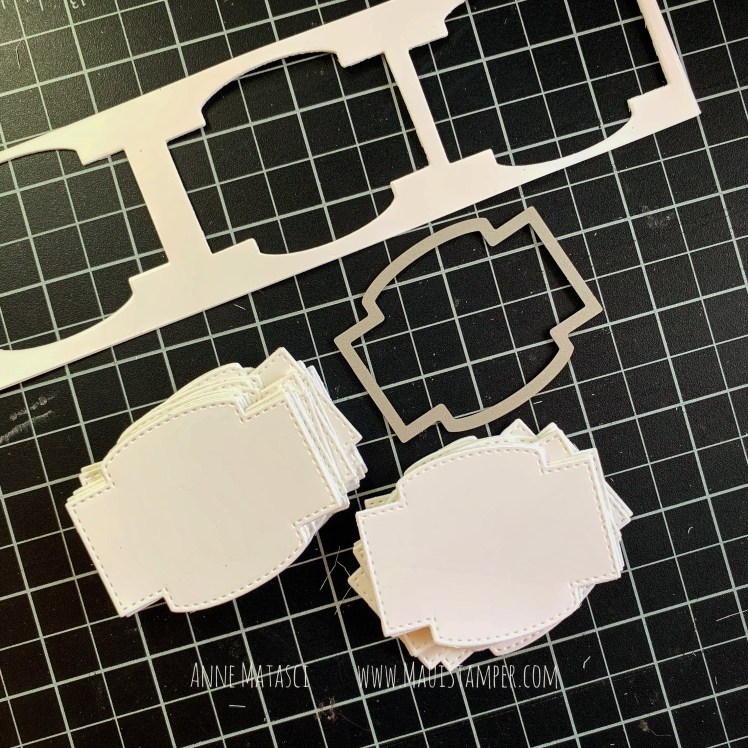
Now you have a stack of die cut panels ready to be stamped.
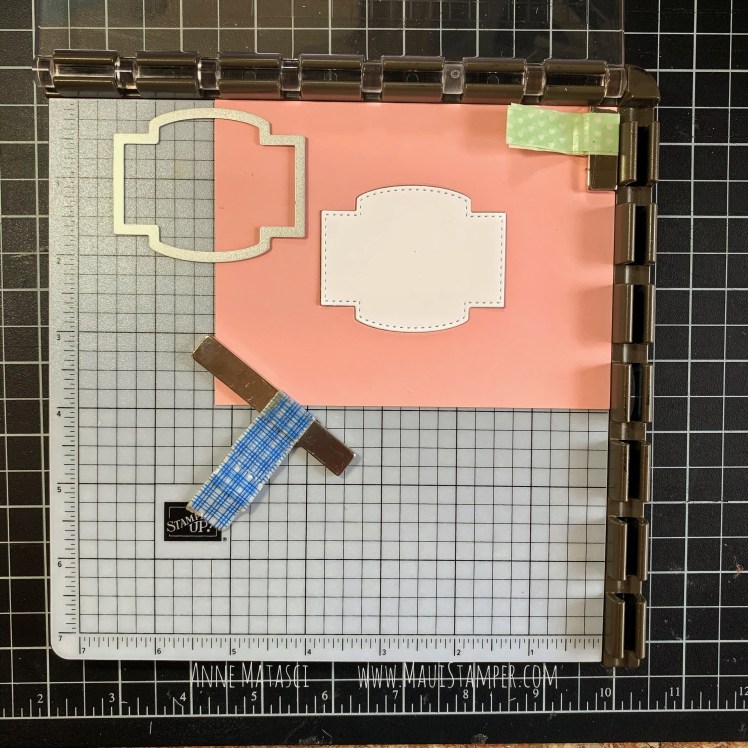
Create a template by cutting your die cut out of the center of a good sized piece of card stock. Place your mass-produced die cut blank in the center of that template.

Align the clean sentiment stamp you have chosen on top of the positioned die cut and close your plate, picking up the stamp.
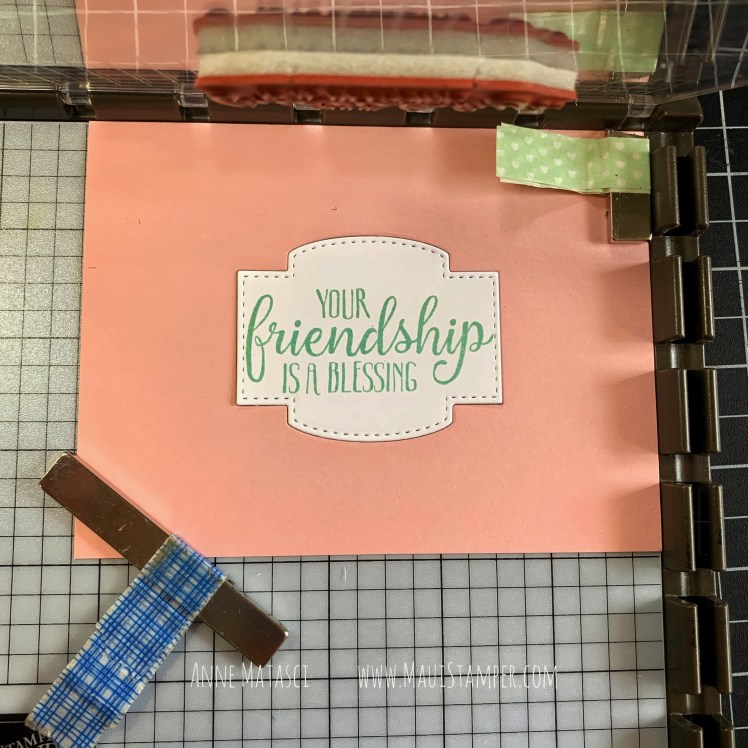
Add ink to your stamp, press the plate, and lift. Perfect placement every time – and you can do a stack of these in a hurry!

Since this design was being mass produced for a swap, I used two different DSP combinations to finish them. I didn’t realize it at the time, but I oriented the card stock on the opposite diagonal between the batches, so they open differently. Here’s the second version:

You can see the difference in the way the card opens:
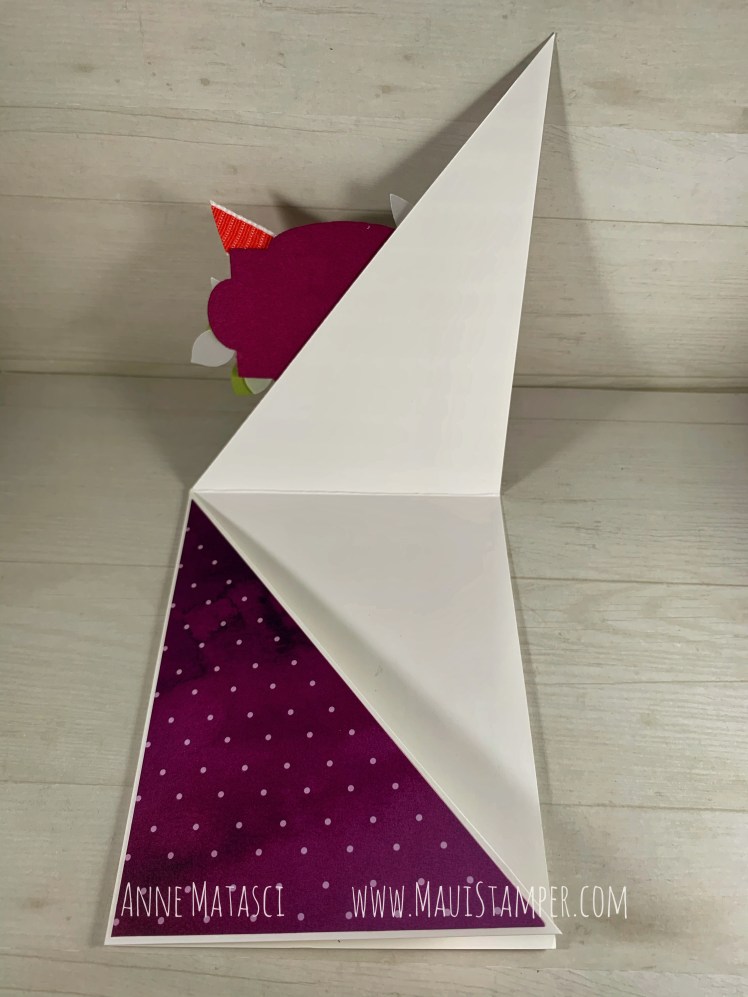
This opens up instead of down compared with the card above, but the side still opens to the left – the shape is just inverted.
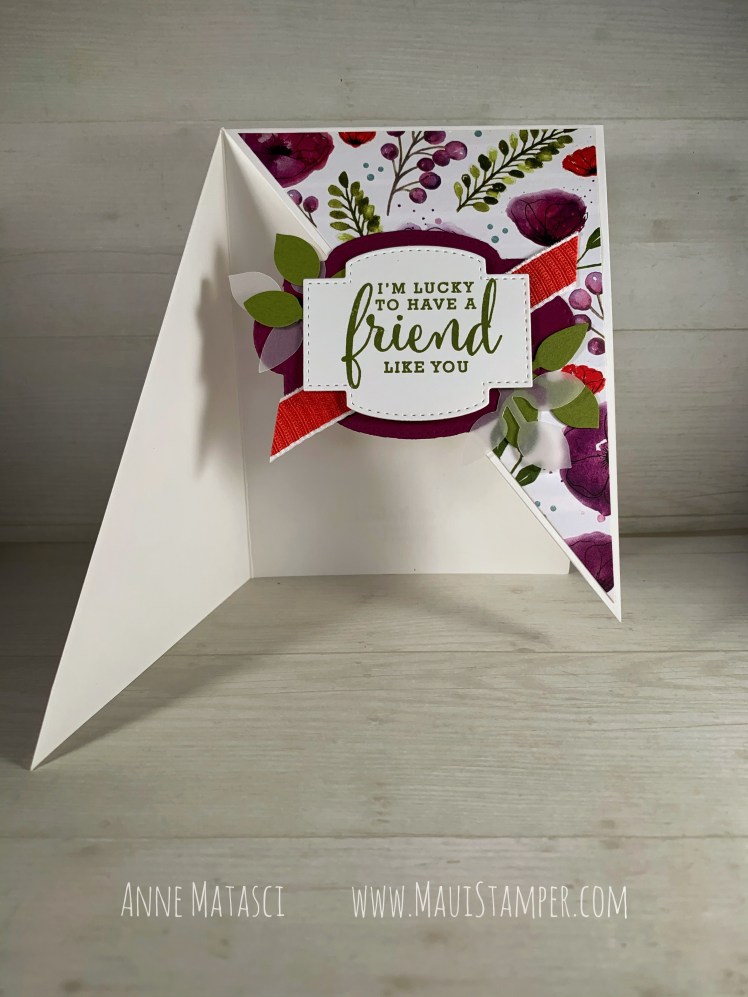
This card uses the gorgeous Peaceful Poppies DSP, and the sentiment is from Love What You Do. The two cards are the same layout, with the same embellishments. The difference is the DSP and color palette, and the sentiment on the focal point.
There are just a few more days until Sale-a-bration 2020 is in the rear view. We have one final release of SAB Rewards that include current catalog product, so be sure and take a look at the choices available as a free reward for your $50 purchase. You can start shopping HERE!

Beautiful card!! I’ll give it a try! Blue leaves are the best!! Thank you for all your tips!
LikeLike
Thanks, Cheryl! You’ll be seeing these!
LikeLike