My oh my….the Tasteful Trim Bigz die…

Order ONLINE!
It’s not quite a clean and simple card, but it’s close: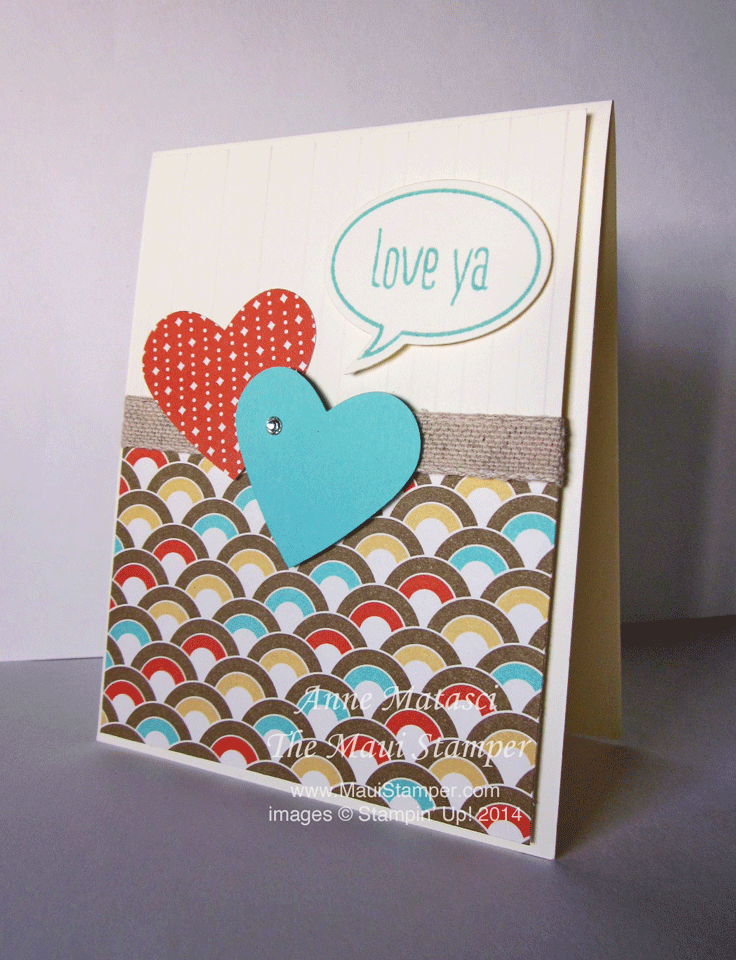
The Designer Series papers in the Occasions catalog are so richly colored and so versatile! There were plenty of combinations that I liked, but this one with its rainbow-shaped domes was the Gold Medal winner. (Admit it, you’re staying up late to watch the Olympics too,) Punch a couple of hearts, stamp a message and cut it out with a framlit and you’ve got a valentine, anniversary, birthday, or just because card ready to go.
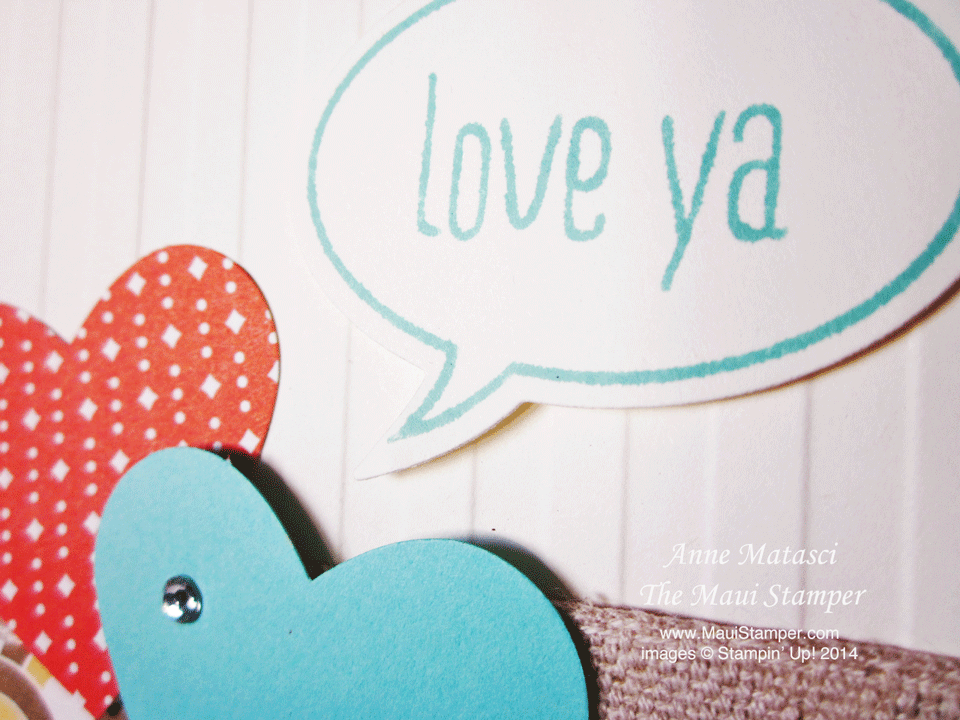 Dimensionals rule the adhesive world! Both the heart and the word bubble get a lift, and that’s a big part of what makes this simple layout work. The Stripes TIEF makes a difference too – those two elements give my projects that “Bam!”
There’s a little bit of Baked Brown Sugar (BBS) ink rubbed onto the Naturals trim to darken it and give it the same color tone as the rest of the card. That trim takes ink really well. (So do my fingers but that’s not what we’re interested in here.)
 Don’t forget it’s Sale-a-bration! For every $50 in merchandise you spend you earn FREE exclusive Stampin’ Up! product. Visit the Online Store to choose your favorites. And thanks!
Really. I love creating tissue box covers.
 This one is pretty simple because it’s for the Manliest Bathroom in the house. (It’s generally the SANDIEST too, but that’s a story for another day.) I found this gorgeous Basic Grey grid Designer Series paper in the new Kaleidoscope assortment from the Occasions catalog. When you see the rest of the patterns, you’ll think there must be a mistake – but really, it’s there!
 It’s the last one on the right – the one rolled over the top. Huh.
Anyway, the other night I was in one of those twitchy finger, I don’t know what I want to do, what-should-I-make kind of moods. D’you ever feel that way? I walked down the hallway and looked into the Manly Bathroom and thought TISSUE BOX. (I know. You probably would have done the same thing.) It didn’t take long from that point.
 Once I decided to use that fabulous grey grid the colors fell into place. The embellishment was kind of tricky. Remember, this is a MANLY bathroom. Flowers are out. (In fact, the ribbons may be viewed suspiciously.)
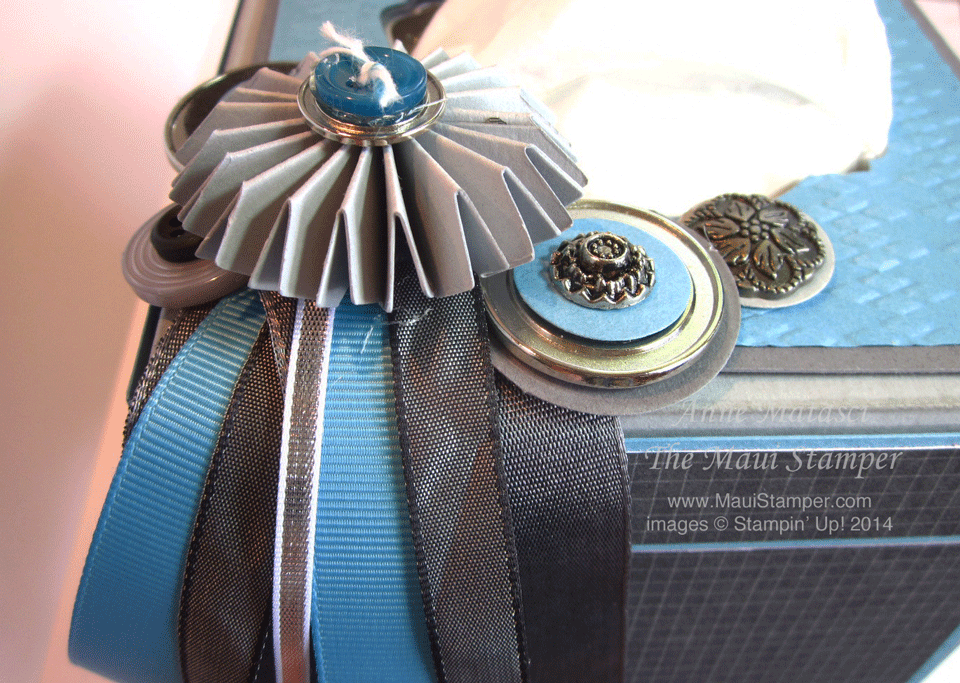 I used the Rosette Bigz XL die and made a very short, manly rosette. (Is that an oxymoron?) I stacked buttons and brads and paper circles, using dimensionals – and a fair amount of hot glue – to create some height. I dug out my stash of ribbons to find the right colors. That gorgeous Basic Black/Basic Grey wide satin ribbon is still on the Clearance Rack, my friends!
 I can’t tell you exactly why I enjoy these so much. They’re pretty simple to construct. It’s fun to play with color combinations. It’s a challenge to assemble the right assortment of embellishments. When you’re finished, you have a pretty box for your tissues. I think there’s more to it than that, but I haven’t figured out exactly what it is. I guess it’s just a mystery.
If you’d like to make one of your own, there’s an easy-to-follow tutorial over at SplitCoastStampers. Have a good time!
Big news today – a brand new Personalized Stamp option!
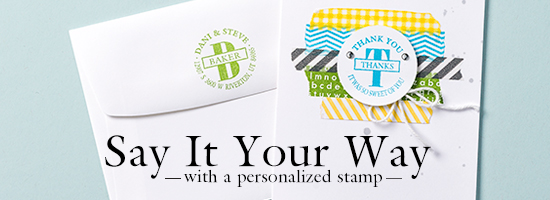 Want to see how it works? Log into the Online Store and enter item #132852. Add it to your shopping cart and a design page will pop up. Get started creating!
What do you think of this?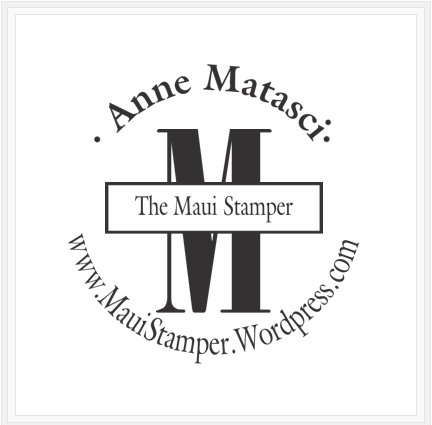 The possibilities are endless! Address, custom sentiments, you name it! This stamp coordinates with our 1 3/8″ circle punch and is perfect for coloring with Stampin’ Write markers for the absolute custom touch. I’ll be placing an order later this week – let me know if you’d like to add your own personalized stamp to save on shipping.
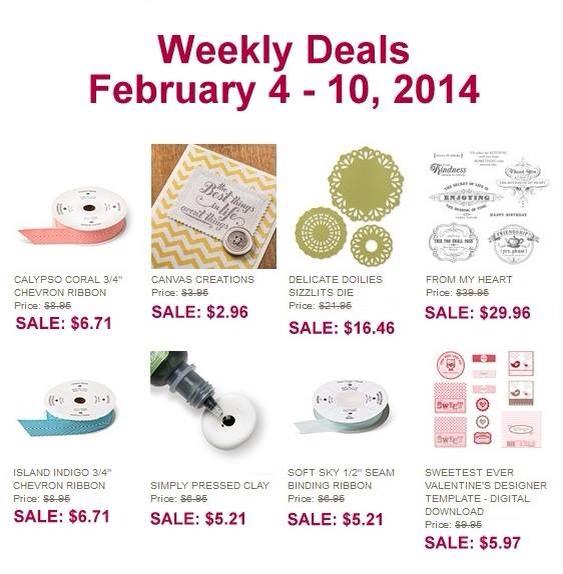
And let’s not forget week’s deals…
Order ONLINE!
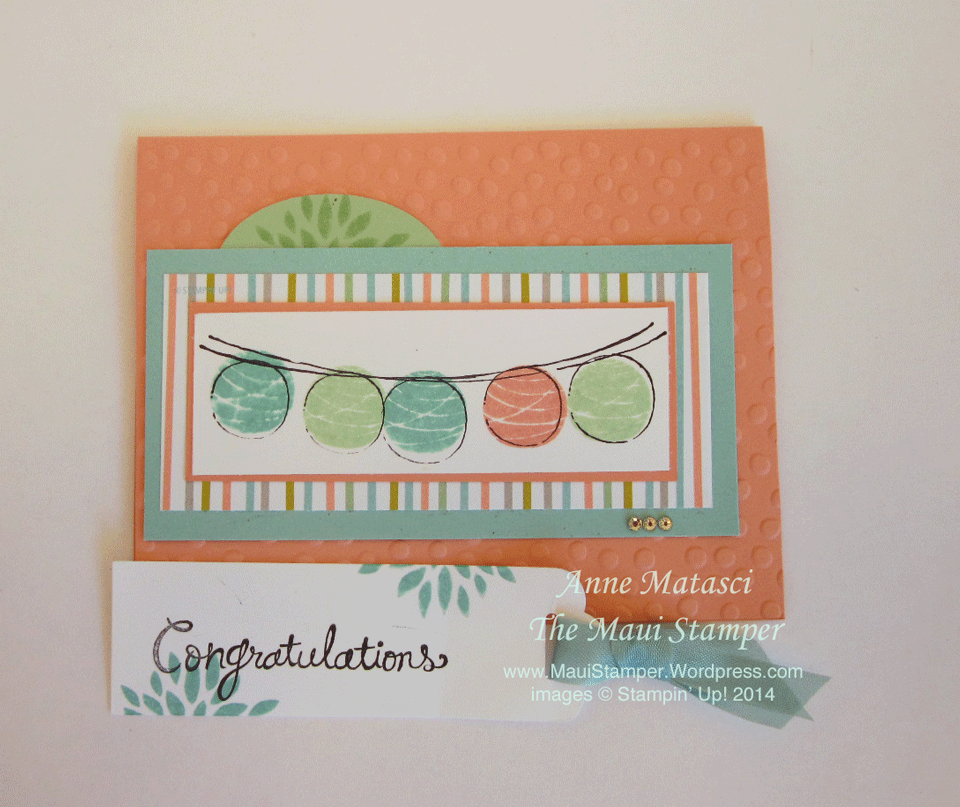
The name of this stamp set cracks me up – it makes me think of one of those “close but not quite” translations. You know the ones. In any event, I used a sketch from the Paper Players to get started:

It’s a fun sketch because it includes a pull-out tag:
 The little paper lanterns are very easy to (Two Step) stamp – I just gave ’em the Maui Stamper eyeball – and that panel is lifted on Dimensionals. I think EVERY card should use Dimensionals.
Here’s the sketch. You can see I took a little creative license with it, but that’s all in the game:
 Speaking of games, congrats to all you Seahawk 12th Men out there – but what a horrible game. The Super Bowl is supposed to be competitive. I feel for all of you Denver fans. Go read Alexander and Terrible, Horrible, No Good, Very Bad Day by Judith Viorst. You’ll feel better. Bad days happen. (I’m a 49er fan – we already had our Terrible Horrible No Good Very Bad Day.)
All righty then! A quick little detour and we are adding things to the book list! (Not that I’m above adding to my book list – please feel free to share.) But let’s have one more look at Happy Congratulations (which would be a fine name for a Chinese Restaurant, if you ask me):
 Enjoy!
Do you speak the Language of Love?
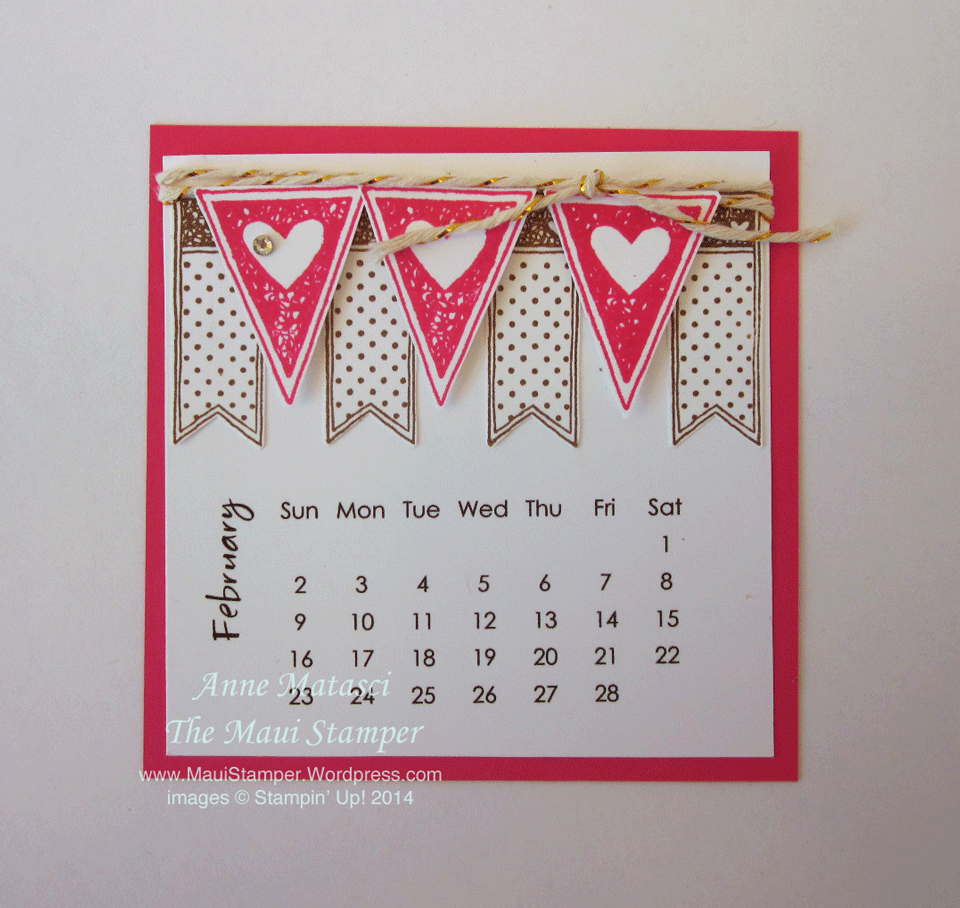 My own DIY calendar this month combines banners and pennants from the Language of Love stamp set featured in the Occasions catalog. I’m not a huge fan of hearts, but there’s something different about this set – I {heart} it! (I can hear you groaning…)

Clear #133077 $12.95 Wood #133074 $16.95
There’s a punch for the pennant and a framelit for the banner too – but the truth is I hand cut them both. I know some of you refuse to acknowledge that is an option, but I enjoy it. I wouldn’t want to do loads of them, and I draw the line at curves, but these are pretty straight forward and I can handle them.
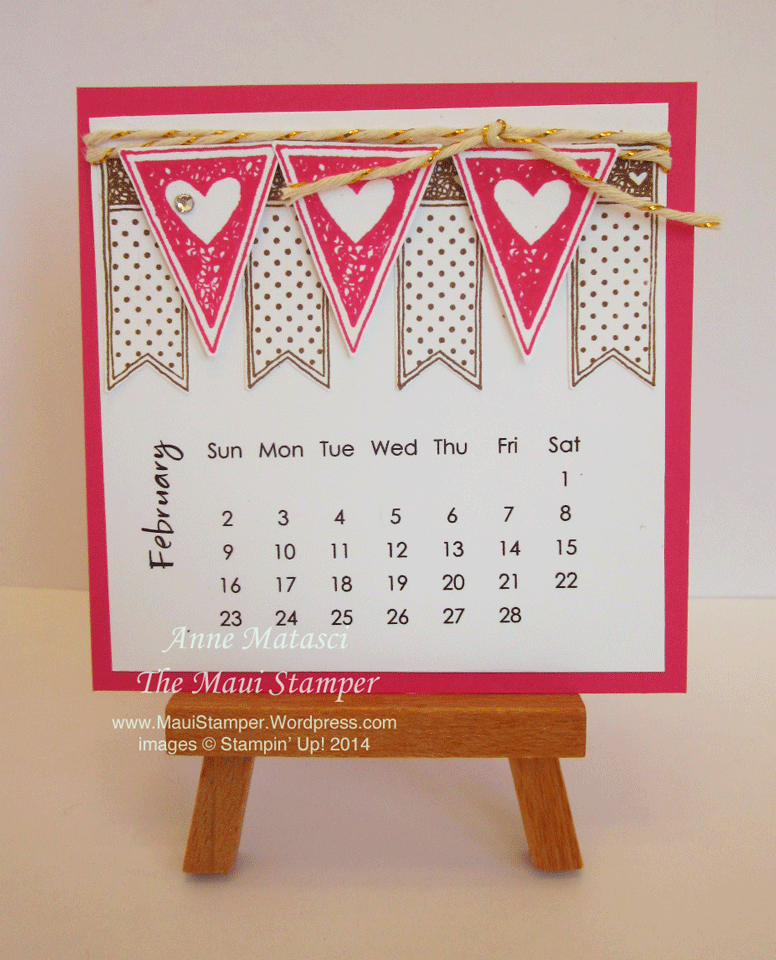 Colors are Melon Mambo and Soft Suede. I added some Gold Baker’s Twine and a little tiny Diah-mund to sparkle it up. The pennants are on dimensionals too. Just because.
We’re running a mini-blog-tour the first of every month to share different versions of the DIY Calendar concept. Go visit Crystal and Cheryl to see what their February calendars look like, and be sure you give them a little blog-loving; (comments!). And although we’re one month into the New Year, it’s not too late to make your own. Click HERE to order your own DIY calendar kit – they’re $8 with the easel and $5 without (plus shipping.) Pull down those stamps, pull out that ink, and have a little calendar fun!
It’s the Most-Wonderful-Time….of the Yeeeear!!!!
 Ah yes, Sale-a-bration. Spend $50 in merchandise and earn exclusive product absotively, posituvely free! (Say it out loud, it works.)
 The Sweet Sorbet DSP is one of the Sale-a-bration choices that has made my day! The patterns are fresh and trendy and every single one of them is a winner – Stampin’ Up! has been rockin’ the DSP boat during SAB. The color choices might surprise you – they did me – but as I’ve worked with them I have become quite smitten 🙂
And just in case you don’t have a wish list ready, Stampin’ Up! has come to the rescue with a sweet new offering.
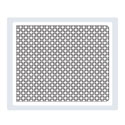
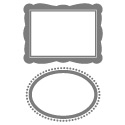
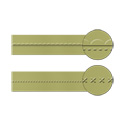
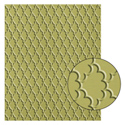
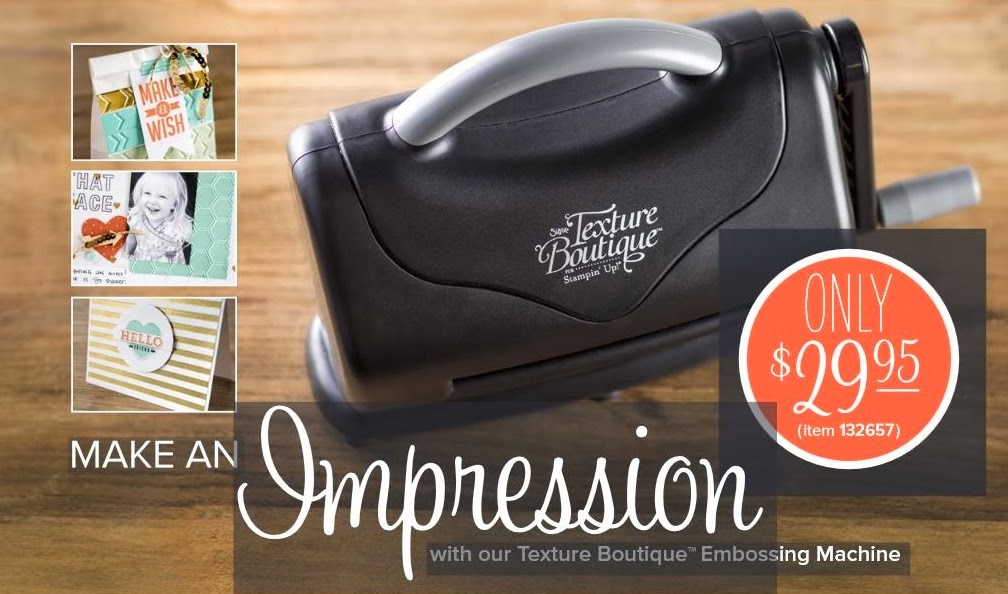 It’s embossing made easy. The Texture Boutique Embossing Machine is a compact and portable tool to add texture to cards, tags, embellishments, and more. Use it with our Stampin’ Up! exclusive Textured Impressions Embossing Folders (see why I call them TIEFs?) The initial supply of The Texture Boutique is limited, but it will be making a permanent appearance in the next annual catalog that debuts in May.
Just so happens that the purchase of the Texture Boutique (#132657 – $29.95) and any 3 Embossing Folders will earn you a free Sale-a-bration item – including the brand new Embossing Folder Decorative Dots (#133520). You’ll be ready to rock and roll!
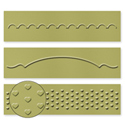
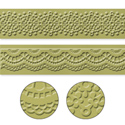
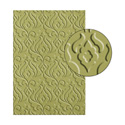
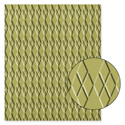
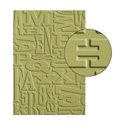
Visit my Online Store to order, or contact me and we will find the perfect solution for your crafting needs. Need a refresher on the TIEF options? Here you go!








 Have you been updating all of your old style ink pads for new FFIP (Firm Foam Ink Pads) with these weekly deals?
Order ONLINE!
Crushed Curry is a perfect antidote for grey!

Yes, even on the Valley Isle we have the occasional grey day. The cheerful Kaleidoscope Designer Series Paper was the inspiration for this card, and the super-simple layout encouraged me to take an extra step with the elephants.
The two background Ellies are stamped using the “stamping off” technique – ink your rubber, stamp lightly on scrap paper, and then stamp onto your project. The featured Ellie is stamped with all the glory that a Firm Foam Ink Pad (FFIP) offers, then trimmed out with my paper snips and lifted up with Stampin’ Dimensionals.
 I stamped the ear a second time with Crushed Curry, trimmed it out and adhered it to the card with another Dimensional. Dimensionals are like Magic Wands!! They make all sorts of fabulous things happen. However, this ear looked a little funny flying off Ellie’s head.
 The solution was a super-thin line of Tombo (the Wonder Adhesive) to make the front side of the ear stick to Ellie’s head just as God intended!
If you had told me when I began stamping that I would absolutely NEED all of these different adhesives I would have probably laughed in your face. What did I know then? Adhesives make the paper crafting world go round.
Hope your day is sunny and bright!
I may or may not have become addicted to these pre-printed card bases:
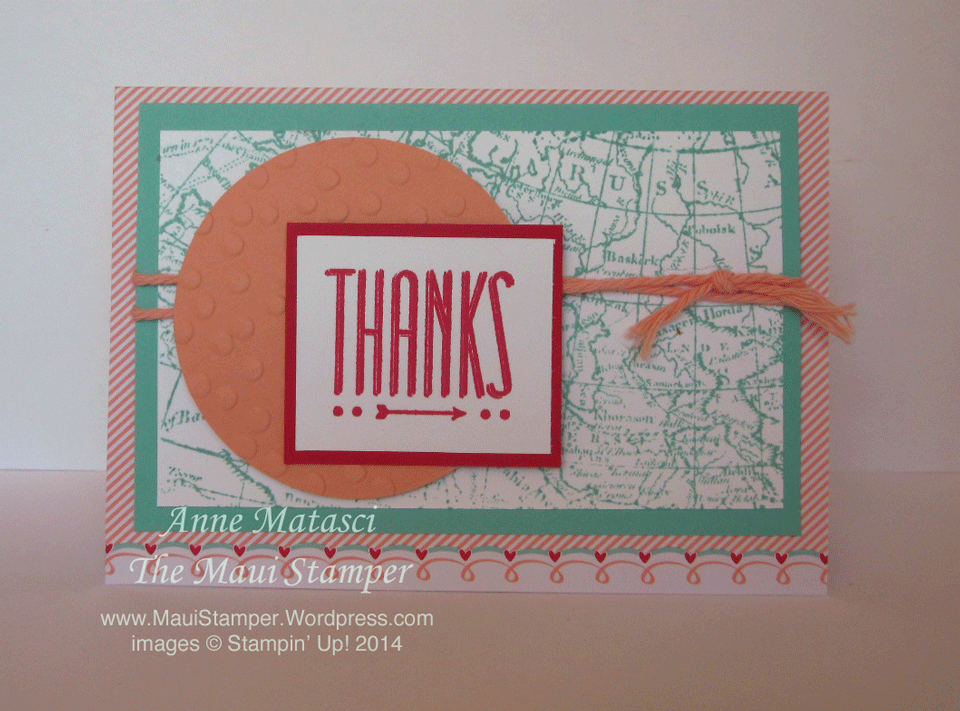 I shared a few of these on Monday but they kept on calling me…so I made a few more!
The sentiment for this card is from Hip Notes, certainly one of my absolute favorites from the Occasions Catalog. If you look at that twine, you’ll realize it’s a little heavier than our Baker’s Twine. It’s a Sale-a-bration choice and includes 3 colors – Crisp Cantaloupe, Pool Party and Summer Starfruit. It also includes die-cut cork embellishments, so stay tuned for those! And look twice – the dots on that TIEF are a new, exclusive pattern called Decorative Dots – another SAB Freebie!
 Change up the sentiment and you could have a Valentine, but I needed thank you notes! The heart image is from Language of Love in the Occasions catalog, and though it’s hard to read it features a whole bunch of translations of the word love.
The Sweet Sayings card and envelope kits are available through Monday, January 27 although supplies are limited. You can order HERE #134609 $5.95 for 12 cards and coordinating envelopes (4 each Real Red, Crisp Cantaloupe and Coastal Cabana).
Tomorrow morning (Saturday, January 25) I’m having a 2-5-10 class (2 hours, 5 cards, $10). You’re welcome to join on a space available basis. I’ve featured a couple of our projects this month:
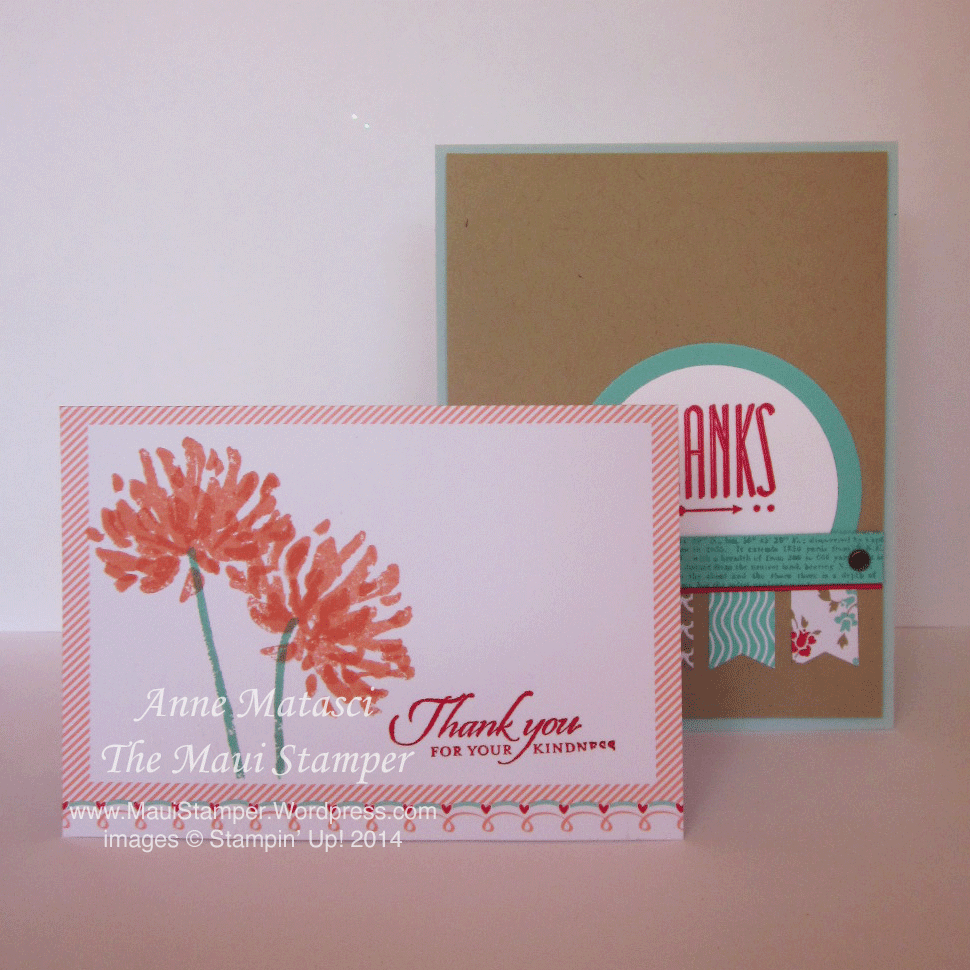 Hope to see you!
 The Maui Stamper