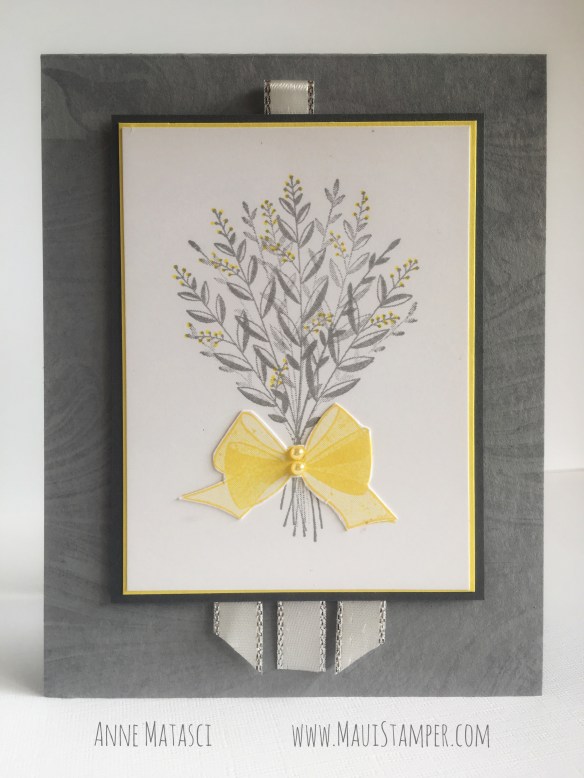
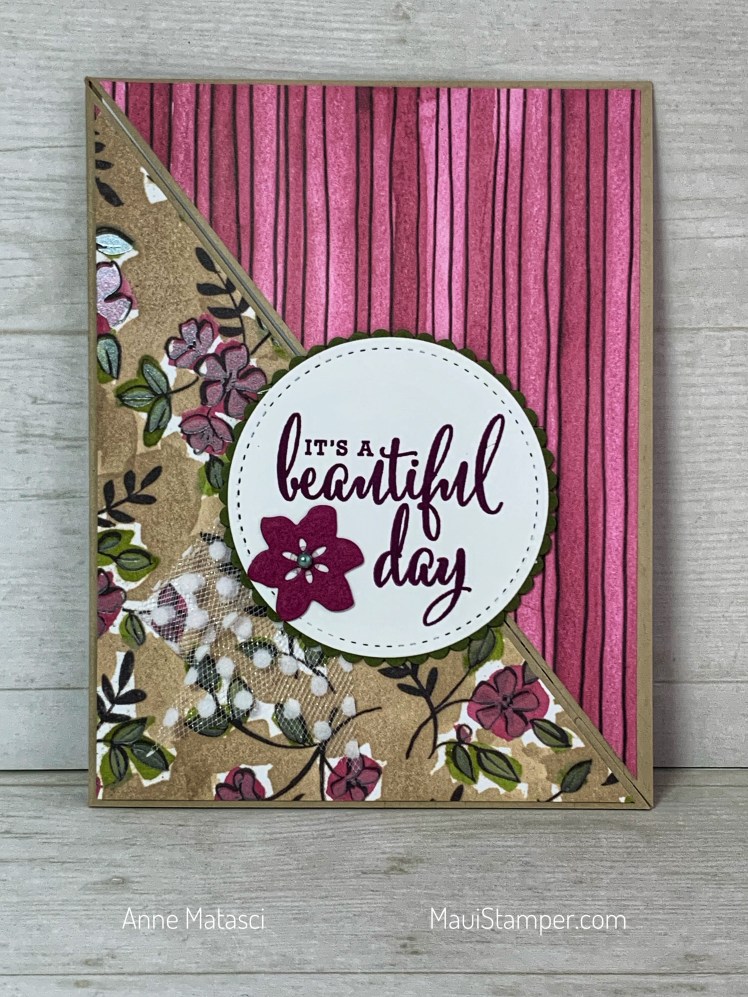
Someone sent me a card using this layout for my birthday (Thanks, Louella!), and even though I’d seen images of this Fun Fold, holding it in my hand was a completely different experience. When I figured out how easy it was to put together, I was SOLD!
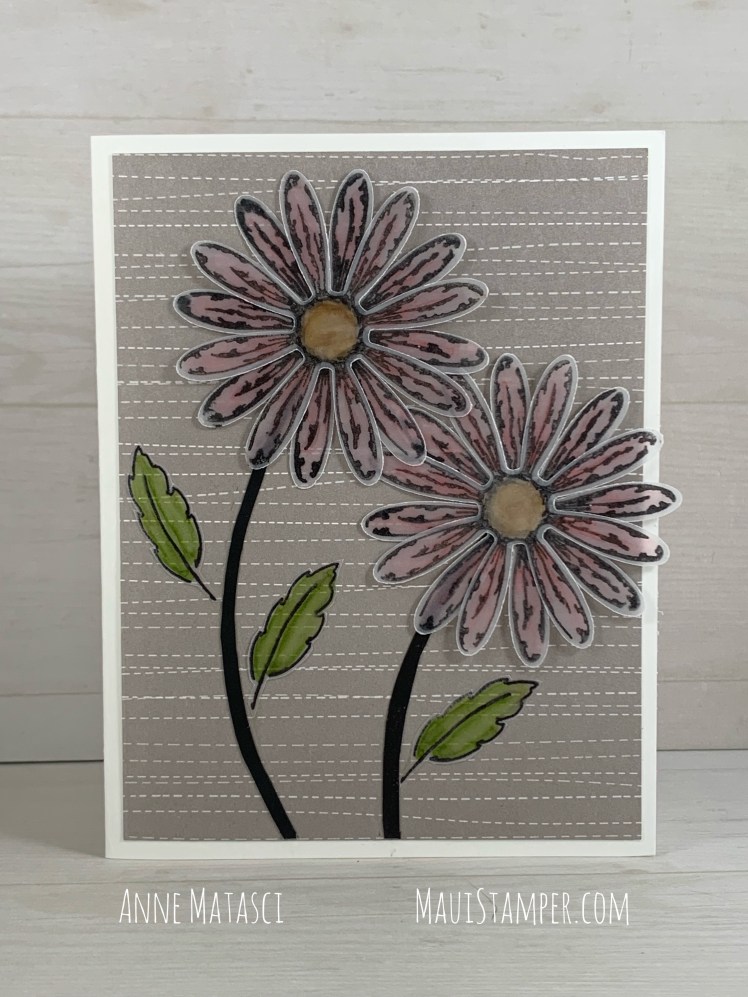
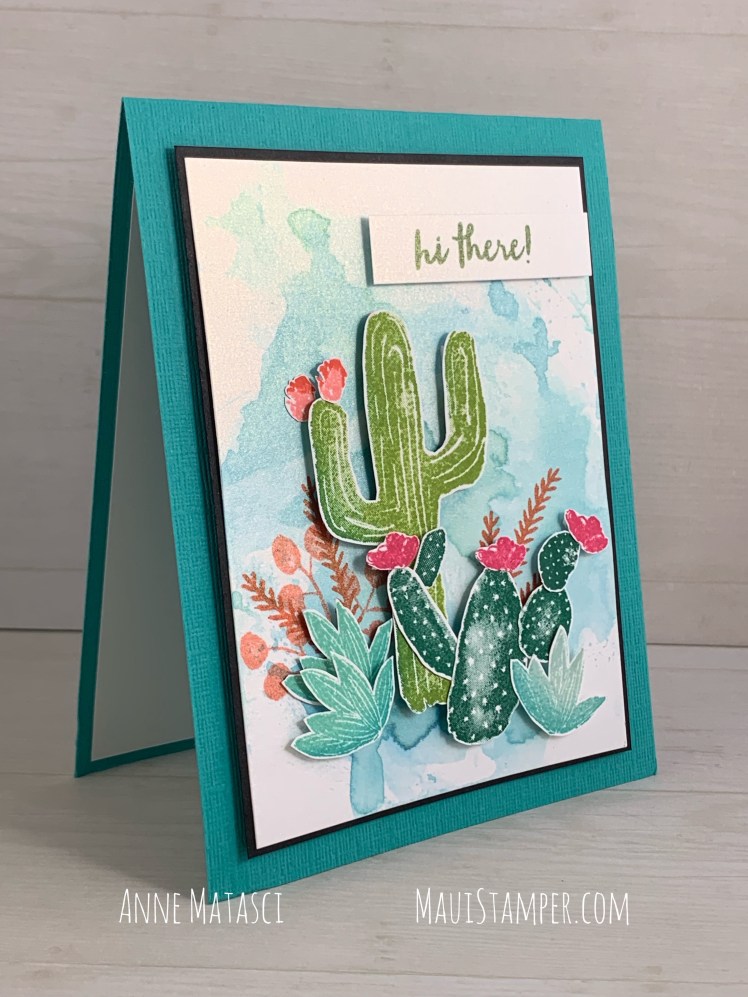
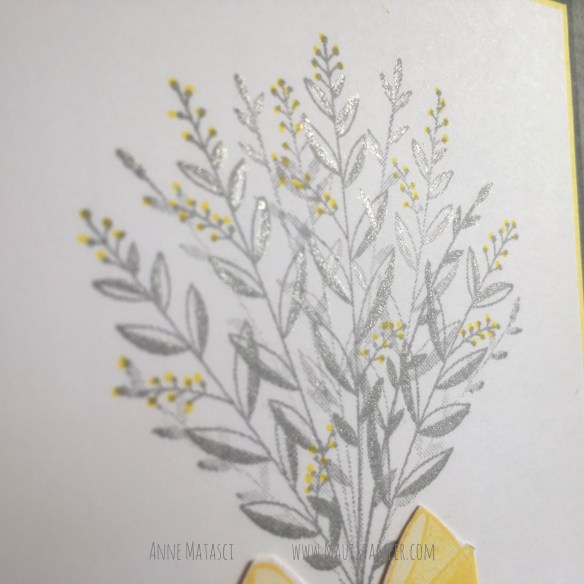
- Stamps: Love What You Do
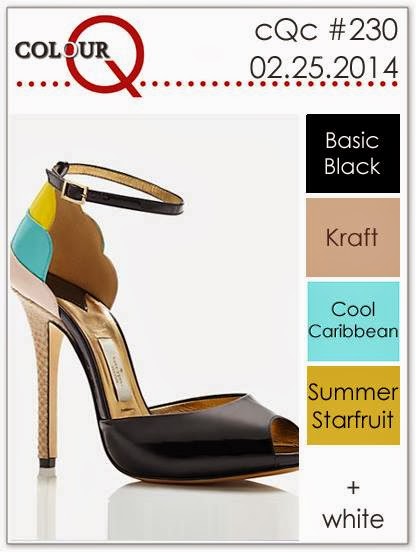
- Color Palette: Whisper White, Crumb Cake, Rich Razzleberry, Blackberry Blast, Mossy Meadow
- Accessories: Big Shot, Layering Circles Framelits, Stitched Shapes Framelits, Seasonal Layers Thinlits, Polka Dot Tulle Ribbon, Share What You Love DSP

This is a half sheet of card stock, like any card, but it’s cut on the diagonal. I have a couple of trimmers, and none of them are large enough to cut the entire length, but if I cut through the center I was able to use my Paper Snips to complete the cut.

Score your full 8 1/2″ X 11″ sheet of card stock both horizontally and vertically before you cut it. Cut your DSP to 5 1/4″ x 4″ and then cut it on the diagonal as well. NOTE: If your DSP is directional, pay attention to how you cut it – for example, if you want your stripes to be horizontal, align them correctly before you cut.
You can make heaps of these in no time at all, and they’re a great way to use up your DSP. Round up all of those die cuts you have floating around because you cut an extra and didn’t know what to do with it, and you’ll have a stack of cards in a flash. Then SEND THEM!! As always, if you’re ready to shop, click HERE.