It’s the last day of December, and it’s my tradition to review my DIY Easel Calendar month-by-month. Are you ready? Let’s start with JANUARY:

I started the year with Terrific Toadstools for January 1, 2025. Such cheery little fungi!

Delightful Wishes is still a current set, and it made me think of lilac blossoms. See the details in my post on February 1, 2025.

Everyday You and Me remains one of my favorites, though it’s retired now. Check out the original post on March 1, 2025.

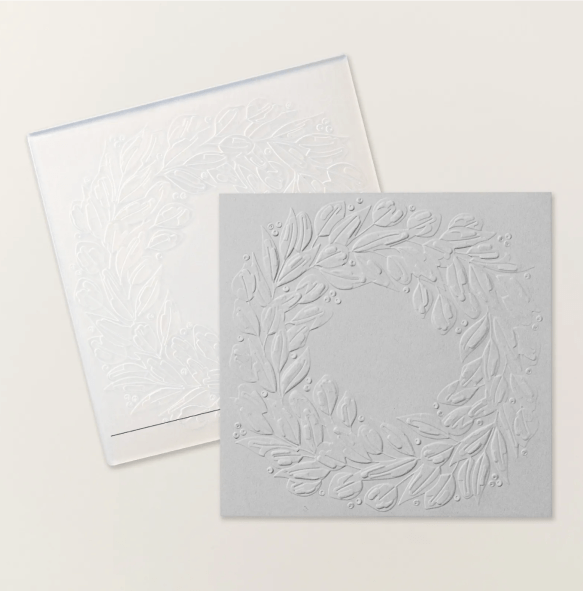
If you’ve followed me for a bit, you know I love my garden! Impressions Abloom is on the last chance list now. See this post for my April 2025 calendar.

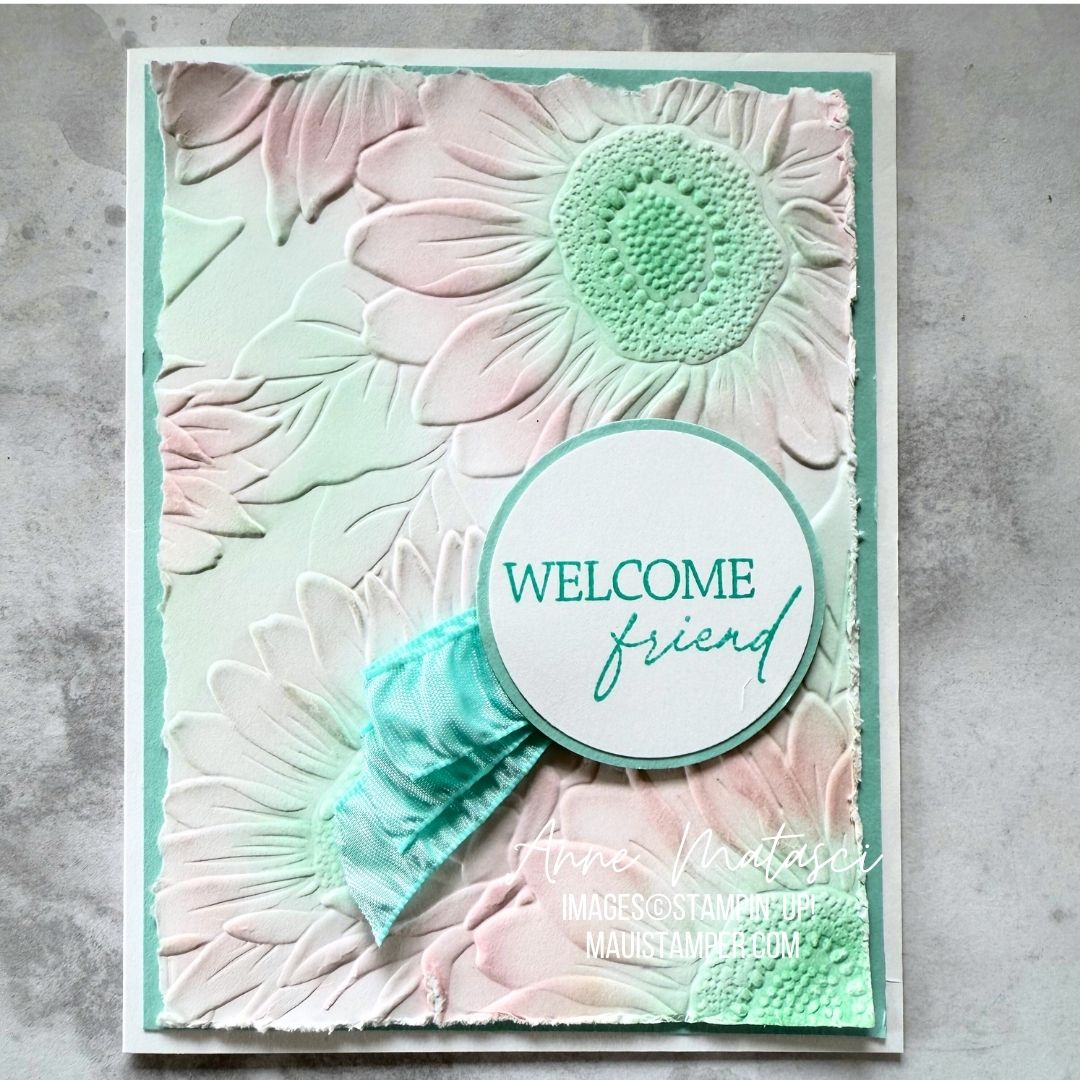
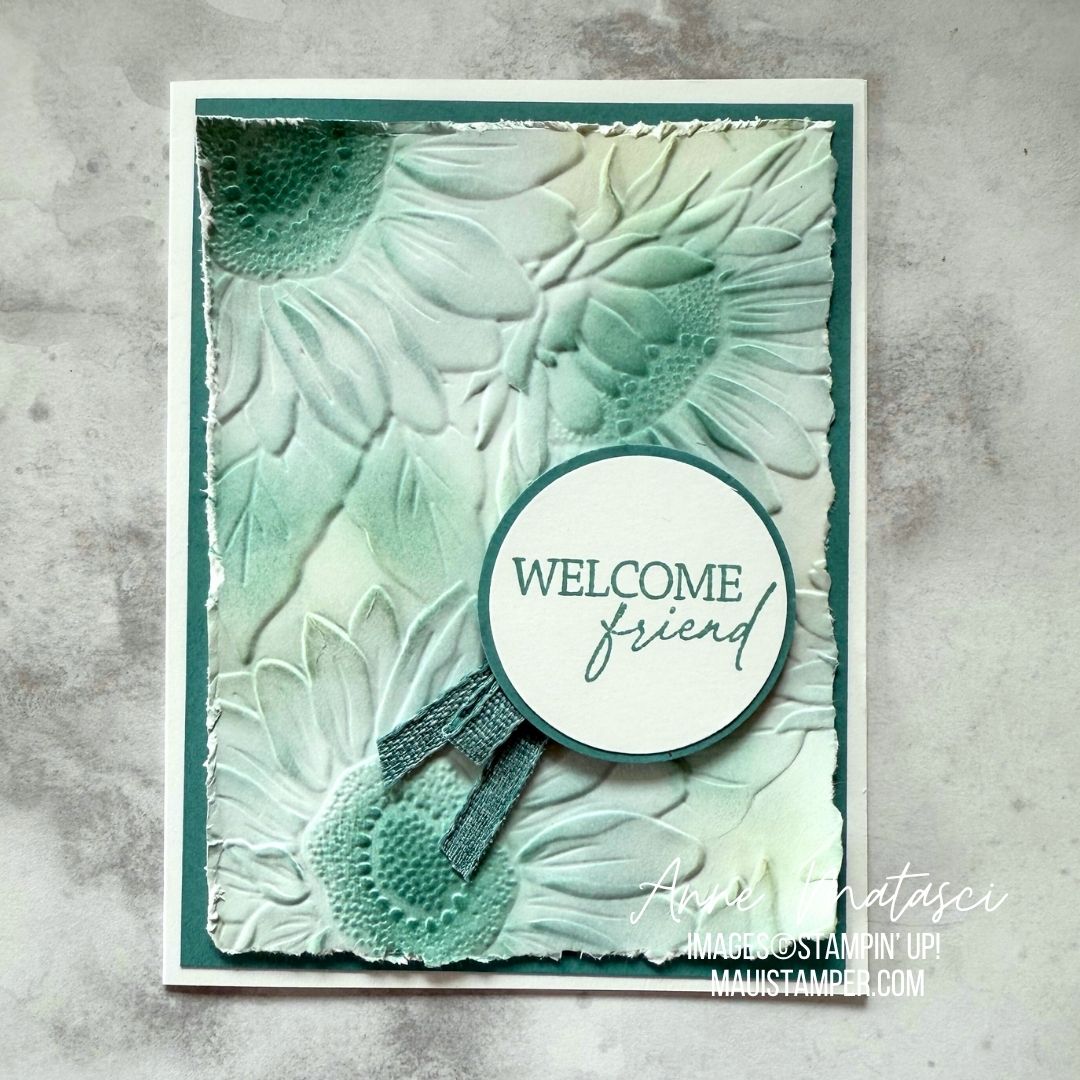
In May I stayed in the garden, but kept it simple. There’s a soft wash behind the flowers from Pretty Florals. Can you identify the colors before you check the May 1, 2025 post?

I used another wash but this one got a LOT of color! Along These Lines is still current if you have a thing for dolphins. Read the details for this calendar page from June 1, 2025.

Perfectly Pears was just the thing for July. You can see the details on July 1, 2025.

In August, it was time for something cool and refreshing. Cheers and Sips is another classic on the Last Chance list. You can see it all HERE.

I have had so much fun with Long Time No See, and I’m sad to see it on the Last Chance. Look at this adorable pooch featured in my September 1, 2025 post.

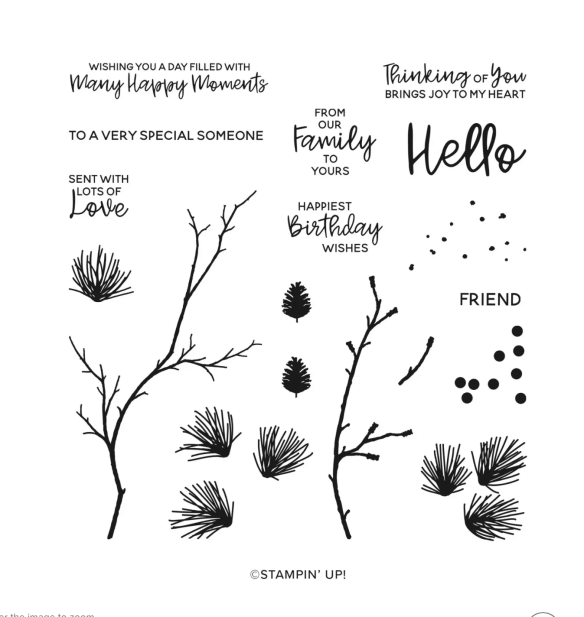
I went another direction for October this year, focusing on fall foliage. The tropical images from Branching Out worked perfectly. See the October 1, 2025 post.

I loved Branching Out so well I repeated it with the November 1, 2025 post.
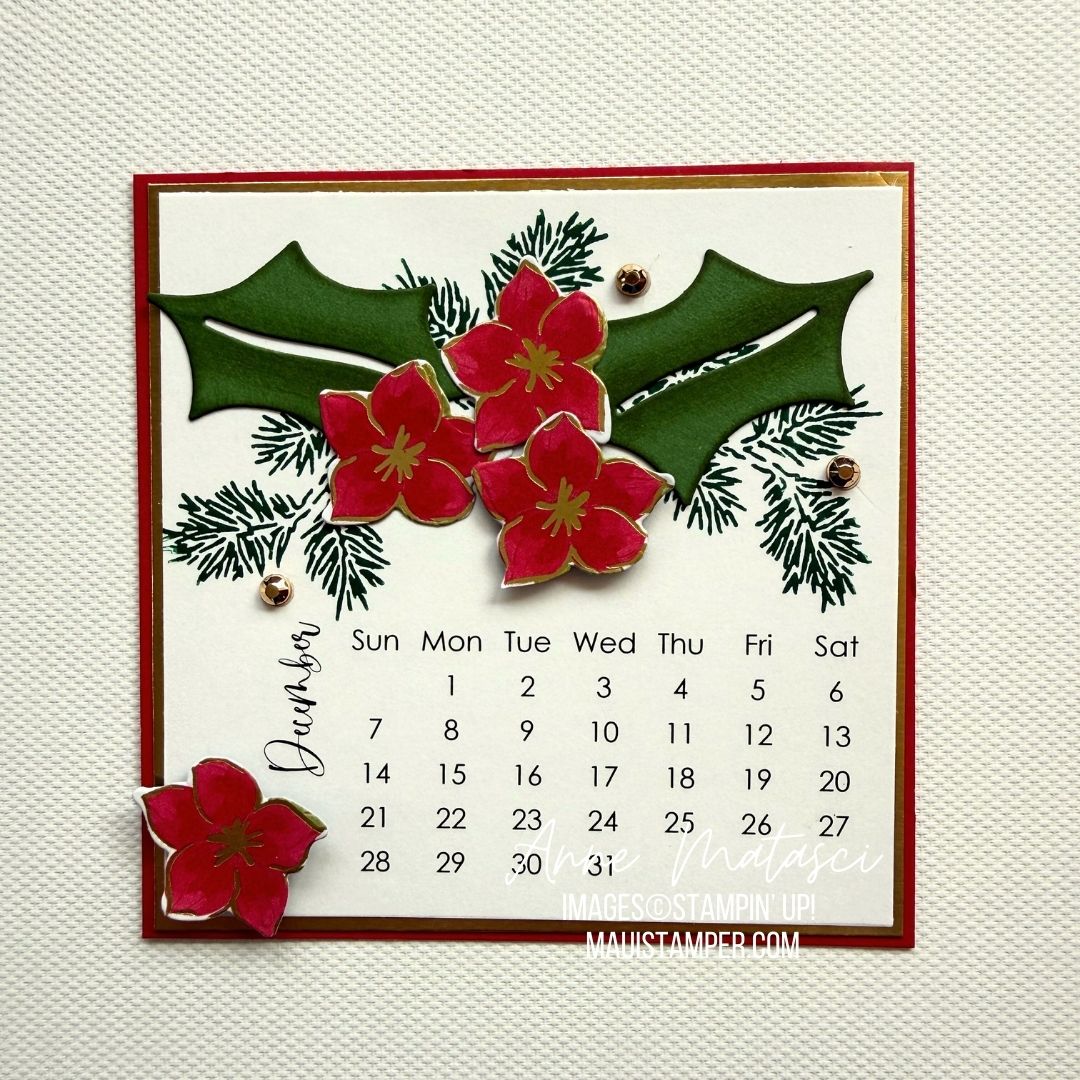
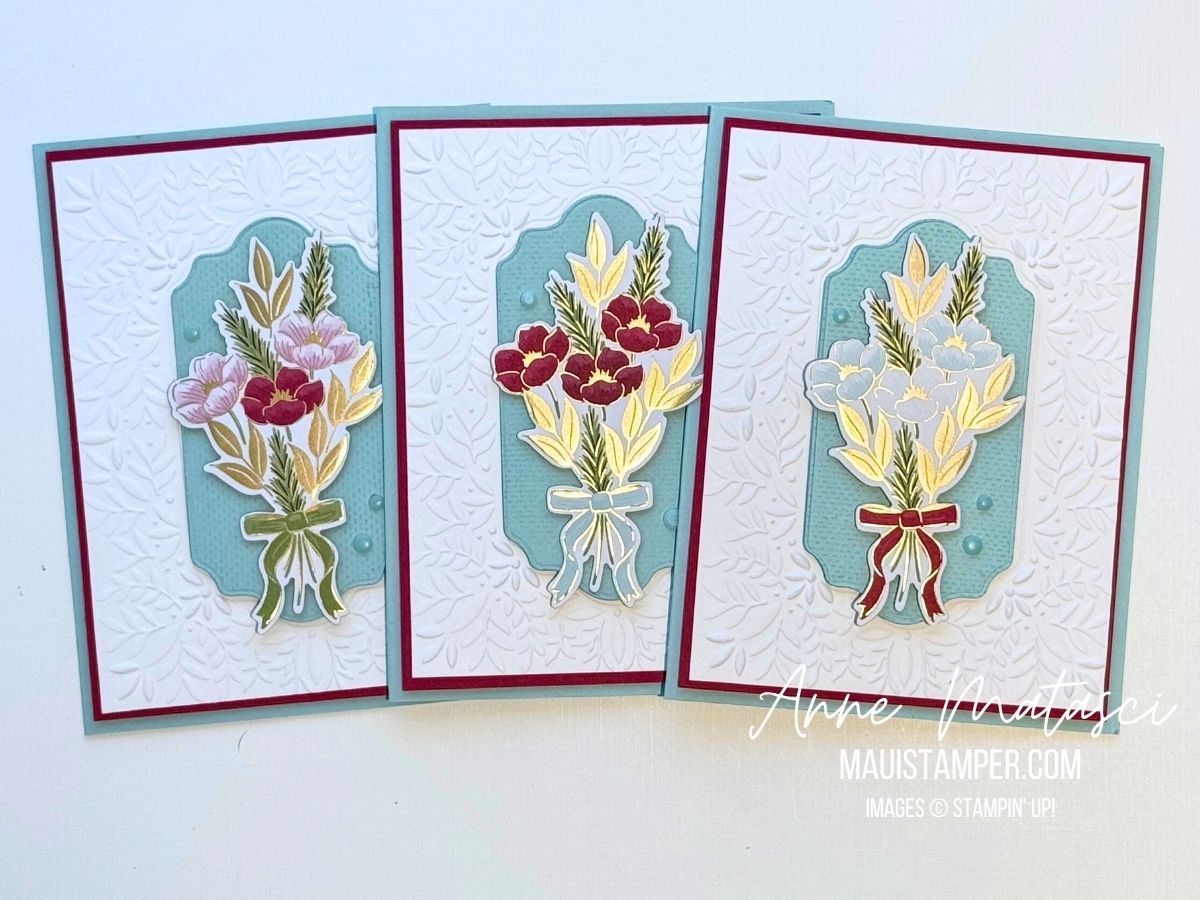
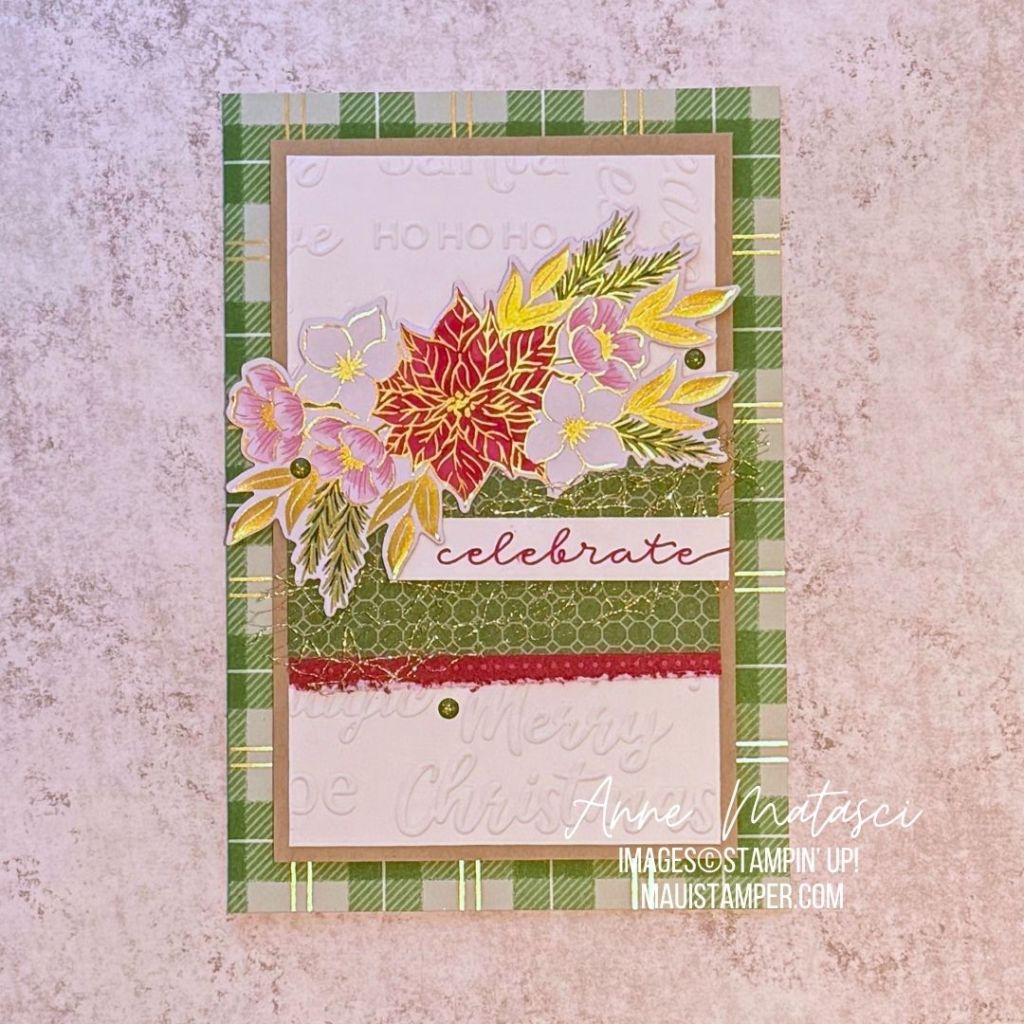
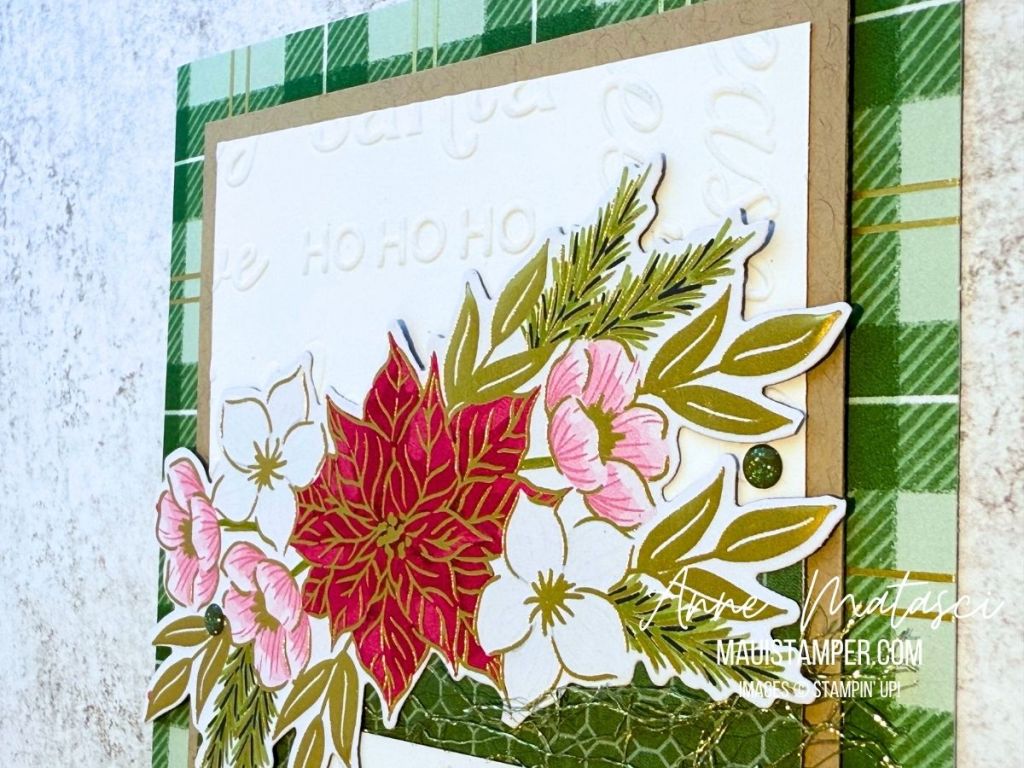
And finishing up the year was Traditions Of Christmas. Sharp eyes might have noticed that I initially created the December calendar on the November page. Aiyah. Some days are like that! See it HERE.
That’s it for 2025. I hope you enjoyed all of our creations, and perhaps followed the links to see what my DIY friends did each month. It’s such a joy to create these little pages and share them with you.
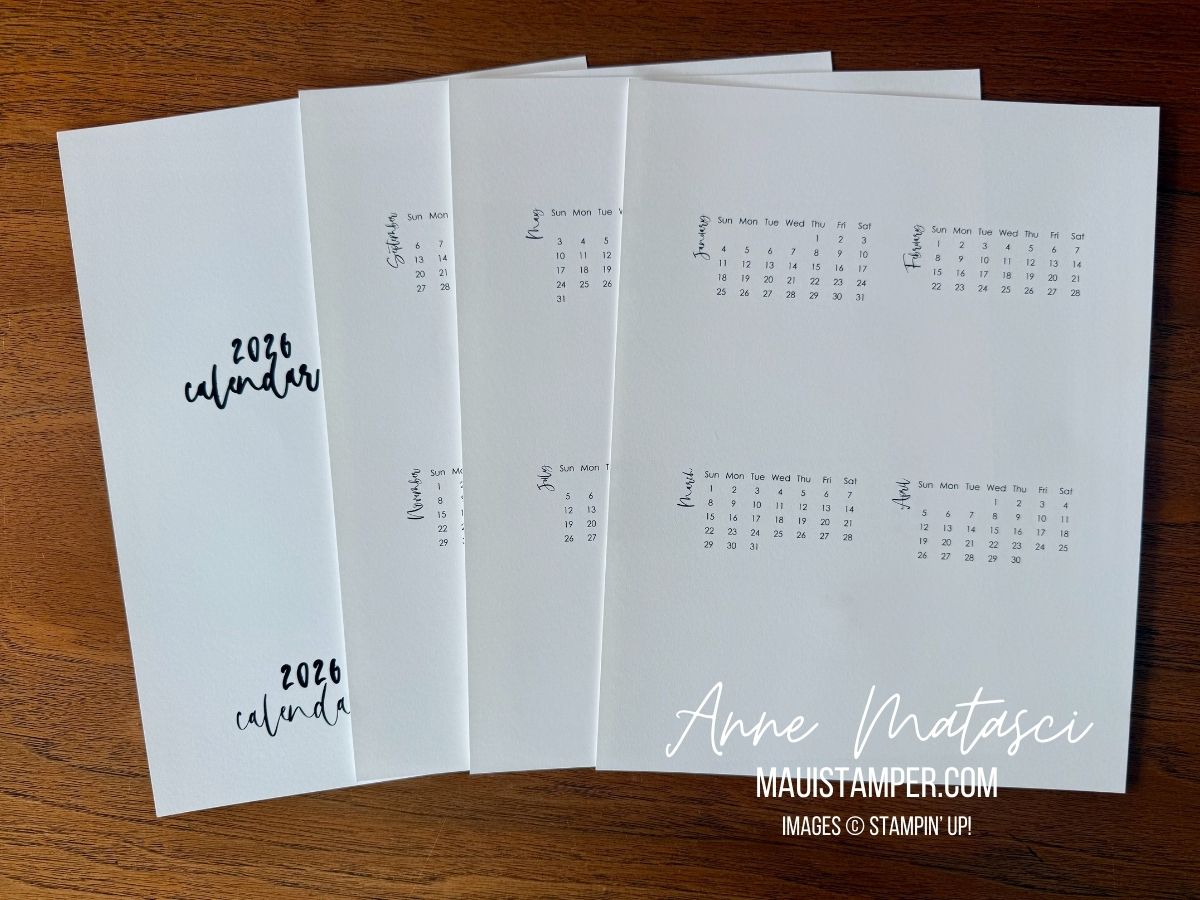
If you feel inspired, you can create your own calendar for 2026. The 2026 DIY Template is just $6 and you may use it to make as many calendars as you like. It includes a page of covers and 12 monthly calendar blocks (4 to a page). The blocks are designed to be cut to 3 1/2″ square. Visit my secure ordering page to purchase your own template.
Thanks for following the Maui Stamper and sharing in my crafting journey. Tomorrow starts a New Year, and I’m looking forward to sharing it with you. Aloha 🌺