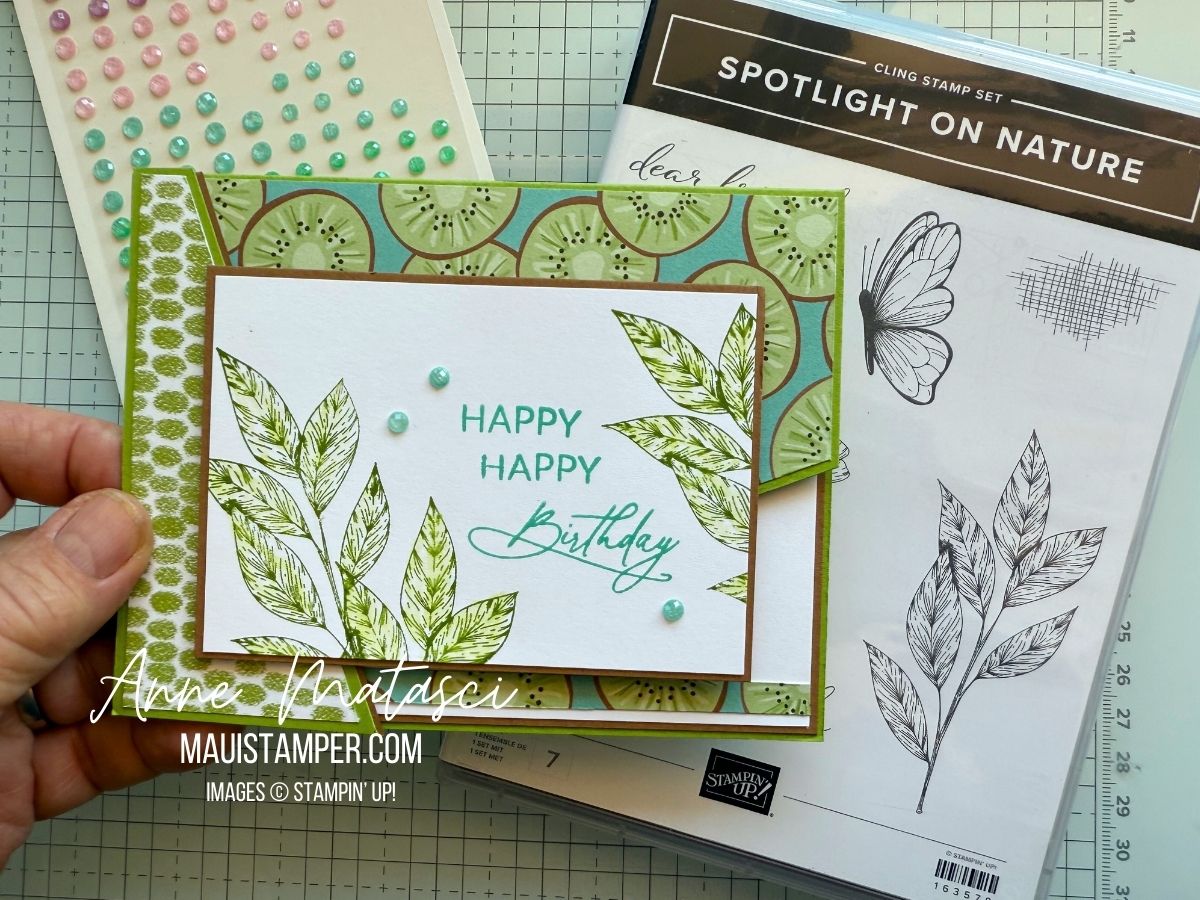
Cutting into beautiful Designer Series Papers (DSP) can be really hard to do. I have a stash of paper that I just can’t bear use precisely because it’s too beautiful to cut, and that’s a shame! I took my trimmer to the Florals in Bloom DSP and I’m so glad I did.

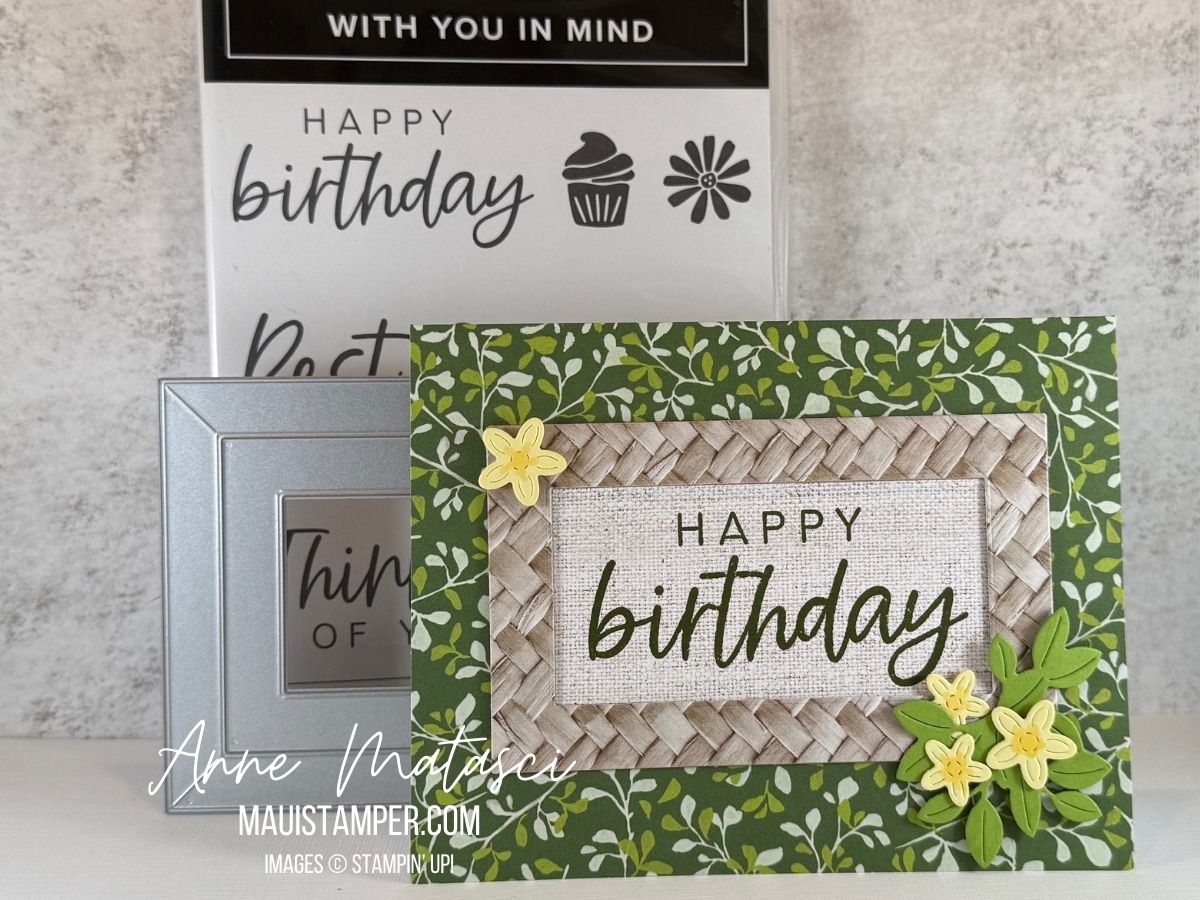
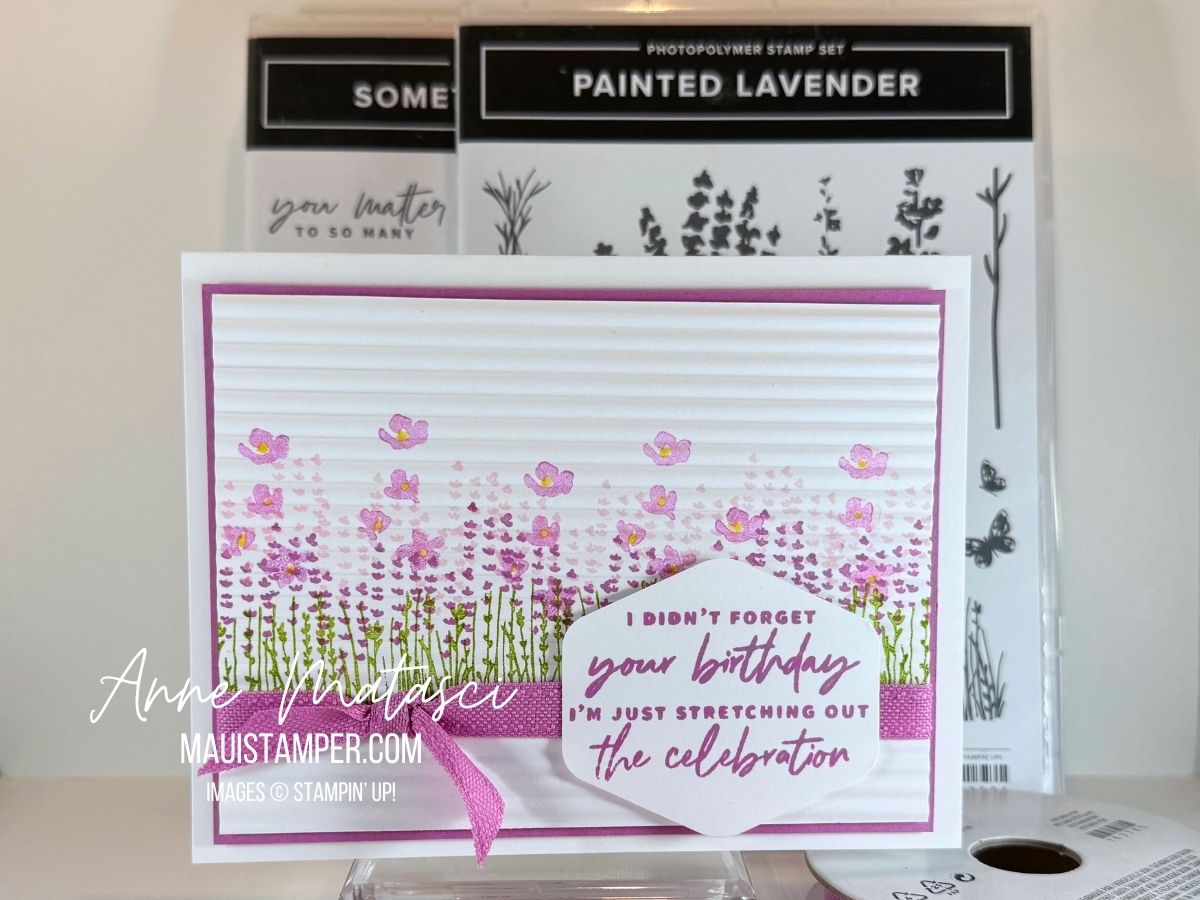
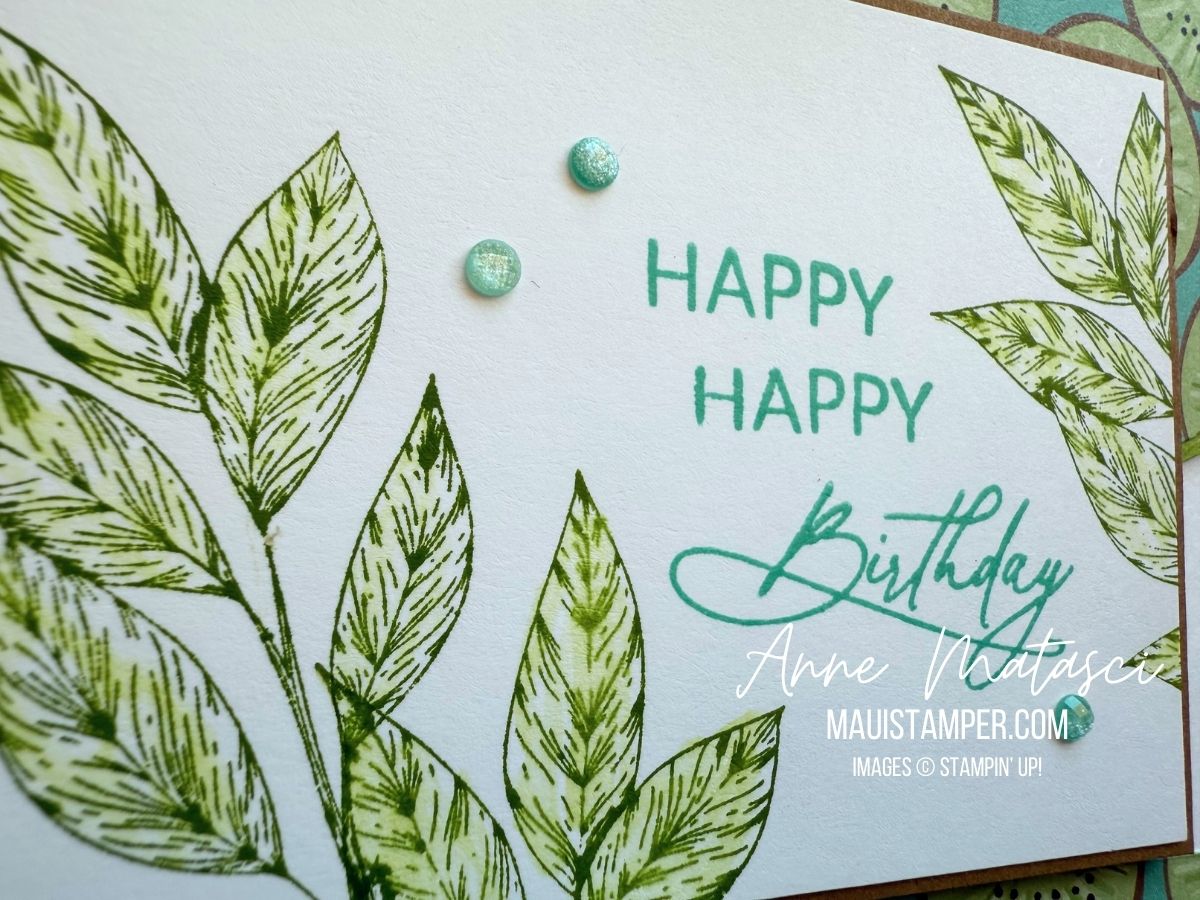
- Stamps: Pretty Florals, Charming Day, Spring Corners
- Color Palette: Basic White, Petunia Pop, Garden Green
- Accessories: Stamp Cut & Emboss Machine, Pretty Florals dies, Spotlight on Nature dies, 2 3/8″ Circle punch, Stylish Shapes dies, 2, Florals in Bloom DSP, 24-26 In Color Shimmer gems (retired), Stampin’ Dimensionals
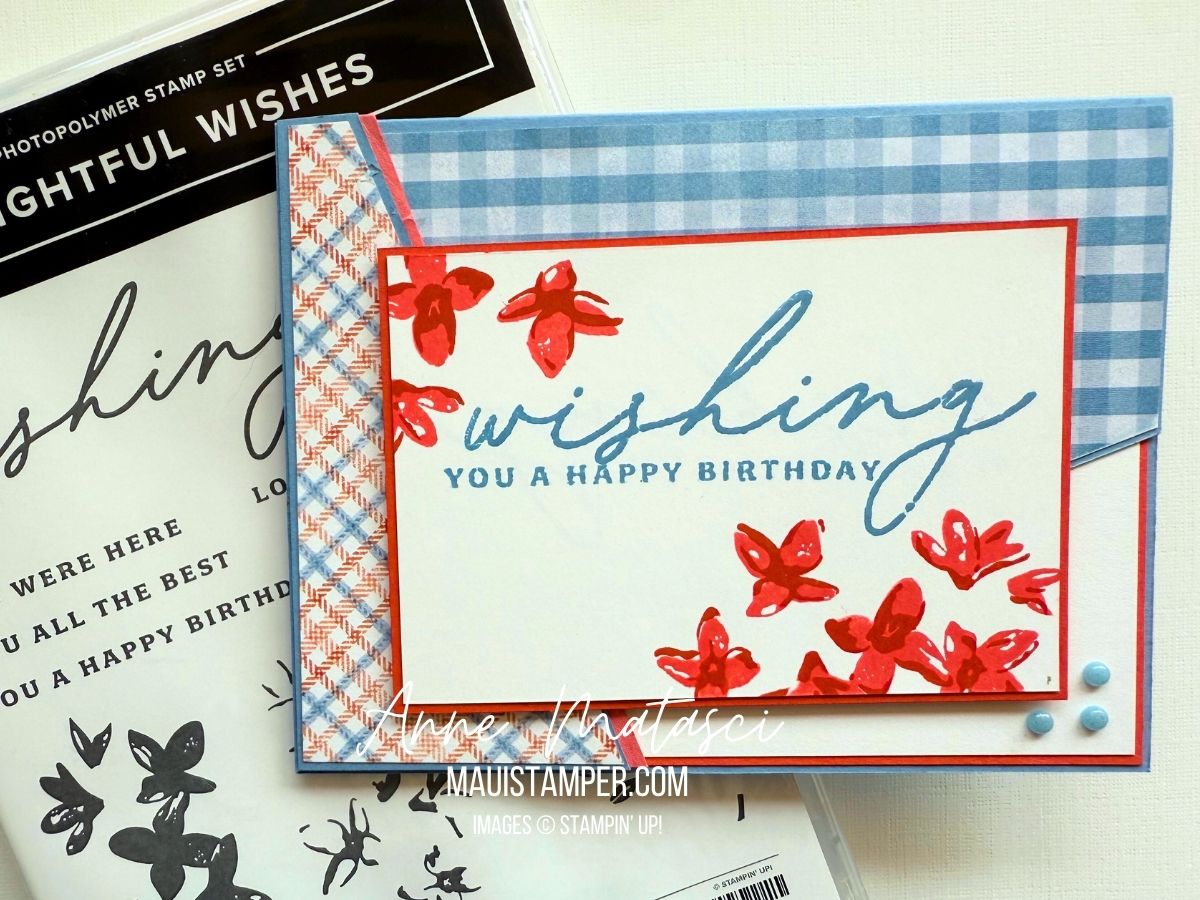
I was inspired by Lyssa Zwolanek at Embellish and CASED her project completely, although I chose a different set of designs from the DSP pack. This card is much easier than it looks, and it really highlights the beautiful designs and coordination of Stampin’ Up! DSP.

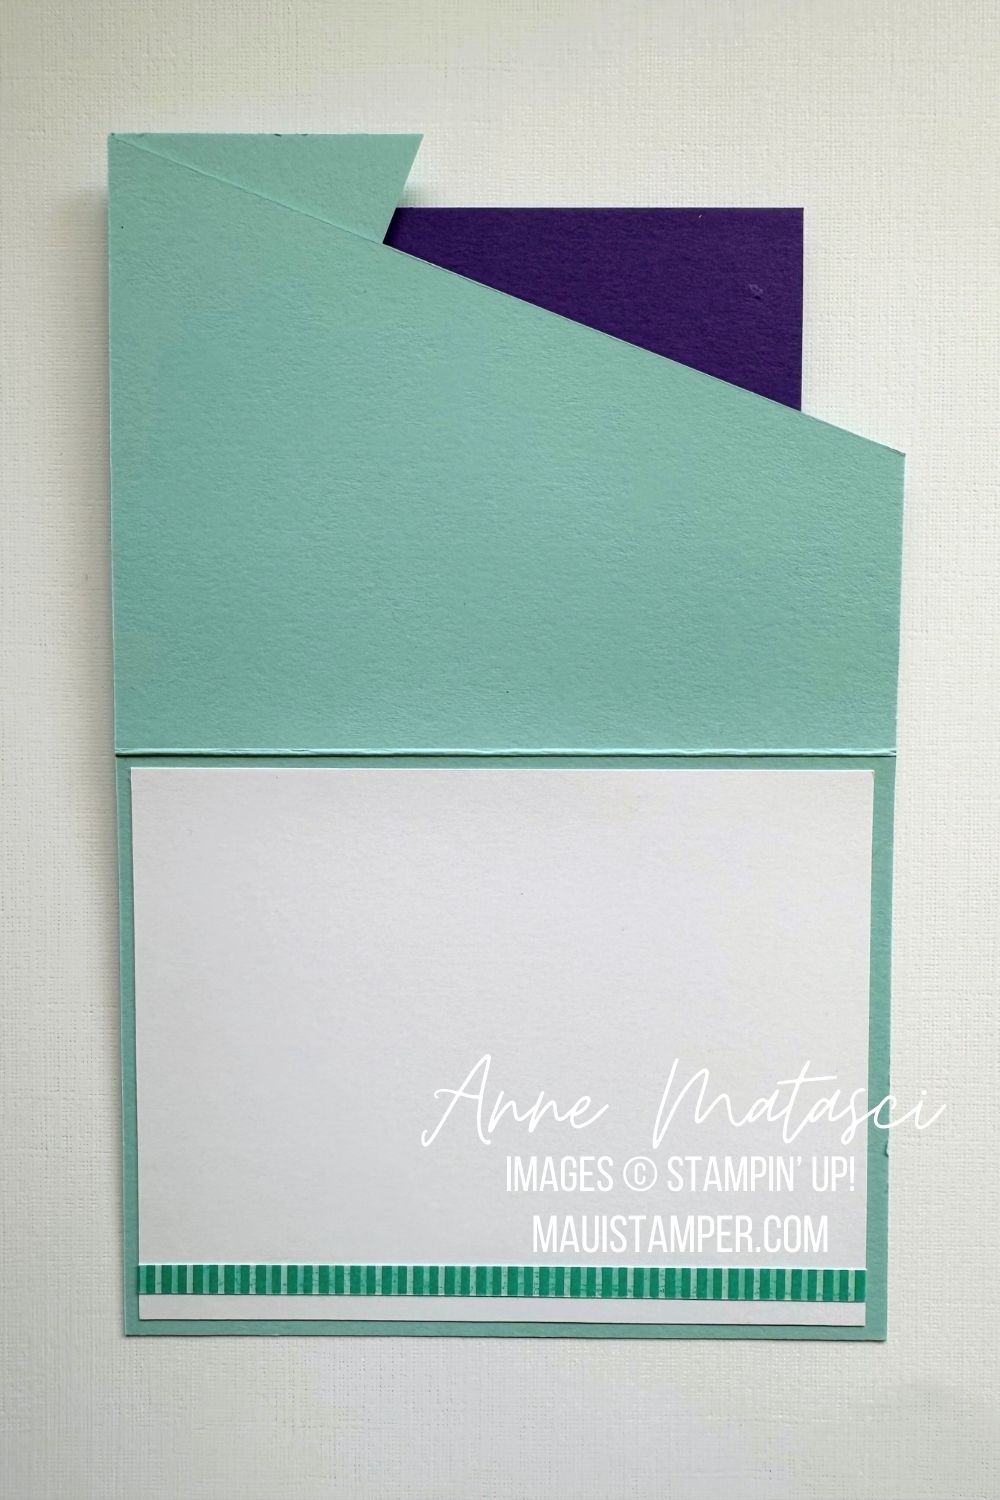
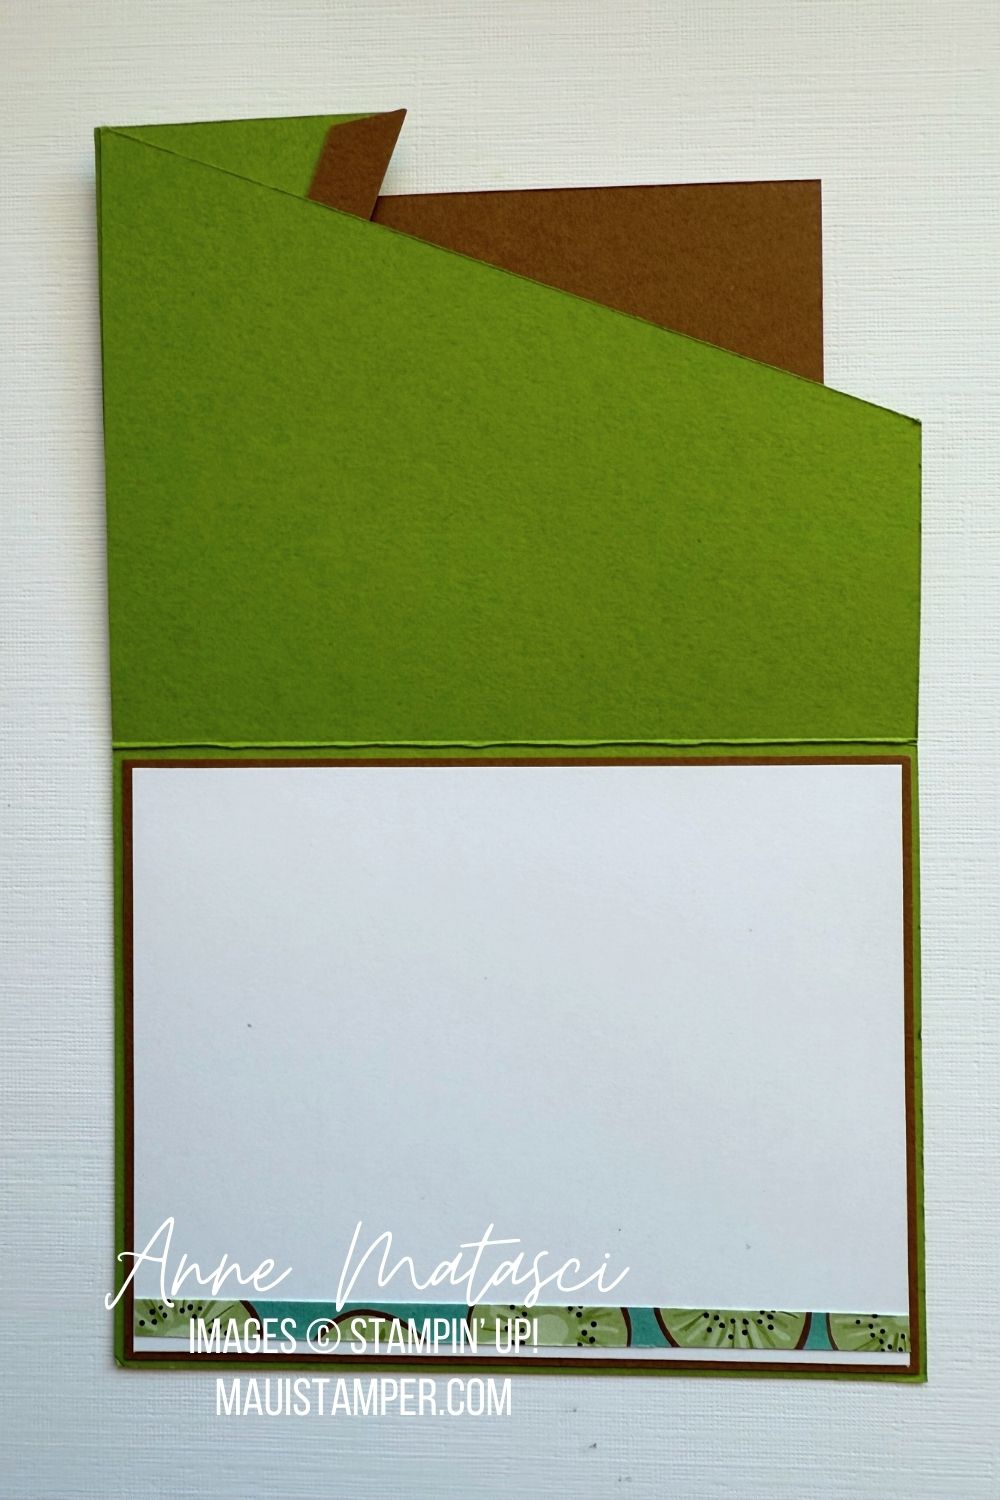
The card opens to reveal a narrow panel for your message. Personally, I love this kind of space. I often send birthday cards to friends I see regularly, because who doesn’t love a little happy mail with all the junk in their mailbox? But I don’t have news to share, just good wishes – so a small writing space suits me perfectly.
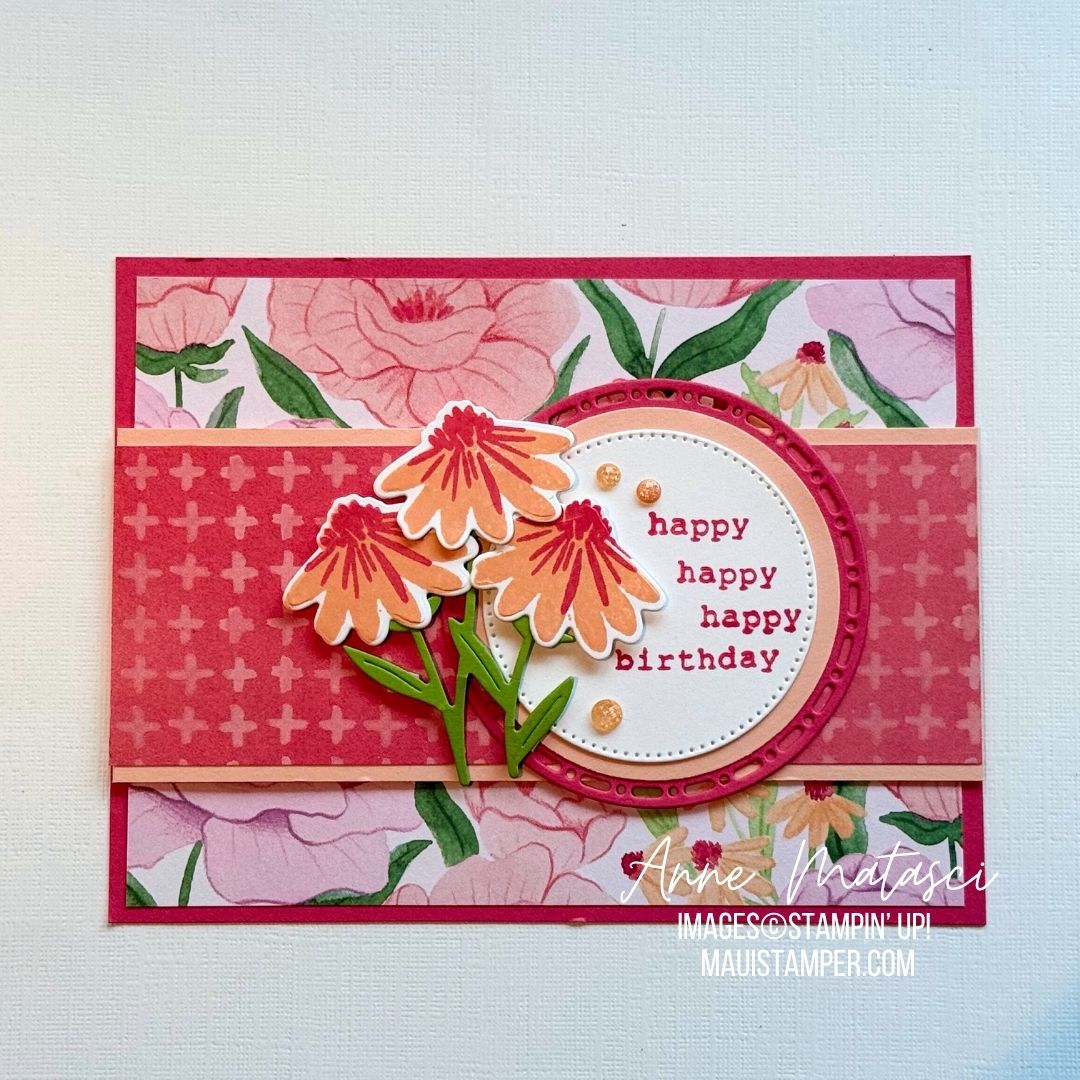
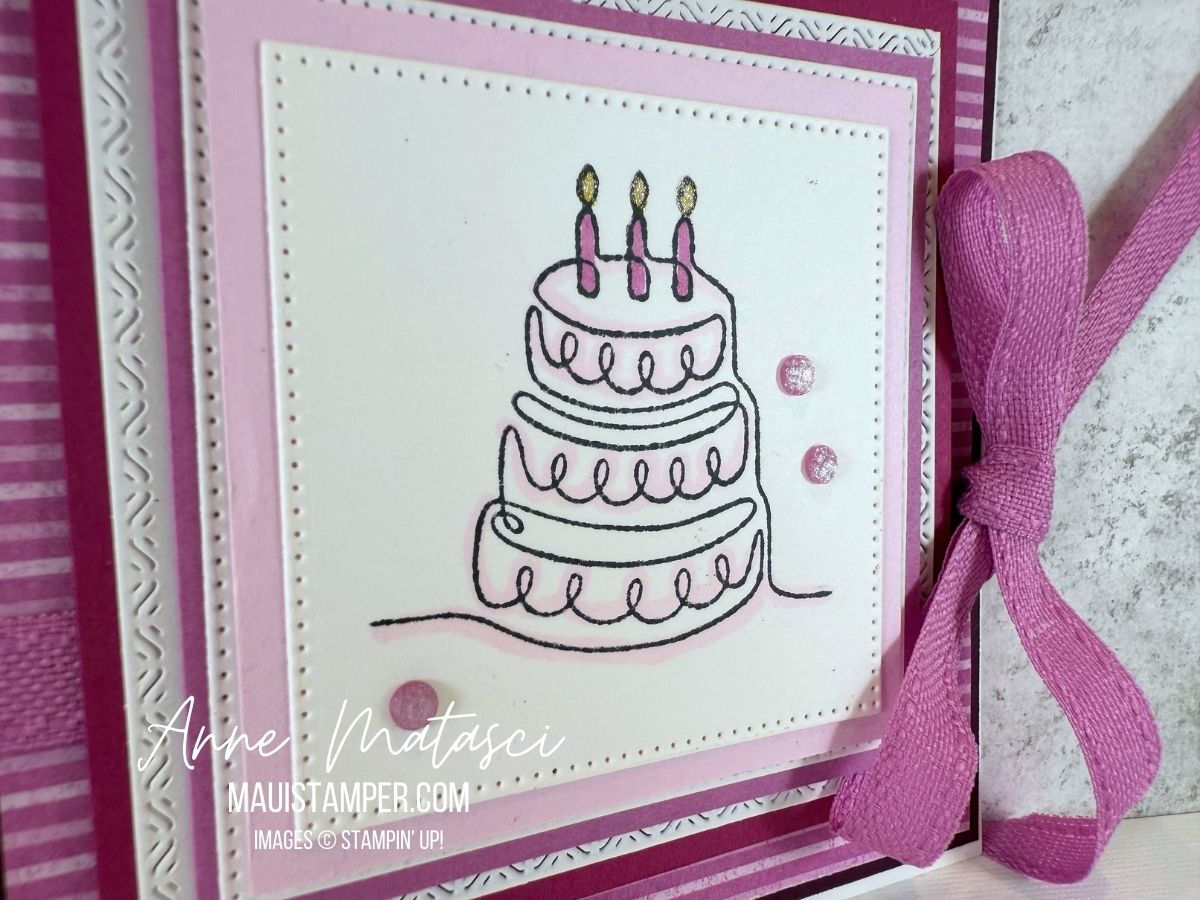
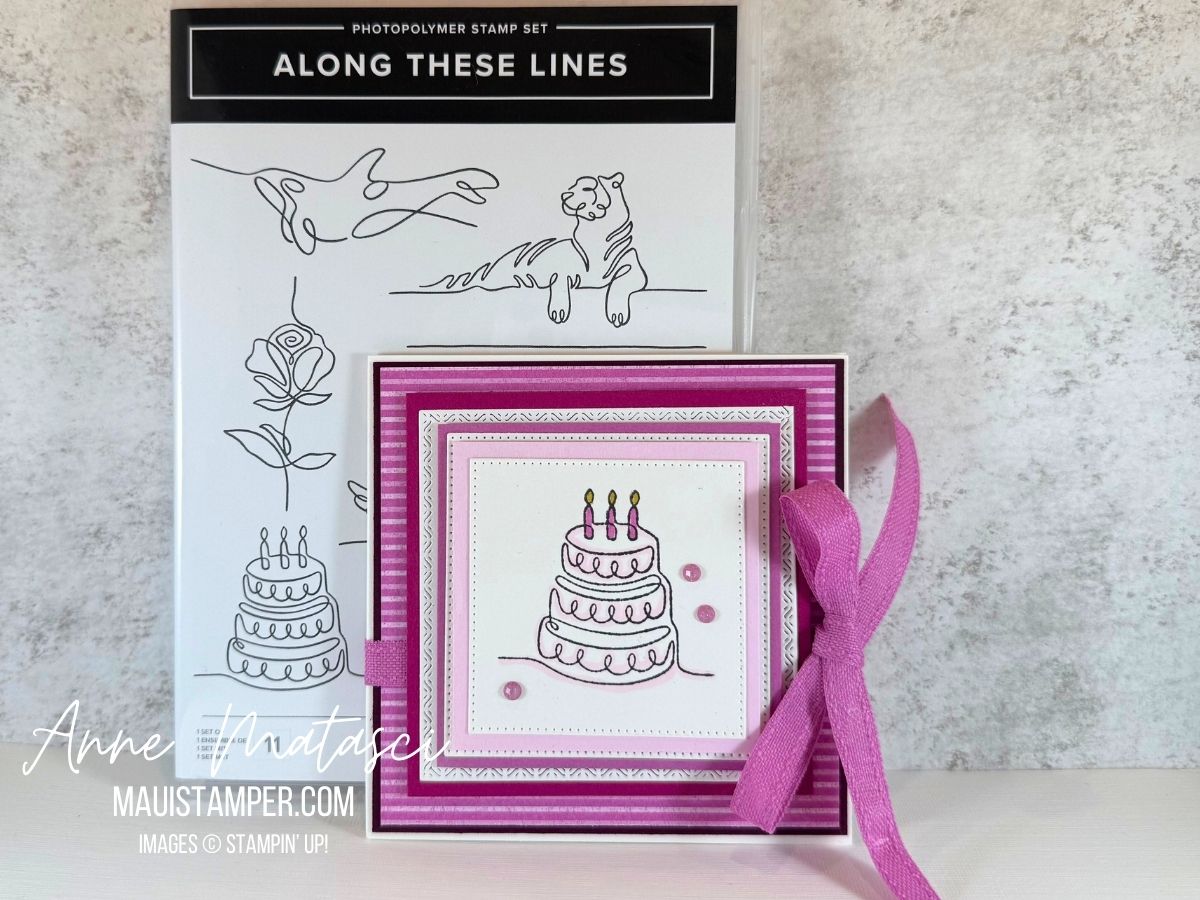
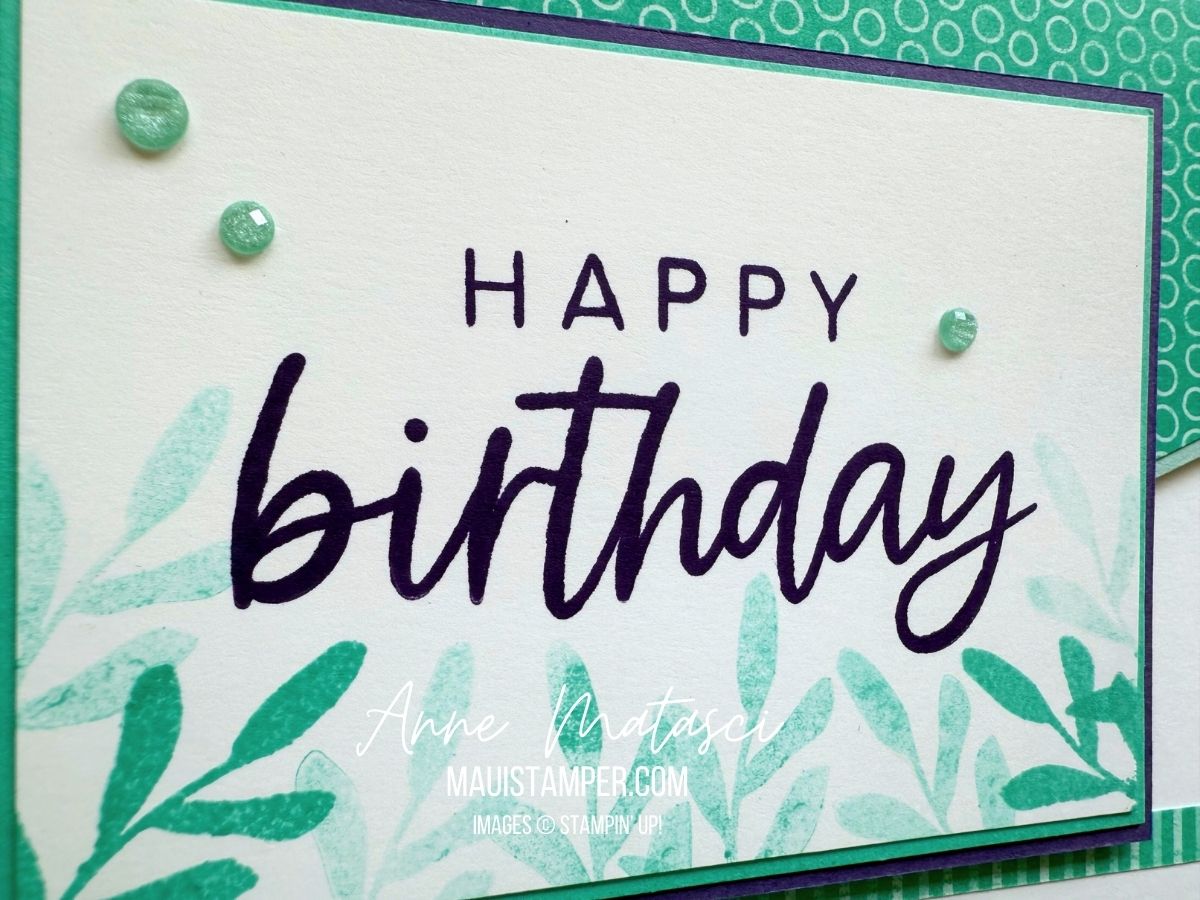
Once I started I needed to make more. I replicated Lyssa’s gorgeous card, then created a few more of my own. Color makes a big difference in a project! I can’t decide which of these two I prefer – what do you think?
If you’re looking for the Florals in Bloom DSP, it’s currently available. The Pretty Florals bundle is currently out of stock, but it’s expected the week of July 28th. Did you know you can request an email to notify you when a product comes back in stock? Just click “VIEW” when you find the item in the Online Store and add your email to be notified. Easy peasy!