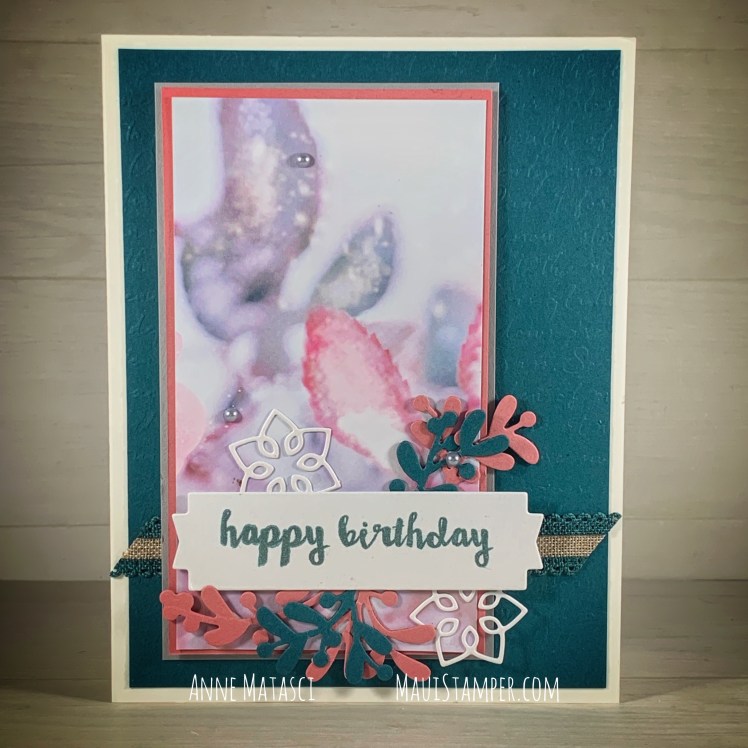
Earlier this month I sent my club members the card stock and ribbon for this layout, and we crafted our own versions via Zoom. Who knew that I had chosen to create my samples with 3 stamp sets from the 2020 Last Chance List? Not sure if I was prescient or just lucky. I’m guessing lucky.
The process worked far better than I anticipated (OK, I had no expectations!). We shared images while we worked, asked for and got great advice, and had a good opportunity to catch up. It wasn’t quite the same as getting together (one group is notorious for fabulous food!) but it was a good substitute under the circumstances. We’ve already planned our next Zoom!

- Stamps: Little Elephant, Ride with Me
- Color Palette: Basic Black, Whisper White, Melon Mambo
- Accessories: Elephant Builder punch, White Crinkle Seam Binding Ribbon, Golden Honey DSP (SAB 2020 Retired), Black rhinestone jewels (retired, use a black Sharpie) Stampin’ Dimensionals, Black-and-White-Wired-Ribbon-that-is-Old-As-the-Hills-and-Retired (lol)

The Elephant Builder punch is what really MAKES this card, and it’s currently on sale in the Online Store. It’s the ear. I love the ear!

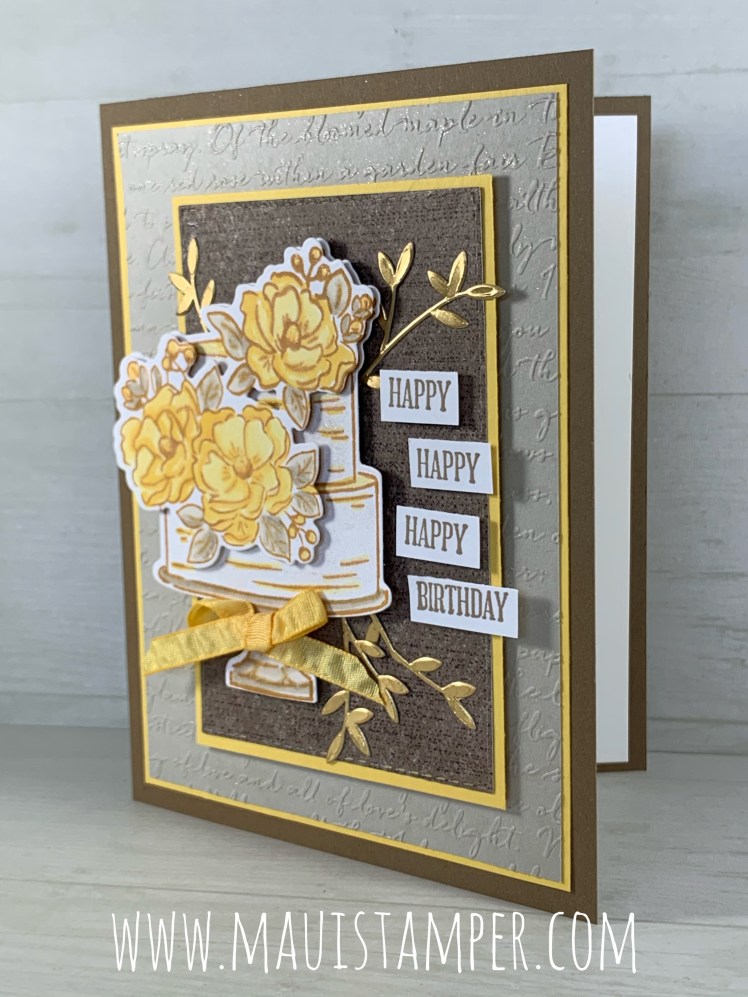
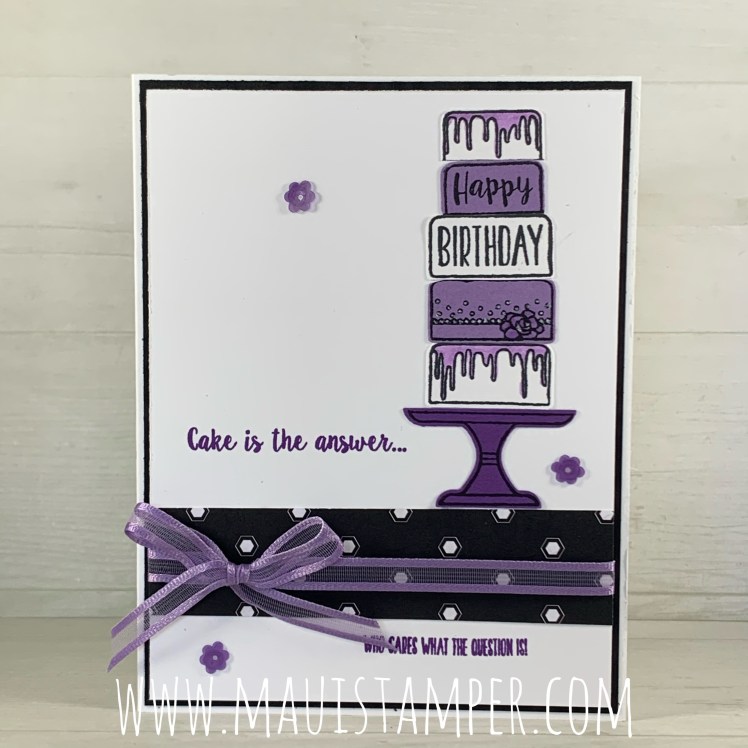
- Stamps: Piece of Cake
- Color Palette: Whisper White, Basic Black, Highland Heather, Gorgeous Grape
- Accessories: Cake Builder Punch, Gingham Gala Sequins, Stampin’ Blends, Golden Honey DSP (SAB 2020 Retired), Organdy Ribbon Combo Pack (2019 SAB Retired)
A note on Stampin’ Blends: You’ve seen them on the Last Chance list – I know I did, and I may or may not have said a Very Bad Word when I saw them! They’re NOT RETIRING. They will be repackaged and sold in pairs, one light, one dark, instead of as single markers. No need to panic.
Both Piece of Cake and the Cake Builder punch are retiring, and the punch is on sale for $10.80. Take a look at this set, because there are a lot of great sentiments as well as really fun images! The self-adhesive Gingham Sequins are on their way out as well.
I stamped the cake layers multiple times on Whisper White and Highland Heather card stock using Memento Ink. I cut the layers apart (the stamp has them stacked together, one large, one small) so that I could alternate the White layer with the Heather layer.

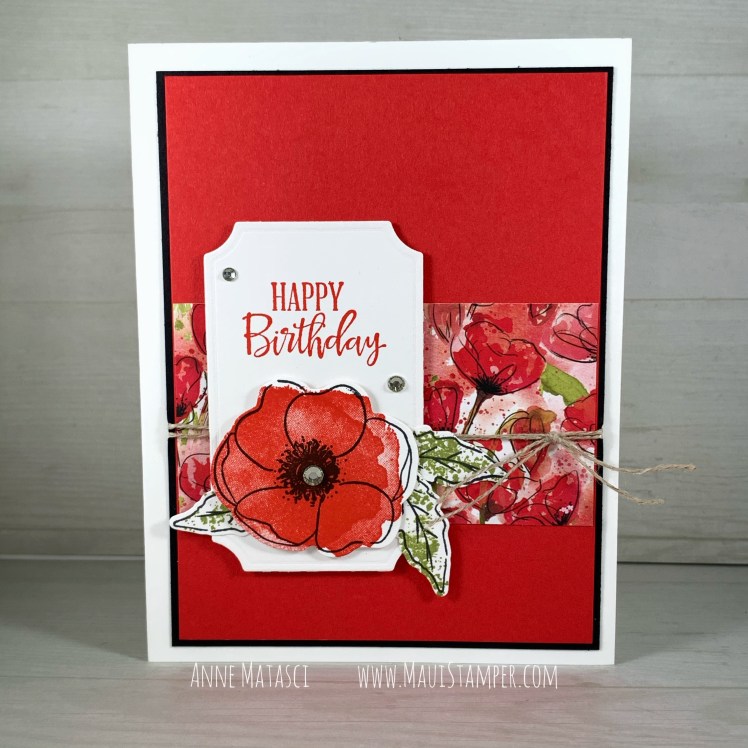
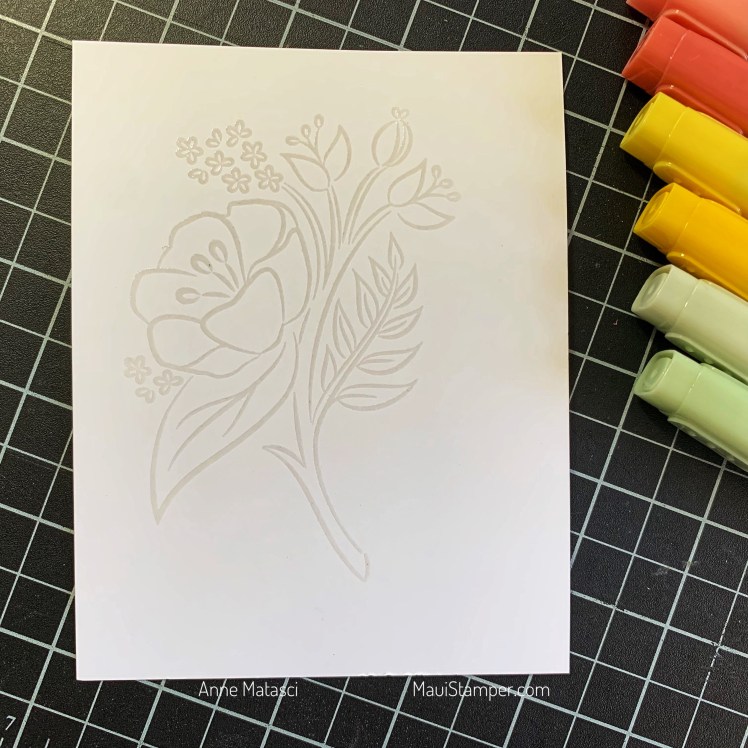
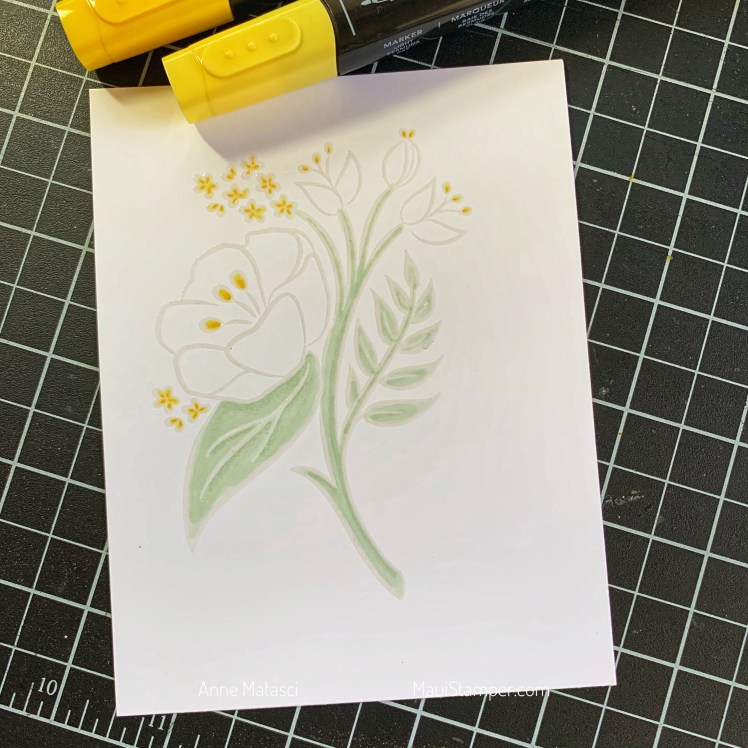
- Stamps: Painted Harvest
- Color Palette: Basic Black, Whisper White, Daffodil Delight
- Accessories: Paper Snips, Same ol’ retired DSP and Ribbon. Sorry!
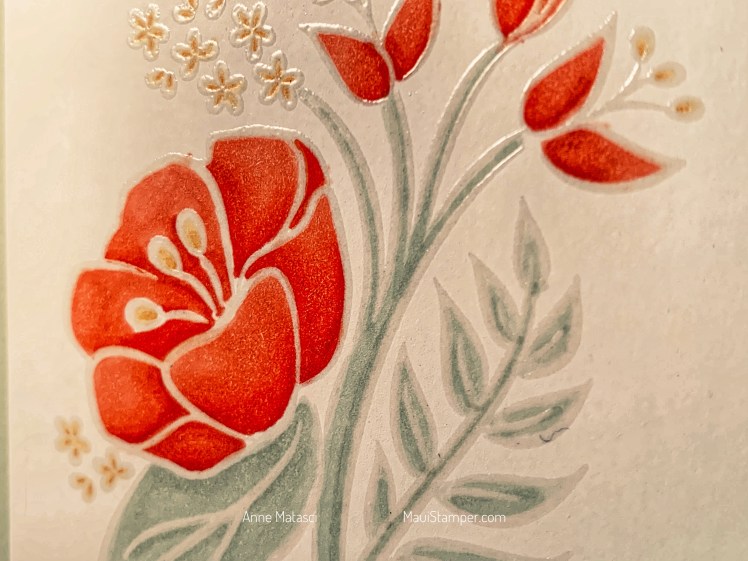
Three cards, three pops of color, three retiring stamp sets, and one layout – I think it’s pretty fun, don’t you? Grab some DSP and have some fun with this concept. And shop the Last Chance products HERE. Don’t delay – many have already sold out.