Farewell to First Frost

This time of year I get a little verklempt over some of the retiring stamps. Others, not so much – but I’ll be sorry to see First Frost leave the catalog. I discovered a little embossed bit in my “pieces” a couple of days ago, and brought the set out for one last inking.

Maui Stamper Stampin Up First Frost in Gray

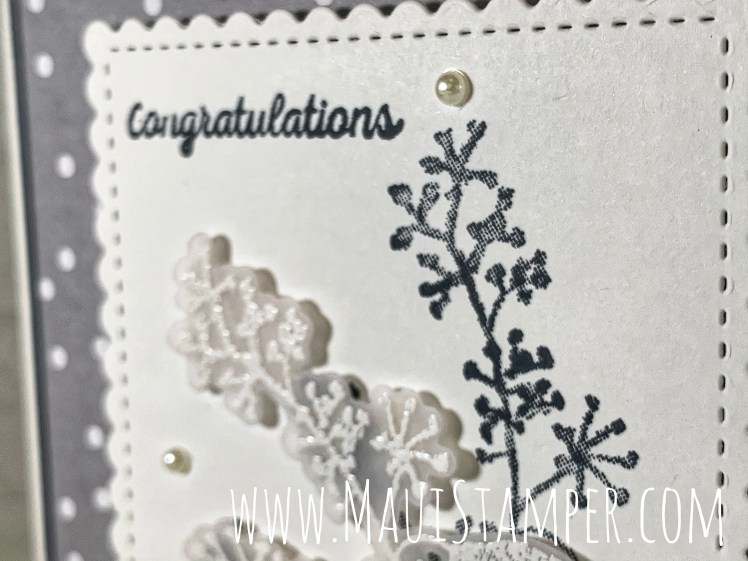
I cut small pieces from the Stampin’ Dimensionals sheet to adhere the embossed vellum stem. The White Embossing Powder perfectly masked the dimensionals, and I was able to cut them in narrow strips by using the extra bit of foam that’s left behind when all the dimensionals are used.

Maui Stamper Stampin Up First Frost in Gray

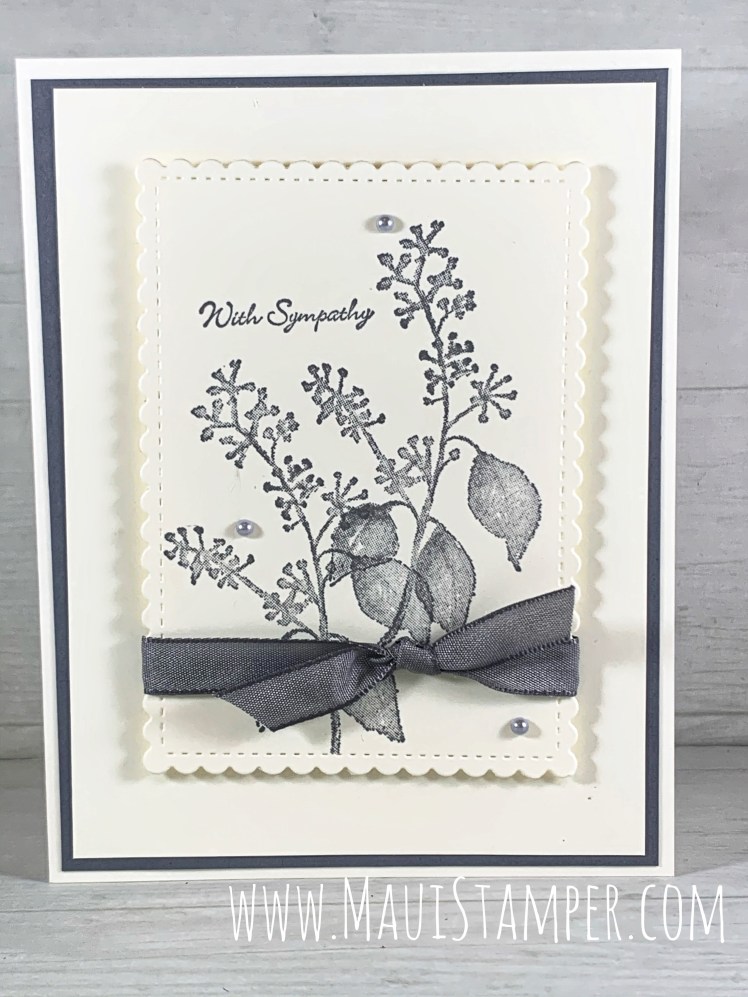
Funny, when I stamped the first images (Memento Black ink on Whisper White) I liked them so well I almost didn’t use the vellum bit that was my inspiration in the first place. Instead, I created this second version using Basic Gray and Very Vanilla card stock. It’s almost the same, although I used the Metallic Pearls and a retired sympathy sentiment (Teeny Tiny Wishes.)

I’m having trouble deciding which one I prefer! But I’ll tell you this: if you’re on the fence about adding First Frost (or Beautiful Bouquet and its great sentiments) to your craft stash, you’ll need to visit the Online Store right away as these two sets will be retired at close of business on June 2, 2020. Don’t dilly dally.

A Congratulations Easel Card

I’ve gotten VERY creative with projects for my clubs the past couple of months, as we’re crafting together via zoom. It’s not quite the same as being together in one place, but it’s much better than not being together at all! Since I can only provide paper and my club members have to go through their stashes to find stamps, ink, and any extras they want, I’ve been working to come up with designs that are flexible. Last month we created an easel card for a graduate:

Maui Stamper Stampin Up Congratulations Easel Technique

This card is more about the concept than the execution. The card base is 4.25″ x 11″ and is scored at 5.5″ and 2.5″. I cut a Whisper White panel to 2.5″ x 4.25″ (the same size as the bottom half of the card front) so that I could be sure and get a perfect Buffalo Check grid. The Stamparatus is an indispensable resource.

The little label from the Ornate Labels dies is the “bumper” for the folded top of the card. It’s mounted on two mini-dimensionals, which are just high enough to hold the easel, but still soft enough to mail with regular first class postage. I’ve used a piece of rogue washi across the card below that bumper, and I can’t begin to tell you anything about it other than the fact that I’ve had it along time!

Maui Stamper Stampin Up Congratulations Easel Technique

On the inside of the card, I created an optional gift card pocket. If your graduate was naughty, well then, leave the pocket off – this is only for graduates who have earned a little reward! The pocket is 4 5/8″ x 2 5/8″ and is scored on 3 sides at 1/2″. Use a circle punch to create a little extra space to slide the card in and out. It looks like it’s upside down, but when you hold the card upright it’s right side up.

There are so many ways to stamp and embellish this card! But if you need a quick and simple version, this will do. And if you need supplies, please visit the Online Store.

A CASE of DoneMark Papercrafts

When I saw THIS card by Karen Varley, a Stampin’ Up! demonstrator in England, I knew I had to have Beautiful Friendship. I’d been resisting it for weeks, trying to tell myself I had enough flower stamps, but it was not to be. My version is very similar:

Maui Stamper Stampin Up Beautiful Friendship

I pierced a couple of holes in the Stitched Rectangle shape and threaded the linen thread through to tie the bow. I don’t like glue dots for this purpose, because the bow comes off. It’s one of my fussy bits.

Maui Stamper Stampin Up Beautiful Friendship

I chose to make the floral images more dominant on the page, and I used a sticky note to mask the flowers so that the leaves would peep out from behind them. Other than that, this is a pretty simple card that you could mass produce for a variety of uses: congratulations, thank you, birthday, even a sympathy card.

How will you craft yours? If you need supplies to get started, shop HERE.

Colour Inkspiration 54: Lift Me Up

One more Black and White and POP card for Colour Inkspiration 54!

Maui Stamper Stampin' Up! Colour Inkspiration 54 Lift Me Up

This one makes me a little dizzy and I’m not sure I like all the lines going different directions. Sometimes you just have to experiment! I think it’s the reflection technique of the Daffodil Delight and Memento Black inks on the sentiment that make me feel out of focus. But I’ll tell you, the Stamparatus makes that technique easy as can be!

Maui Stamper Stampin' Up! Colour Inkspiration 54 Lift Me Up

The little clouds included in this stamp set really pop up the cute factor for me. I’ve only been in a hot air balloon once, and we never quite got up to the level of the clouds, so this is pure imagination.

Maui Stamper Stampin' Up! Colour Inkspiration 54 Lift Me Up

Stop on by the Colour Inkspiration Facebook page for lots of Black and White and POP inspiration. Add a project of your own! And if you live in the US, please shop HERE.