HI FRIENDS!!
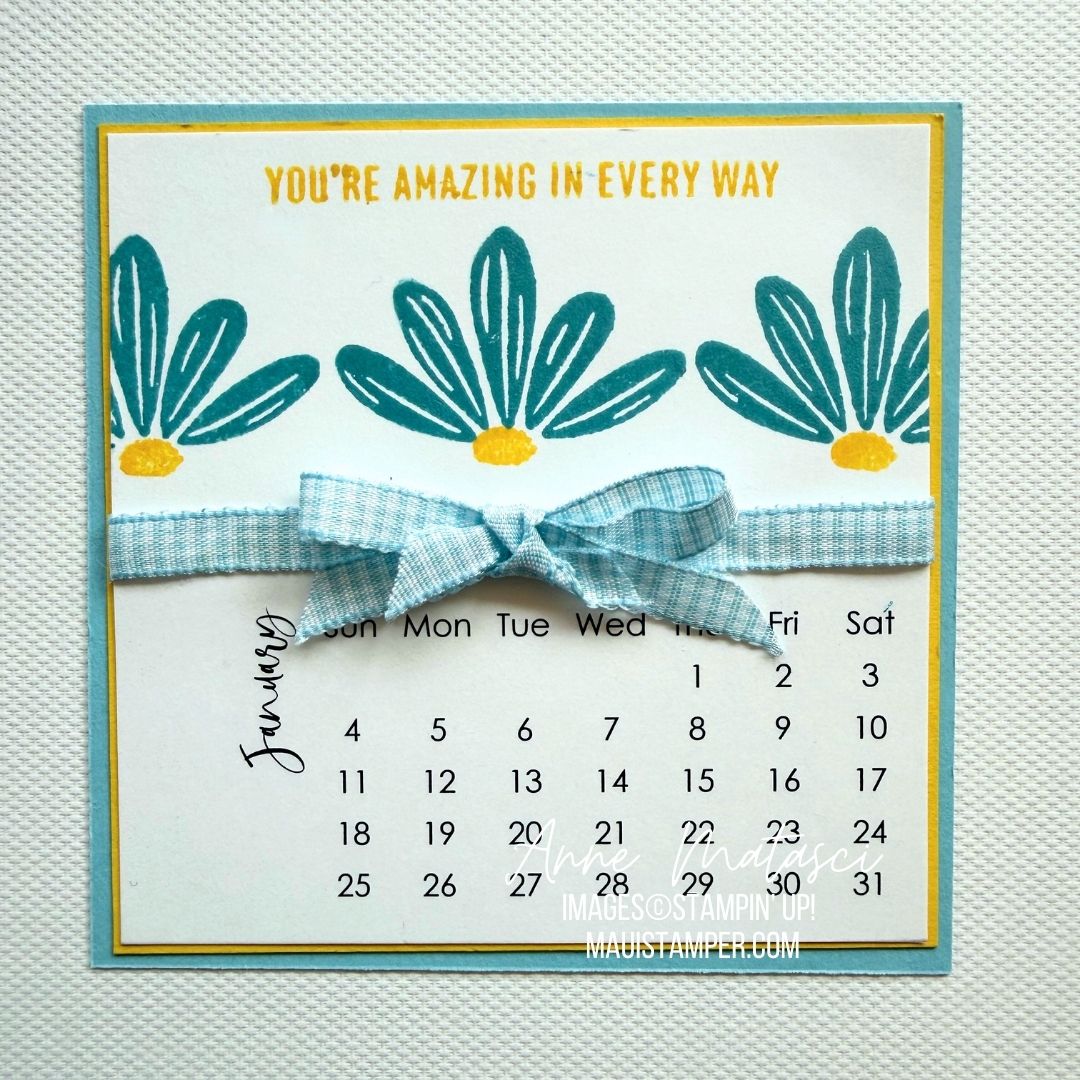
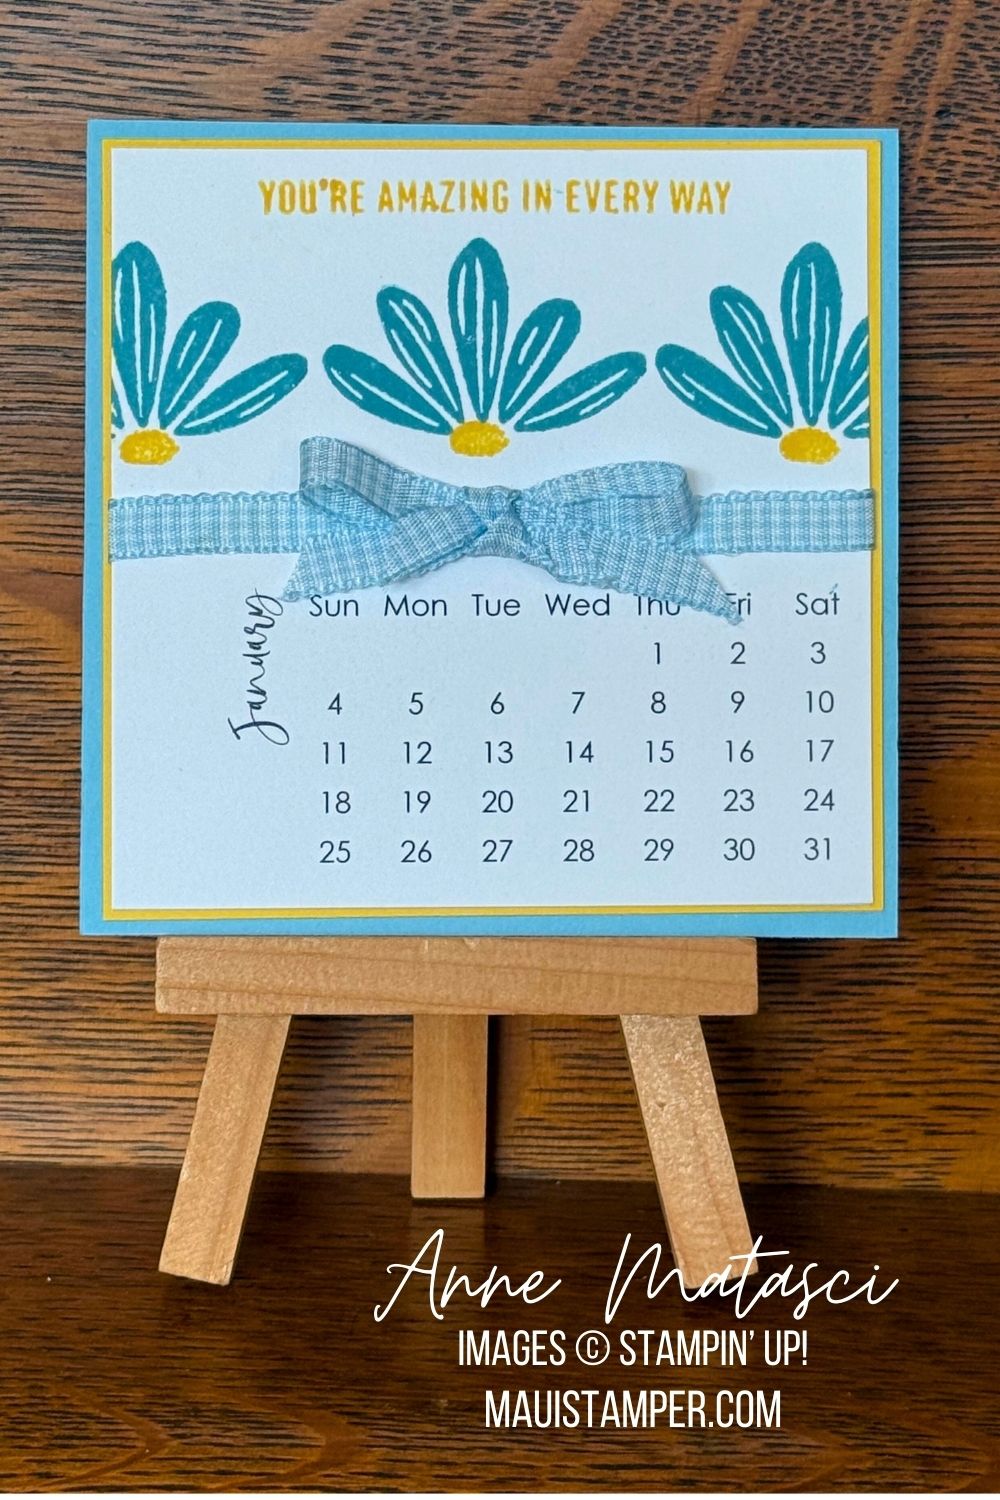
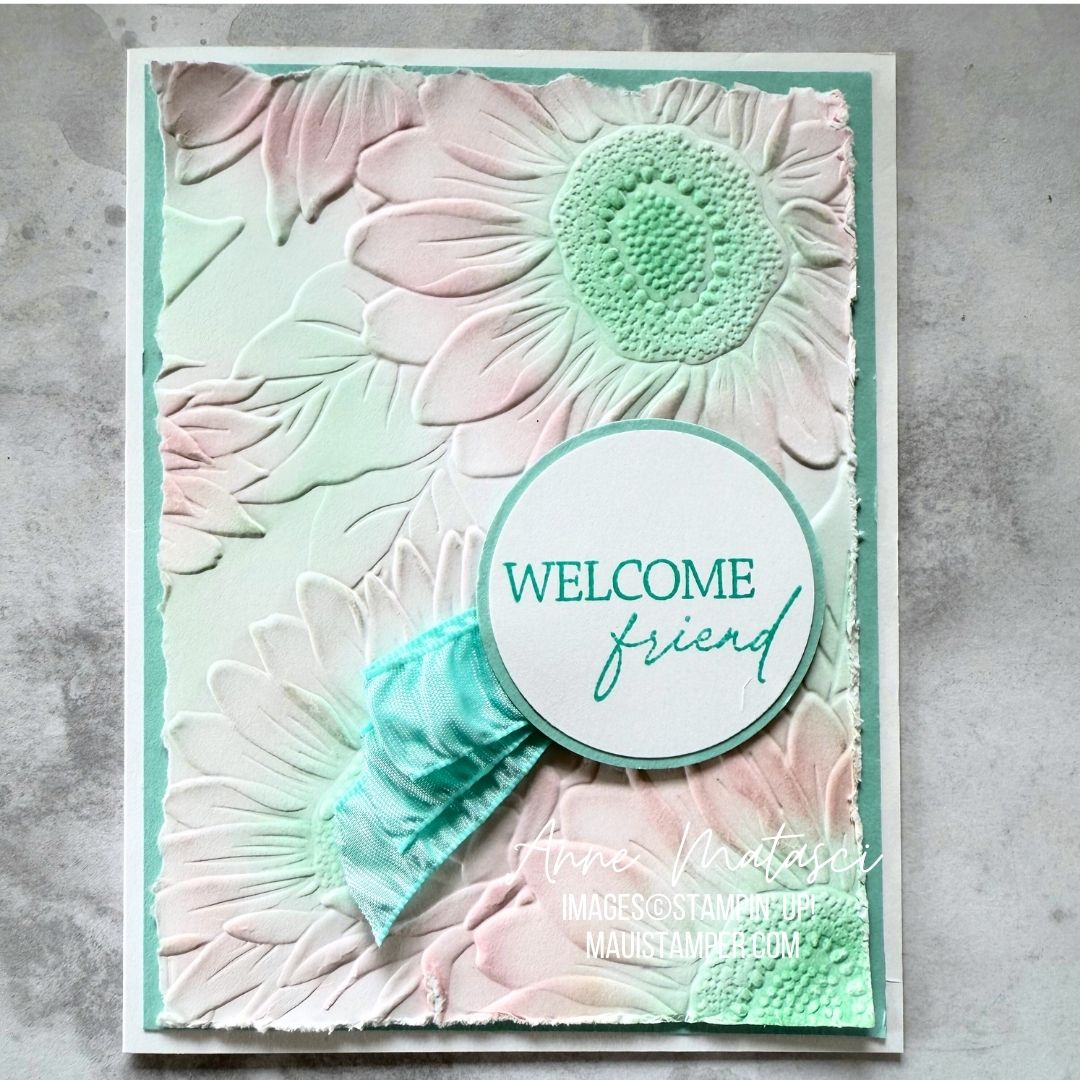
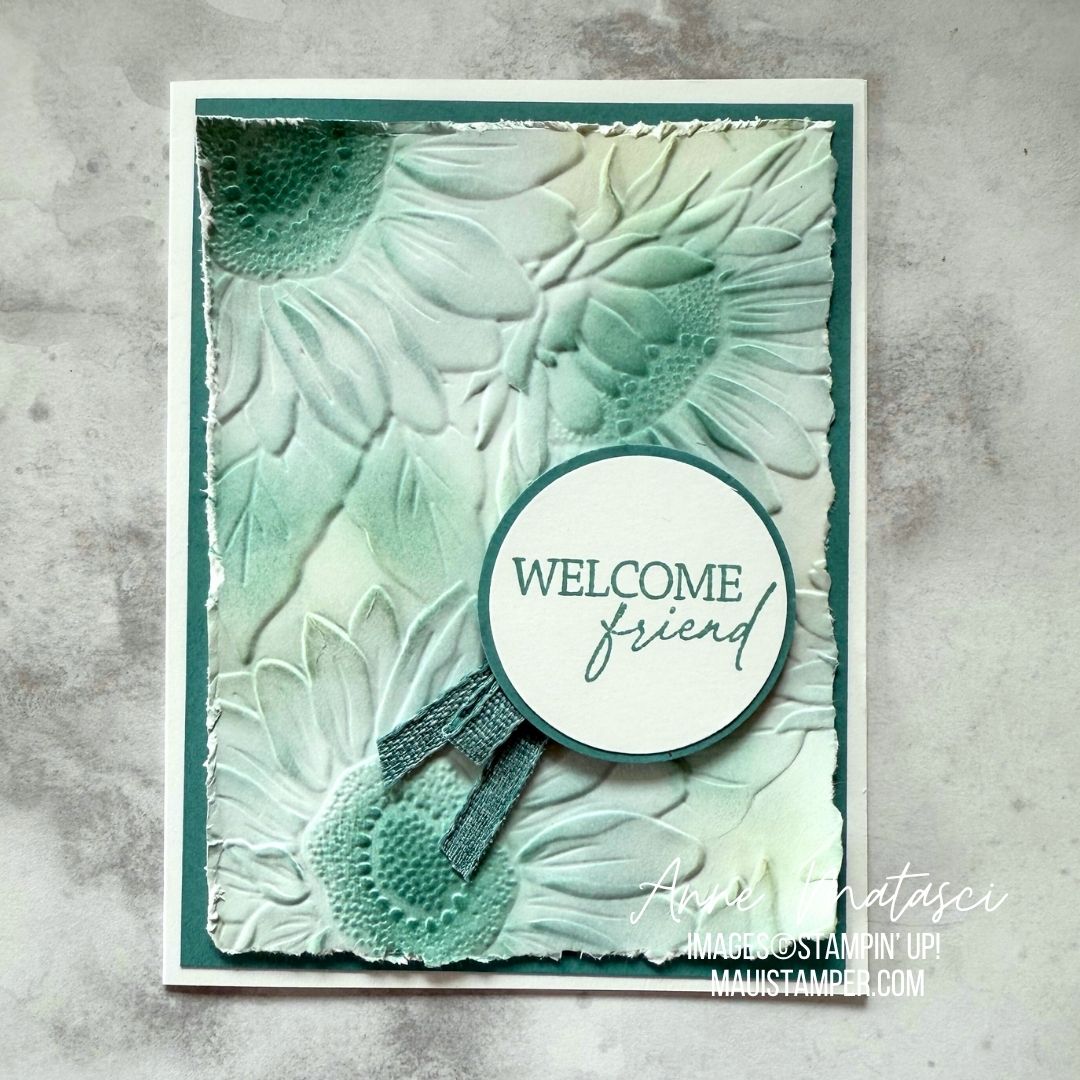
Today’s card is bright and cheery and meant to bring a bit of joy – what do you think?

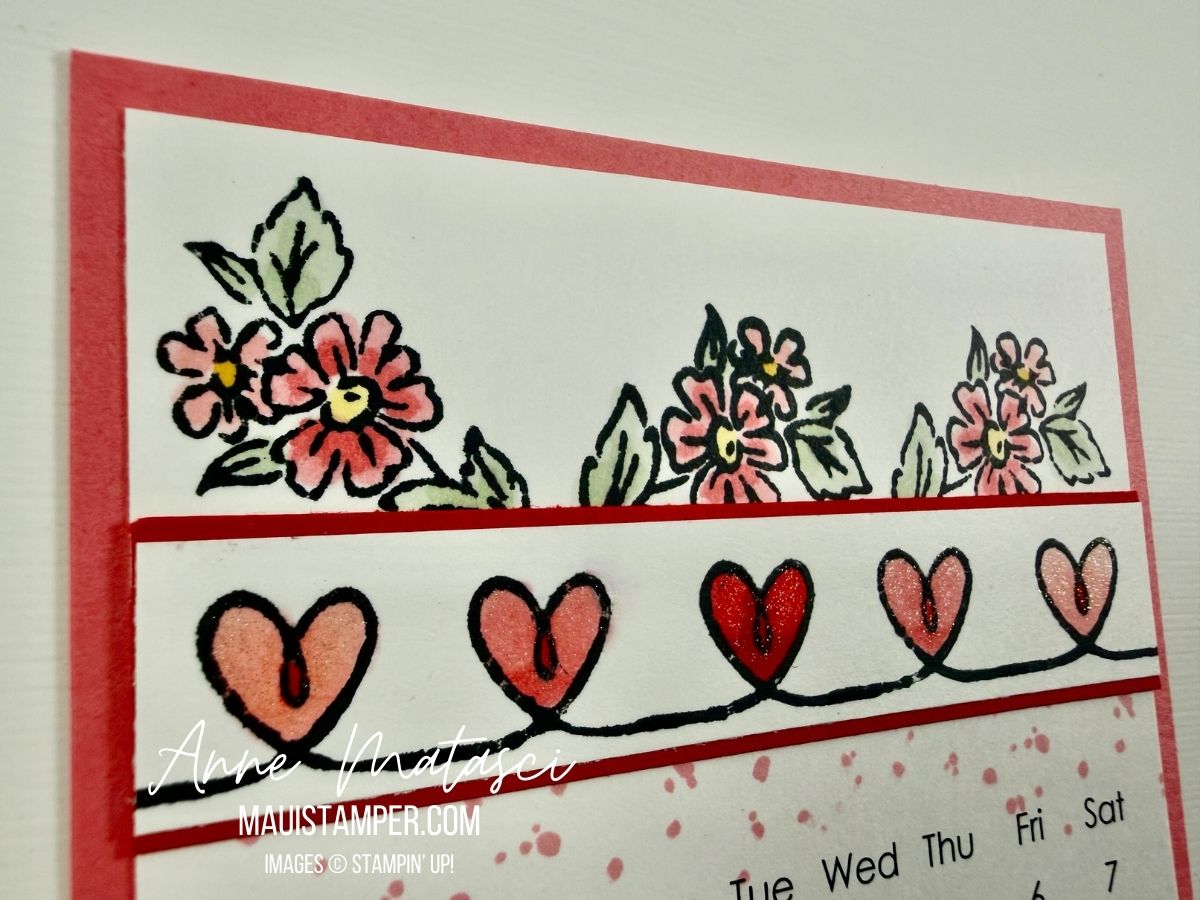
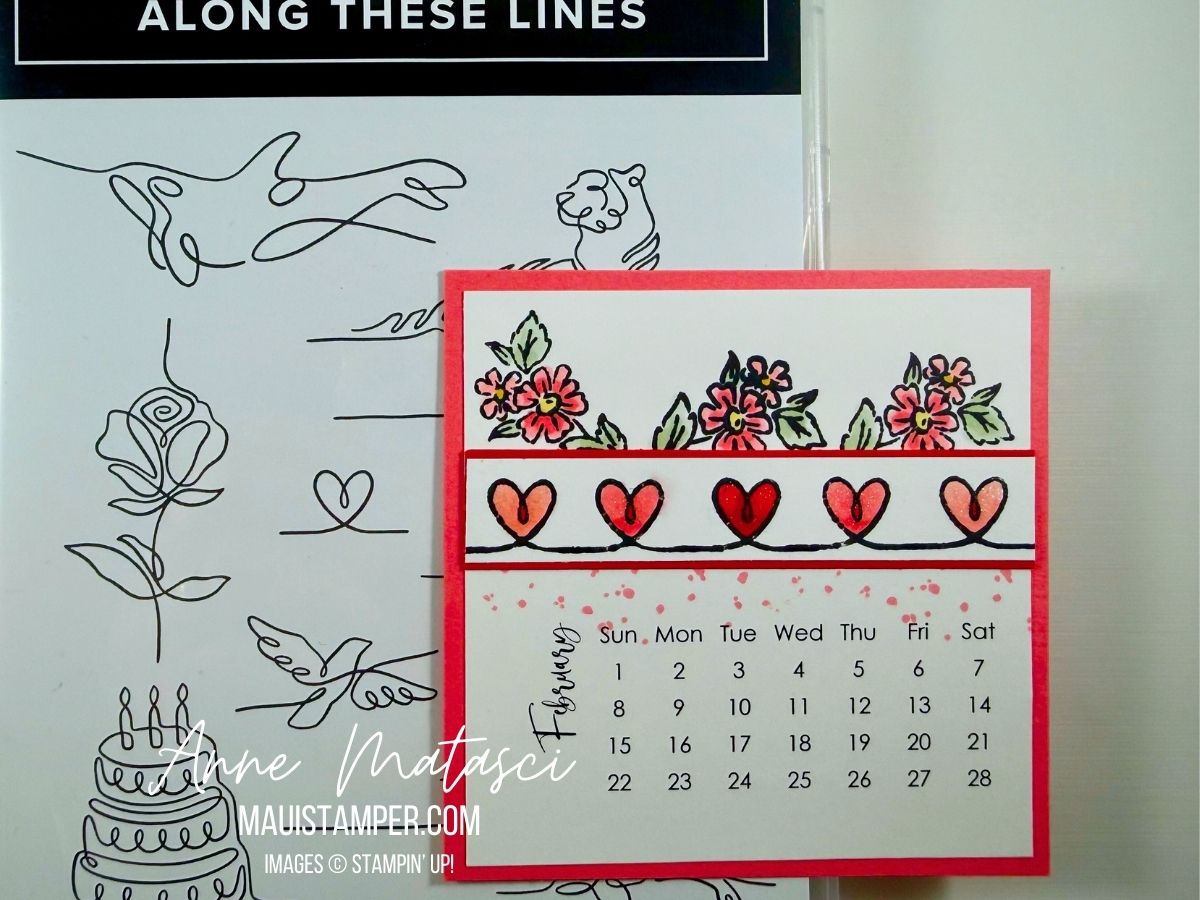
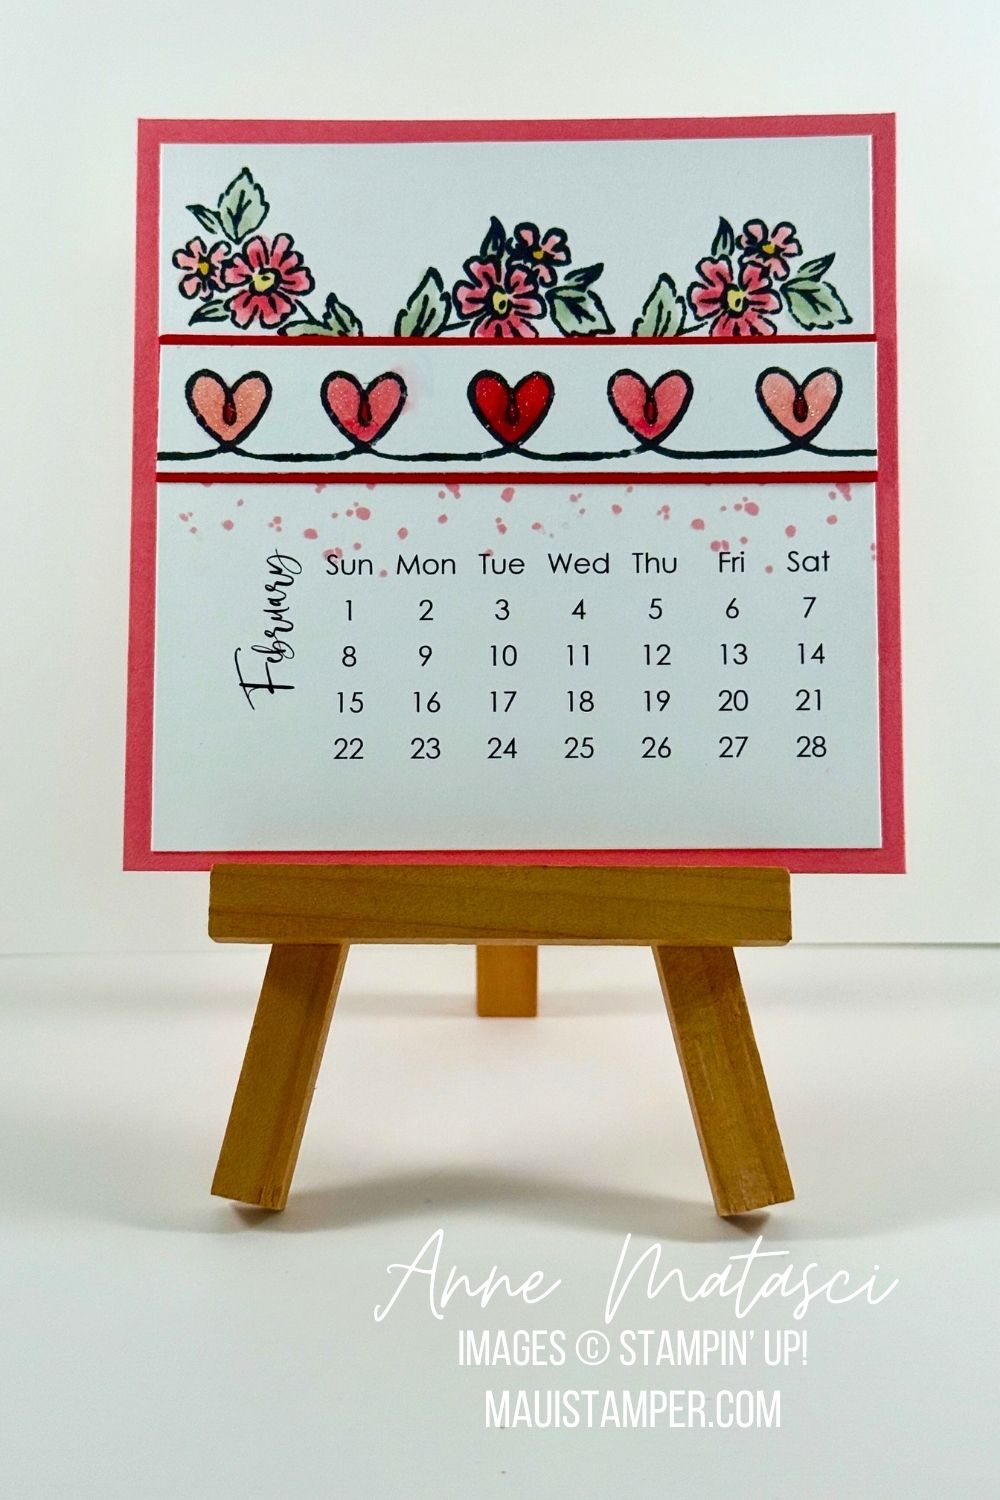
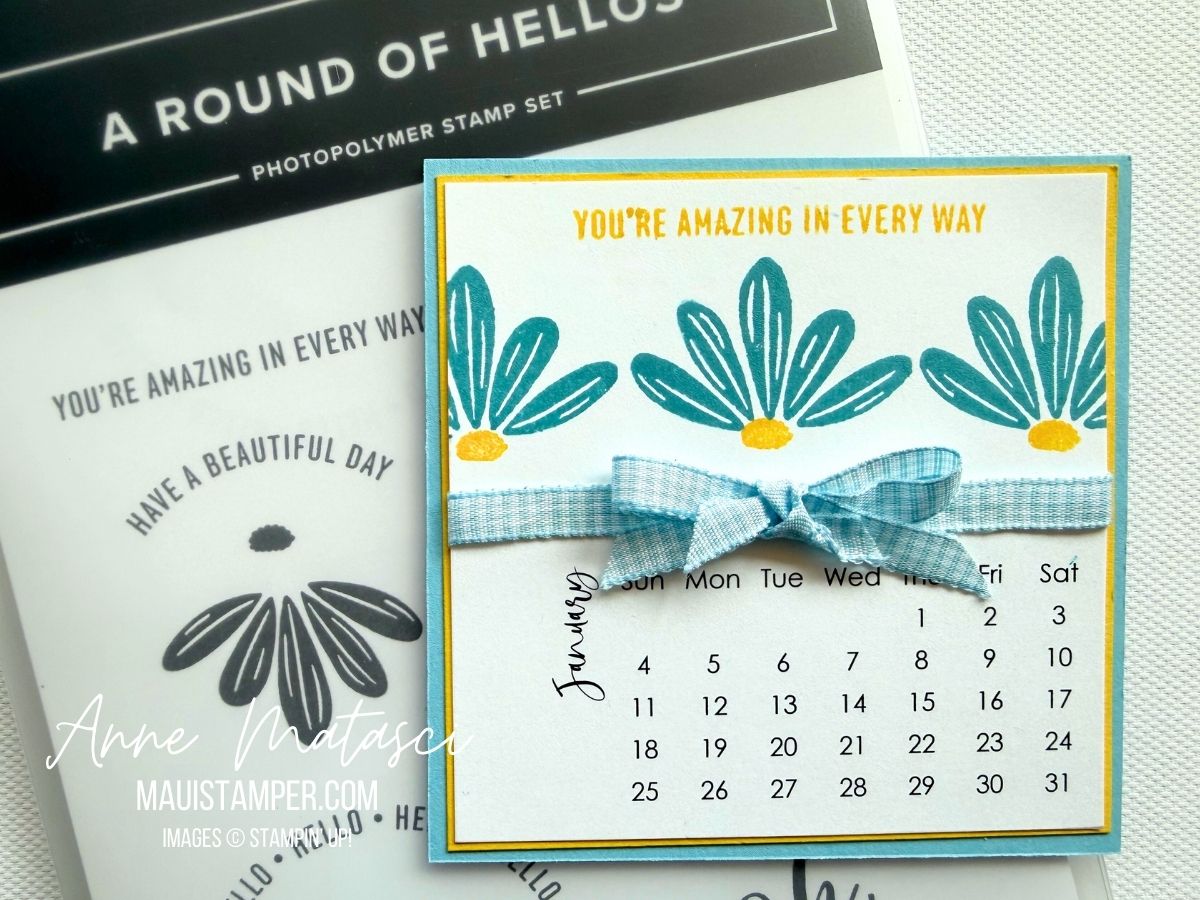
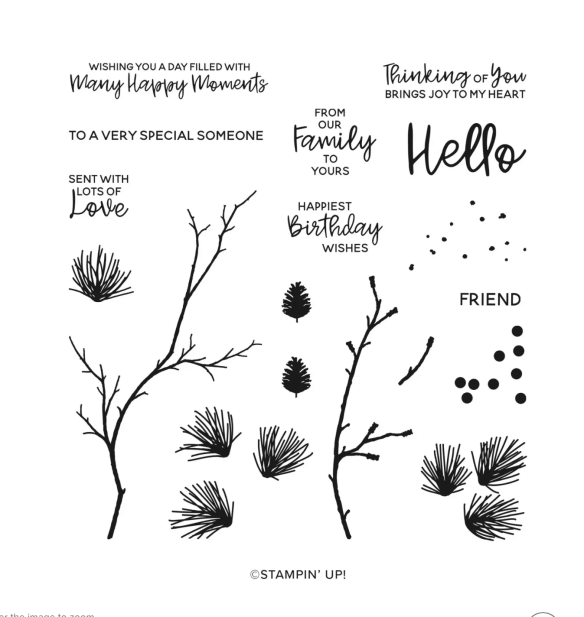
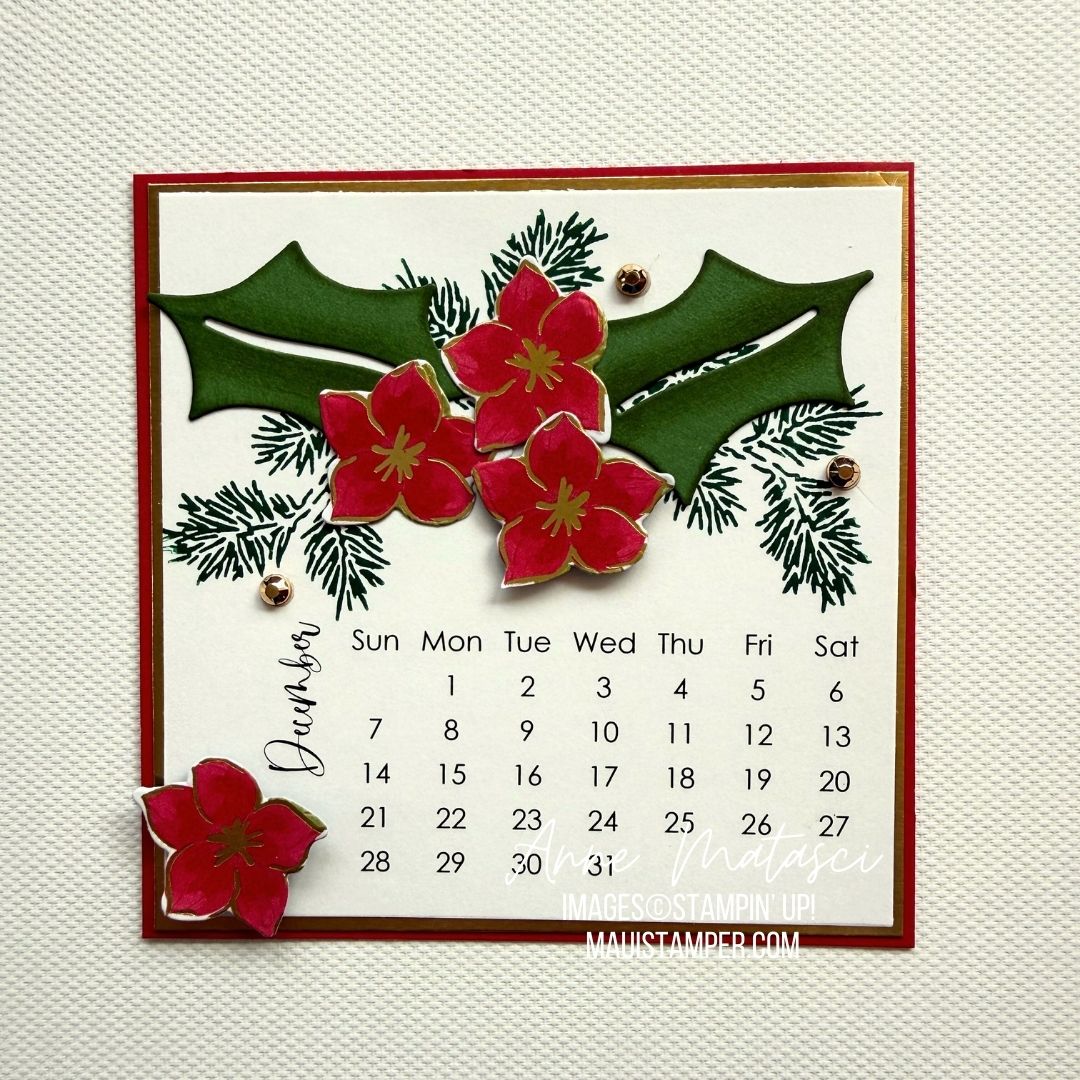
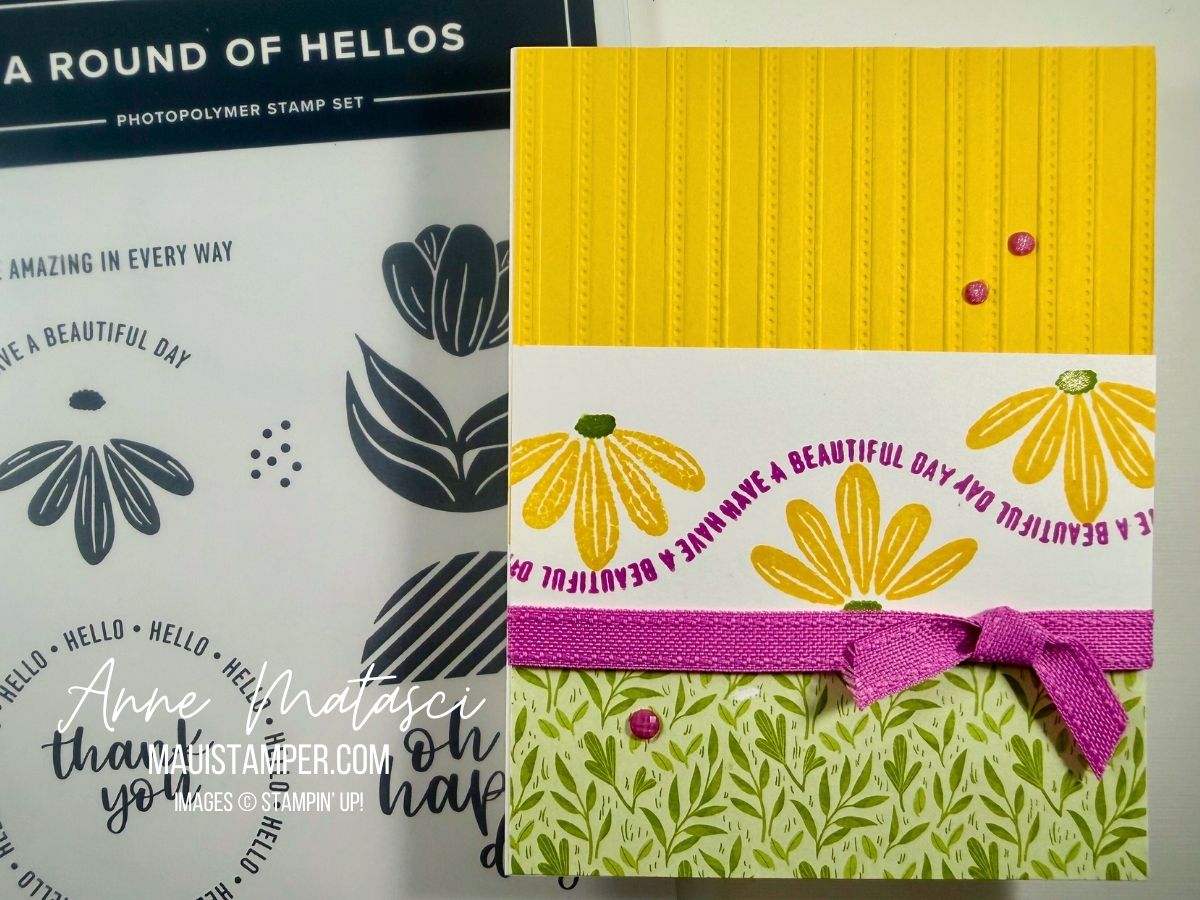
- Stamps: A Round of Hellos
- Color Palette: Basic White, Daffodil Delight, Garden Green, Petunia Pop
- Accessories: Stamp Cut & Emboss Machine, Lovely Stripes 3D embossing folder, Petunia Pop Bordered Ribbon (retired), Gathering Together DSP, Charming Shimmer Faceted Dots, Wink of Stella
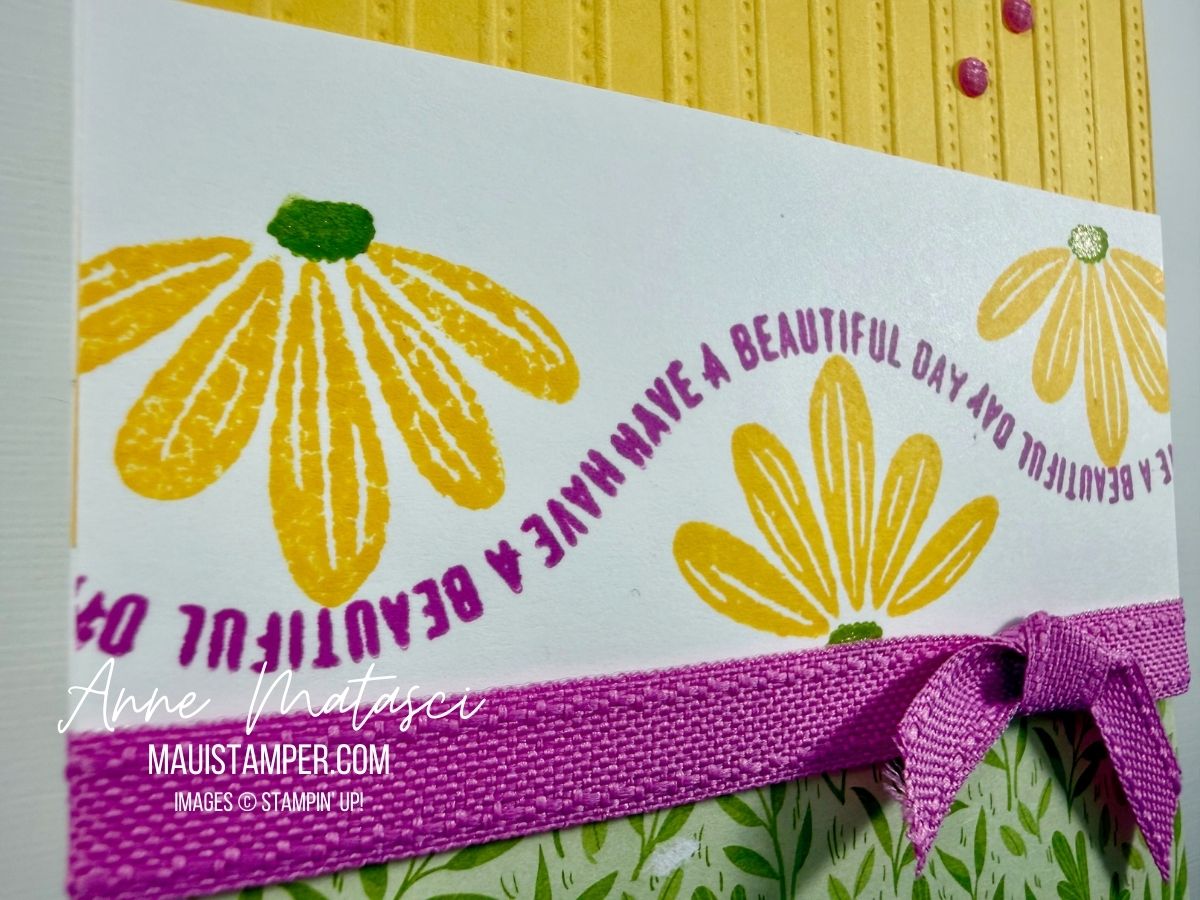
The flowers are flipped up and down, and the curved sentiment is upside down in places. I think this reflects my personal style quite well 😆
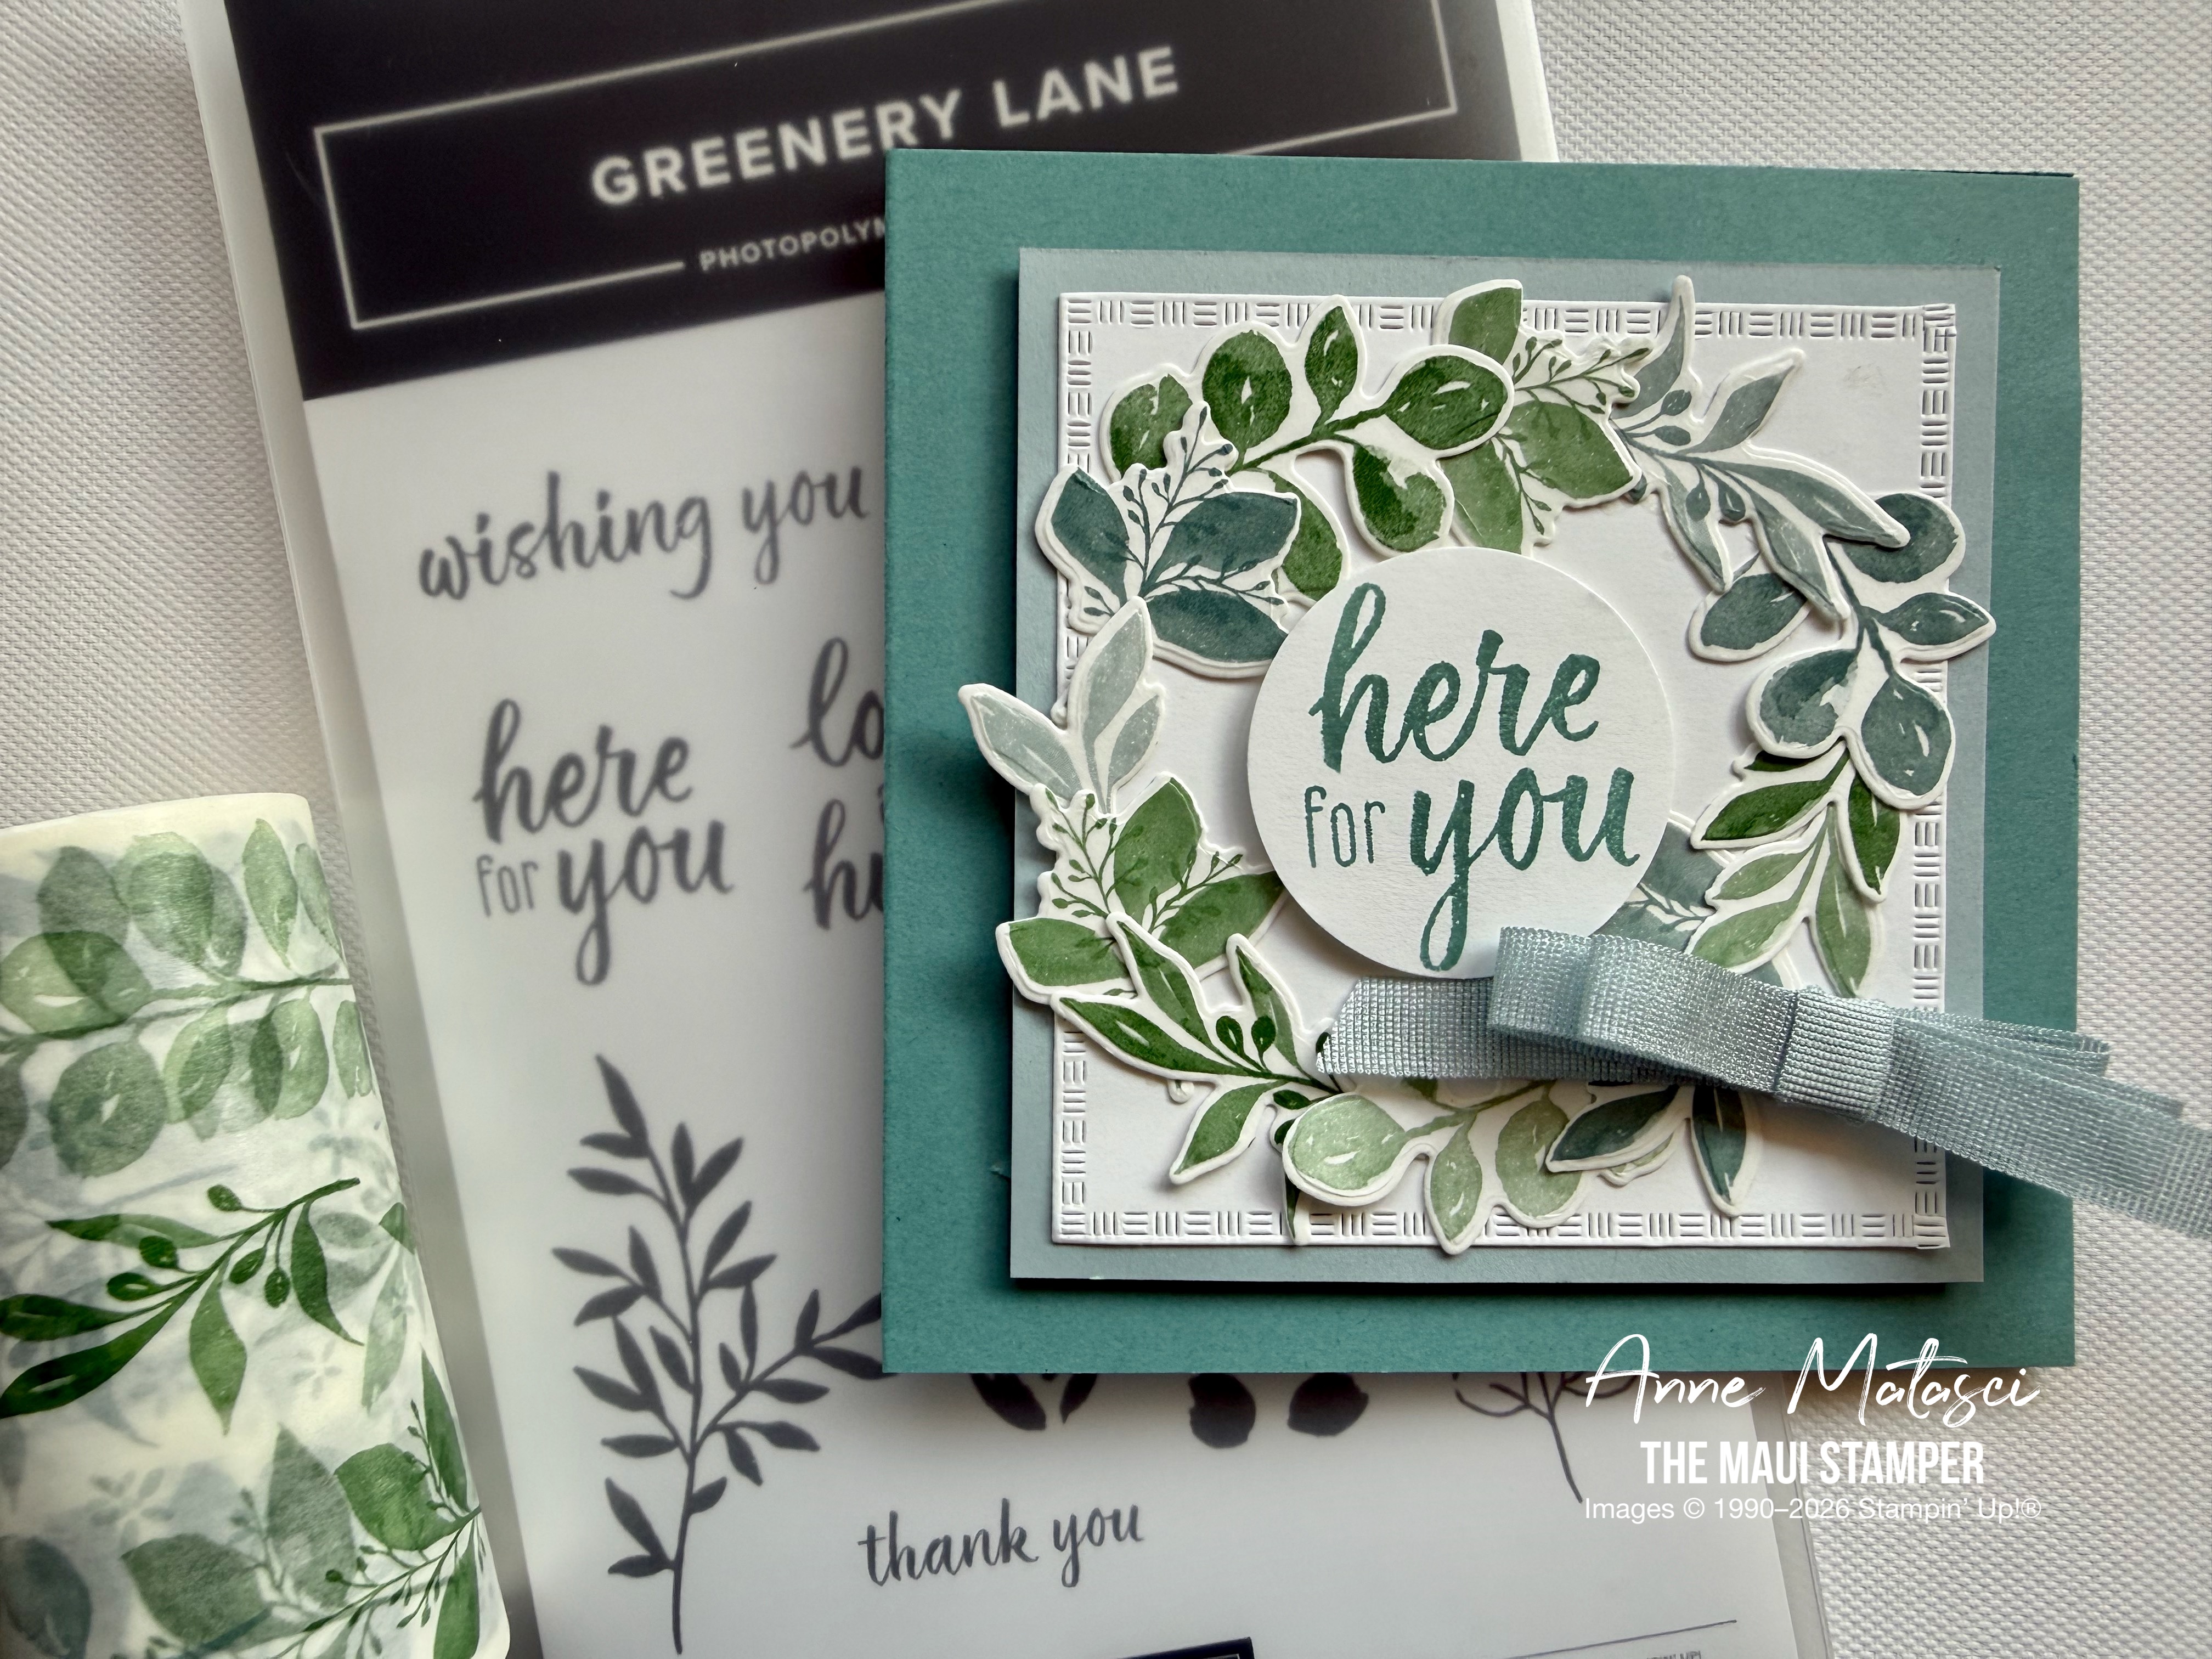
There are a few retired products on this card, but our product selection is so diverse that you can easily find a substitute. The Round of Hellos stamp set is currently alive and well in the Online Store!
Happy Valentines Day 💕 I’ll be at the beach and riding the tandem with Mr. Maui Stamper. Can’t think of a better way to celebrate!!
Well, maybe shopping for Stampin’ Up! goodies at the Online Store for those of you who aren’t married to Mr. Maui Stamper 😉
Processing…
Success! You're on the list.
Whoops! There was an error and we couldn't process your subscription. Please reload the page and try again.