Our catalog calendar this year is a little different than in the past. While the Annual Catalog ends on May 3, the January-June catalog is available through June 30. That means that the True Love Designer Series paper and my favorite Snailed It images will be around for a while, and I intend to make use of them as much as I can!

- Stamps: Snailed It, Many Messages
- Color Palette: Basic Black, Basic White, Magenta Madness, Seaside Spray (retiring 5/3)
- Accessories: True Love Designer Series Paper, Big Boss, Stitched Shapes Dies (retiring 5/3), Messages Die, Snail dies, Old World Paper Embossing Folder (retiring 5/3), Stampin’ Blends, Fine Tip Glue Pen, Stampin’ Dimensionals
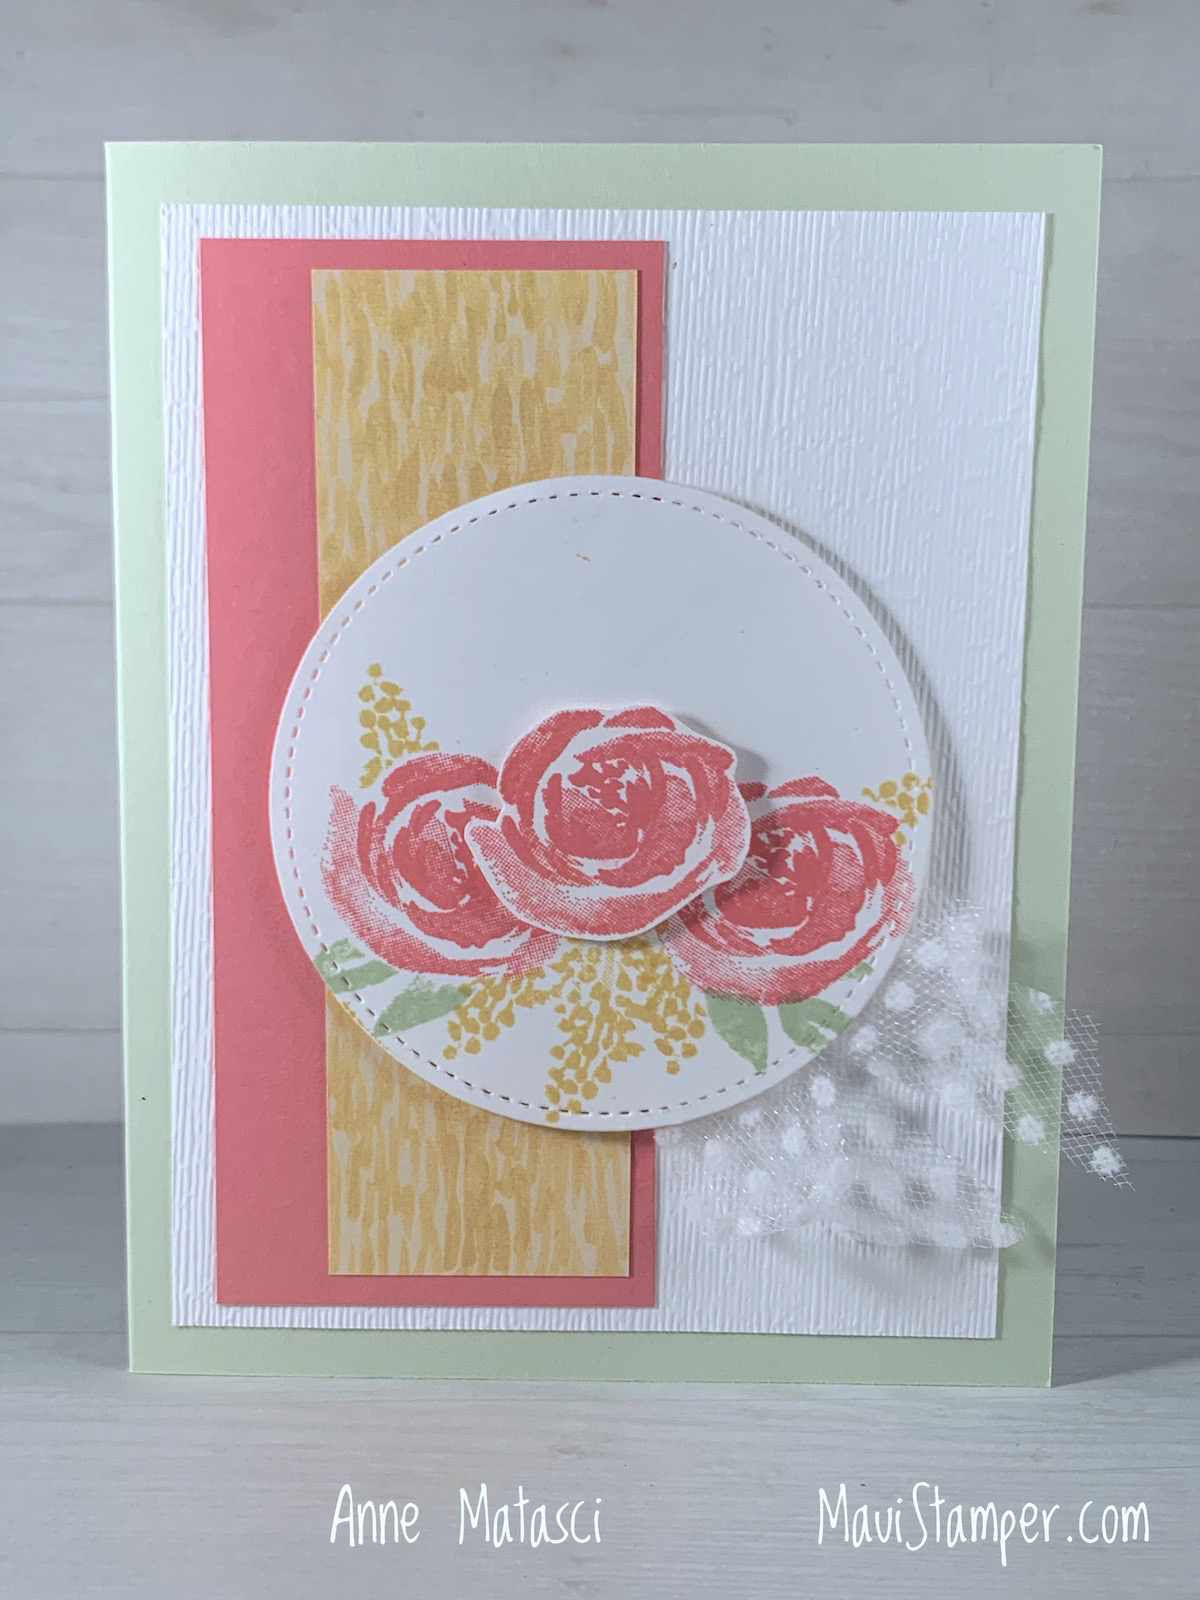
This is a great example of a simple layout stepped up with the use of dies, DSP and embossing folders to add interest and texture. It’s just a few rectangles and a snail, right? That little “Oh happy day” sentiment from the Many Messages bundle is a great multi-purpose message. I can add Congratulations or Happy Birthday on the inside when I’m ready to send.
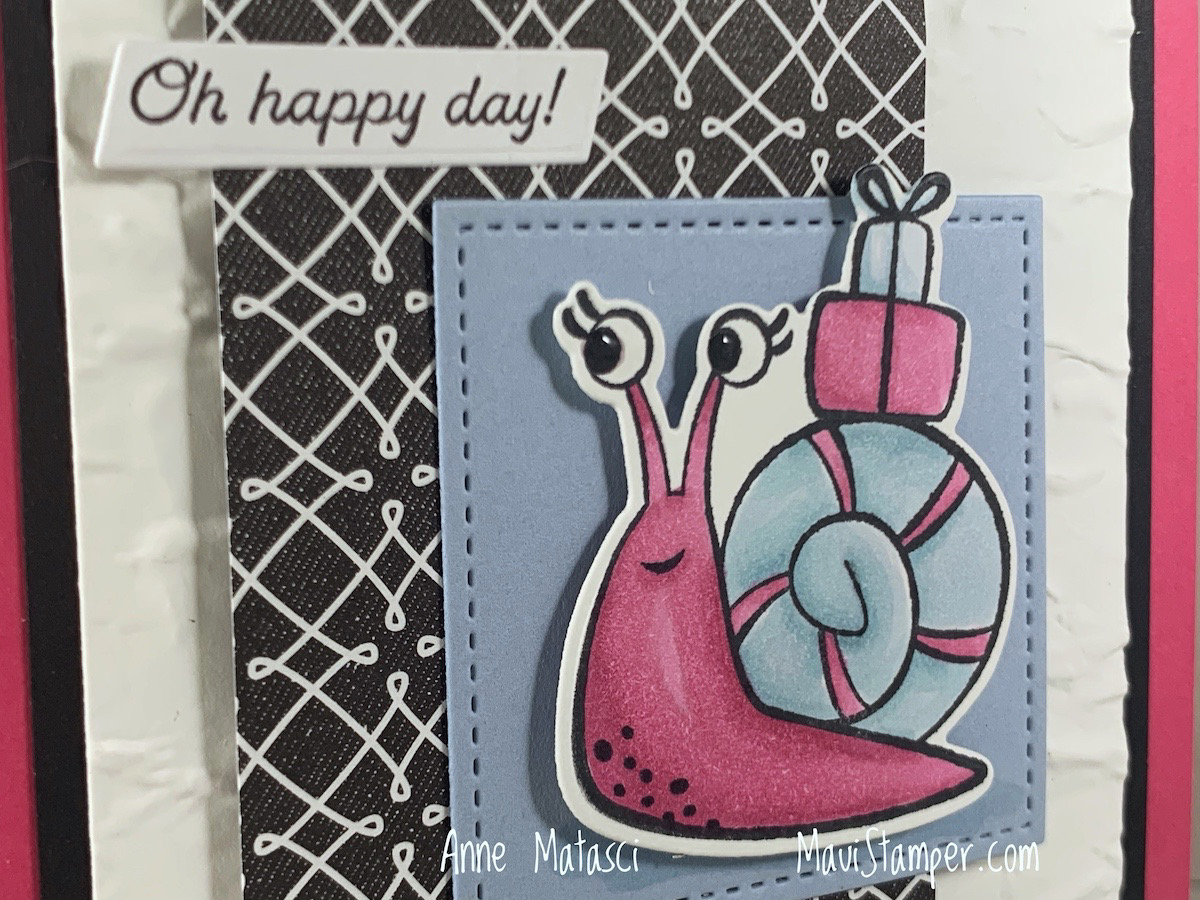
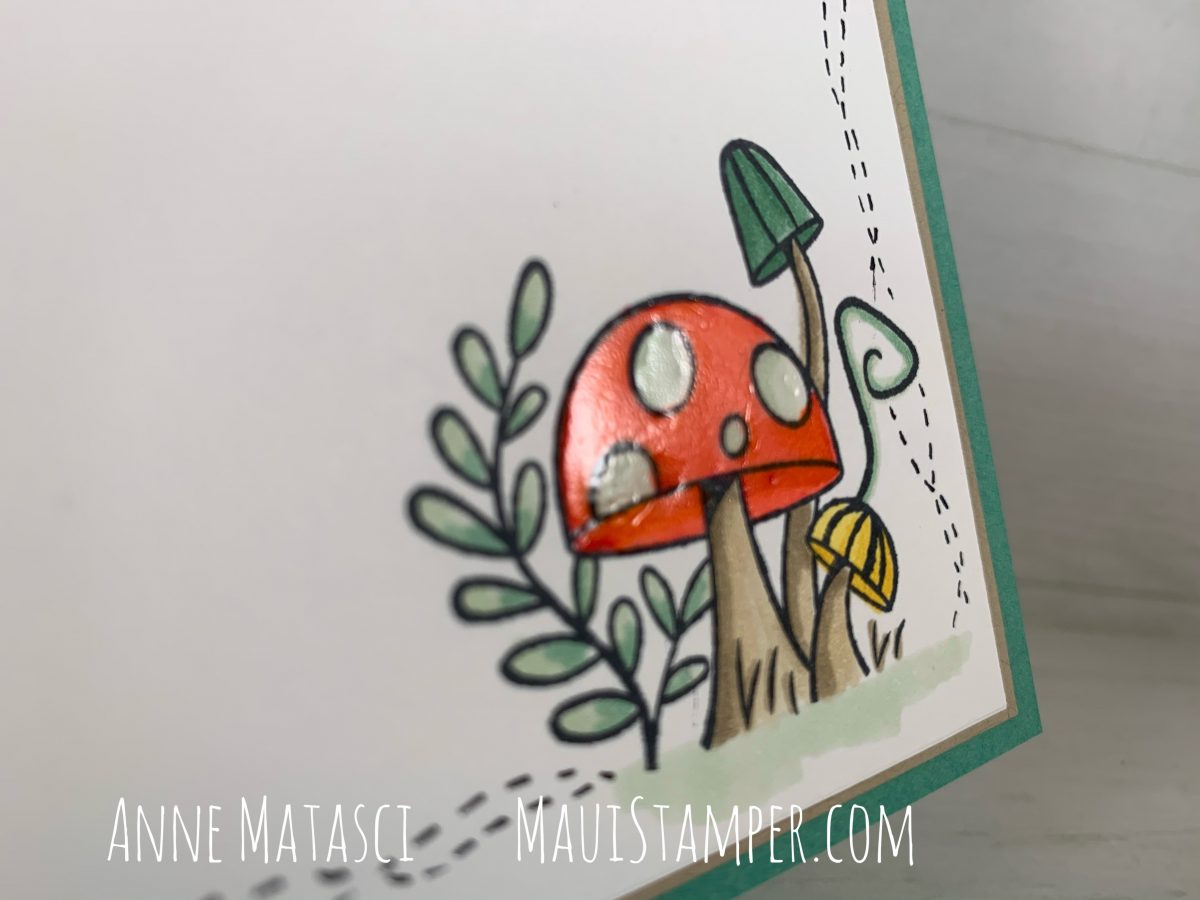
It’s hard to see, but trust me, those snaily eyebubs have some shine. I keep a long bamboo skewer on my craft desk (indispensable in so many ways). I’ve used it here to add some Fine Tip Glue to emphasize my snail’s eyes. The skewer gives me more control over how much and where the glue ends up.
Ready to shop? Sliiiide on over to the Online Store.