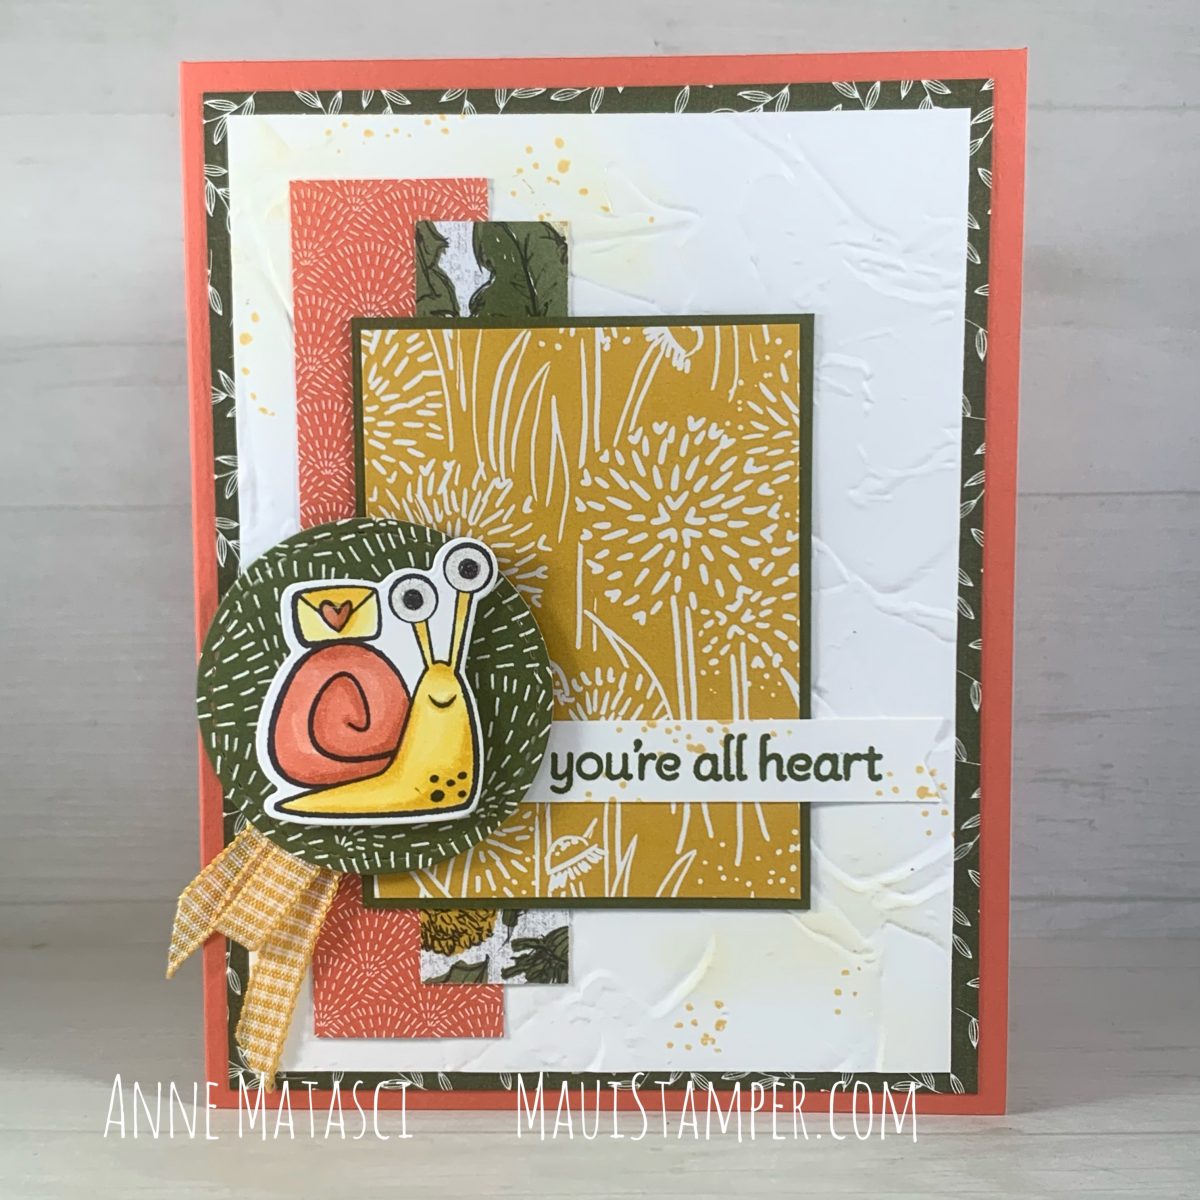
When I first saw the Mojo Monday 552 sketch, I envisioned it in Designer Series Paper. Once I started working, I switched to textured paper, but the idea of using DSP was still in my head. I finally got it out of my head and onto a card:
Stamps: Snailed It, Lots of Heart, The Right Angle
Accessories: Big Boss, Snail dies, Stitched Shapes dies, Painted Texture 3D Embossing Folder, Blending Brushes, Bumblebee Gingham Ribbon, Wink of Stella, Fine Tip Glue Pen, Stampin’ Dimensionals
The card sketch is the same – I followed the dimensions in the challenge – but this is the original layout. My first card made for this challenge was a mirror image of the design, since that snail was traveling East. This snail is Westward Ho!
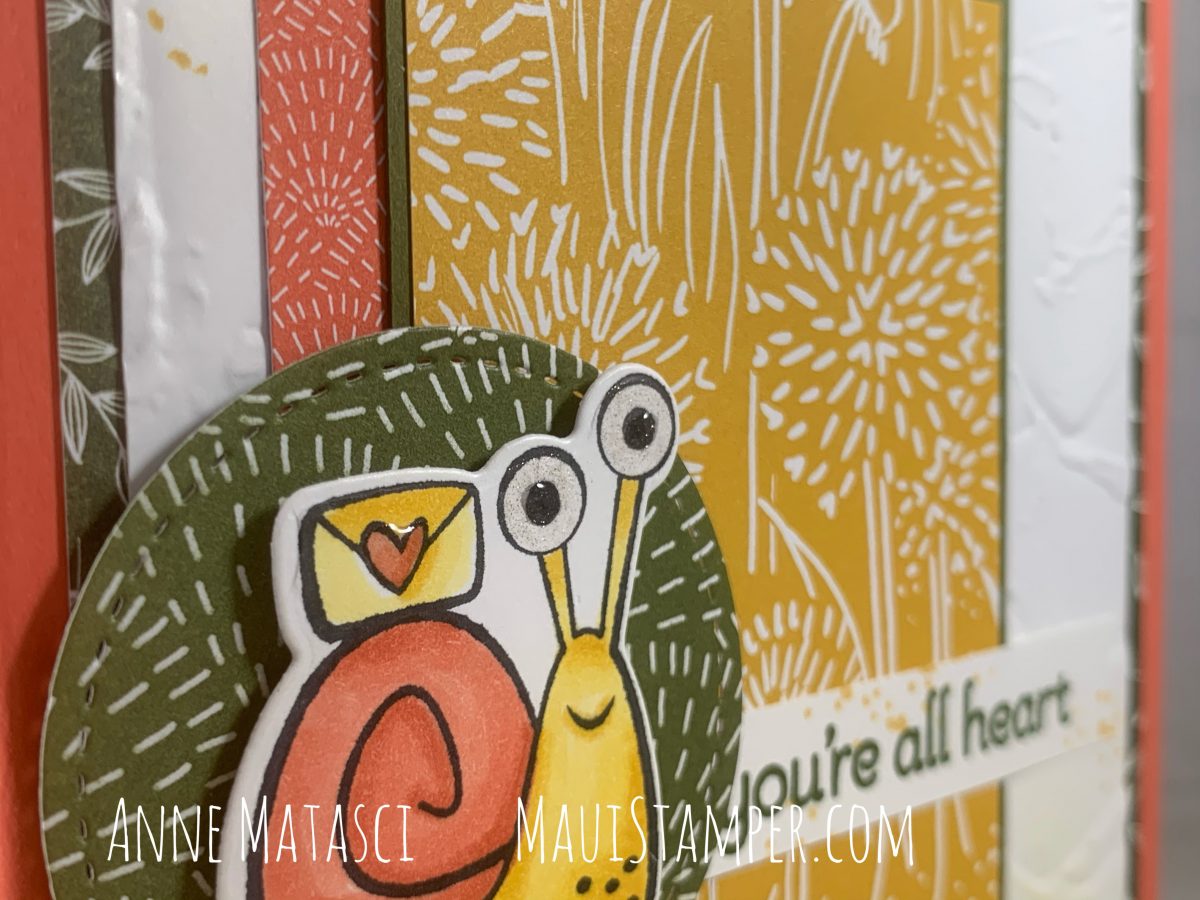
I’m totally sold on using Wink of Stella and the Fine Tip Glue pen to make eyes – any eyes – really sparkle. I don’t use the fine tip, I unscrew the entire top of the bottle and dip right in with a bamboo skewer. You need to let the excess drip back into the bottle, but I find it gives me better control when I want to “paint” with the glue.
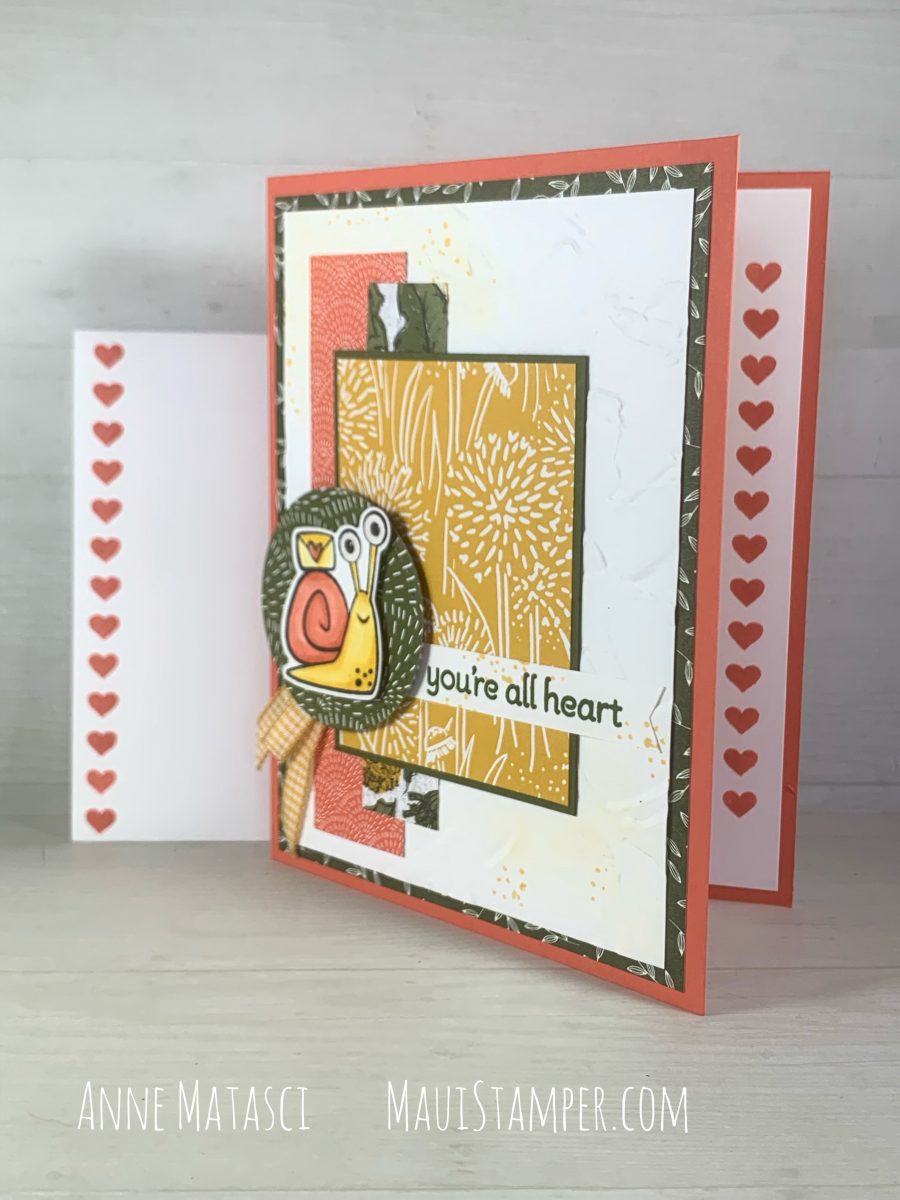
The horizontal row of hearts in Lots of Heart is perfectly sized for adding to the envelope or the inside of the card – or both! Why be either/or when you can be both/and?? Ask yourself this more often.
Take that idea of Both/And with you to the Online Store and you too can be overrun with cute little paper snails! They’re highly preferable to the slimy kind, at least if you ask me. You may discuss amongst yourselves.
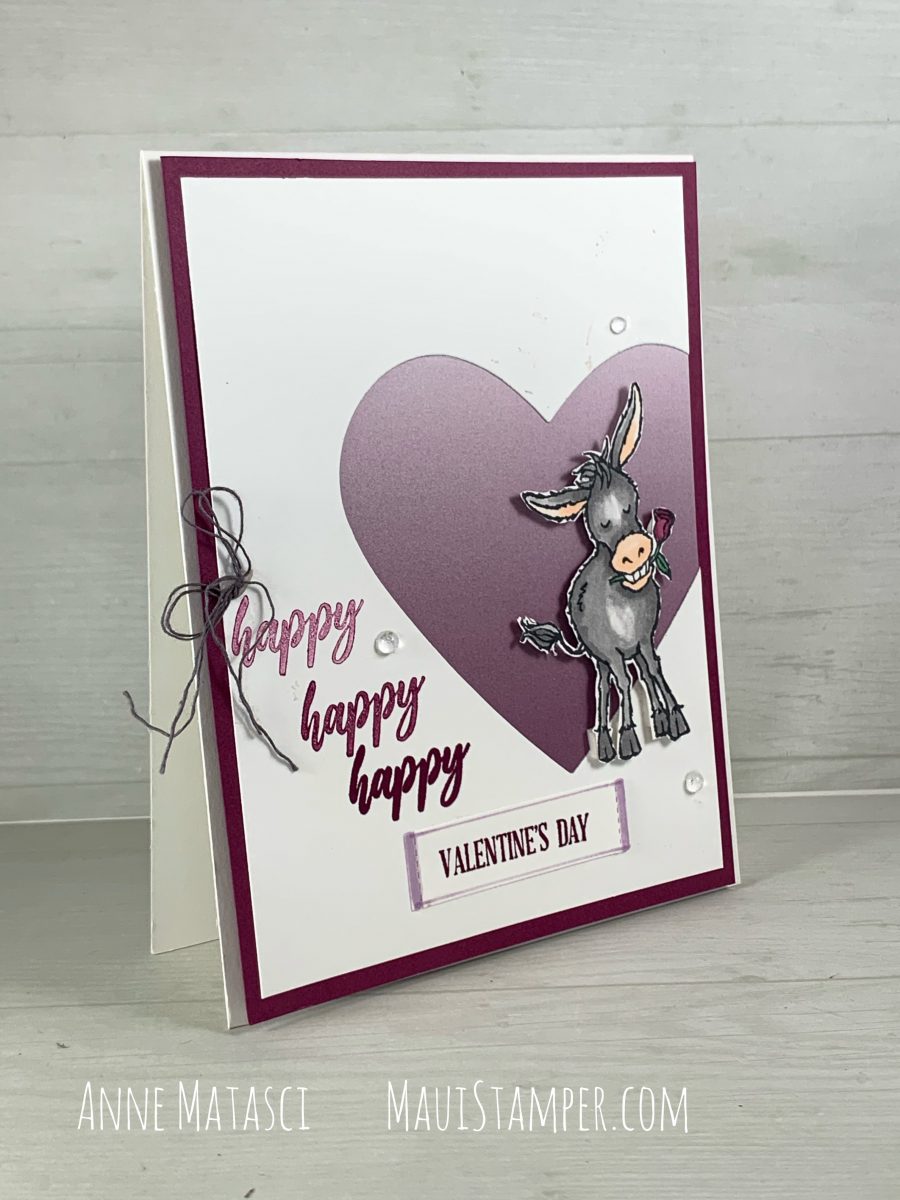
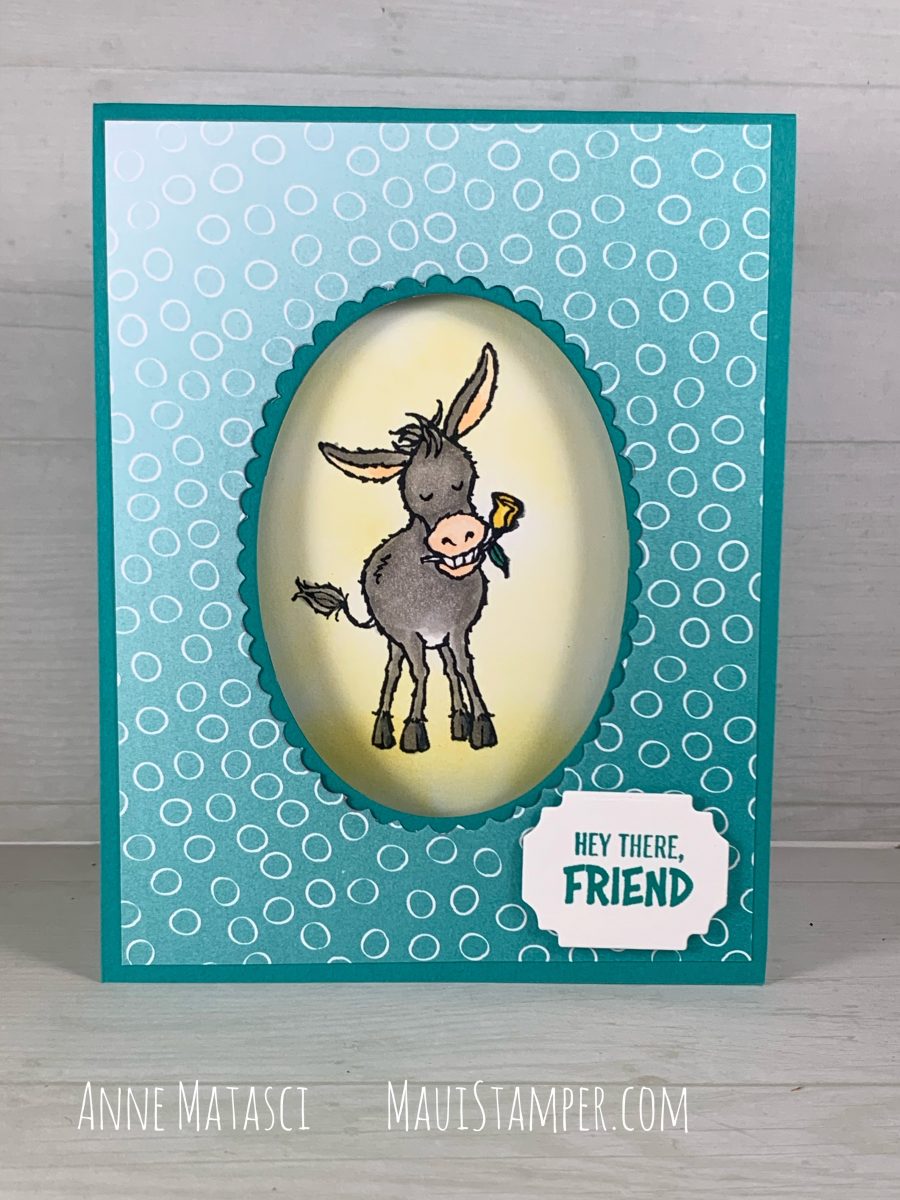
I hope there’s room for more Darling Donkeys in your heart. I’ve been working on Valentines, and what says I love you any better than a donkey with a rose in his teeth?
Accessories: Ombré Designer Series paper (Sale-a-bration 2021.1), Big Boss, Messages die, Heart dies (retired, but there are current ones), Stampin’ Blends, Paper Snips, Mini Stampin’ Dimensionals, Clear Epoxy Droplets, Well Suited Twine Combo pack
The technique is really simple. I used a heart shaped die placed overlapping the edge of the top panel on the card. The DSP just needs to be big enough to cover the opening, and once they’re secured I added a mat and adhered it to the card front. My donkey is fussy cut with snips and set up on mini-dimensionals, and I unraveled the grey twine to make it softer and less bulky.
I stamped off “happy” for a tonal effect to coordinate with that fabulous Ombré paper. Let’s not talk about how many orders I’ve placed to be sure I have enough of that paper now, can we agree on that?
If you really need that Ombré paper like I need that Ombré paper, pop over to the Online Store and make an order of at least $50 and then choose that paper as your free gift! Ombré?? and Free?? in the same sentence? Must be my lucky day.
Stampin’ Up! has set me up! What is with snails and donkeys? I didn’t anticipate falling for such off-my-radar critters, but here I am. After I finished the January DIY calendar, I was on a Donkey Bender – but I didn’t really want to cut him out. I mean, I’ll fussy cut with the best of them, but enough is enough.
Stamps: Darling Donkeys
Color Palette: Whisper White, Bermuda Bay, Gray Granite, Daffodil Delight, Petal Pink
Accessories: Stampin Cut and Emboss (BIG BOSS), Layering Ovals dies, Ornate Frames dies, Stampin Blends, Blending Brushes, Stampin Dimensionals, Oh So Ombré Designer Series Paper (SAB 2021.1)
I’ve based this card on a design by Mary Knabe of Stampin’ Peace. I loved her concept and color palette, and reinterpreted them for this card. One of the delights of this design is that by using an opening on the front of the card, the image can be expanded when you open it:
The Blending Brushes are VERY easy to use, and in this case I didn’t even bother to mask off the donkey before I created that Daffodil Delight aura. (You know donkeys have auras, right??) I also added an additional message in the corner that isn’t visible from the front of the card. (I am quite proud of myself, as I normally struggle to use images AND sentiments from the same set, and on this one I have used 3 of the 4 sentiments!)
But wait, there’s more!
You could call this technique a card within a card. The card base is 11″ x 8 1/2″, scored at 5 1/2″. The white card inside is 10″ x 3 3/4″, scored at 5″, so it fits well within the first card. The bottom panel is completed adhered to the card base, much as a layer would be. That leaves a front for artwork to peep through the window, and an interior page for your message – or more artwork!
As you can see, I accidentally inked up this kick-up-your-heels donkey in Bermuda Bay instead of Memento Black, and had to be extra careful to avoid pulling in the Bermuda Bay ink when I colored with my Blends.
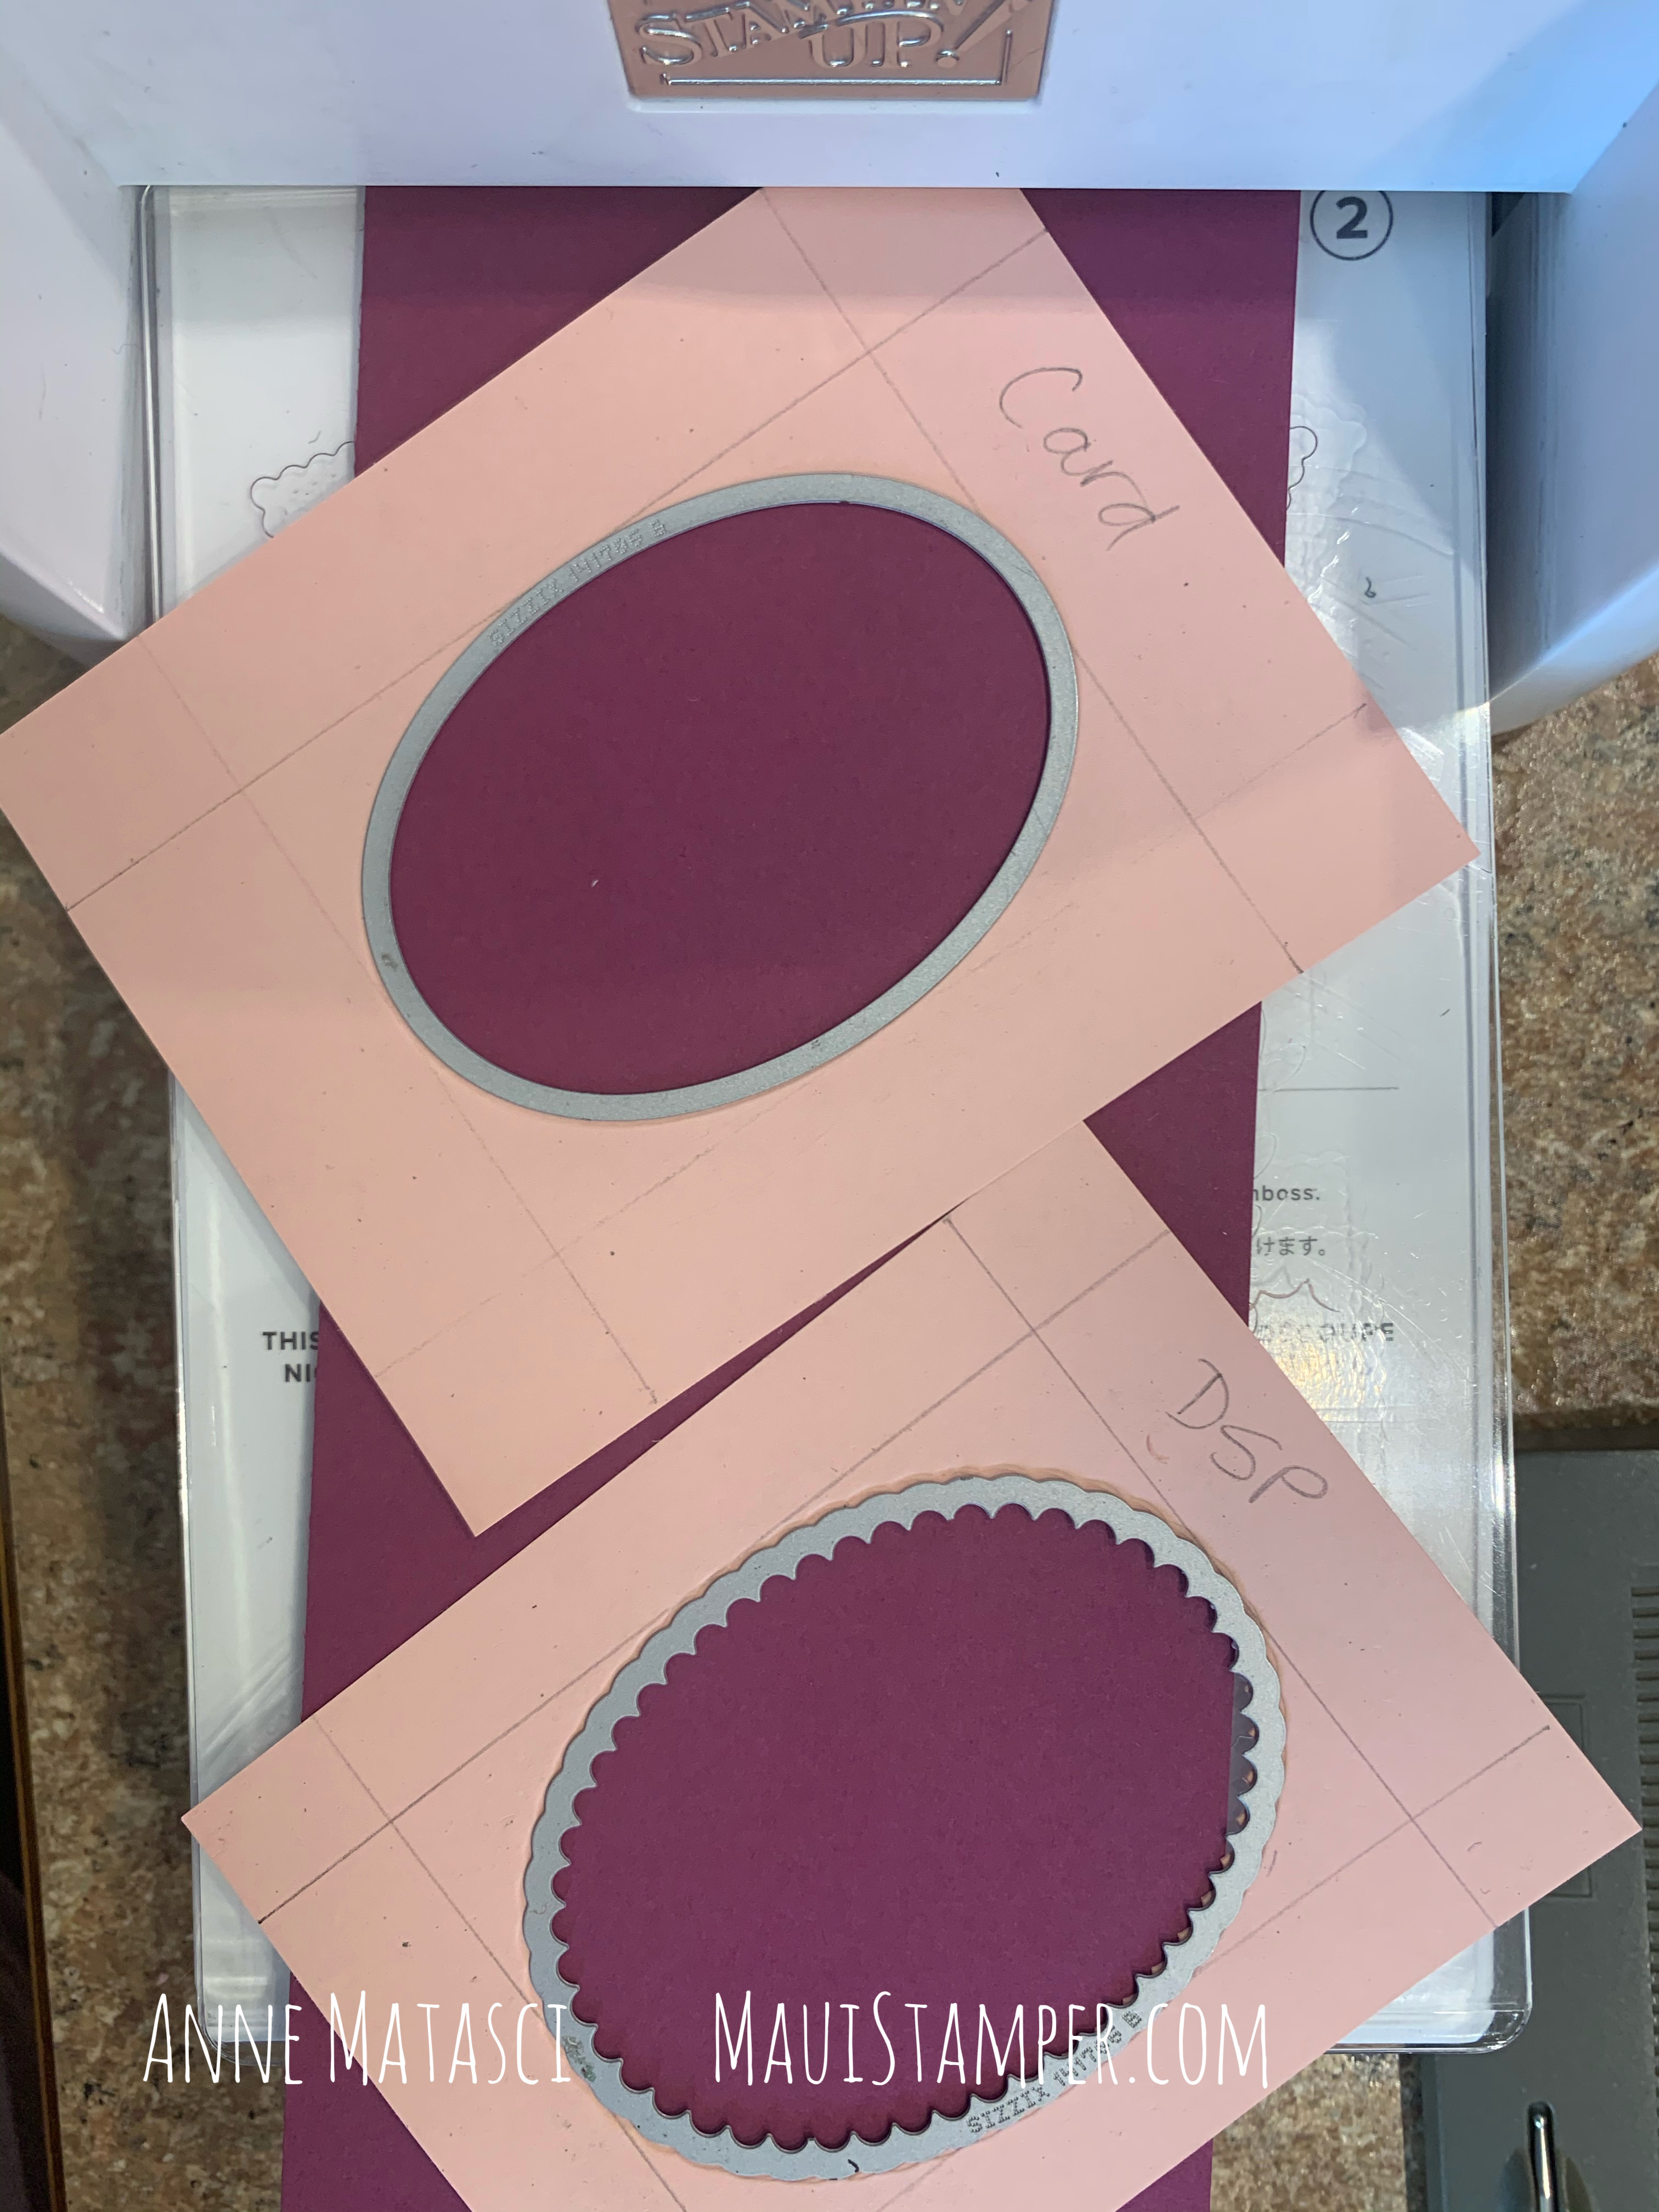
I prepared quite a few of these for a virtual stamping event, and I wanted to be sure I had the ovals in the center every time. To simplify that task, I made templates to use with the BIG BOSS:
There’s a little math involved, so bear with me. I began by measuring the height and width of each die, then subtracting that number from the height and width of the card panel. For example, the plain oval is 2 1/4″ wide, and the card front is 4 1/4″ wide, so the difference is 2 inches. I divided that number by 2 and measured in that amount from each edge, drawing a line at 1 inch. That gives me the left-to-right guideline for placing my die.
I went through the same process with the height of each die, creating two panels that had a rectangle in the center of each one. I centered the appropriate die in each panel (note that I wrote which panel was which on the template, I am famous for mixing up things like this!) When I ran the centered die through my BIG BOSS I created a template that I could use repeatedly without having to mark each piece of paper.
Just place the template squarely on top of your card or panel, drop the die into the pre-cut opening, and crank ‘er through! When you have a bunch of cutting to do, this is a real time saver.
Have some fun with your own Darling Donkeys, or any other spotlight image for that matter! Darling Donkeys and the Oh So Ombré are only available in January and February 2021 as Sale-a-bration selections. Don’t miss out! Shop HERE.