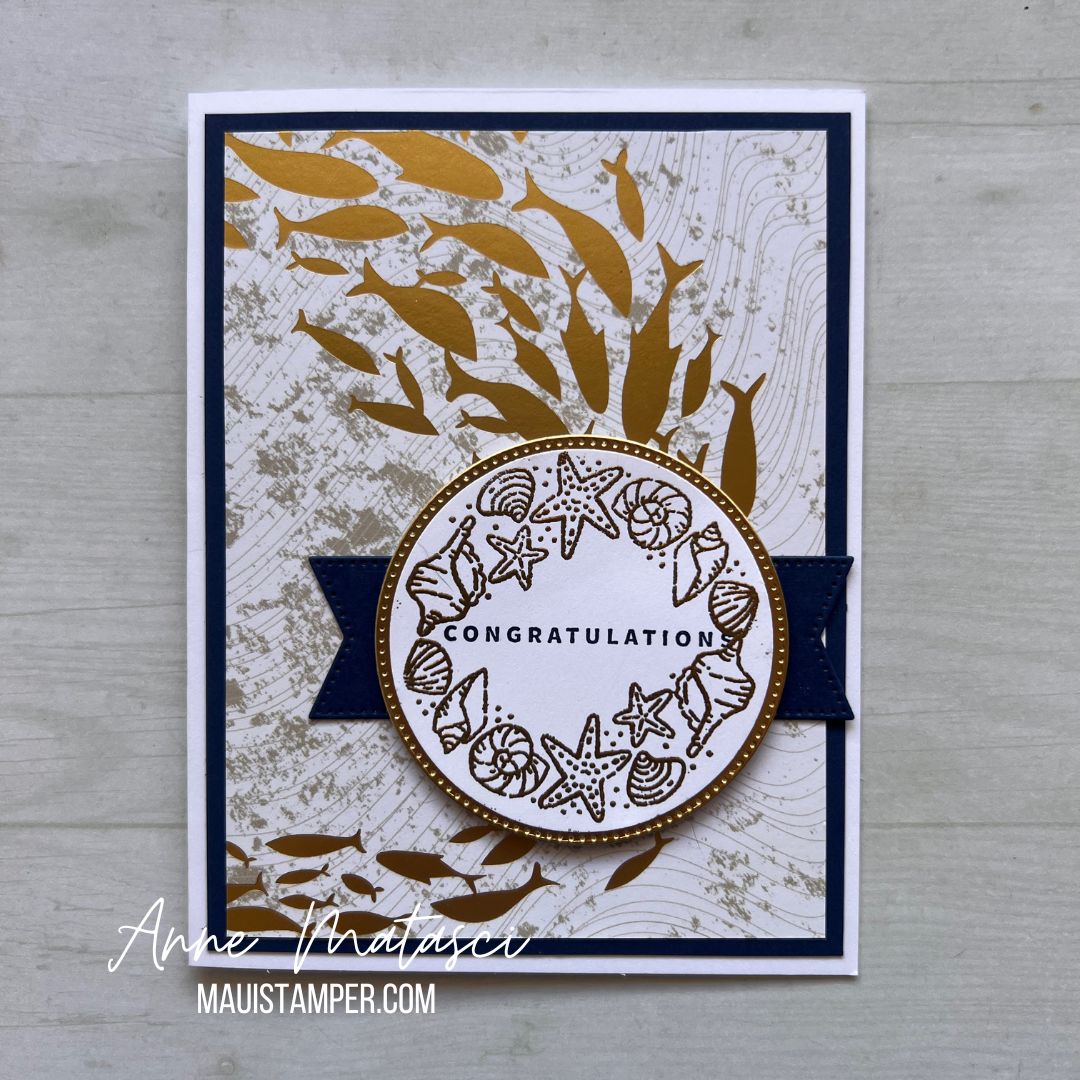
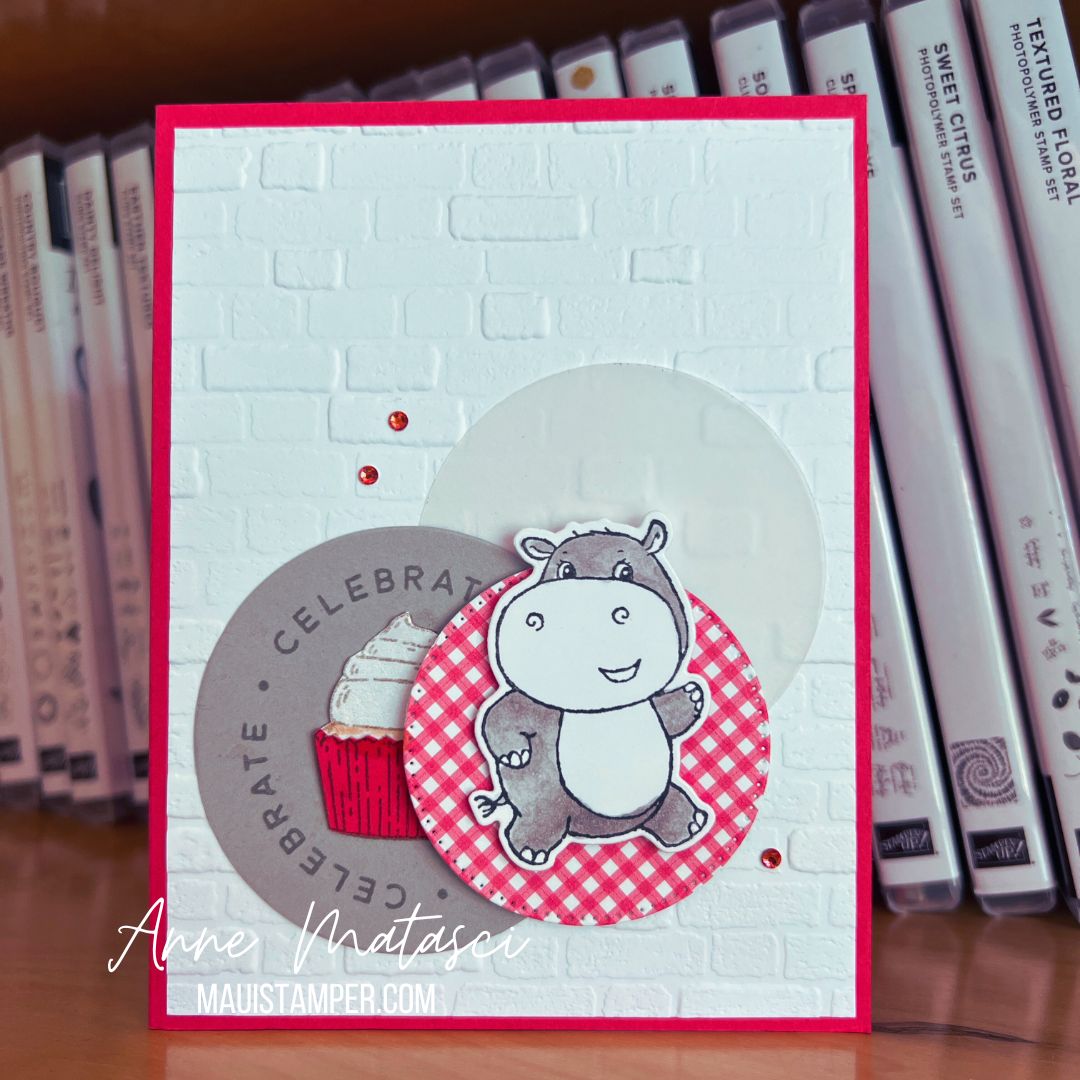
I have a basket on my craft desk filled with odds and ends. It’s larger than it used to be – or should be – but I’m doing my best to clear it out. This card is almost ALL bits and pieces, and I hope you’ll forgive me for using retired products. There are current replacements for nearly all of this!
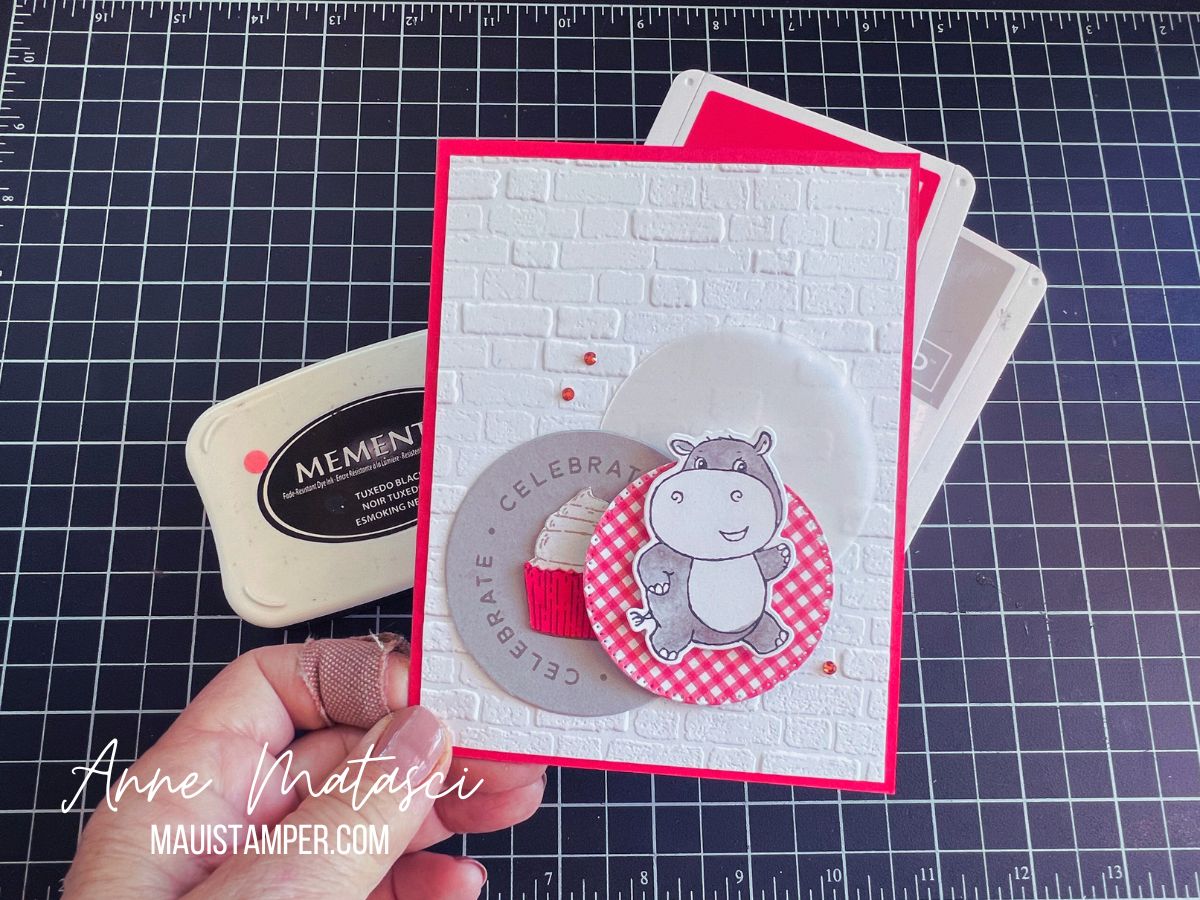
- Stamps: Circle Sayings, Hippest Hippos (retired)
- Color Palette: Basic White, Basic Grey, Sweet Sorbet
- Accessories: 2 3/8″ Circle Punch, Vellum card stock, Stampin’ Blends, Big Boss, Stylish Shapes dies, Brick Embossing Folder (retired), Stampin’ Dimensionals, Country Gingham DSP (retired), Red Rhinestone jewels (retired)
Zany Zoo stamps and Designer Series Papers has an entire zoo filled with critters to stand in for that hippo, and our new Exposed Brick Embossing folder is even better than the old brick one! But there are two reasons I’ve shared this card.
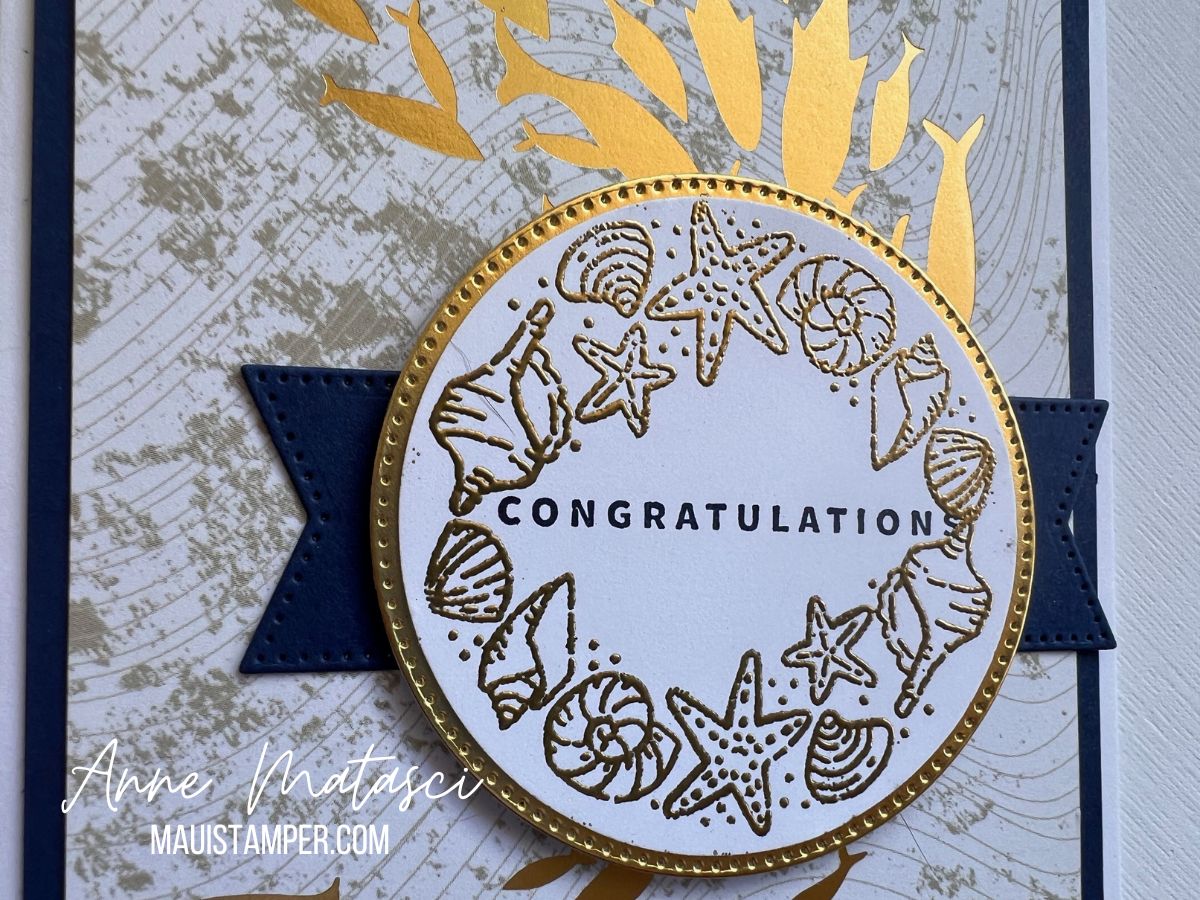
First is that you can have a lot of fun with bits and pieces. I still have a bunch of circles left to play with, and it’s a great challenge to create a design with circles. Second is that when a project catches your eye, while you may WANT to duplicate it exactly, with a little looking about, you might discover that you have what you need to create your own version!
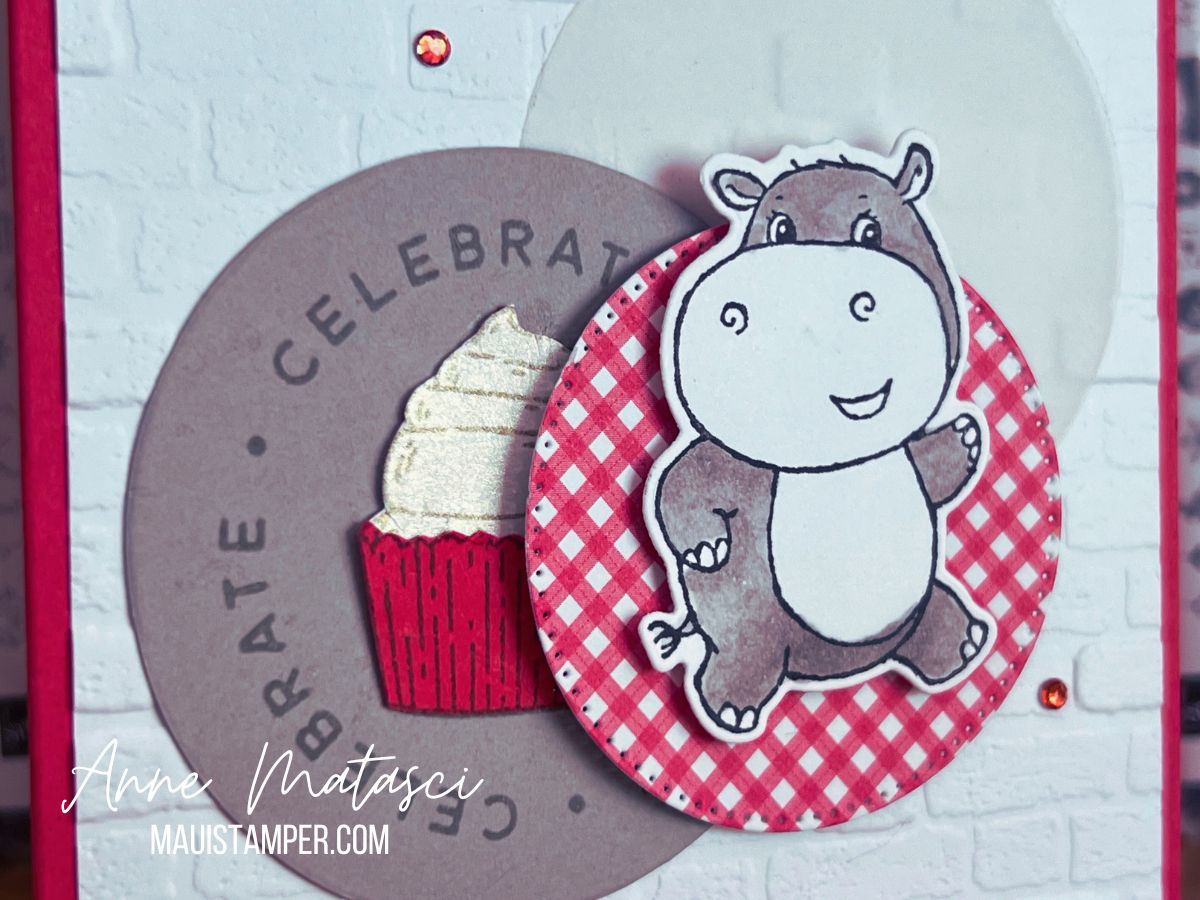
Stampin’ Blends bring this hippo to life with simple shading and only one color! Basic Grey and white are a variation of my favorite Black & White & POP of color combo.
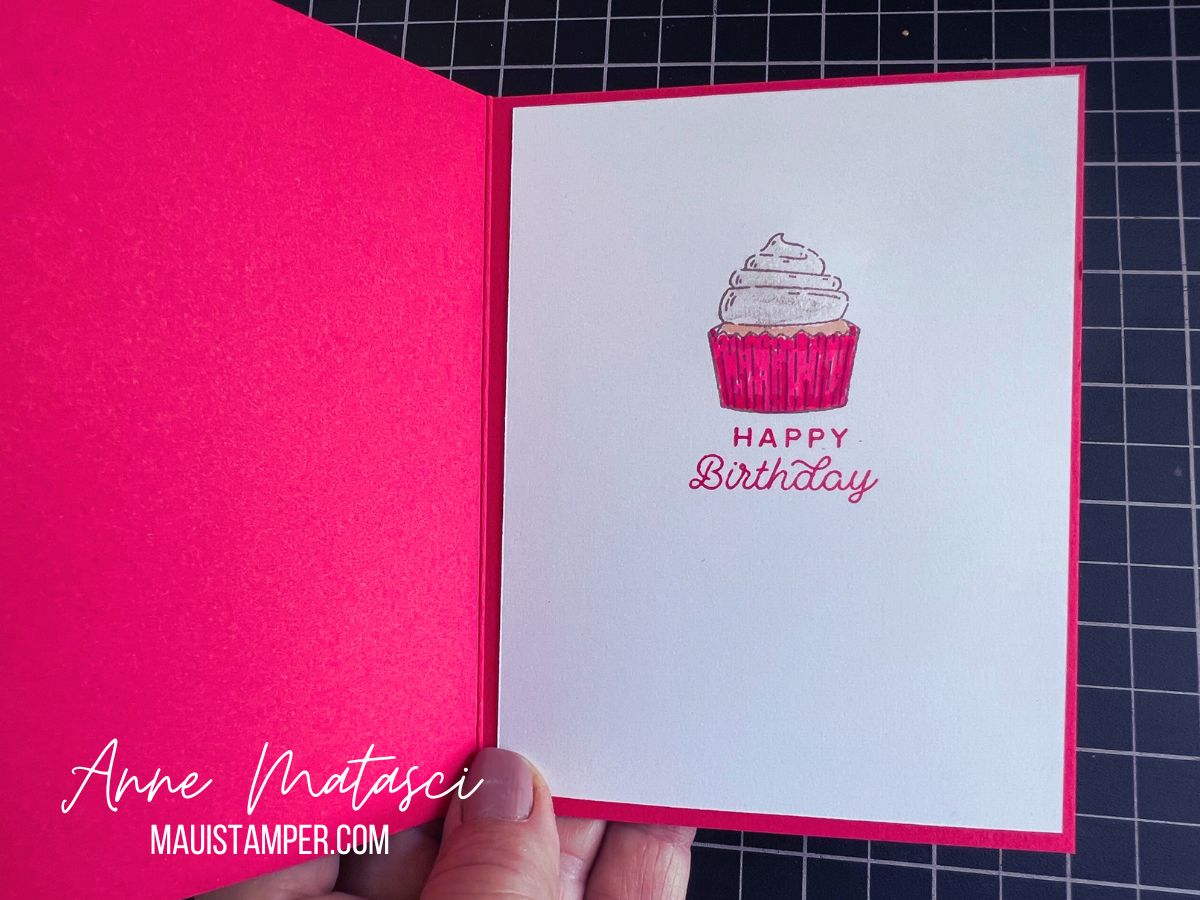
Adding a little “something” to the inside of the card personalizes it, and shucks, isn’t that why we make cards? I needed another cupcake, and the Happy Birthday just the icing on top. <wink>
Do you keep a stash of odds and ends? How do you use them? I’d love to hear your tips, because I just *might* have a few left to use. You might find that Circle Sayings is just the right set to use those circles! Shop the Online Store.
Our beautiful new 23-24 Annual Catalog is available to EVERYONE!
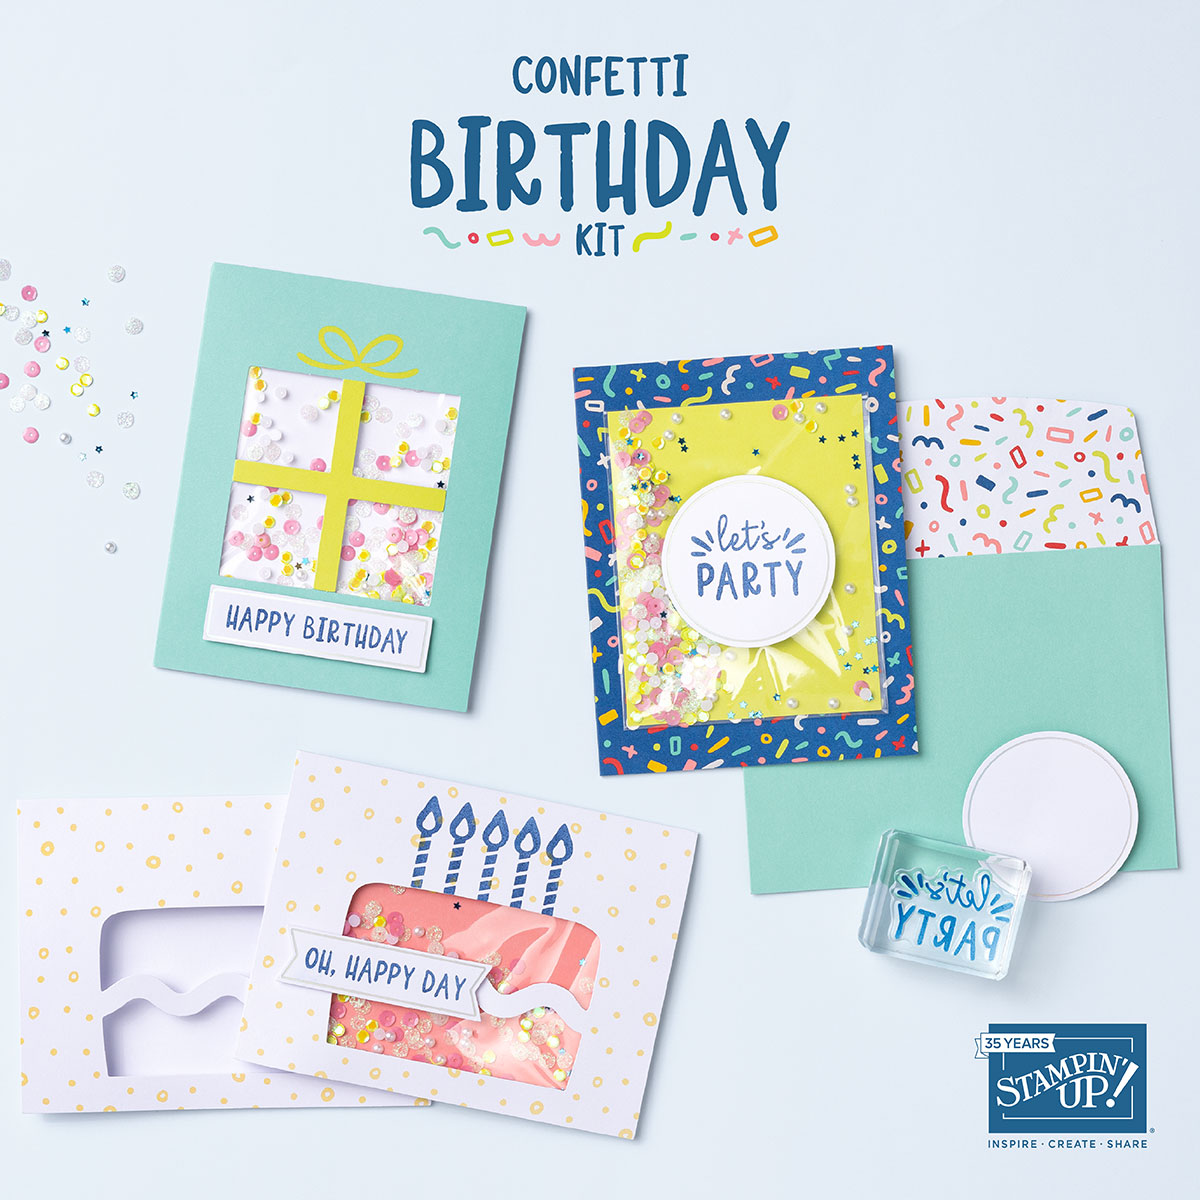
Be sure to subscribe by June 10th for your Craft Escape in a box! The June kit features 9 elegant, detailed cards. This is a card kit with an option to purchase coordinating dies while supplies last.
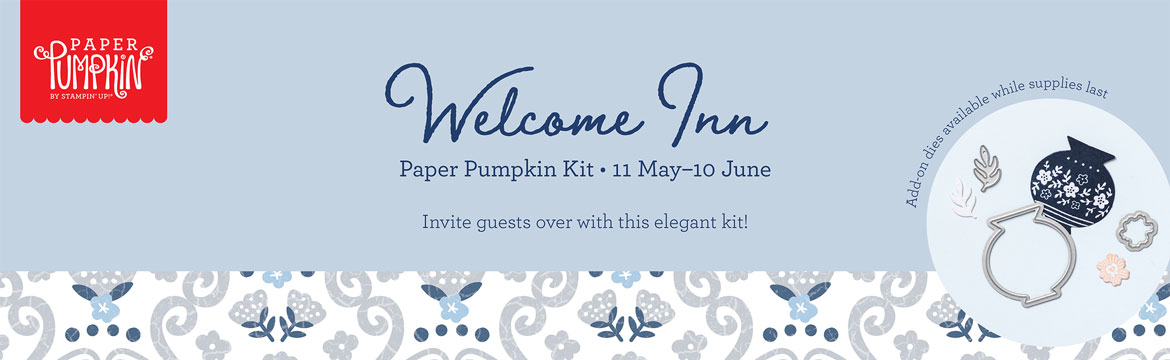
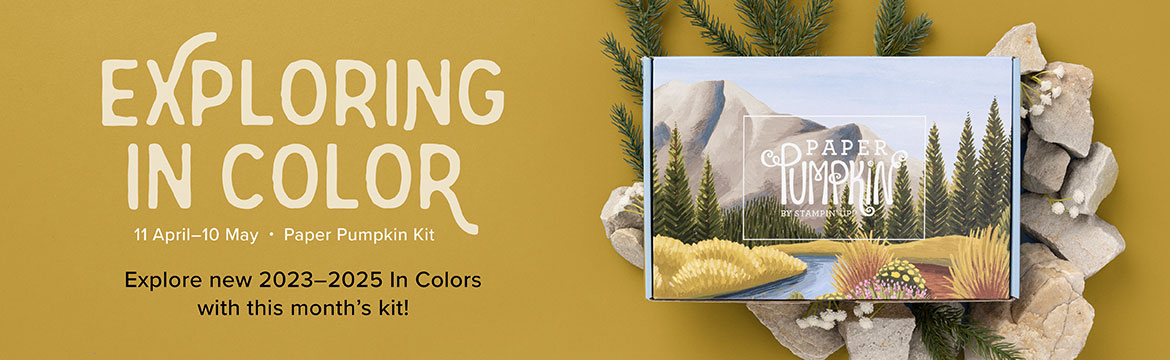
Paper Pumpkin subscriptions deliver ready-to-go projects to your doorstep every month, but you have ultimate control to skip or cancel 😱 if you decide it’s not for you. Stampin’ Up! also features an exclusive collection of kits that don’t require a subscription. Visit the Online Store to see what’s available.