The Gorgeous Lilypad Suite

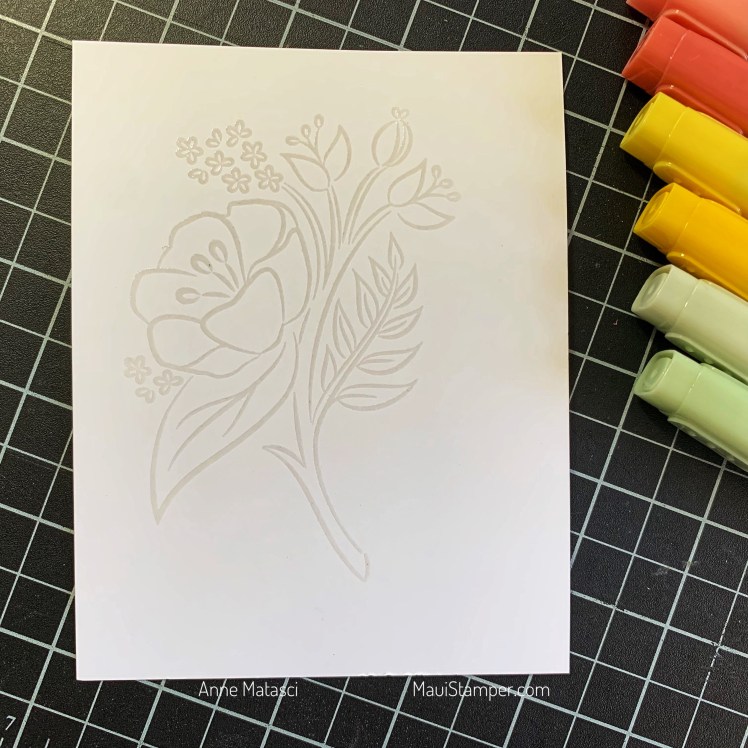
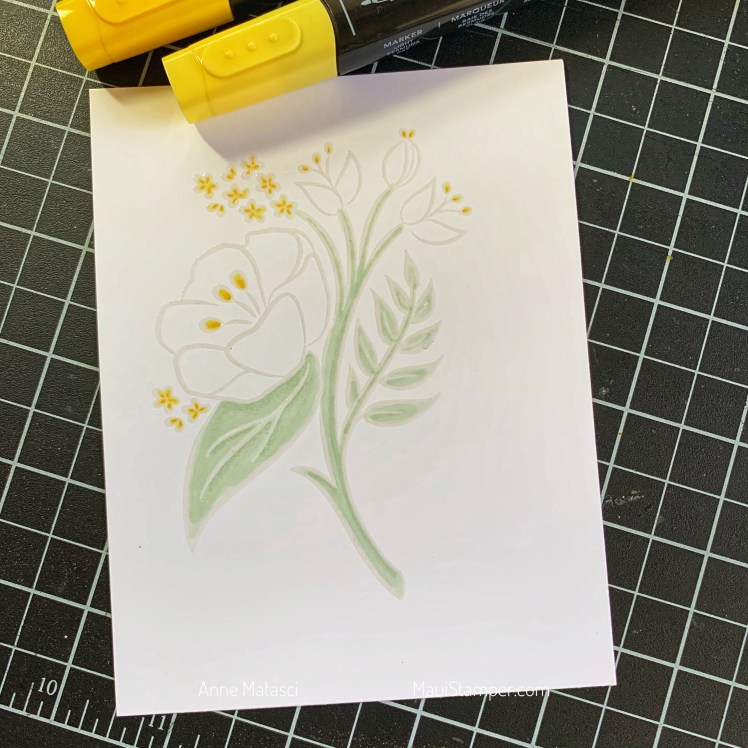
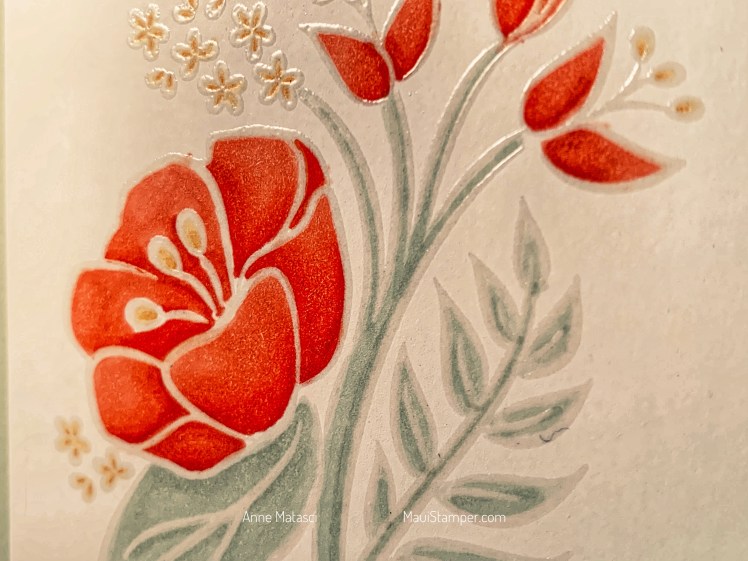
I’ve been playing with coloring techniques using an embossed image from Lovely Lilypad. I went back to the Aqua painter and found more success this time by remembering to wet the entire image before I start. Those of you with any training likely do this automatically!

Maui Stamper Stampin Up Lovely Lilypad

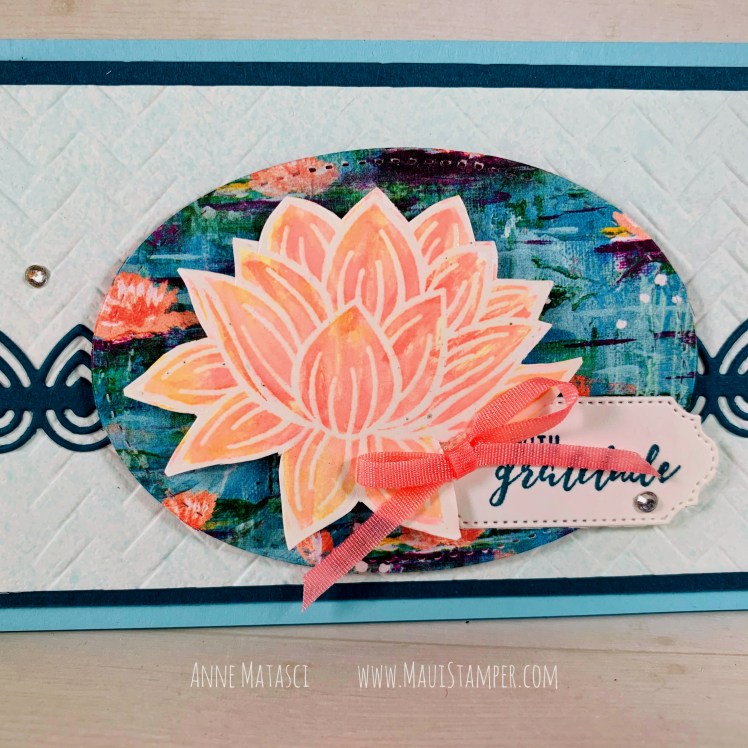
The Lily Impressions DSP is bold, and creates a great background pop on this otherwise neutral card. The card base is from DEEP in the archives, something I discovered recently during a mad “what the HECK is in here anyway?” clean up. It’s 6 1/2″ wide by 3 1/4″ tall, and was sold with matching envelopes. Speaking of…

Maui Stamper Stampin Up Lovely Lilypad

I get busy and forget to do this, but I love the sense of anticipation that comes with a stamped envelope! I’m also completely smitten with the new Coastal Weave embossing folder – the additional textures are gorgeous! I spritzed it with a few drops of Coastal Cabana ink mixed with rubbing alcohol in a Stampin’ Spritzer.

Maui Stamper Stampin Up Lovely Lilypad

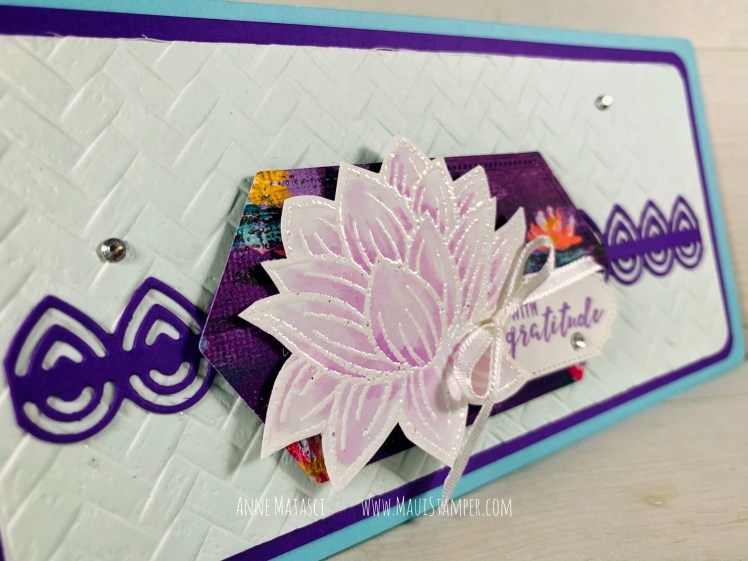
I liked the first one so well, I made a second in an alternate color palette. The lily is colored with Purple Posy (the ink has been retired for quality issues, but there are Stampin’ Blends available) and the accent color is Highland Heather. I used the Stitched Nested Labels for the ground shape.

Maui Stamper Stampin Up Lovely Lilypad

Which do you prefer – I can’t choose! But I’ll tell you this – these cards are headed out in the mail quite soon, so if you placed an order in the last month, watch your mailbox. Two of you will get a Lovely Lilypad!

If you’d like to create your own, shop HERE.

Saying Farewell: All That You Are

The 2018-2019 and Occasions Retiring Products Lists have been released, and it’s a bittersweet thing. There are some stamps I’m quite happy to see move on, and others that break my heart just a teeny tiny bit. All That You Are kind of breaks my heart.

Maui Stamper Stampin' Up! All That You Are Occasions 2019

This is a simple technique with very satisfying results. The image is inked with Versamark ink and embossed with Clear Embossing Powder. To get the best results, I highly recommend using the Embossing Buddy to prepare your paper. Using the Stamparatus to ink your card stock enables you to ensure even, thorough coverage with the Versamark ink, resulting in a high quality embossed image.

Maui Stamper Stampin' Up! All That You Are Occasions 2019

It’s easier than you might expect to see the embossed image. Coloring an embossed image is especially enjoyable because there is a tactile response – you feel the lines, helping you stay within them (if that’s how you roll!)

Maui Stamper Stampin' Up! All That You Are Occasions 2019

I used both light and dark Stampin’ Write markers in each color,. Sometimes I’m literally adding just a dot of color, other times a line or a full blending effort. I’m one of those people who find coloring to be very therapeutic, so it’s a pleasure for me.

Maui Stamper Stampin' Up! All That You Are Occasions 2019

If you’re as fond of All That You Are as I am, shop HERE before it’s retired for good. While you’re shopping, there are a few additional products you might want to think about:

Maui Stamper Stampin' Up! All That You Are Occasions 2019

Stay crafty, my friends. Shop HERE.

Black and White and Sweet Stems all over

Oh man, does it feel great when my hands and my brain are on the same page!  I get all buzzed because it happens so seldom.  I’ve seen a lot of cards using a quilt-square layout on the forums and blogs lately but nothing came to mind until yesterday.  When inspiration struck, it was very specific:

Black and White and Sweet Stems all over

  • Sweet Stems stamp set
  • Whisper White, Basic Black and Bermuda Bay card stock
  • Basic Black Classic ink pad; Whisper White Craft ink pad; Black Stampn’ Write marker
  • Embossing buddy (a MUST), WHITE embossing powder and heat tool
  • 1 3/8 and 1 1/4 inch square punches; Round tab punch
  • Corner rounder, white gel pen and Bermuda Bay polka dot grosgrain ribbon

To get that white–on-black look just right, I stamped the image in Craft White and then embossed it with white embossing powder.  You have to take your time with this – even with judicious use of the Embossing Buddy, there are a few tiny specs of white embossing powder on that black card stock.  I remove those specs with a fine paintbrush, very lightly moistened (OK, I admit it, I lick my finger and twist the fibers together).  If you leave just one, when you’ve finished with the heat tool those specs look like bowling balls.

I suppose I could have embossed the black images too, but I was in too big a hurry to see this put together.  I think start to finish it was 15 minutes – that’s a record for me!

Why you should invest in Ink Refills Part I

Remember this card?  When I started stamping, I began by embossing the cupcakes with clear embossing powder over Chocolate Chip Classic ink with a little Versamark thrown in to make it sticky.  When I was finished with the heat tool, I looked at the image and thought it seemed a little, well, wimpy.  So I pulled out my Ink Refill and gave my Chocolate Chip ink pad a li’l nip.  Same process – Chocolate Chip Classic ink, Versamark, clear embossing powder and heat gun – and WOW.

Which one got the li'l nip?  (Actual Unretouched Photo!!)

Which one got the li'l nip? (Actual Unretouched Photo!!)

Next time you sit down to stamp, take a look at your images.  It might be time to take your ink pads out for a drink!