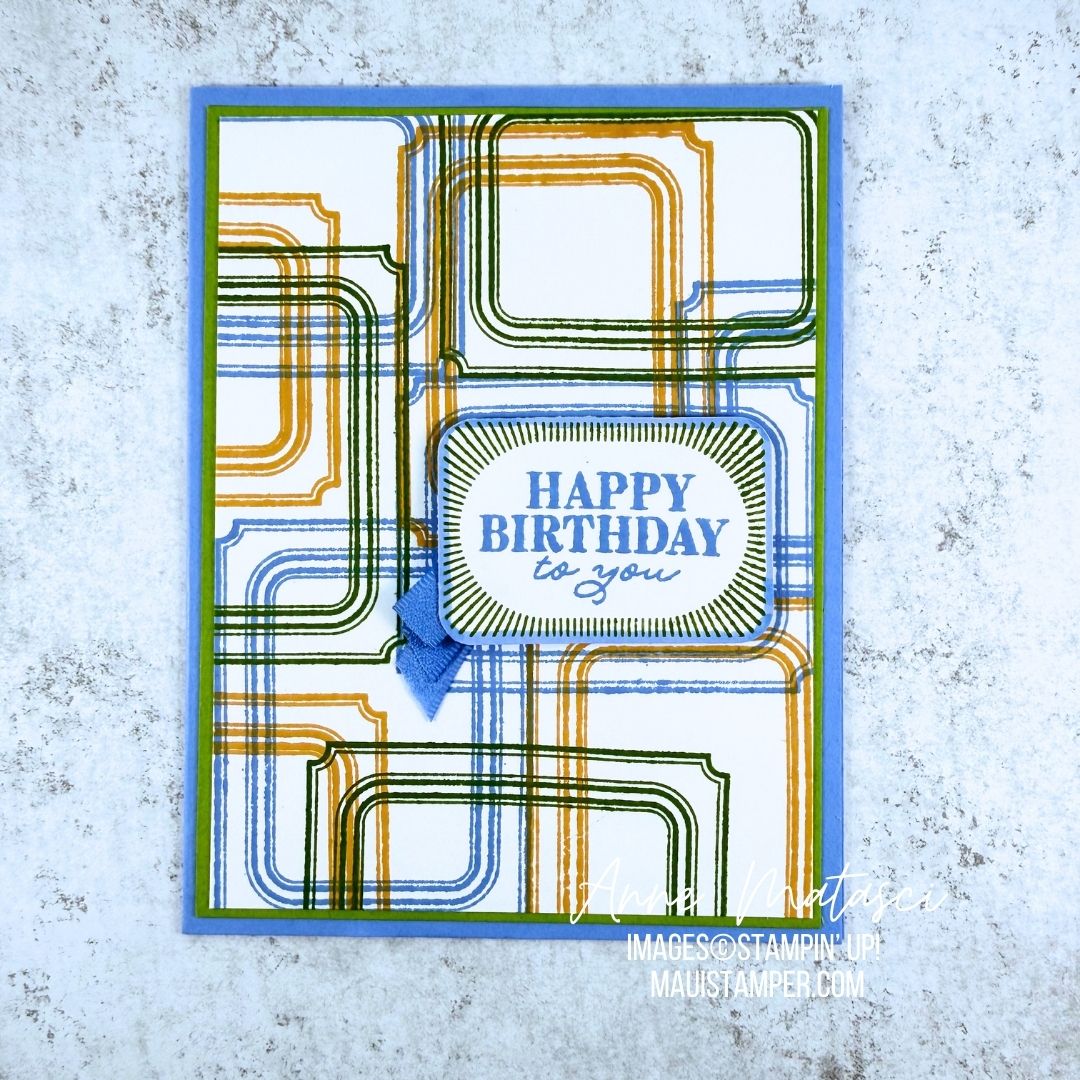
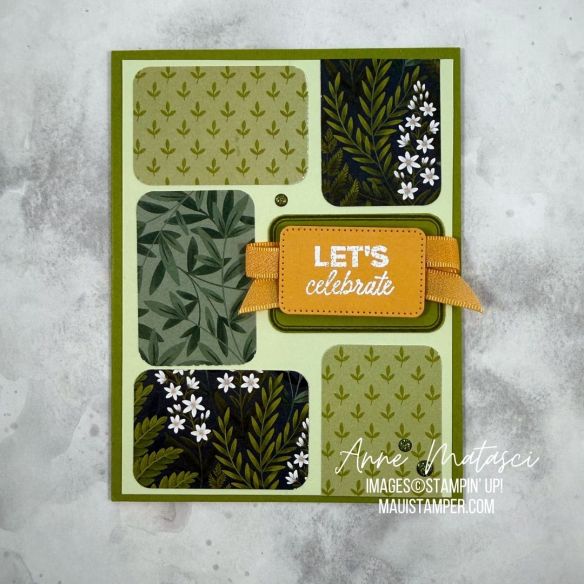
I’m a big fan of quick and easy. The hardest part of making this card is choosing from all the gorgeous patterns in the Moonlit Flora Designer Series package. Once you’ve made those decisions, you’re practically finished with the card.
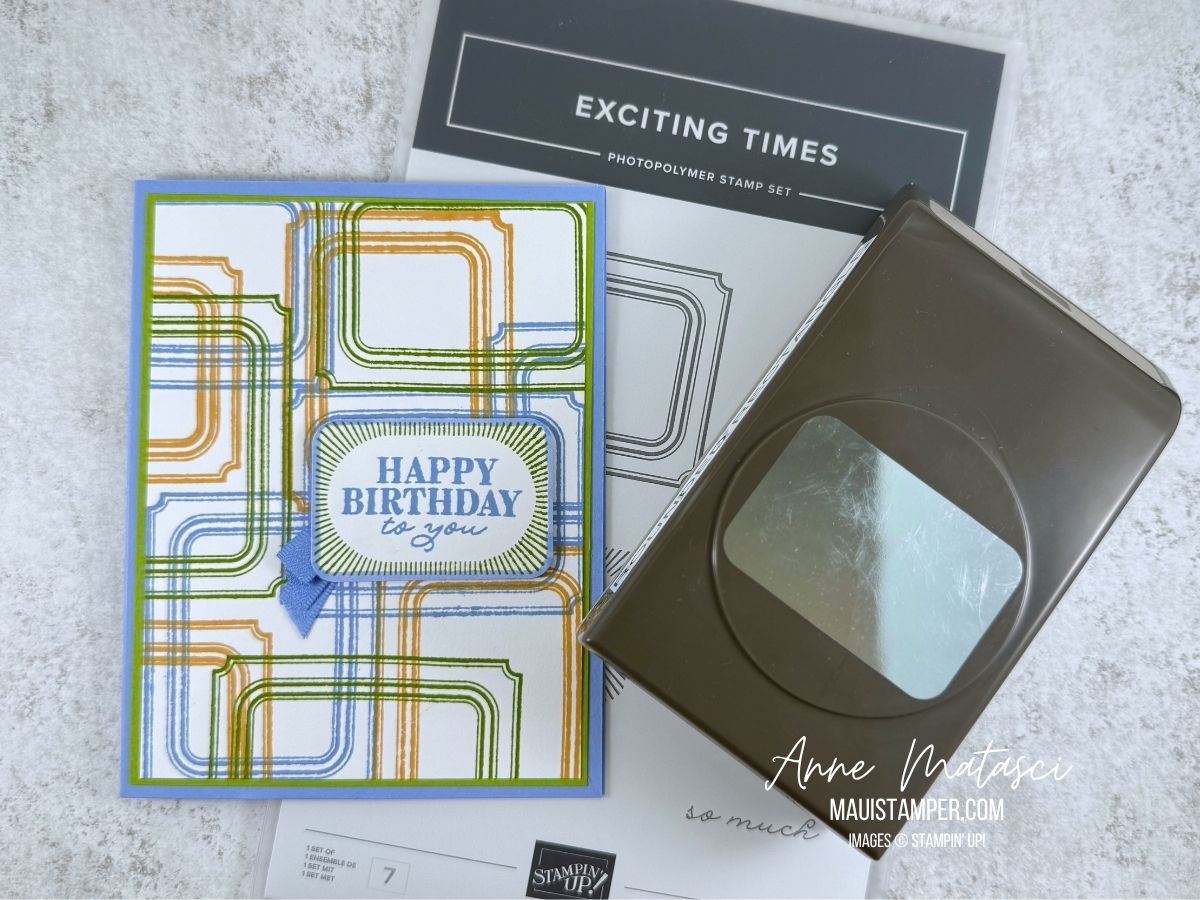
- Stamps: Exciting Times
- Color Palette: Basic White, Old Olive, Golden Glow, Soft Seafoam
- Accessories: Moonlit Flora DSP, Stamp Cut & Emboss Machine, Nested Essentials dies, Rounded Rectangle Punch, Embossing Kit, White Embossing Powder, Golden Glow Bordered Ribbon, retired gems, Stampin’ Dimensionals
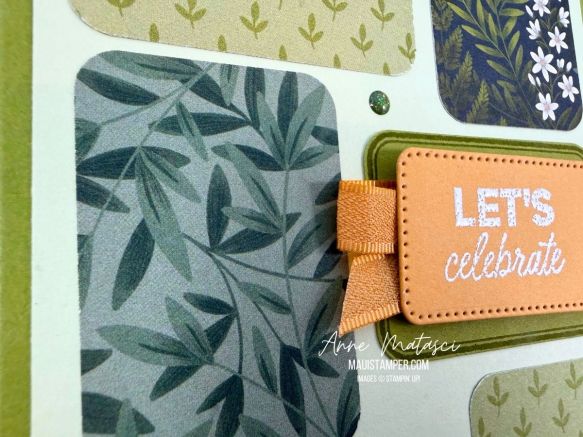
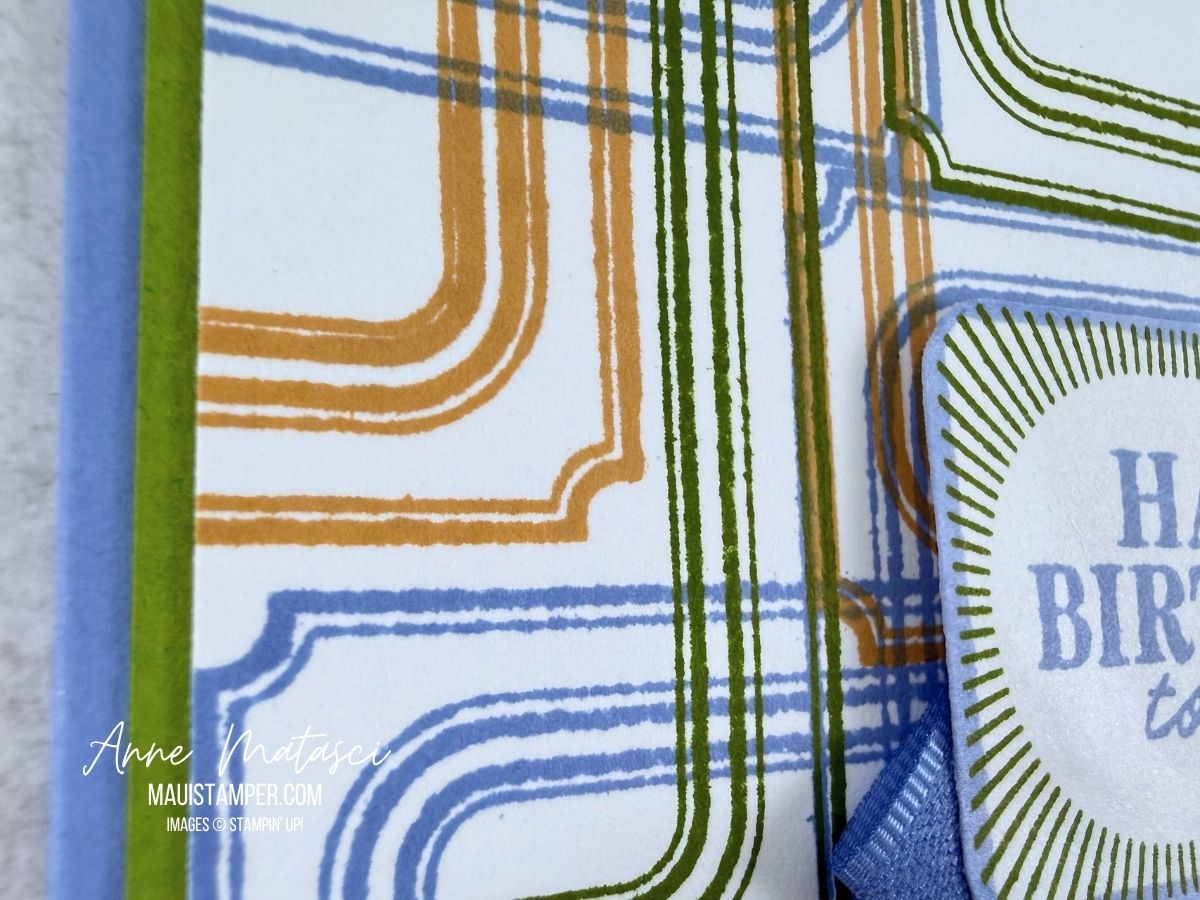
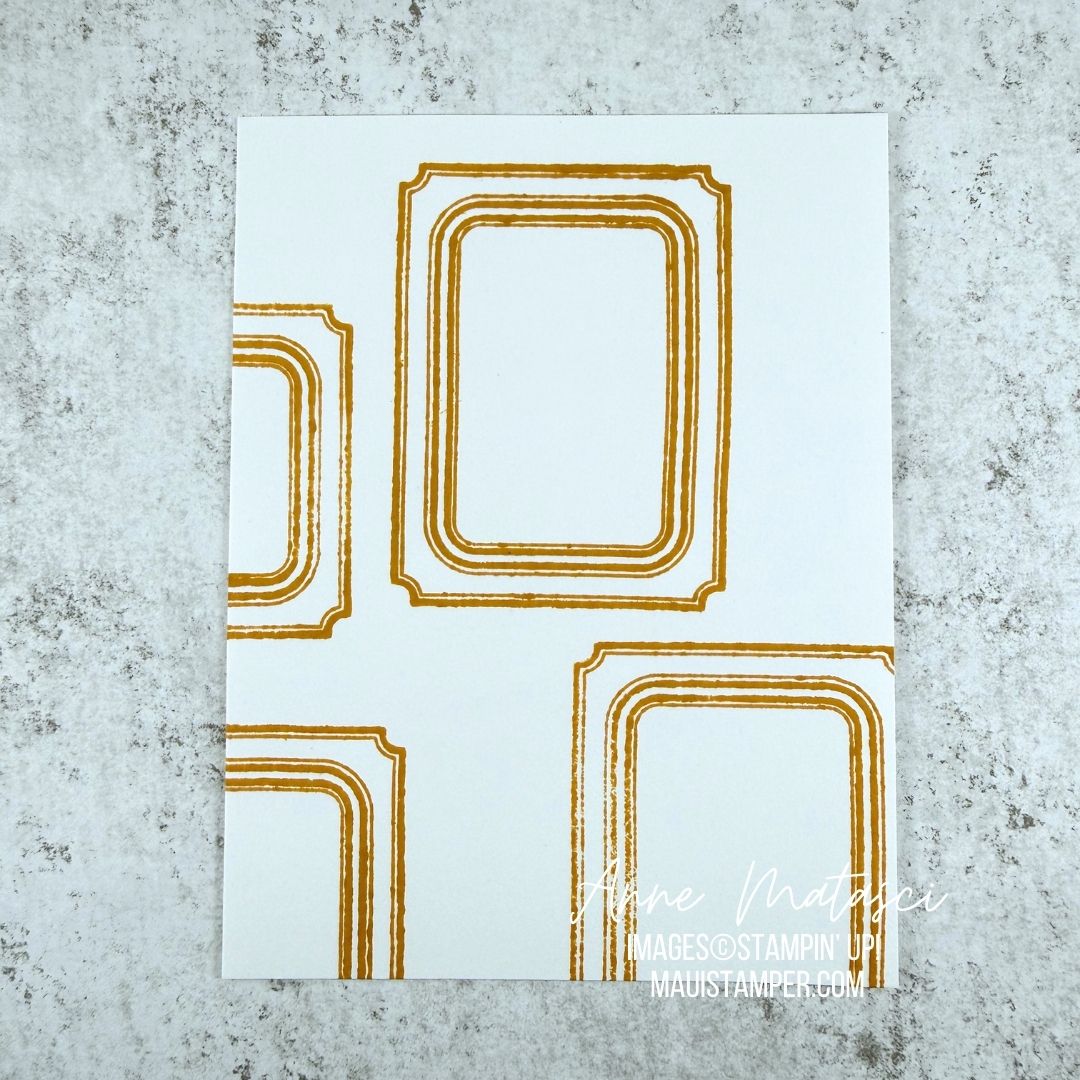
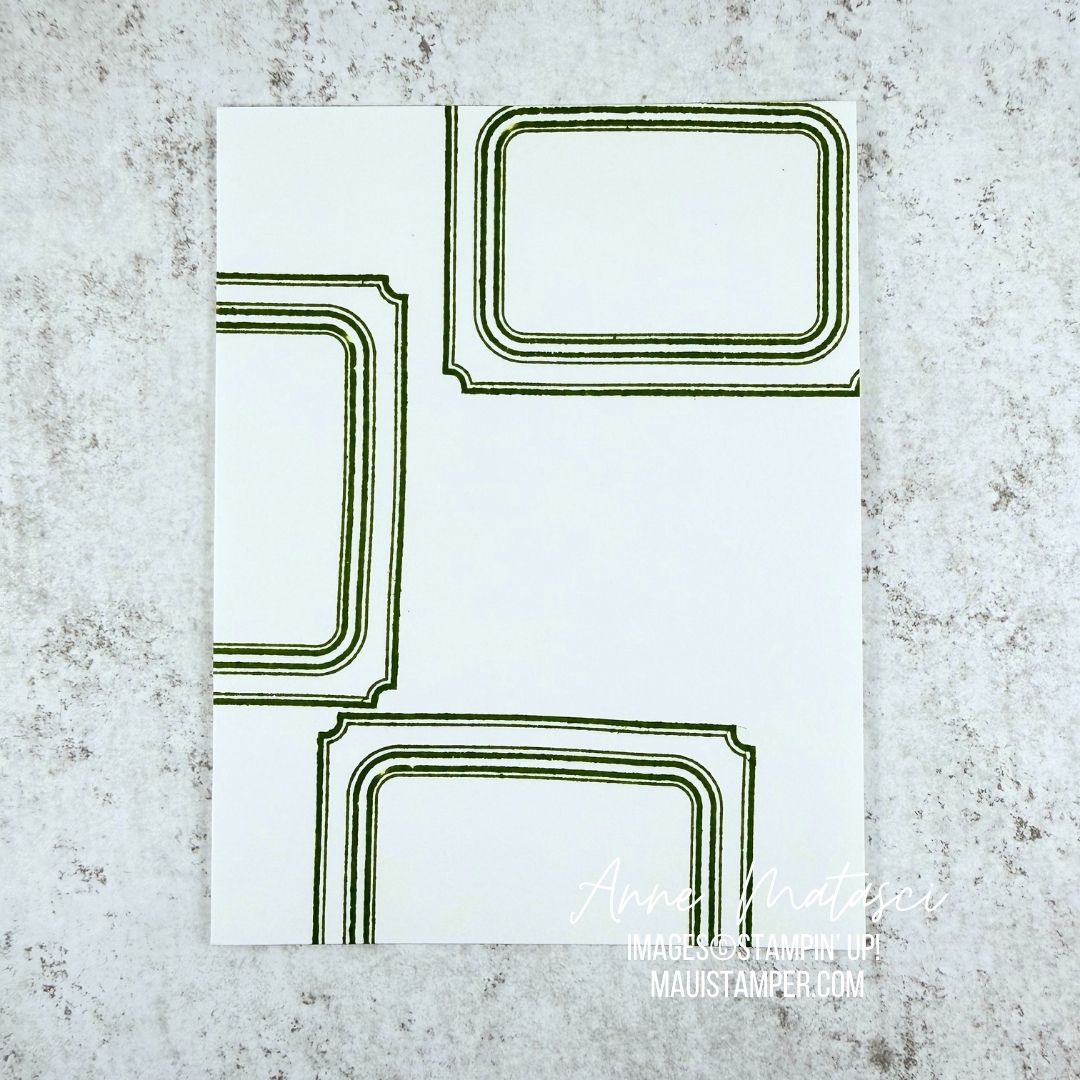
Stamp the framed image on Old Olive card stock with Old Olive ink and punch it out. Emboss your greeting on Golden Glow card stock and die cut it with the smallest Nested Essentials rectangle dies – it happens to be a perfect fit! Wind the ribbon back and forth between those two pieces, no need to tie a knot. Stampin’ Seal holds it in place!
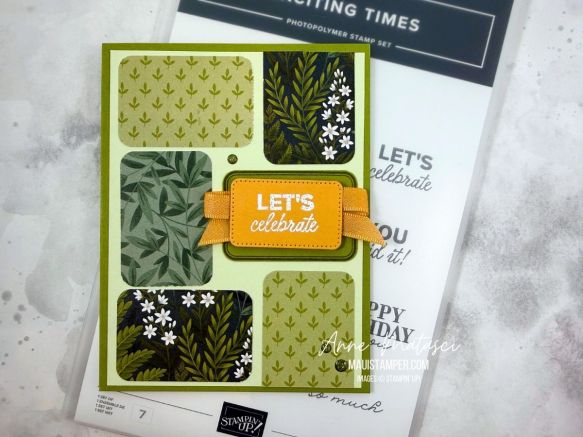
I find it easiest to punch all my rectangles and arrange them on my front panel, then adhere them. When I shared this project with a group earlier this month, there were a lot of variations on the layout of these shapes. Go ahead and have some fun! Everything you need is in the Online Store.