My friends at Colour INKspirations know how to set up a proper challenge! This combination was a tough one, as Melon Mambo generally doesn’t get much my attention. But by toning it down using daubers, I came up with a project that met the challenge!

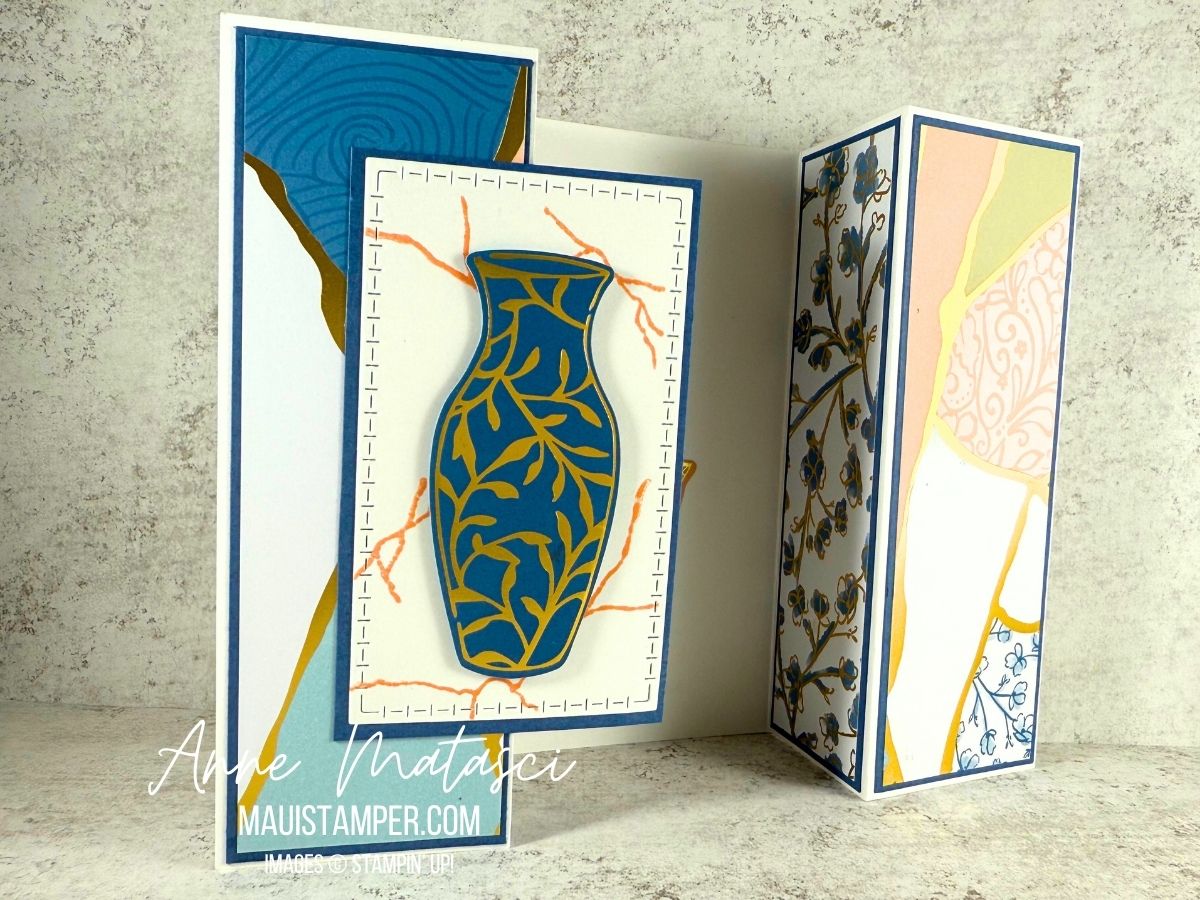
- Stamps: Impressions Abloom, Elements of Text, Perfectly Pears, Inspiring Imperfections
- Color Palette: Basic White, Darling Duckling, Melon Mambo, Cloud Cover, Secret Sea
- Accessories: Stamp Cut & Emboss Machine, Impressions Abloom dies, Perennial Postage dies, Gallery Blooms dies, Exposed Brick 3D Embossing Folder, Kintsugi Inspirations DSP, Dauber, White Bakers Twine, Wink of Stella, Fine Tip Glue pen, Stampin’ Dimensionals

Here’s the inspiration photo. I knew right away I was going to have to be “INKspired” to work in that Melon Mambo! And while I adore Secret Sea, it’s a very bold color, so I used it sparingly as an accent.
Looking for elements for this card, I pulled out some treasures that are still available but have been sidelined in favor of newer releases. That 3D Exposed Brick EF is one of my absolute GO-TO elements. White Bakers twine is too, although it will never replace my beloved Linen Twine.

I used our Fine Tip Glue pen to add shine to the centers of those flowers. They have a little Cloud Cover daubed in the center to soften the white-white-white and tie in with the background DSP. My FTGP has lost its Fine Tip, so I unscrew the cap and use my trusty bamboo skewer to paint the glue over the circle. The skewer lets me control the amount I apply but doesn’t leave brush strokes or messy cleanup.

Cloud Cover ink has been a bit of a heartbreak, as it turns out the formula reacts with the foam in our ink pads, causing instability. The solution is to use one of our un-inked spots and Cloud Cover Ink Refill. It takes a bit longer to ink larger stamps, but I think it’s worth the effort!
There’s still a little time to join the challenge. It closes at 7pm Monday AEST (remember, for the US they are a day ahead). I’d love to see what you do with Melon Mambo!