RemARKable Stampers Stamp of the Month: Ciao, Baby!

Aloha!  You’re on Maui – at least for a little bit.  If this is your first stop on the RemARKable Stampers Stamp of the Month Club tour for March, then welcome – and I hope you’ll enjoy all the fabulous projects today.

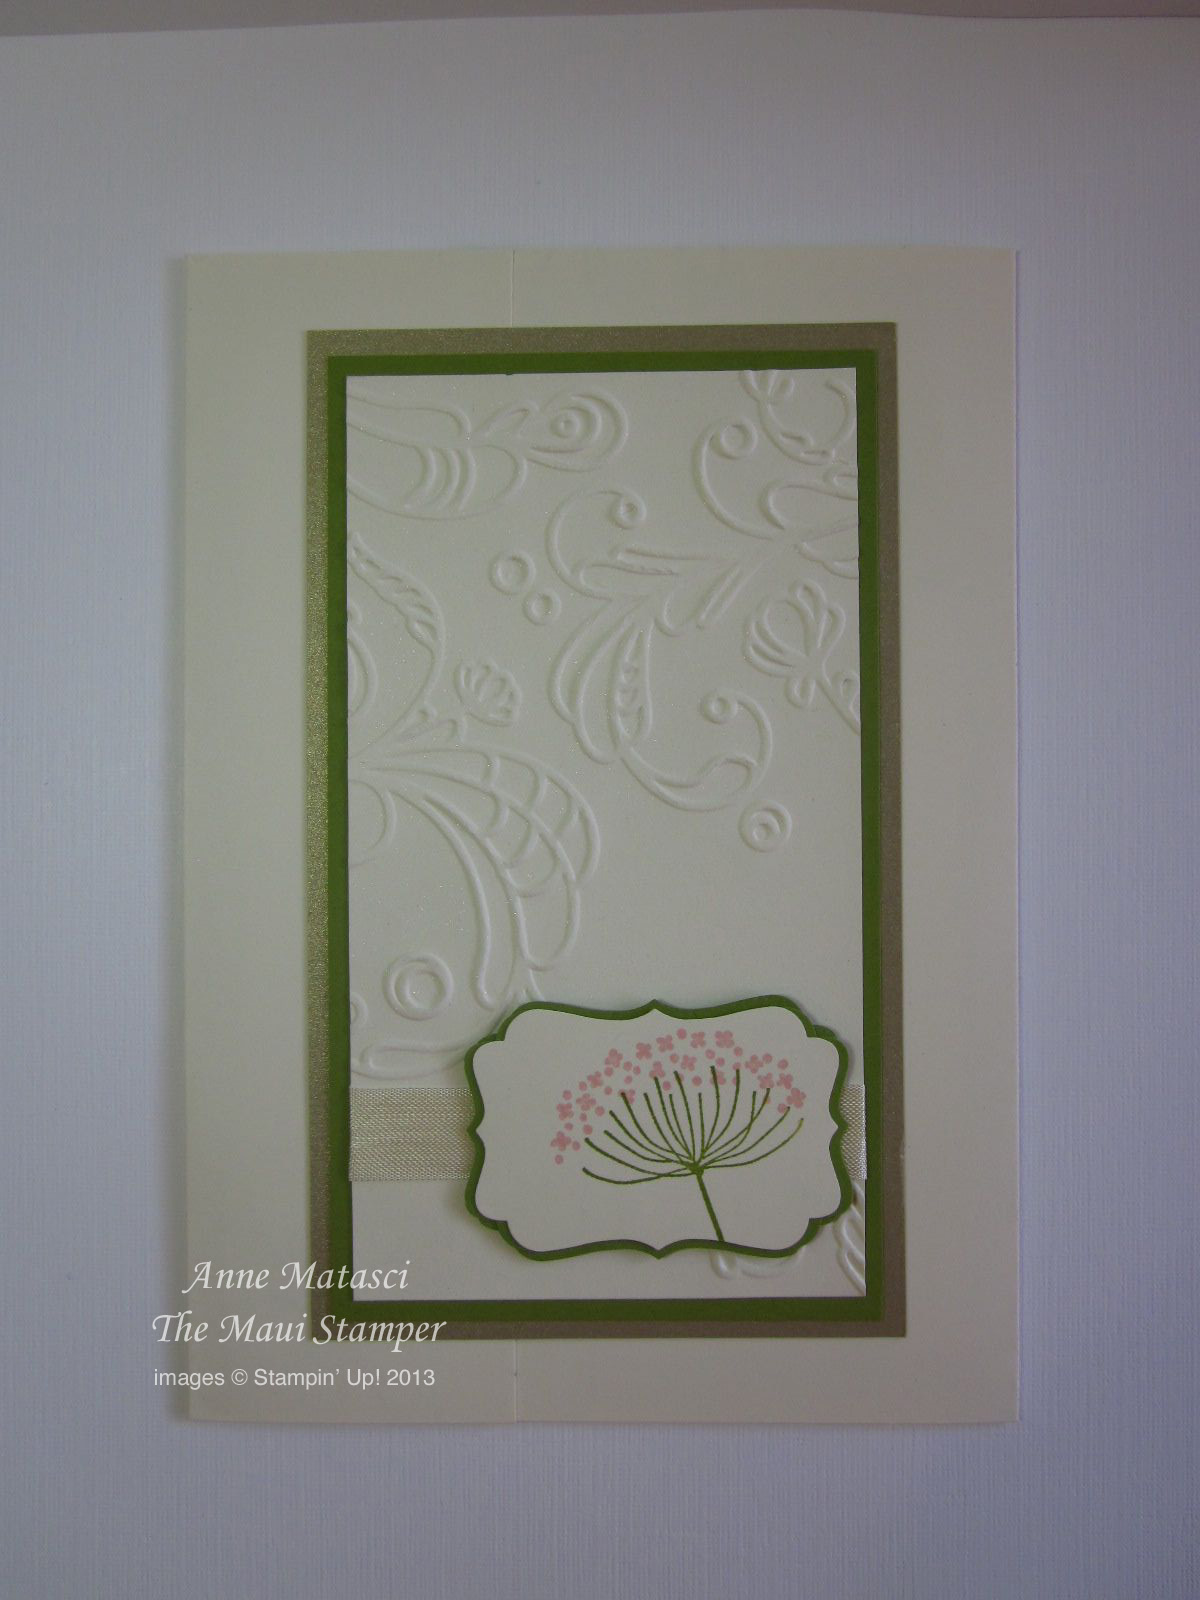
Ciao Baby is a bit of a sleeper – small images designed to be used with either the Petite Curly Lable Sale-a-bration punch or the 7/8 inch Scallop Circle punch.  I thought they would be a great unifying item for a set of notecards.  First up is a card using the Madison Avenue Sale-a-bration set:

MauiStamper RemARKable Tour Ciao Baby

Each card is made using the Note Cards and Envelopes (#107311, 20 cards and envelopes, $5.95).  The Ciao Baby images are stamped and punched with the Petite Curly Label punch, then popped up on a Stampin’ Dimensional.   I kept a uniform color scheme but changed up the stamp set for each card.  The second card features Morning Cup:

SOTM2Mar
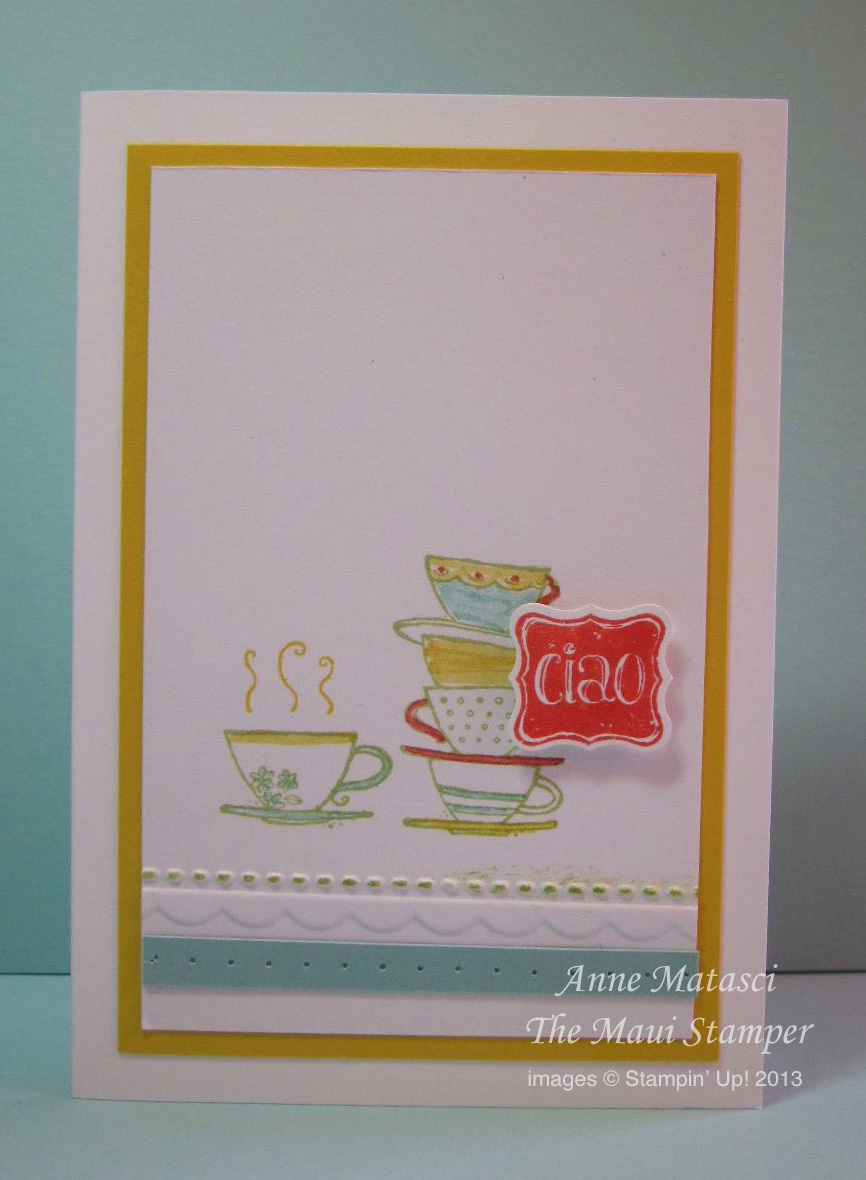
A little bit of ink brushed across the Needlepoint TIEF embossing helps the design to stand out.   Morning cup is perfect for coloring with Stampin’ Write markers!

Oh, Whale seemed like a perfect fit for the next sentiment:

SOTM3Mar

I originally cut the whale out with the framelit, but decided it wasn’t necessary and ended up just stamping it directly on the front panel.  Have I mentioned lately how much I appreciate clear mount stamps?  Those little waves were simple to line up!

SOTM4Mar

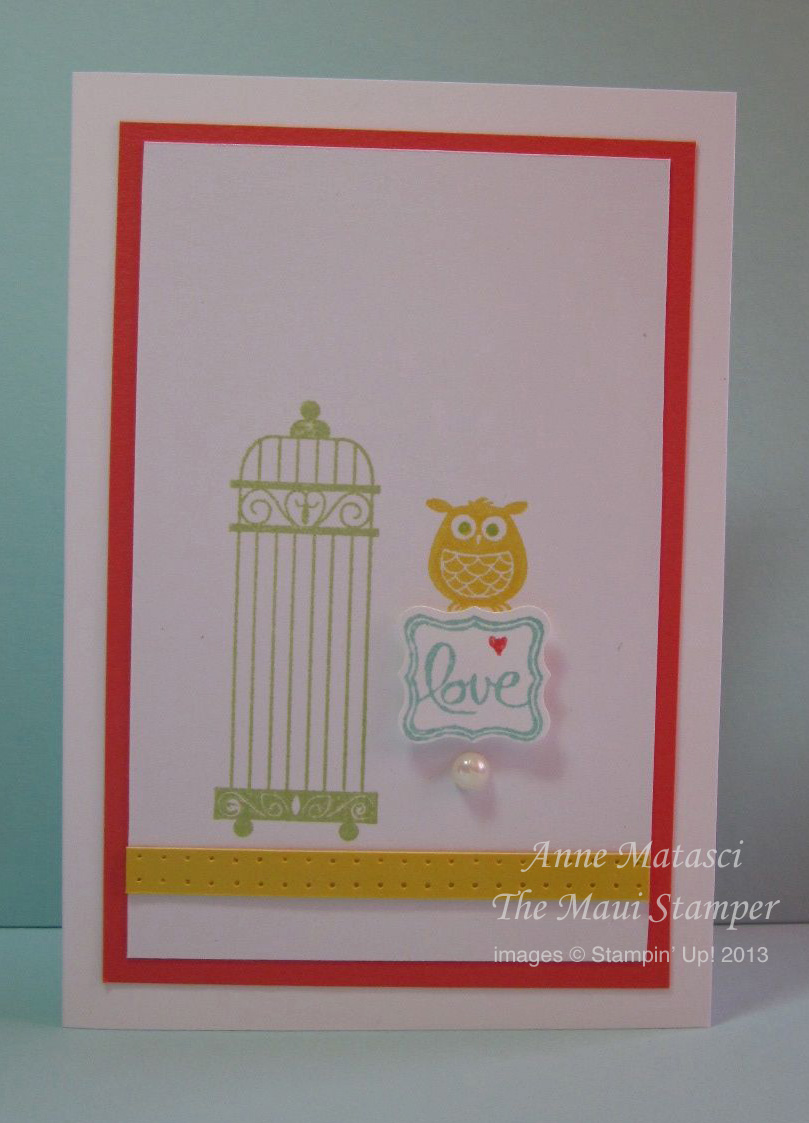
The last card in my set is a little Owly love note using the Aviary set.  Call me crazy, but I just can’t bring myself to put the birds inside the cage.  I like to see them outside and free!!SOTM4aMar

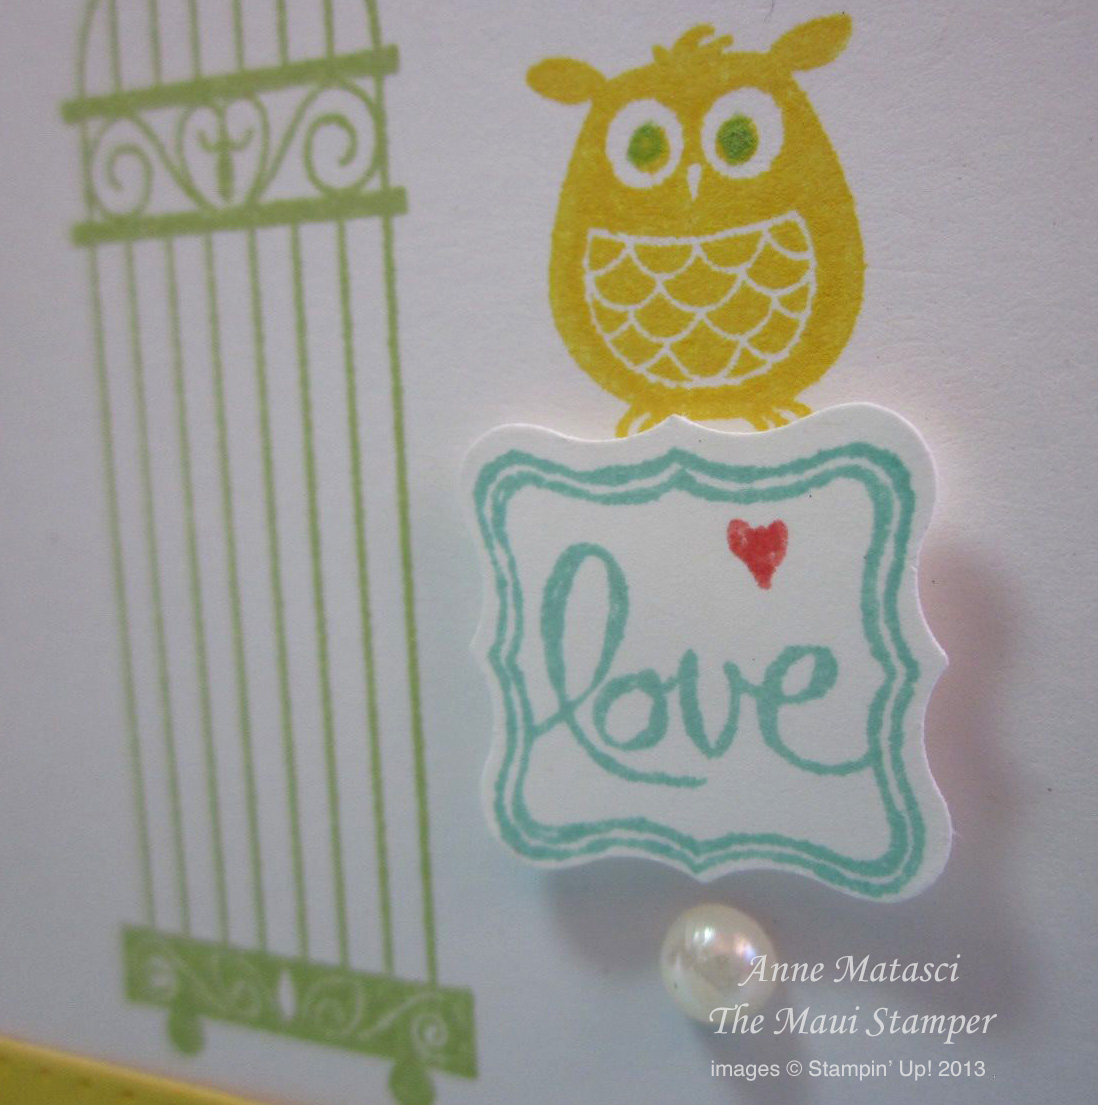
The little heart is just hand-colored, just because I wanted to.

Hope you’ve enjoyed this stop on the tour – time to head off to Robin‘s studio!

blogtour-stampmonth-next

Link not working?  Visit www.TrinityDesignStudio.com

Tags, I love you

Here’s another CASE that was a quick and fun card:

Maui Stamper Love You Tags

  • Fabulous Phrases and Oh Whale stamp set
  • Very Vanilla, Crumb Cake and Cherry Cobbler card stock
  • Island Indigo and Cherry Cobbler FFIP
  • Jewelry Tag punch
  • Island Indigo and Cherry Cobbler bakers twine
  • Linen thread
  • Stampin’ Dimensionals
  • Rhinestone jewels
  • Cherry Cobbler seam binding

I love Pinterest but it does become something of a Black Hole when it comes to time management.  I’m determined to DO something with my pins, and this card is a direct result of that determination.  You can see the very cute card I CASEd right Here.

What have you made with your pins lately?  (Cheryl Hamilton, I am talking to you!!)

You’re Amazing!

It’s difficult NOT to love a stamp set called “You’re Amazing”.  Who doesn’t need to hear those words once in a while?

Maui Stamper You're Amazing Sycamore Street SAB

  • You’re Amazing stamp set
  • Whisper White and Summer Starfruit card stock
  • Sycamore Street DSP (SAB)
  • Rich Razzleberry FFIP
  • In Color Dahlias
  • Big Shot and Apothecary Accents Framelits

This is one quick card.  The “You’re Amazing” sentiment is stamped inside and the entire thing goes together in minutes.  It’s a CASE of a CASE – check out the original Here.

The Maui Stampers got together last week to celebrate.  One of our members moved to the mainland last summer, and she was back on Maui to help out the folks that bought her shipping business.  We got together at the drop of a hat, ate some great food and made a couple of cards – this was one of them.

Just a couple of weeks left of Sale-a-bration.  Have you gotten your Sycamore Street DSP yet?  Or maybe you’re ready to treat yourself to sneak previews and permanent discounts to Stampin’ Up! products.  Stop by the Online Store to check out all the goodies you receive when you choose to become a Stampin’ Up! demonstrator during Sale-a-bration!


Oh, Baby!

The Single Stamps are so easily overlooked with all the exciting new products from Stampin’ Up! but there are some fantastic images there – how about this?

Maui Stamper Oh Baby Turquoise and Lime

  • Oh Baby Single Stamp #132667 $6.95  (available thru 3/31/13)
  • Whisper White and Lucky Limeade card stock
  • Brights Collection DSP
  • Tempting Turquoise FFIP
  • Lucky Limeade Stampin’ Write marker
  • Piercing tool and Stampin’ Pierce mat
  • Big Shot, Argyle TIEF, 3 inch circle Bigz and Window Frames Framelits
  • Silver mini brads
  • Brights Designer buttons
  • White baker’s twine
  • Stampin’ Dimensionals

This would be perfect as a favor, too – stick that sweet girl on the front of a Fancy Favor box, or over the top of a gusset bag…loads of options.  You can tell I was in a Brights sort of mood, and it got better (or worse, depending on your perspective!)

Maui Stamper Oh Baby Tangerine and MamboSame set of products, different colors.  I used rhinestones instead of brads, pierced a circle instead of doodling, and used the Chevron TIEF.  Next time I’ll use a softer background for the card photo – this makes my eyes water!  The card base is white and those crazy 60’s color combinations are pretty fun.

And yes, I was there for the 60’s.  I wore those colors – together!  Fortunately, although photos from that era have survived, they are sadly faded.

🙂


Moving forward into March

On Maui, our seasons change gradually.  I lived in upstate New York for a year and a half when Mr Maui Stamper was in grad school, and I have never anticipated spring so eagerly in my life!  When I spotted that first crocus popping up through the snow I felt as though I had been thrown a lifeline.  The colors I remember inspired this month’s calendar:

Maui Stamper March 2013 calendar

  • Bordering on Romance stamp set
  • Midnight Muse FFIP
  • Pink PIrouette, Certainly Celery, Bashful Blue and So Saffron Stampin’ Write markers
  • Whisper White and Midnight Muse card stock


Different shades of love

Not quite sure what it is lately, but I am rebelling against hearts in pink and red:

MauiStamper Different Colors of LoveBest of Love 25th Anniversary Stamp set

  • Whisper White, Garden Green, Pool Party and Cameo Coral card stock
  • Cameo Coral FFIP
  • Sycamore Street DSP SAB
  • Sycamore Street Button and Ribbon bundle SAB
  • 1 inch square punch
  • Full heart punch
  • Triple heart punch (retired)
  • Scallop trim border punch

Lately I’ve been CASEing sketches, trying to jump start my creativity and move a little bit out of my comfort zone.  This sketch comes from the cutting edge files of Mary Fish.  It’s fun to play with a sketch, to update it with new colors and a little bit of your own personality.  The colors I chose and the addition of the ribbon makes this card a little more feminine, but it’s still appropriate to give to a guy.

If it were pink and red, maybe not.


and now…the Pants

This card is almost entirely stolen CASEd from the very talented Mary Jo Price-Williams:PantsPortrait  I turned the sketch on its side and used ovals – cuz I have them! – instead of circles.  Those two changes left something of a gap on the top, so I added a Summer Starfruit sun:MauiStamper Patterned Occasions PantsPantsonLine  Gotta love those pants.  They’re cut by hand, but it’s just straight lines.  A glue dot at the waist secures the pants to the Whisper White oval plus it holds the Linen Thread clothesline in place and allows you to curve the clothesline.  I’m CRAZY about this new Cloudy Day TIEF – the definition is awesome!

MauiStamper Patterned Occasions pantsI also changed the sentiment to use the phrase that’s on the Pants Stamp.  I know a LOT of Smarty Pantses.  (It’s a word, I made it up myself.)

That’s a Pool Party card base, Sycamore Street DSP, Island Indigo oval mat, and Tangerine Tango, Island Indigo and Pool Party FFIP.  The sun is made of a 3/4 inch circle punch and heaps of points made from the Pennant Builder Punch – plus enough Tombo (the Wonder Adhesive) to stick together all your fingers and toes.

Just for fun, I made a landscape version using the ovals.  There’s room for another sun, but I didn’t think it was necessary.

PantsLandscape

A dress for Hostess Club

I was inspired by a beautiful card my daughter received – made by my dear friend and partner in crime/stampin’/eatin’ Cheryl.  I tweaked it a little for my hostess club last week:

Maui Stamper Dress Up Framelits


  • No Stamps!
  • Very Vanilla, Pear Pizazz (ret) and Blushing Bride (ret) card stock
  • Blushing Bride (ret) ink pad
  • Big Shot with All Dressed Up Framelits
  • Elegant Bouquet and Fancy Fan TIEF
  • Very Vanilla 1/8 inch taffeta ribbon
  • 5/8 inch flower trim
  • Sponge daubers
  • Pearls
  • Stampin’ Dimensionals

I had some of the retired cardstock we used for Carol’s weddding and I haven’t quite let go of that color combination, so I chose to share it with the club.  I told them there should have been the teeniest tiniest pearls to line that beautiful neckline, but they had all been used up on wedding favors 🙂  They’re my friends; they understood.

It just takes a few dabs of ink on those fabulous flower trim blossoms to get a little bit of color.  This card has a lot of texture which gives it depth and complexity even though it is a very simple layout.


ClubDressDtlEveryone used something different to adhere that single flower – Tombo, SNAIL, Stampin’ Dimensionals, Glue dots…and each adhesive worked equally well.

Are you interested in Hostess Club?  6 stampers commit to spend $25 a month for 6 months, and each person has a month as hostess – and earns the hostess benefits.  I’m forming a new group – contact me if you would like more information.

Time to move on to a new color scheme.  Thanks for indulging me 🙂

A very special sign

Carol was inspired by something she saw on Pinterest and asked her dad if he could make a sign for the wedding.  The guests were coming from many, many places, and Carol wanted something that would acknowledge the distances traveled.

Mr Maui Stamper, aka Dad, is a craftsman in his own right.  His medium is wood, and though it’s been a few years since he did a project of this scale he immediately started planning.  His skill and attention to detail resulted in an extraordinary sign:

Maui Stamper Dad's SignThere were a few locations that weren’t represented by name but were within a hundred miles or so of another destination.  And those distances are not approximations, but were carefully calculated using specific coordinates for the EXACT distance!

The sign required a pretty substantial footing, and that meant removing a couple of the distance arrows from the bottom in order to put it in place.  Carol loves her power tools:

Maui Stamper Wedding Destinations Sign

The sign began and ended the week installed in our back yard – in fact, it is going to be permanently installed in the garden.  For our parties at home, we wanted it to be more accessible so it went in the middle of the lawn:

Maui Stamper Wedding Destinations SignDid I mention that Carol is an engineer too?  She and her dad worked together on the back yard installation as that is a big sign and takes at least two people to put in place.  Guests at the various parties took photos with the sign and admired both its physical and technical beauty.

It was a pretty impressive installation at the reception, too:

ScottDrexler Photography

The wedding invitation

It all began – at least from a paper point of view – with the invitation:

Maui Stamper Wedding InvitationI made about 8 different samples and sent them off to Australia for Carol and Clarence to see.  Thank goodness for Skype, Viber and email!!  We compared and adjusted and tweaked until we were all happy, and then I set to work creating the invitation.

Maui Stamper Wedding InvitationIt doesn’t look like much here, but it was beautiful to hold and very elegant.  I scored an    8 1/2 x 11 sheet of card stock as a tri-fold, then created a panel to complete the front.  That Elegant Lines embossed panel was spritzed with Champagne Mist shimmer paint, and I made a few extras that came in very handy later on.  There’s a little Very Vanilla Seam Binding across the bottom, with that Decorative Label embellishment popped up on Stampin’ Dimensionals.

And no, there isn’t a larger Decorative label punch – that’s two Garden Green labels cut in half and attached to the back to create a mat – you can see it clearly in the first photo.  We were careful to keep the front smooth since we didn’t want to pay for any additional postage due to extra thickness – these invitations travelled far and wide and the necessary postage was already enough!

Maui Stamper Wedding InvitationThe interior was simple – just their invitation to the guests and a few stamped images.  The extra layers of paper gave it substantial weight that felt good to hold.  We used Blushing Bride ink with Garden Green and Brushed Gold cardstock – I didn’t have enough Pear Pizazz cardstock when I made the invitations.

I sent out the U.S. invitations and shipped the rest to Carol and Clarence to mail in Australia and Mauritius.  I confess I was relieved when Carol texted me a photo of the box of invitations safe and sound at her desk in Perth!