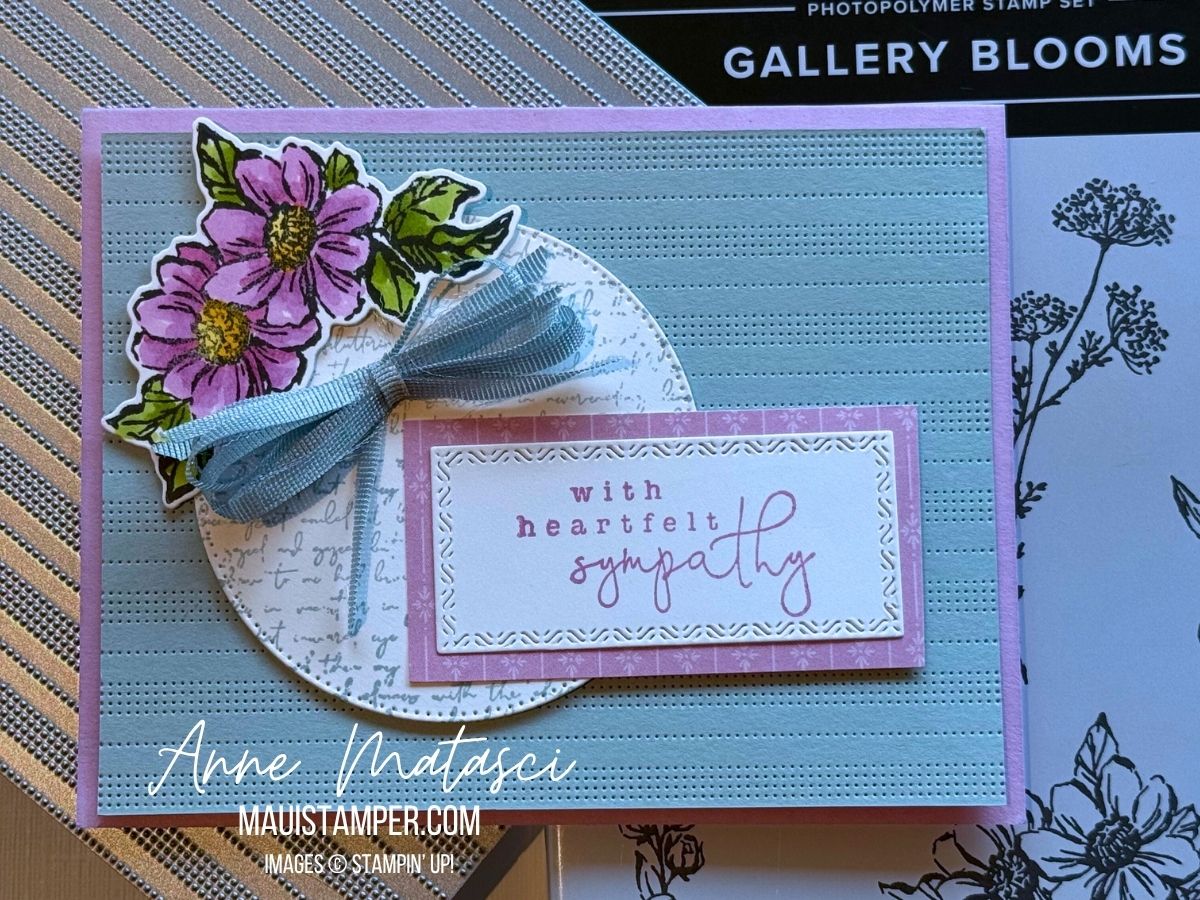
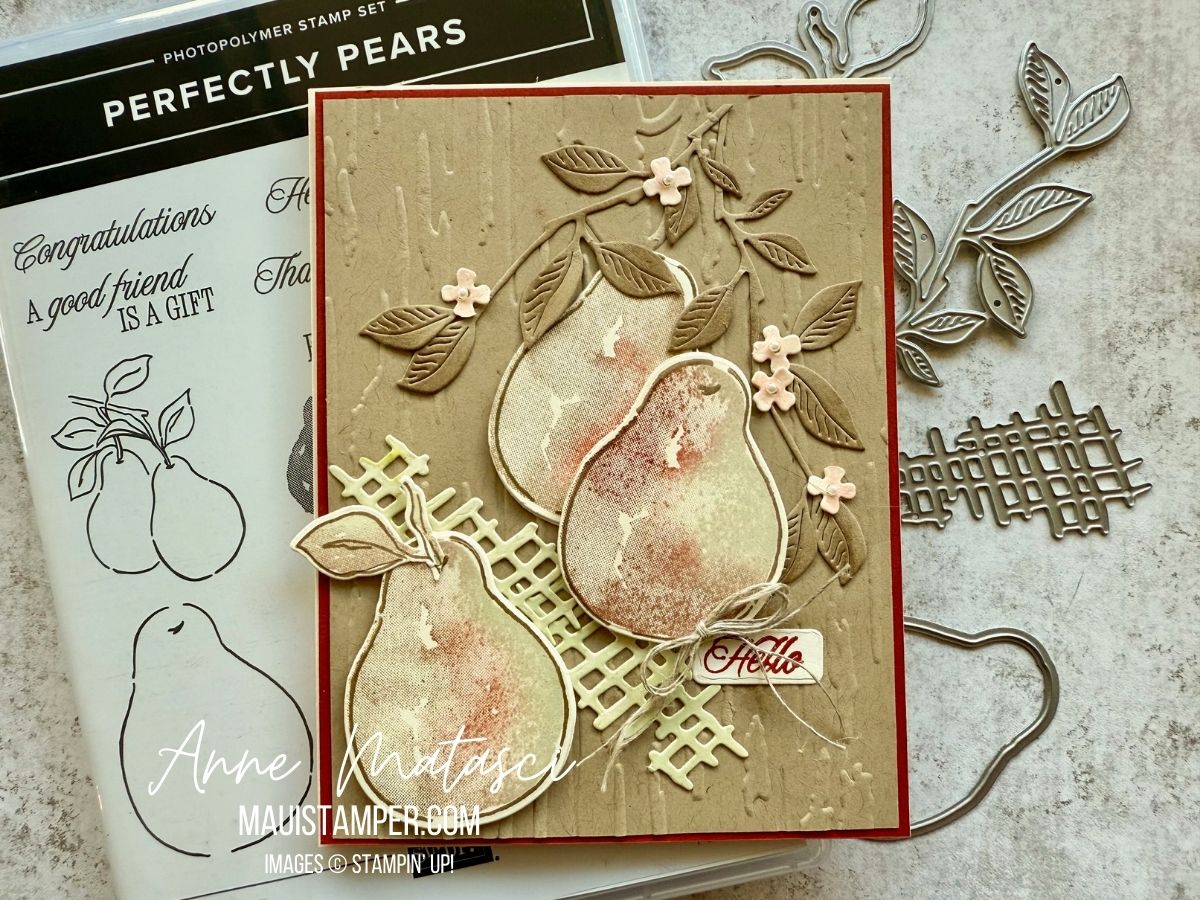
This big but subtle die is my very best crafting friend right now! I’ve found so many ways to use it, and I love the texture. It’s a flat surface, unlike embossing, so there are no problems adhering images and embellishments. And it’s just gorgeous!

- Stamps: Gallery Blooms, Beautiful Motifs
- Color Palette: Basic White, Fresh Freesia, Petaunia Pop, Lost Lagoon, Memento Black
- Accessories: Stamp Cut & Emboss Machine, Gallery Blooms dies, Patterns of Friendship die, Textured Notes dies, Stampin’ Blends, Petunia Pop Bordered Ribbon, Iridescent Ribbon, Retired In Color dots, Stripes and Florals cards and envelopes, Stampin’ Dimensionals
The Iridescent Ribbon is perfect for coloring with Stampin’ Blends – it’s one of my favorite tricks. Did you notice the subtle lines in the ribbon echo the lines in the Patterns of Friendship die? Gotta love that.
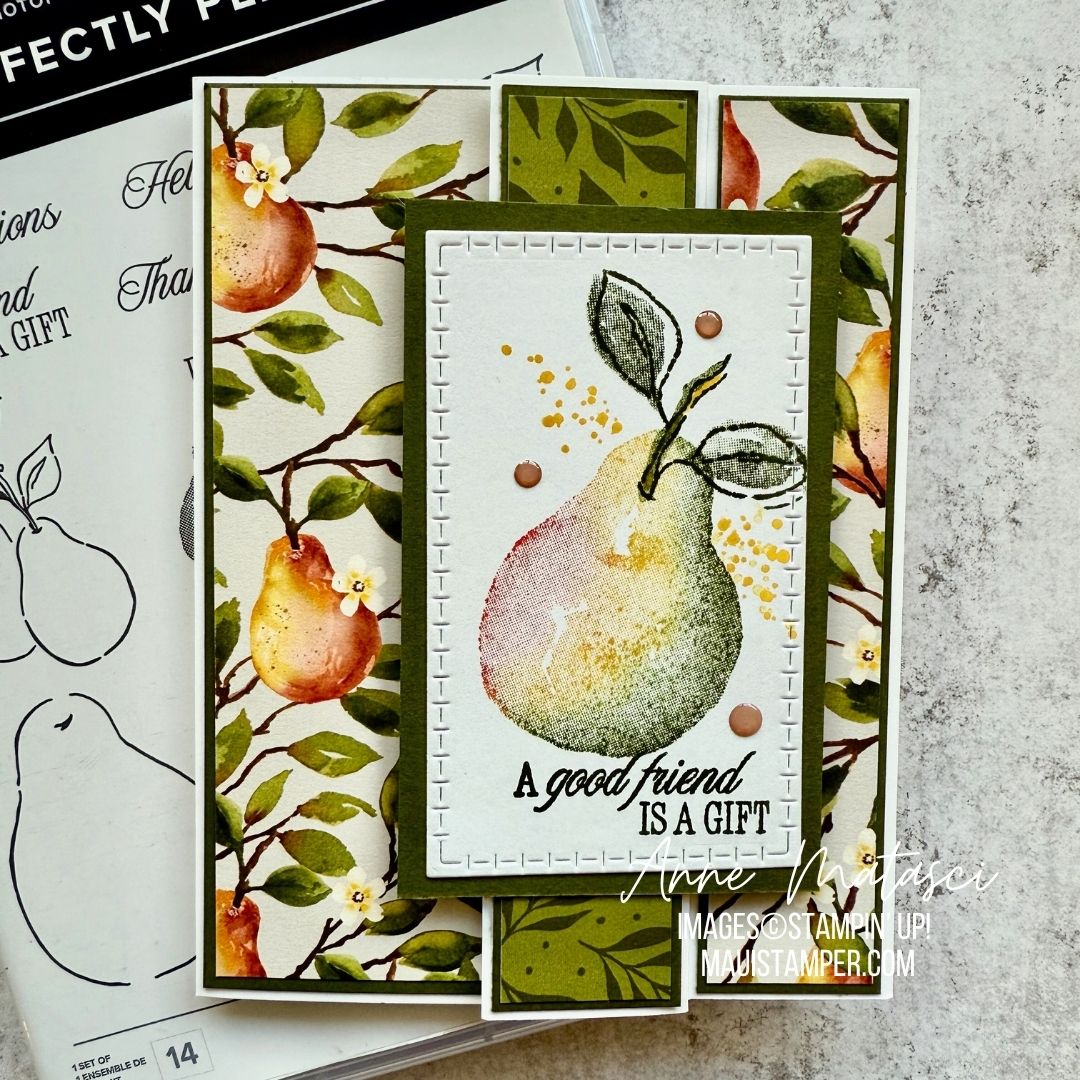
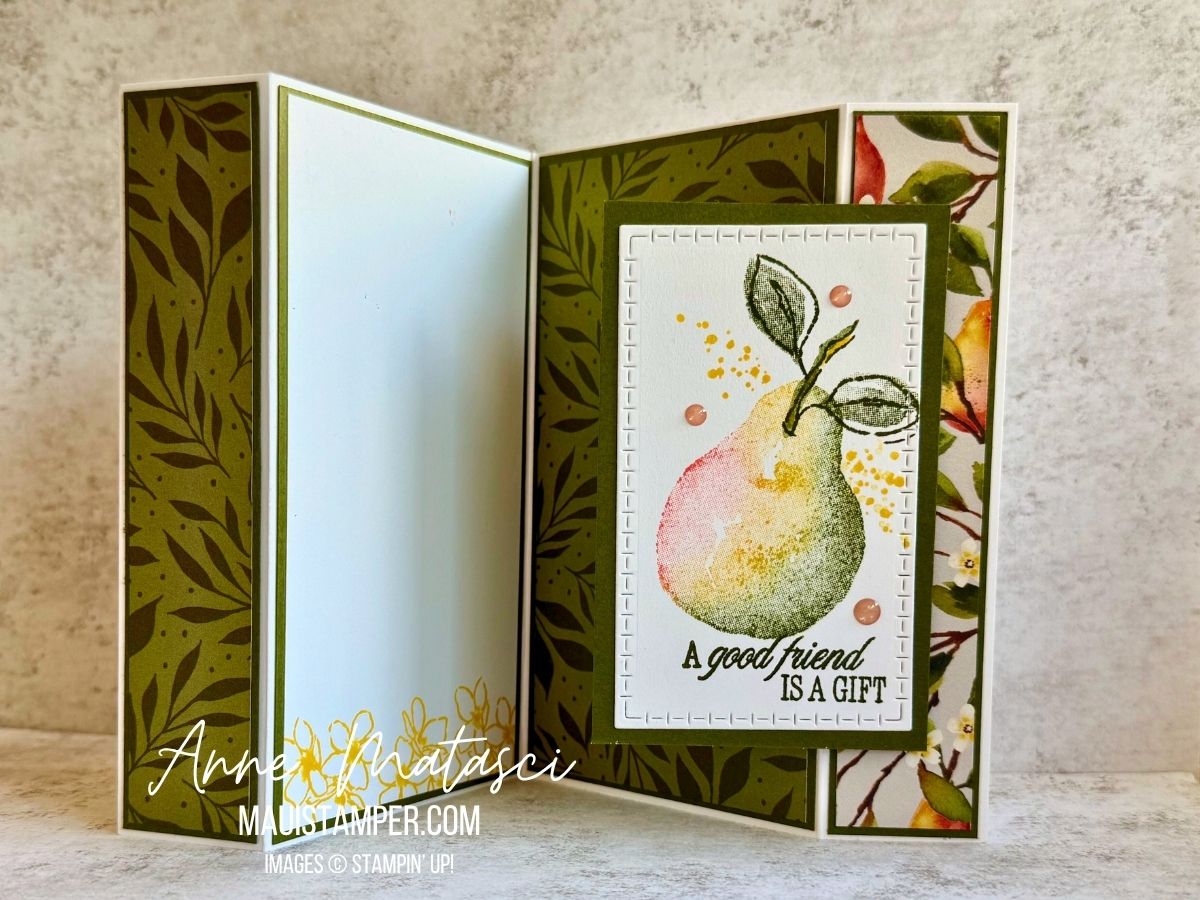
The Stripes and Florals Cards and Envelopes are on the Last Chance list, and they’re discounted, too. They’re another of my favorite tricks for a quick card.

Recently we’ve been experiencing some unannounced retirements of products due to various things outside our control. These items move from “unavailable” to “retired” without transitioning through the Last Chance list. If you love something, don’t wait to order it!
I would be VERY SAD to miss out on Patterns of Friendship. The Gallery Blooms bundle is expected back in stock the week of July 28 (that’s next week!) Beautiful Motifs bundle is currently in stock, and the dies are absolutely gorgeous – don’t miss them!