For my recent birthday, Mr. Maui Stamper took me to breakfast and then to an exhibit at the Schaefer Gallery at the Maui Arts and Cultural Center. It’s one of our favorite places to visit. The exhibitions are always extremely well curated, and the gallery is just the right size to explore without being overwhelmed. WASHI TRANSFORMED: NEW EXPRESSIONS IN JAPANESE PAPER took our breath away.
This work is folded paper, and when you see it in person, it is absolutely magical. It is luminous and enchanting, and I kept examining it to see how it was made. The artist pleats and folds the paper to create these stunning architectural shapes.
In places, there is a soft application of a translucent color to the paper. There are 3 of these works and they are overwhelmingly beautiful.
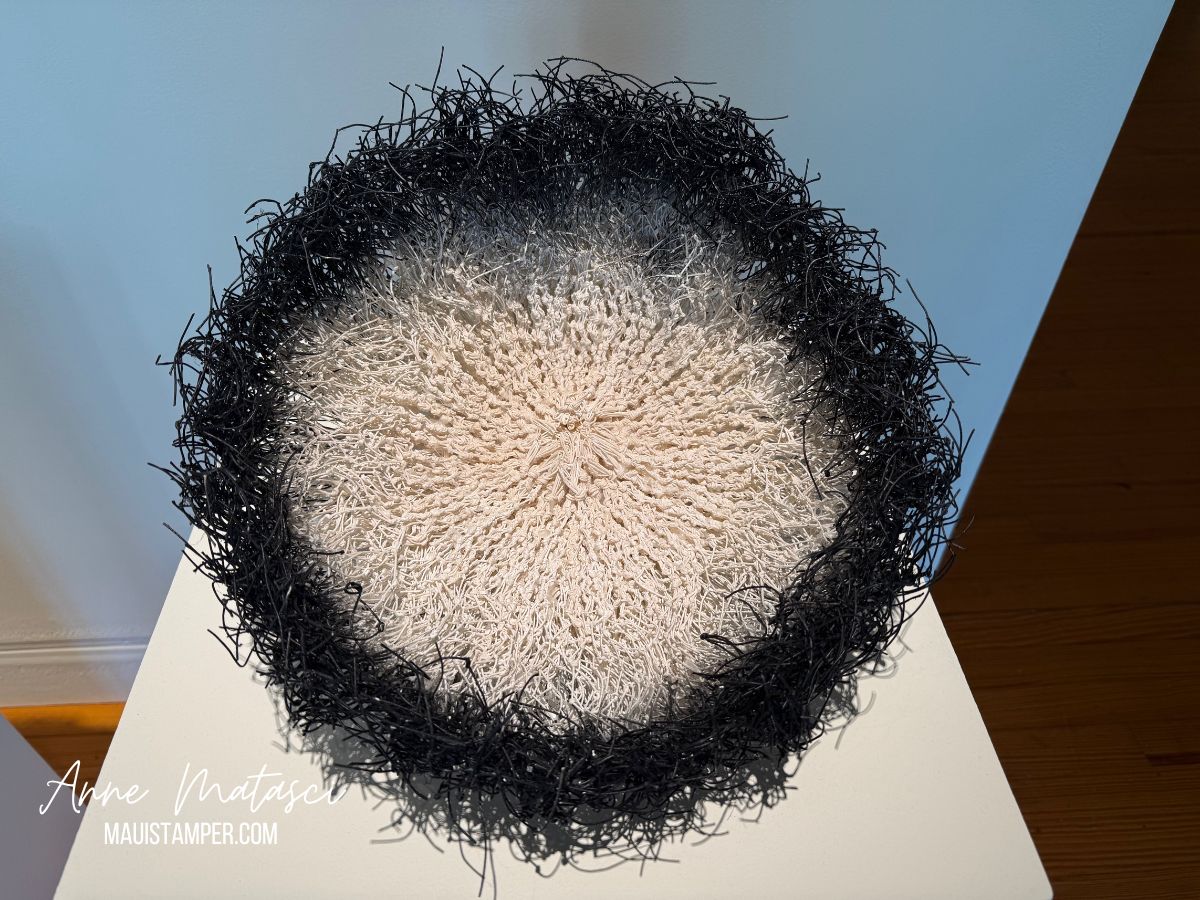
There are also 3 of these works, somewhat basket shaped. They are made of the white cord often used in gift-giving. Each shape is unique, but their structure is similar. I was mesmerized as I followed the individual cords composing each work.
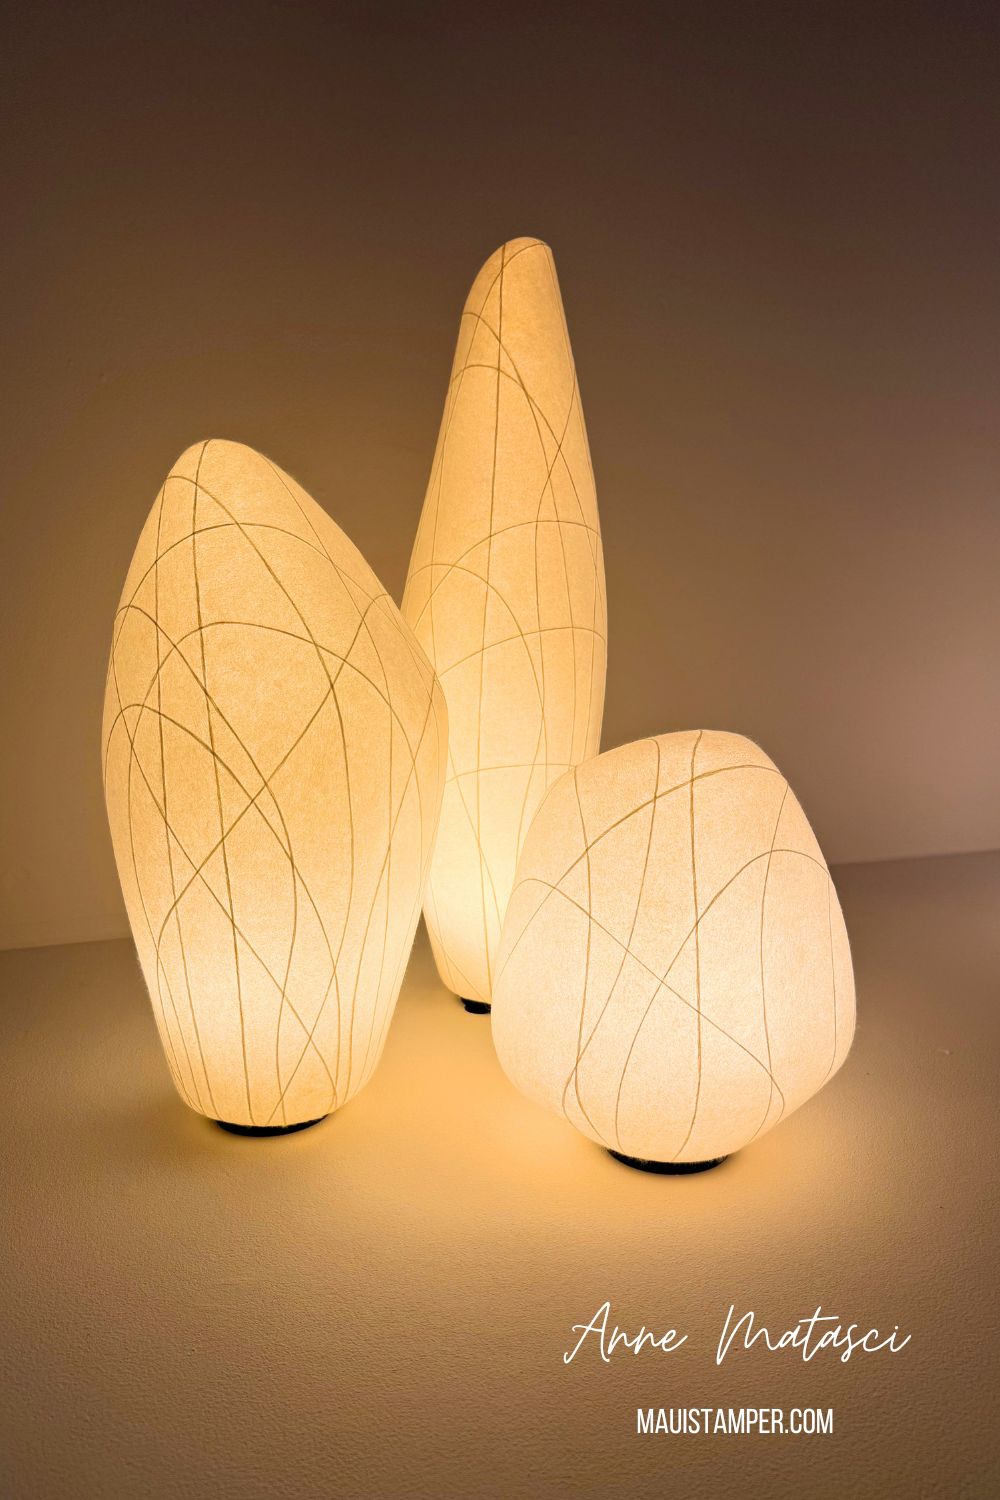
These 3 sculptures are illuminated from within, and create a composition that evokes the rocks in a stone garden. The light is very soft, and the shapes are organic and very pleasing together. This is a peaceful composition, gentle and calm.
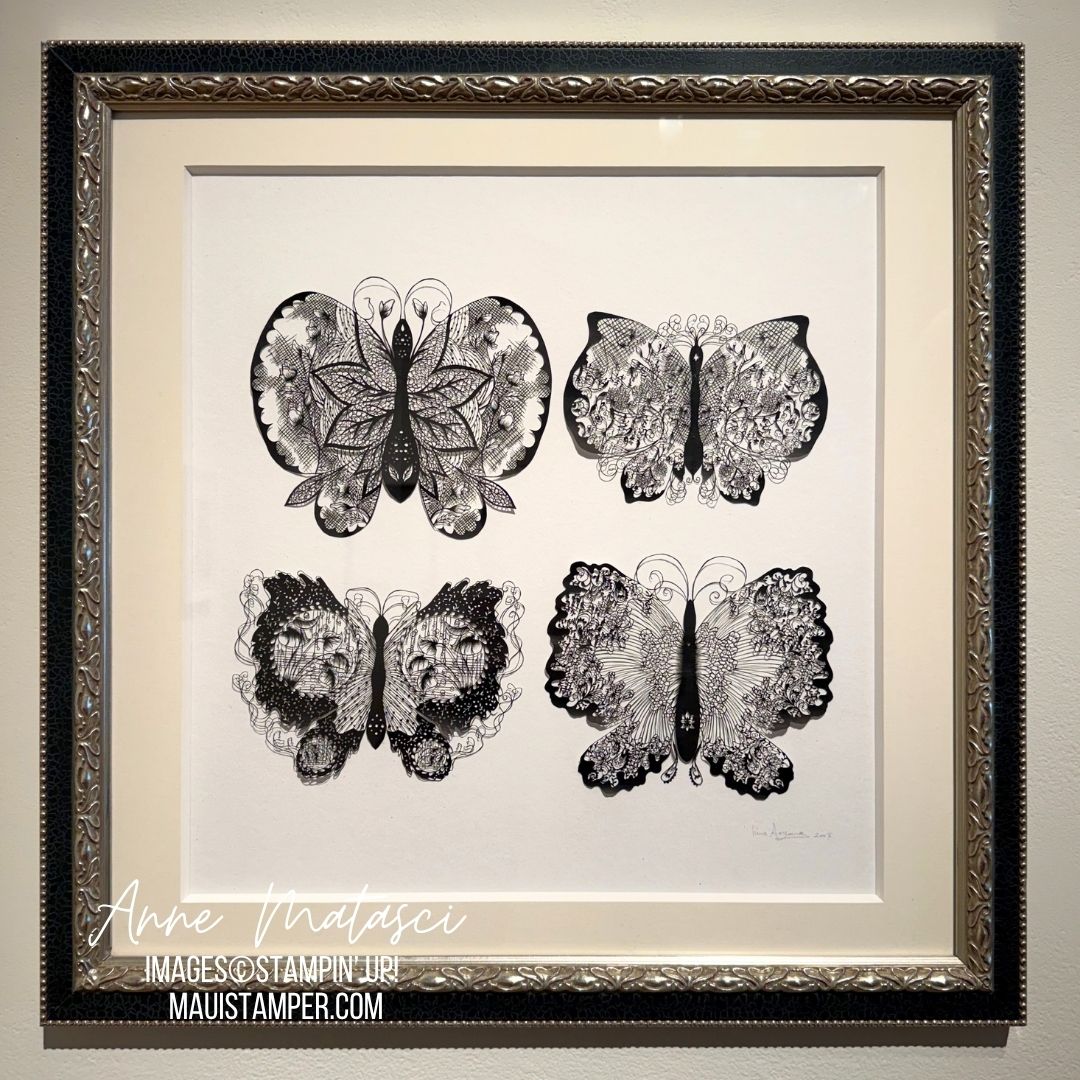
You absolutely need to see this to believe the level of detail in this beautiful composition. These images are cut from paper, with exquisite perfection and attention to detail. Some of the cut lines are the width of a hair. We were both captivated by the intricacies and beauty of this work.
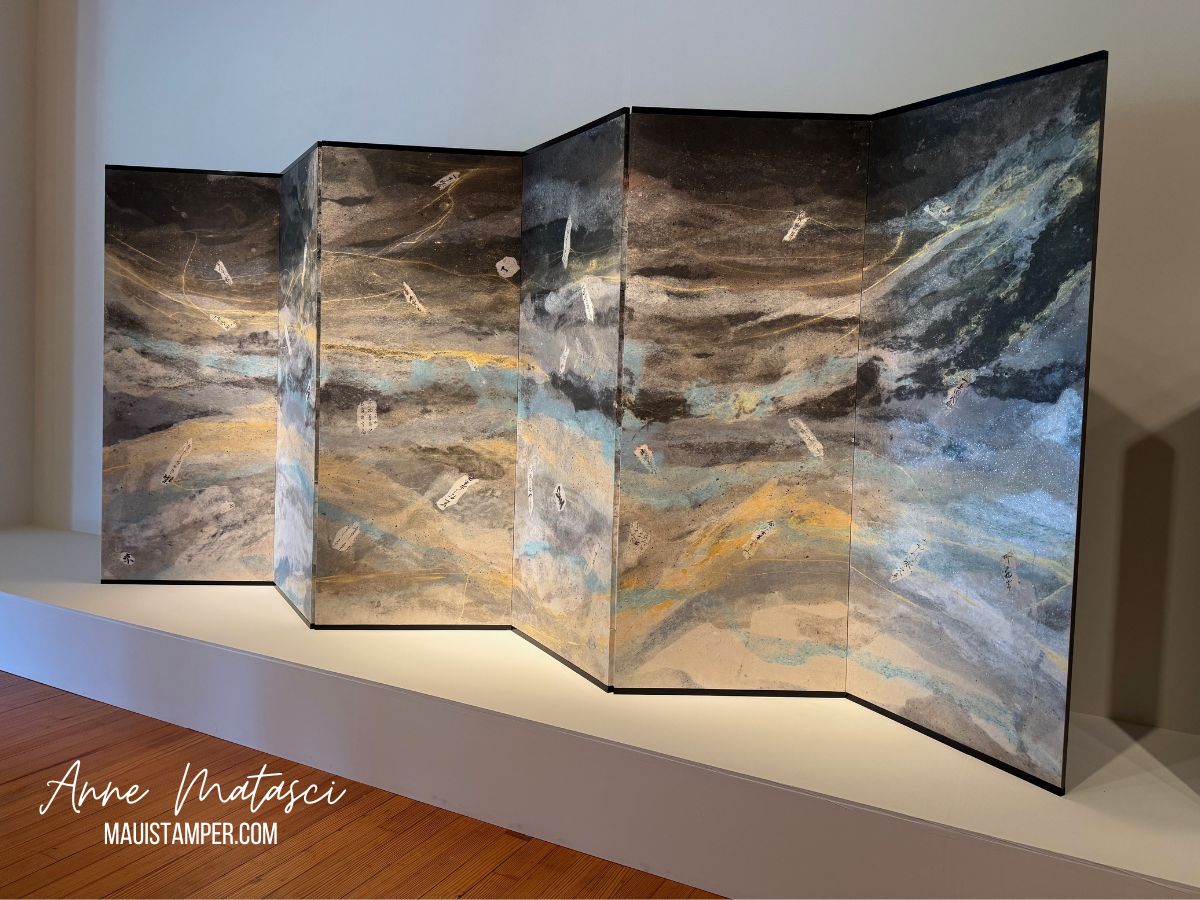
It’s impossible to convey the size of this work – I should have taken a photograph with a person to convey the scale. I estimate it to be 8 feet tall, and each of the 6 panels to be 3 or 4 feet wide. The paper has been soaked and softened, with color added using inks and mica. Old documents are collaged onto the surface (the guide said they were things like tax and marriage documents). This set of screens has a sweeping, mysterious quality. The sheer scale of it is breathtaking.
There are 9 artists represented in this show: Hina Aoyama, Eriko Horiki, Kyoko Ibe, Yoshio Ikezaki, Kakuko Ishii, Yuko Kimura, Yuko Nishimura, Takaaki Tanaka, and Ayomi Yoshida. They reside in Japan, France and the United States, and this exhibition is the final stop of the tour. There are many other works I have not pictured – my photographs are entirely inadequate, as well as incomplete. If you live on Maui, I urge you to visit the Schaefer to see these works for yourself. The exhibition runs through May 15th. Don’t miss it!