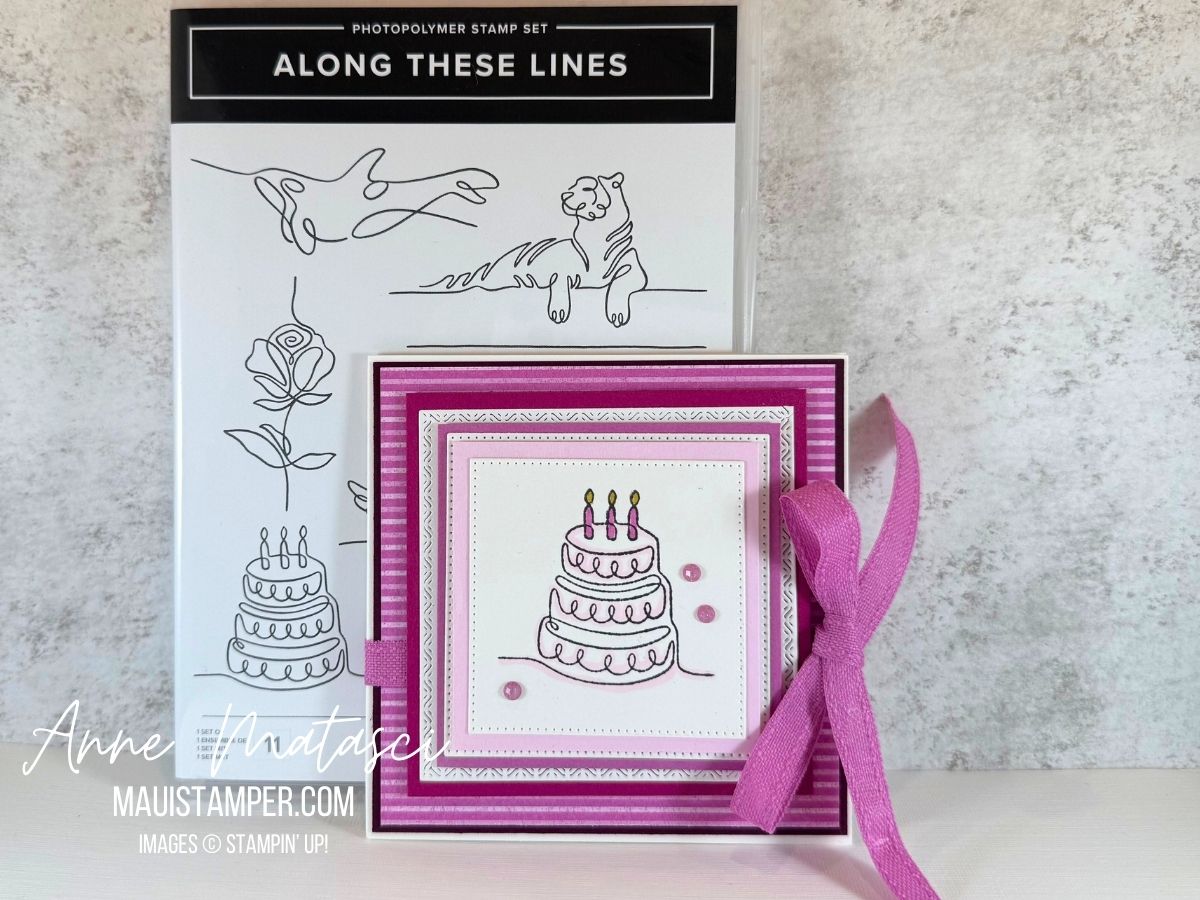
How about a Layer Cake on a layered card? I don’t often make square cards, but I was inspired to create a stack with this one. I made it monochromatic, but I was tempted to do it in rainbow colors. Stay tuned for future updates.

- Stamps: Along These Lines
- Color Palette: Basic White, Bubble Bath, Petunia Pop, Berry Burst
- Accessories: Stamp Cut & Emboss Machine, Stylish Shapes dies, Textured Notes dies, In Color DSP, Bordered Ribbon, Stampin’ Blends, Stampin’ Dimensionals
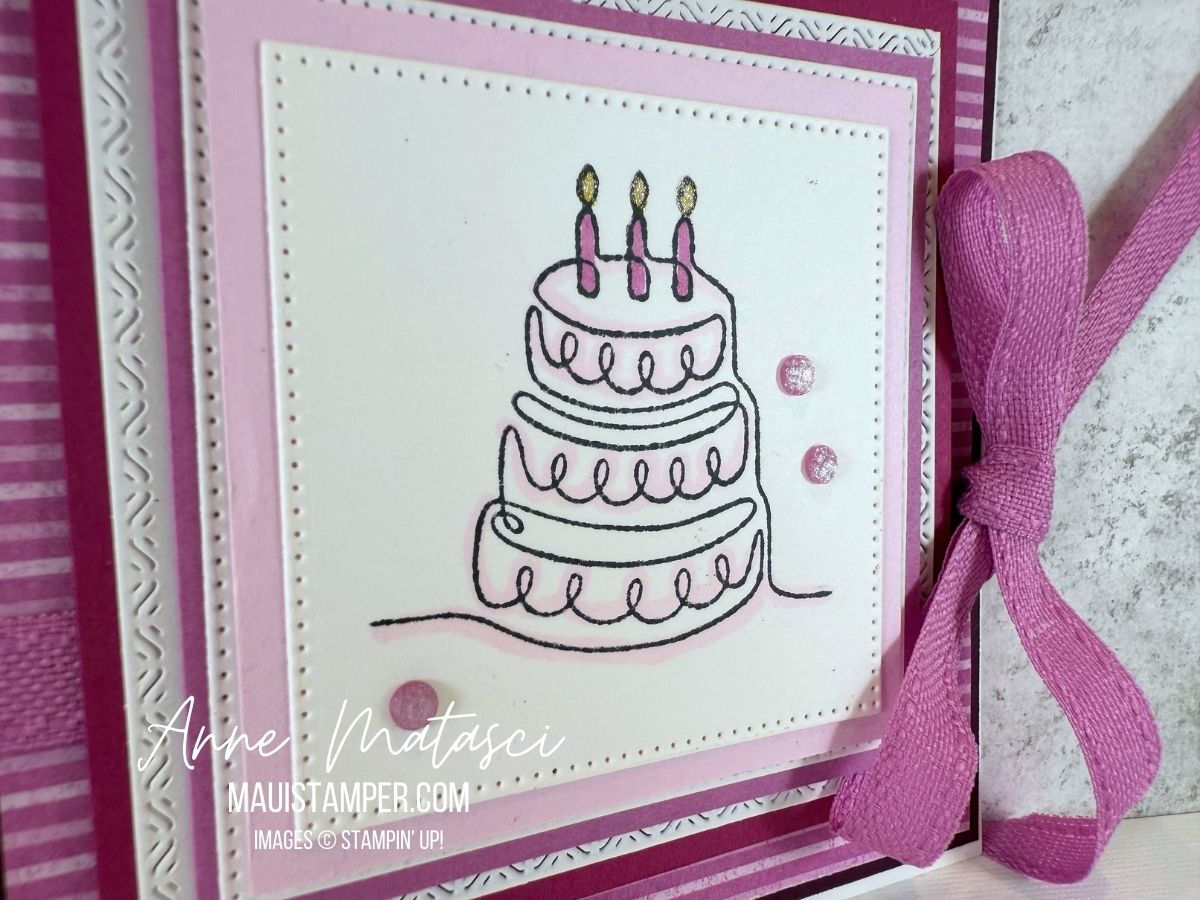
I kept the coloring to a minimum, as these images are pretty intricate. A light color and a simple highlight was all I wanted. I layered a Basic White panel with a color panel and put Stampin’ Dimensionals on the back, then repeated twice more.
The Textured Notes dies are rectangles, but by running the die cut through a second time I was able to create a square. I love the designs on the edges of those dies.
TRUTH: I forgot to add the sentiment before I began stacking the paper with the dimensionals, and I was not brave enough to attempt to add it on the top of the stack! It says Happy Birthday inside.
Find Along These Lines and lots of other glorious new products in the Online Store.