Hand-Penned Petals and a DIY background

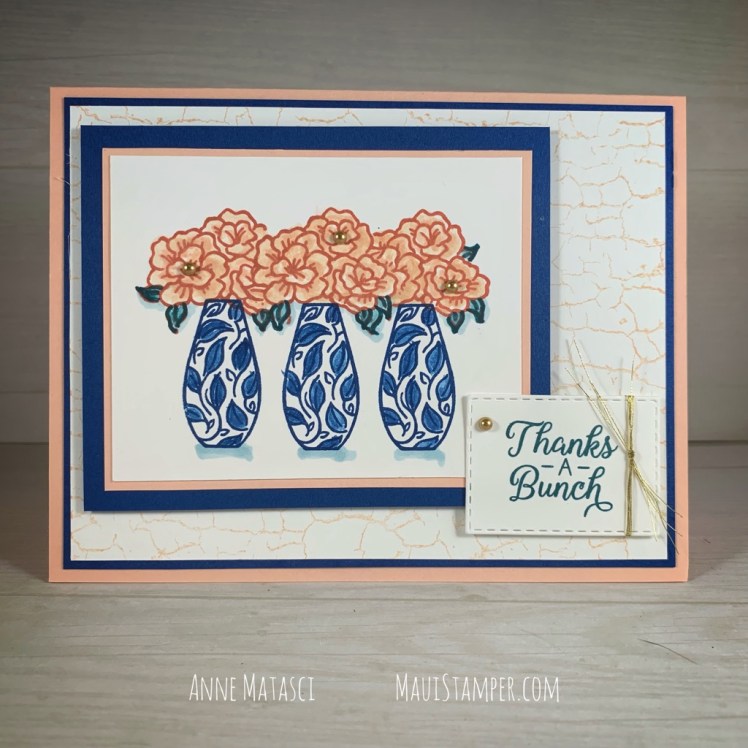
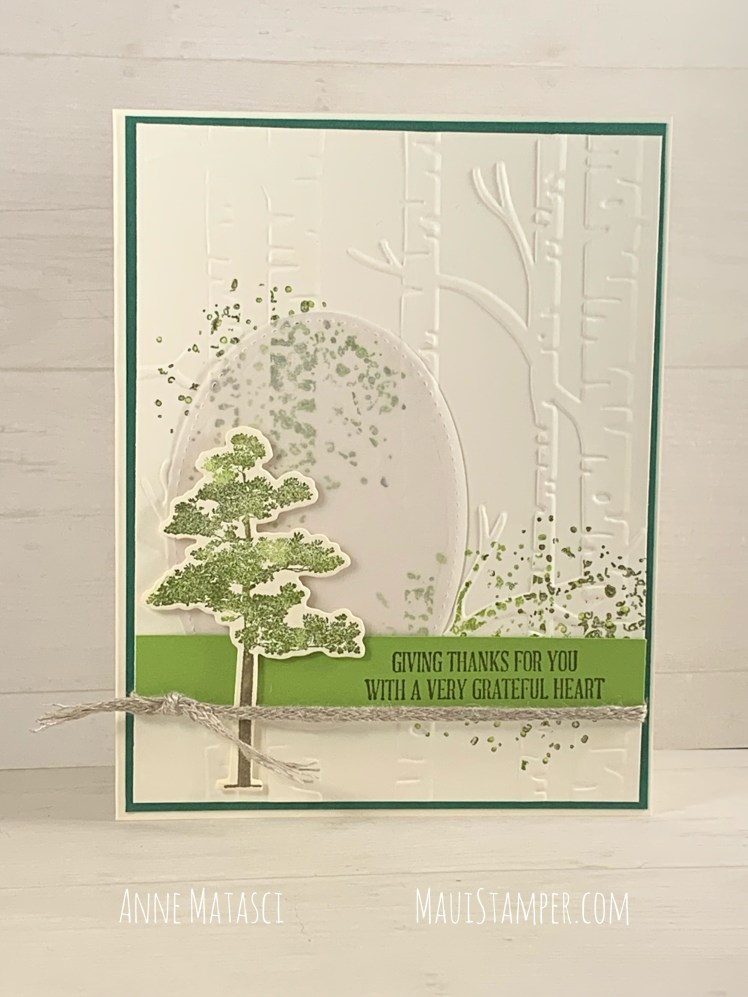
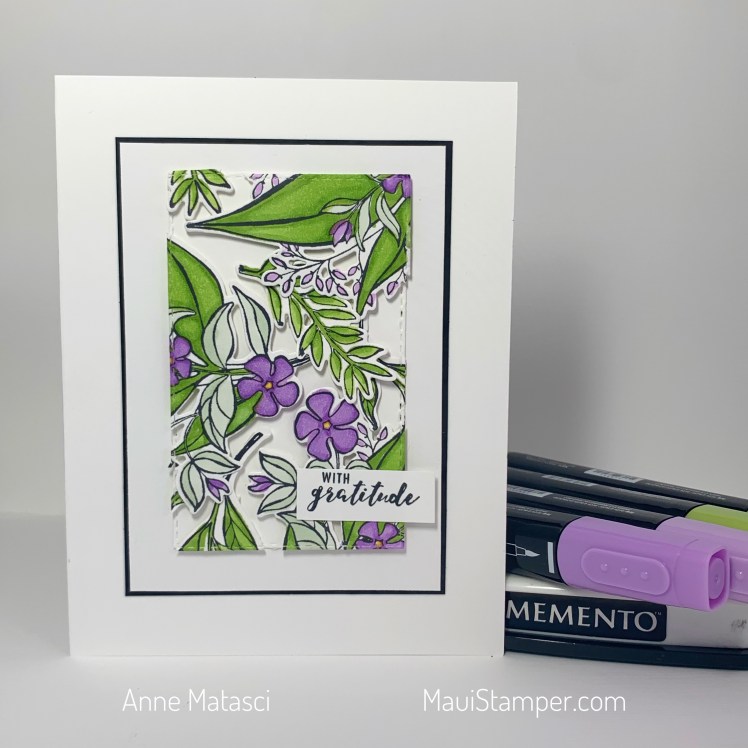
I did my best to create a simple card, using one stamp set and just the Big Boss and some dies. It’s not an absolute beginner card, but it’s an easy one to re-create. I’d love it if you gave it a go:

Maui Stamper Stampin Up Hand-Penned Petals hand-stamped card DIY
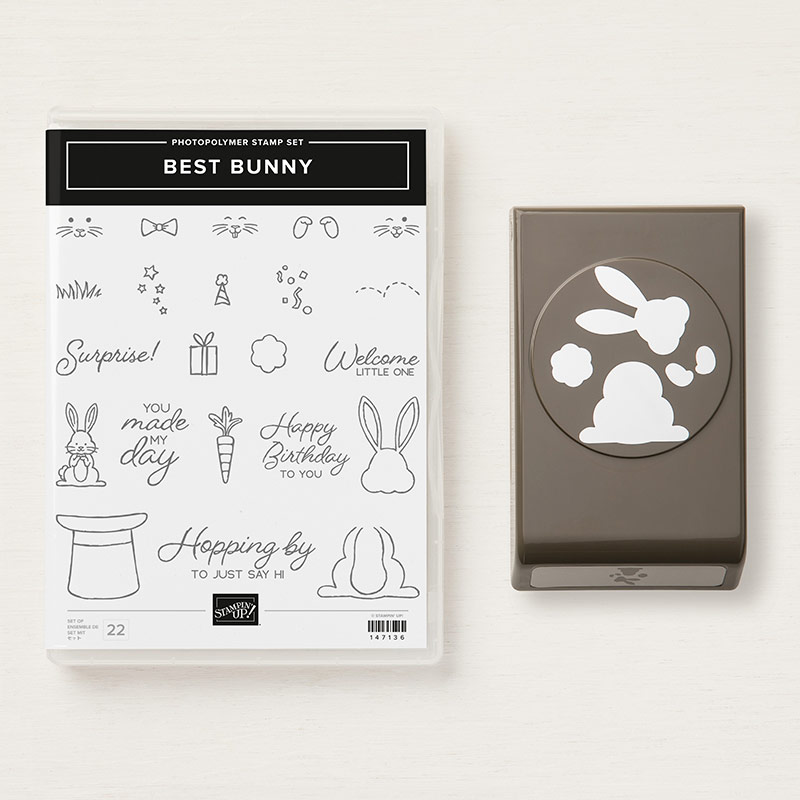
  • Stamps: Hand-Penned Petals
  • Color Palette: Basic White, Memento Black, Pear Pizazz, BumbleBee
  • Accessories: Big Boss, Stitched Rectangle dies, Penned Flowers dies, Stampin Dimensionals

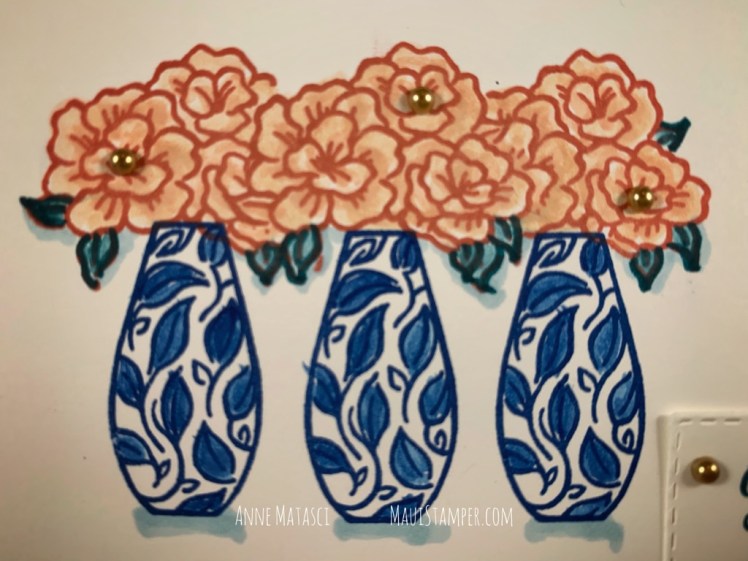
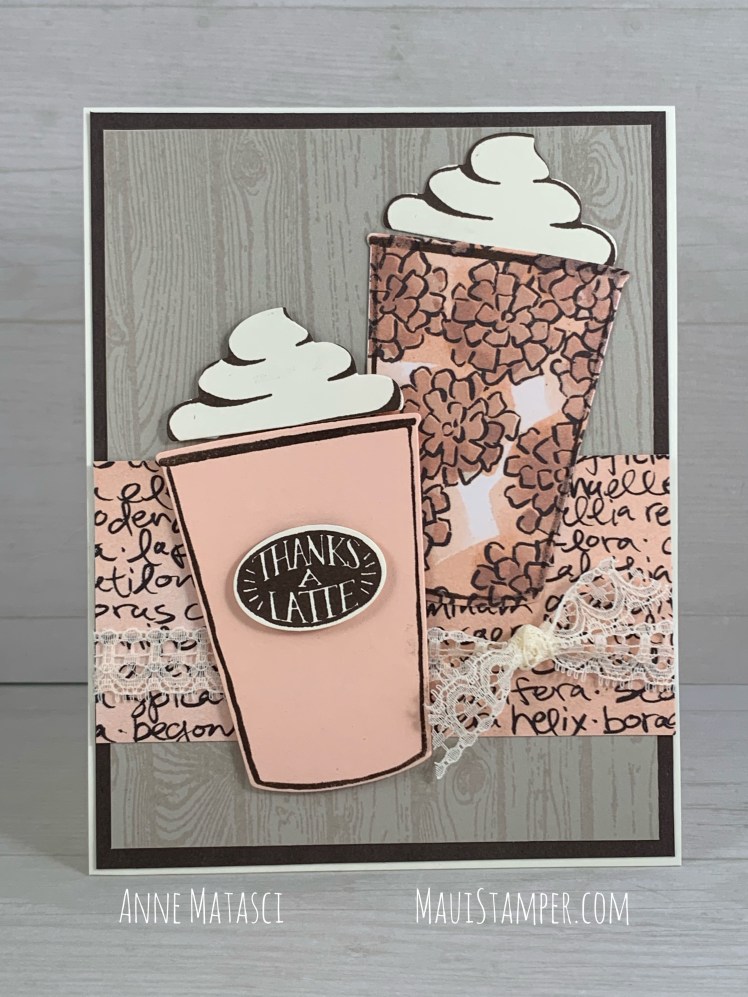
My technique was VERY simple. I stamped the focal point with Memento Black ink on a piece of Basic White and stamped the flowers and petals each twice without re-inking (that’s what creates that lighter color layer particularly visible on the flowers). Then I inked the focal point in Pear Pizazz and lightly stamped it off on a scrap, then stamped it onto my Basic White Stitched Rectangle (that technique is called stamping off). I repeated that process until my background was sufficiently filled, stamped the sentiment right on top of it with Memento Black, and positioned the focal point with Stampin’ Dimensionals.

Maui Stamper Stampin Up Hand-Penned Petals hand-stamped card DIY

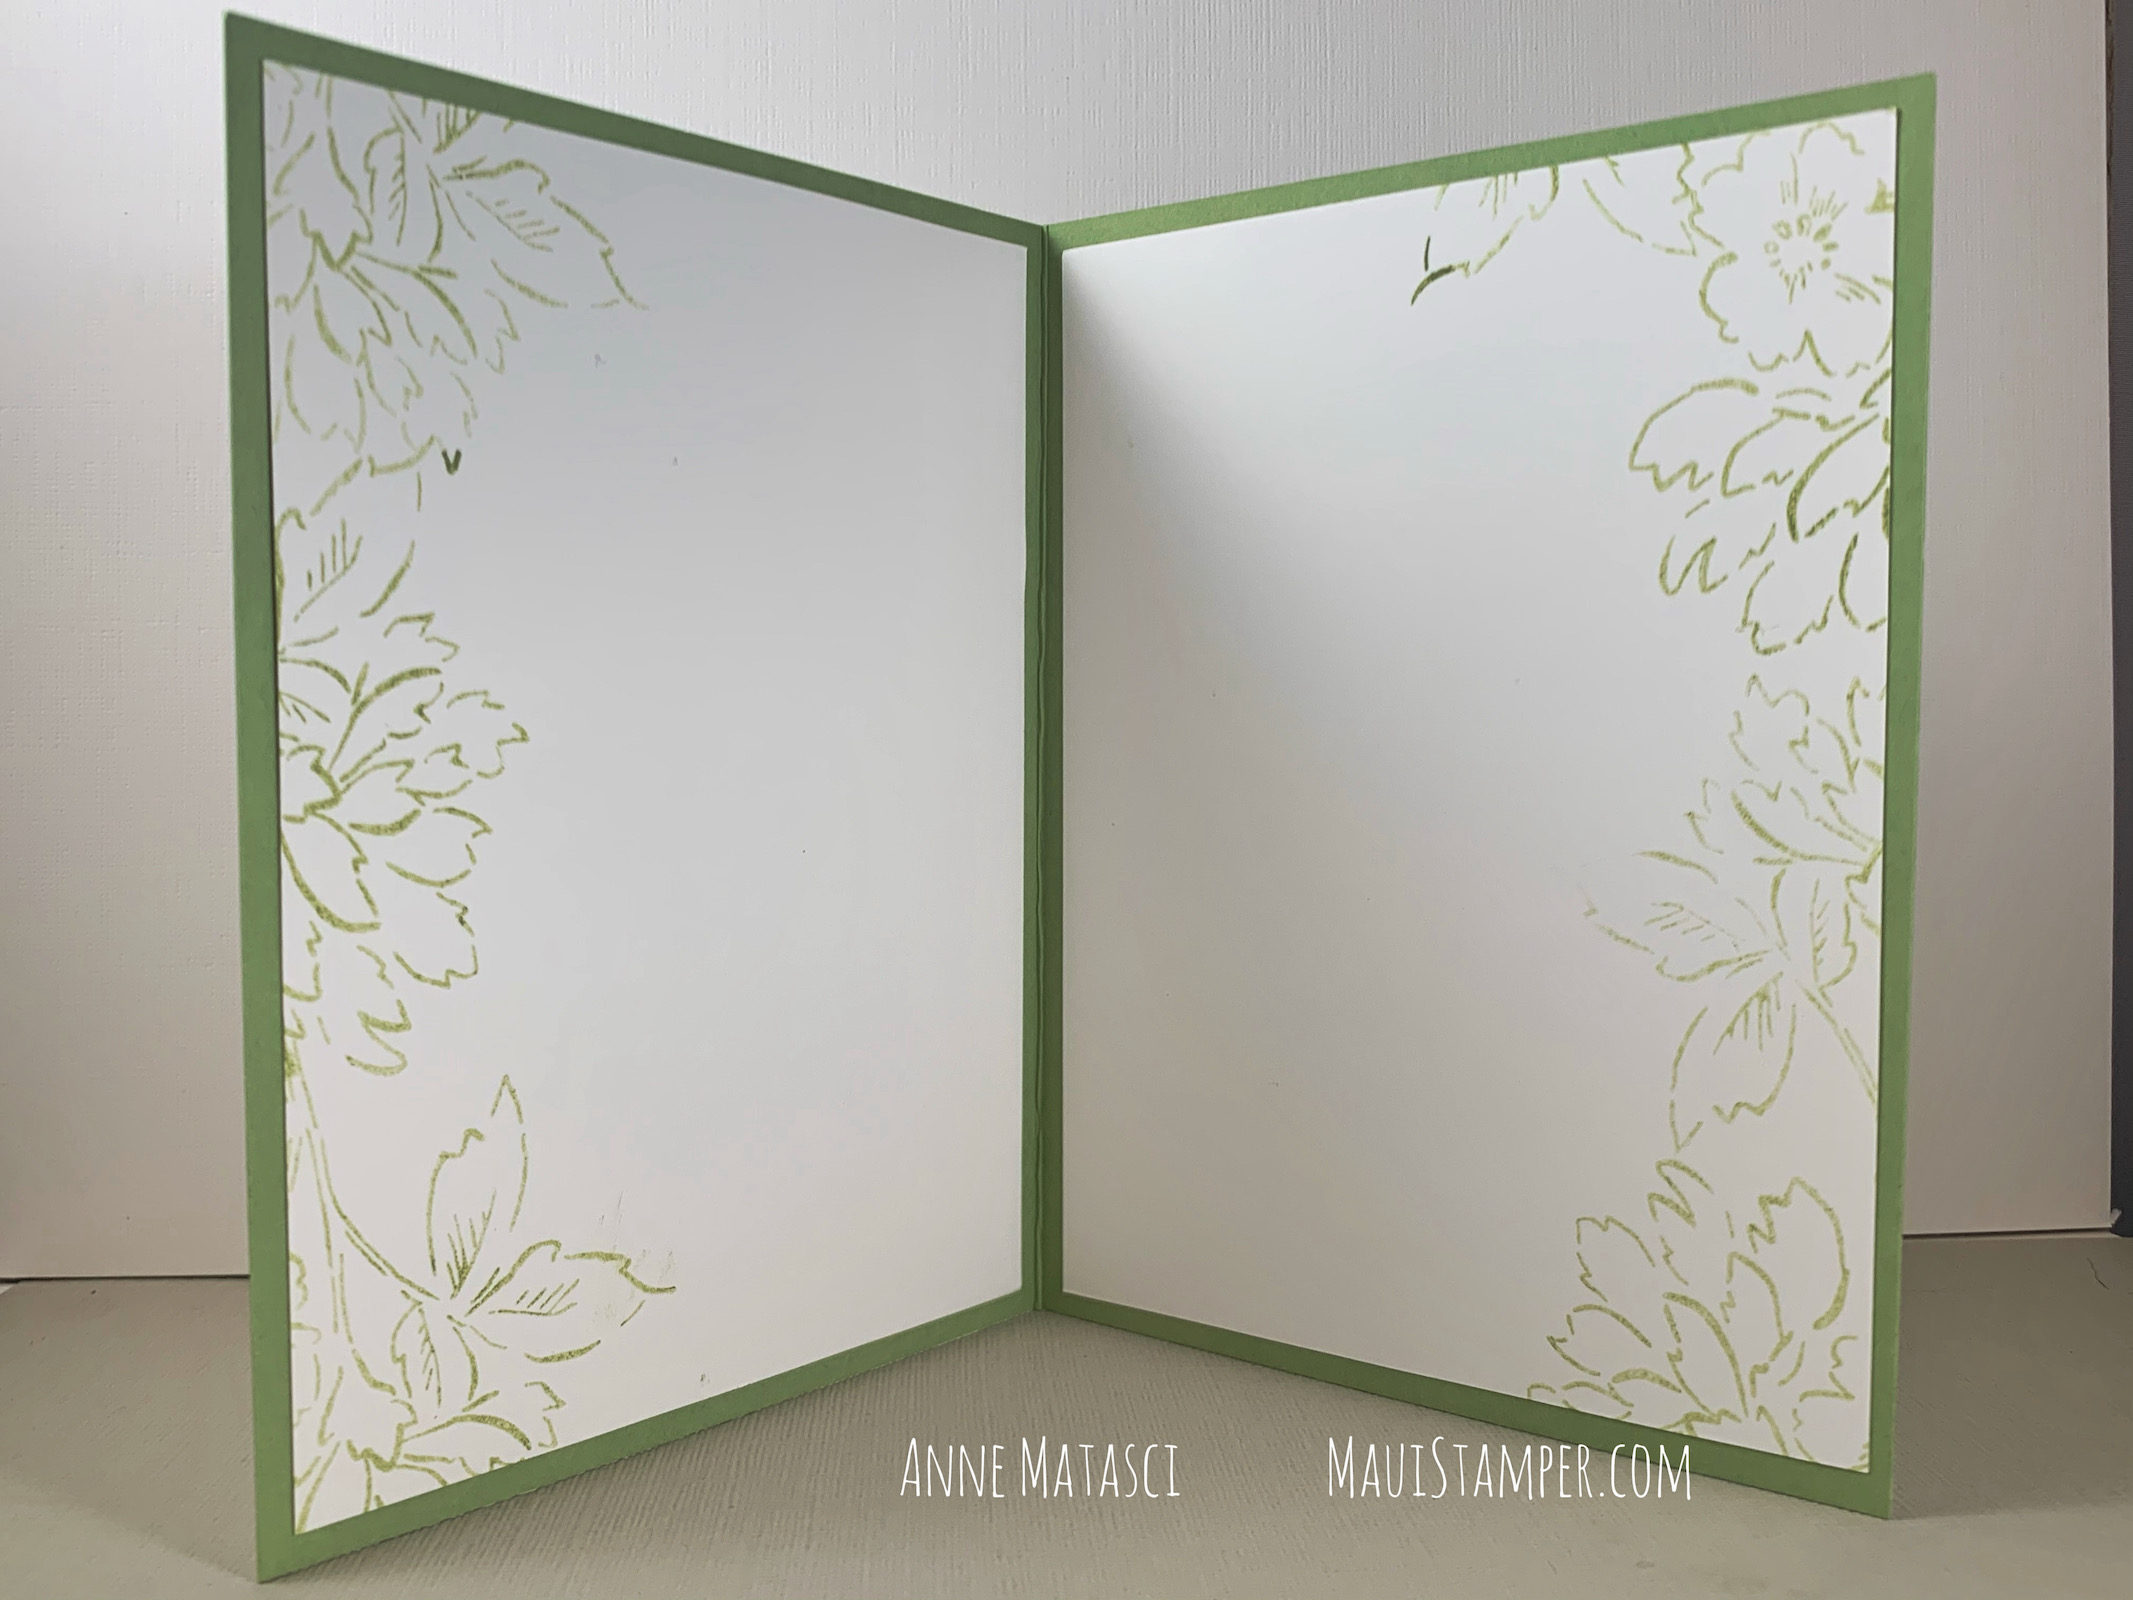
Sooo…about the inside. It’s a special double panel inside. It didn’t start out that way, but when I opened the card to add the panel, I placed it on my craft table upside down, so the panel was on the wrong side. I tried to lift it, but oh no, I did a good job of pressing my Stampin’ Seal in place and it wasn’t going ANYWHERE. So I made this a double panel card.

Tell me you’ve never done that.

The Hand-Penned bundle is a great beginner set. The images can be hand colored, or stamped with our Two Step Stampin’ process to be quick and easy. Shop for it HERE.

The Gorgeous Lilypad Suite

I’ve been playing with coloring techniques using an embossed image from Lovely Lilypad. I went back to the Aqua painter and found more success this time by remembering to wet the entire image before I start. Those of you with any training likely do this automatically!

Maui Stamper Stampin Up Lovely Lilypad

The Lily Impressions DSP is bold, and creates a great background pop on this otherwise neutral card. The card base is from DEEP in the archives, something I discovered recently during a mad “what the HECK is in here anyway?” clean up. It’s 6 1/2″ wide by 3 1/4″ tall, and was sold with matching envelopes. Speaking of…

Maui Stamper Stampin Up Lovely Lilypad

I get busy and forget to do this, but I love the sense of anticipation that comes with a stamped envelope! I’m also completely smitten with the new Coastal Weave embossing folder – the additional textures are gorgeous! I spritzed it with a few drops of Coastal Cabana ink mixed with rubbing alcohol in a Stampin’ Spritzer.

Maui Stamper Stampin Up Lovely Lilypad

I liked the first one so well, I made a second in an alternate color palette. The lily is colored with Purple Posy (the ink has been retired for quality issues, but there are Stampin’ Blends available) and the accent color is Highland Heather. I used the Stitched Nested Labels for the ground shape.

Maui Stamper Stampin Up Lovely Lilypad

Which do you prefer – I can’t choose! But I’ll tell you this – these cards are headed out in the mail quite soon, so if you placed an order in the last month, watch your mailbox. Two of you will get a Lovely Lilypad!

If you’d like to create your own, shop HERE.

Vibrant Vases: Colour INKspiration #60

I am just under the wire for the Colour INKspiration #60 challenge! It often catches me because the deadlines are in Australian Eastern Standard Time Zone, and that means it’s a day ahead because of the International Dateline. I should know better – my daughter lives north of Sydney – but even when I do the math correctly I’m often under the wire. But here’s my contribution:

Maui Stamper Stampin Up Vibrant Vases CI#60

This is the inspiration image for CI#60. I’ll tell you, these colours are a bit of a challenge to put together! Terracotta Tile and Petal Pink are made for one another, but those other two, well, it was a stretch. This project sat on my craft desk for a few days in pieces.

Maui Stamper Stampin Up Vibrant Vases CI#60

When I got the idea for the classic Blue-And-White for the vases, things started to come together. I used both Stampin’ Write markers and the Aqua Painter to get shading on the blooms, and used the Aqua Painter for the vases. I intended for it to have that slightly uneven, outside-the-lines look that old china pottery has.

Maui Stamper Stampin Up Vibrant Vases CI#60

If you’ve never tried a Colour Inkspiration challenge, I highly recommend it! You’ll love the projects that have been submitted for CI#60.

And if you’d like to do a little shopping, click HERE.

Stampin’ Up! Host Rewards: Soft Spring

Host sets are a bit of a mystery to me. They’re a great value, but they don’t get the exposure or interest they should. They’re available at a discounted price, but the twist is that you have to use Host Rewards to purchase them. Today I’m featuring Soft Spring:

Maui Stamper Stampin Up Soft Spring Host Rewards

I used the Stamping Sponge to add a little texture and soften the Crumb-Cake-on-White look of the Birch background. I cut the word THANKS out twice, once in Blushing Bride and once in Gold Foil, and offset layered them for added dimension. This is a perfectly flat, no-questions-asked MAIL WORTHY card!

Maui Stamper Stampin Up Soft Spring Host Rewards

Those Stitched Nested Label dies (also sold as part of the Free as a Bird bundle) are going to be a constant crafting companion! And there’s a bonus in the set: a single long die to make a line of stitching anywhere you’d like it.

I originally created this as an entry for Colour Inkspiration #58, but decided to submit THIS CARD instead. I think I made the right choice! That’s the fun of color challenges: you can repeat them over and over again with such different results.

If this post has resulted in the desire/need to shop, click HERE.

The Woodland is Rooted in Nature

It’s been a delightful summer in my craft room, and I’m ready to get the show back on the road and share some of it with you. Would you like to see what I’ve been doing?

Maui Stamper Stampin Up Woodland is Rooted in Nature

I seldom use Very Vanilla card bases, and when I look at this one I wonder why! I especially like the way it works with the braided linen, which is just an abundance of linen thread – and you know I love linen thread!!

I have a few great tips for you when you’re working with vellum:

  • The Fine Tip Glue Pen is VELLUM MAGIC. Use it to adhere vellum to any project and it doesn’t show through!!!
  • When I run it through my die cut machine I layer a piece of waxed paper between the paper and the die (and yes, I have a Big Shot, which Stampin’ Up! no longer sells – but something BIGGER is coming!) It helps to release the vellum from the die, especially the Stitched Shapes, which have a tendency to hang onto the die cut.
  • I use my trusty Bone Folder when I’m removing a vellum die cut from the die, since it’s thin and helps to avoid creases in the vellum.
Maui Stamper Stampin Up Woodland is Rooted in Nature

I used sponge daubers to ink the foliage in Granny Apple Green and Shaded Spruce. Once they were inky, I colored the trunk with the Soft Suede Stampin’ Write marker. If you try to color the trunk first, it’s easy to accidentally cover the ink with the daubers. Coloring it second allows you to push off any GAG or SS ink (yup. That’s what I call it. GAG. Love that color.)

Maui Stamper Stampin Up Bonus Days July 2019

Today is the FINAL BONUS DAY!! Skedaddle on over to my Online Store to earn your savings – a $5 voucher for every $50 in merchandise you choose! You’ll be glad you did.

Thanks a latte: Coffee Café

We bought a new espresso machine this year. The previous one was a champ and cranked out multi-shot beverages every single day for 7 years. When the cost of repairs became unrealistic, we had to get a replacement. There was someone who walked us through the whole process, and I knew just how to say thanks:

Maui Stamper Stampin' Up! Coffee Café

Coffee Café is retiring, but it’s an indispensable stamp set that will have a permanent place on my craft desk. It’s perfect for cards, of course, but also makes a great gift-card enclosure.

Maui Stamper Stampin' Up! Coffee Café

The Share What You Love DSP is really beautiful, and I think I’ve caught a glimpse of the gorgeous shimmer that is on one side of each paper. It’s those little details that make a card pop!

Maui Stamper Stampin' Up! Coffee Café

All of these beautiful products – with the exception of the colors – are retiring on June 3rd. Stamps are only guaranteed availability through May 24, so if you’re thinking a latte about this set, maybe you should Shop HERE.

And if you are in the market for a new espresso machine, call Jenn at Seattle Coffee Gear in Bellevue, Washington. She’s amazing.

Cling Wrap Part Two: Wonderful Romance

One of the serendipities of the Cling Wrap Frame technique is that it’s a “two-fer”: when you cut the frame, you get an extra piece that functions as a beautiful focal point on a second card. Today I’m sharing that card!

Maui Stamper Stampin' Up! Wonderful Romance Cling Wrap Technique Wonderful Romance

The Stitched Rectangle shape was the middle of the frame from THIS post, and I was pleased with the balance of color and shape. It really didn’t need much embellishment, but I decided to emphasize it a bit by adding a narrow black mat.

Maui Stamper Stampin' Up! Wonderful Romance Cling Wrap Technique Wonderful Romance

The sentiment was stamped on a little strip of paper and trimmed to fit. I kept it small and simple to offset the detailed design and images from the focal panel.

Are you ready to try this for yourself? It’s not hard and the results are so satisfying.

And there’s more good news! The Bunny Builder Punch and the Best Bunny Bundle are back in stock, just in time for your Easter crafting. Shop HERE!

Inspire.Create.Share.2014: In Color Card Swap

Today at Convention 2014 I’m swapping this Blackberry Bliss card:

Maui Stamper In Color Blackberry Bliss Spiral Rose swap

  • Stamps:  Lots of Thanks, Hardwood
  • Color Palette:  Blackberry Bliss, Baked Brown Sugar, Whisper White, Sahara Sand
  • Accessories:  Spiral Flower Originals Die, Flower Frenzy Bigs L Die and the Big Shot, Project Life Cards and Labels Framelits, Fancy Fan TIEF, Two-Way Glue pen, Dazzling Diamonds, Stampin’ Sponges, Gold Bakers Twine, Gold Sequin Trim, Glue Dots, Hot Glue Gun, Silicone craft sheet

Loads of thanks to the GLORIOUS Crystal Kondo who shared her new stamps with me 🙂  I get by with a little help from my friends.

Did you know that our Glue Dots are the EXACT same size as the Sequins in the Gold Sequin Trim?  That is serious happy news.

Maui Stamper In Color Blackberry Bliss Spiral Rose swapMy secret for these roses is the Silicone Craft Sheet, #127853.  It’s only $5.95 and I think it’s the best kept secret in the catalog.  If you’re making these flowers you NEED this mat!  You can blop all the hot glue you want onto the back of your flower and then smush it down onto the Craft Sheet and do your shaping before the glue goes solid – and then pick that puppy right up!  No sticking!!  My other secret is that I always run the spirals through a TIEF before I roll them.  I put them through in pairs just because it’s faster that way.  The all-over pattern helps break down the fibers and you don’t need to scrunch up the paper before you roll the flower.

If you live on Maui and you’re interested in this card, leave a comment below.  I’m thinking about a class but I’m checking the interest levels first.

Don’t blink, it just might change…

…not the post, but the look of the Maui Stamper.  I’ve been playing around with My Digital Studio, a VERY cool program.  It does so much!  I’m just experimenting with blog headers right now, so bear with me.  You could compare it to changing your hair, except this transforms in the blink of an eye.  That’s actually something of a problem.  Imagine if you could go long to short to straight to curly to auburn to blond…all with a couple of clicks.  How’s a girl supposed to make up her mind?

How about a hint of Razzleberry  to offset all this green?

Just Believe in Razzleberry

  • Just Believe and French Script stamp sets
  • Very Vanilla, Rich Razzleberry and Wild Wasabi card stock
  • Rich Razzleberry and Wild Wasabi Classic ink pads
  • Rich Razzleberry 3/8 inch taffeta ribbon
  • Oval and Scallop oval punches
  • Basic Pearls, a Blender pen and a Stampin’ Sponge

It’s all about the color and the pearls, girls.  I can’t see myself walking out of the house in these colors but I sure love them on a card.  I suppose if they were put together just right in a print I would wear them, but it would have to be in measured doses – I’m too short for more than that.  You can dream about long skinny legs all you want, but for me it will just be a dream.  Closer to the floor when you trip, that’s my motto.

What all of that has to do with cards is a mystery to me, but it’s late and I’ve played too long with my new header.  Take a good look because I’m not promising it will stick around!!