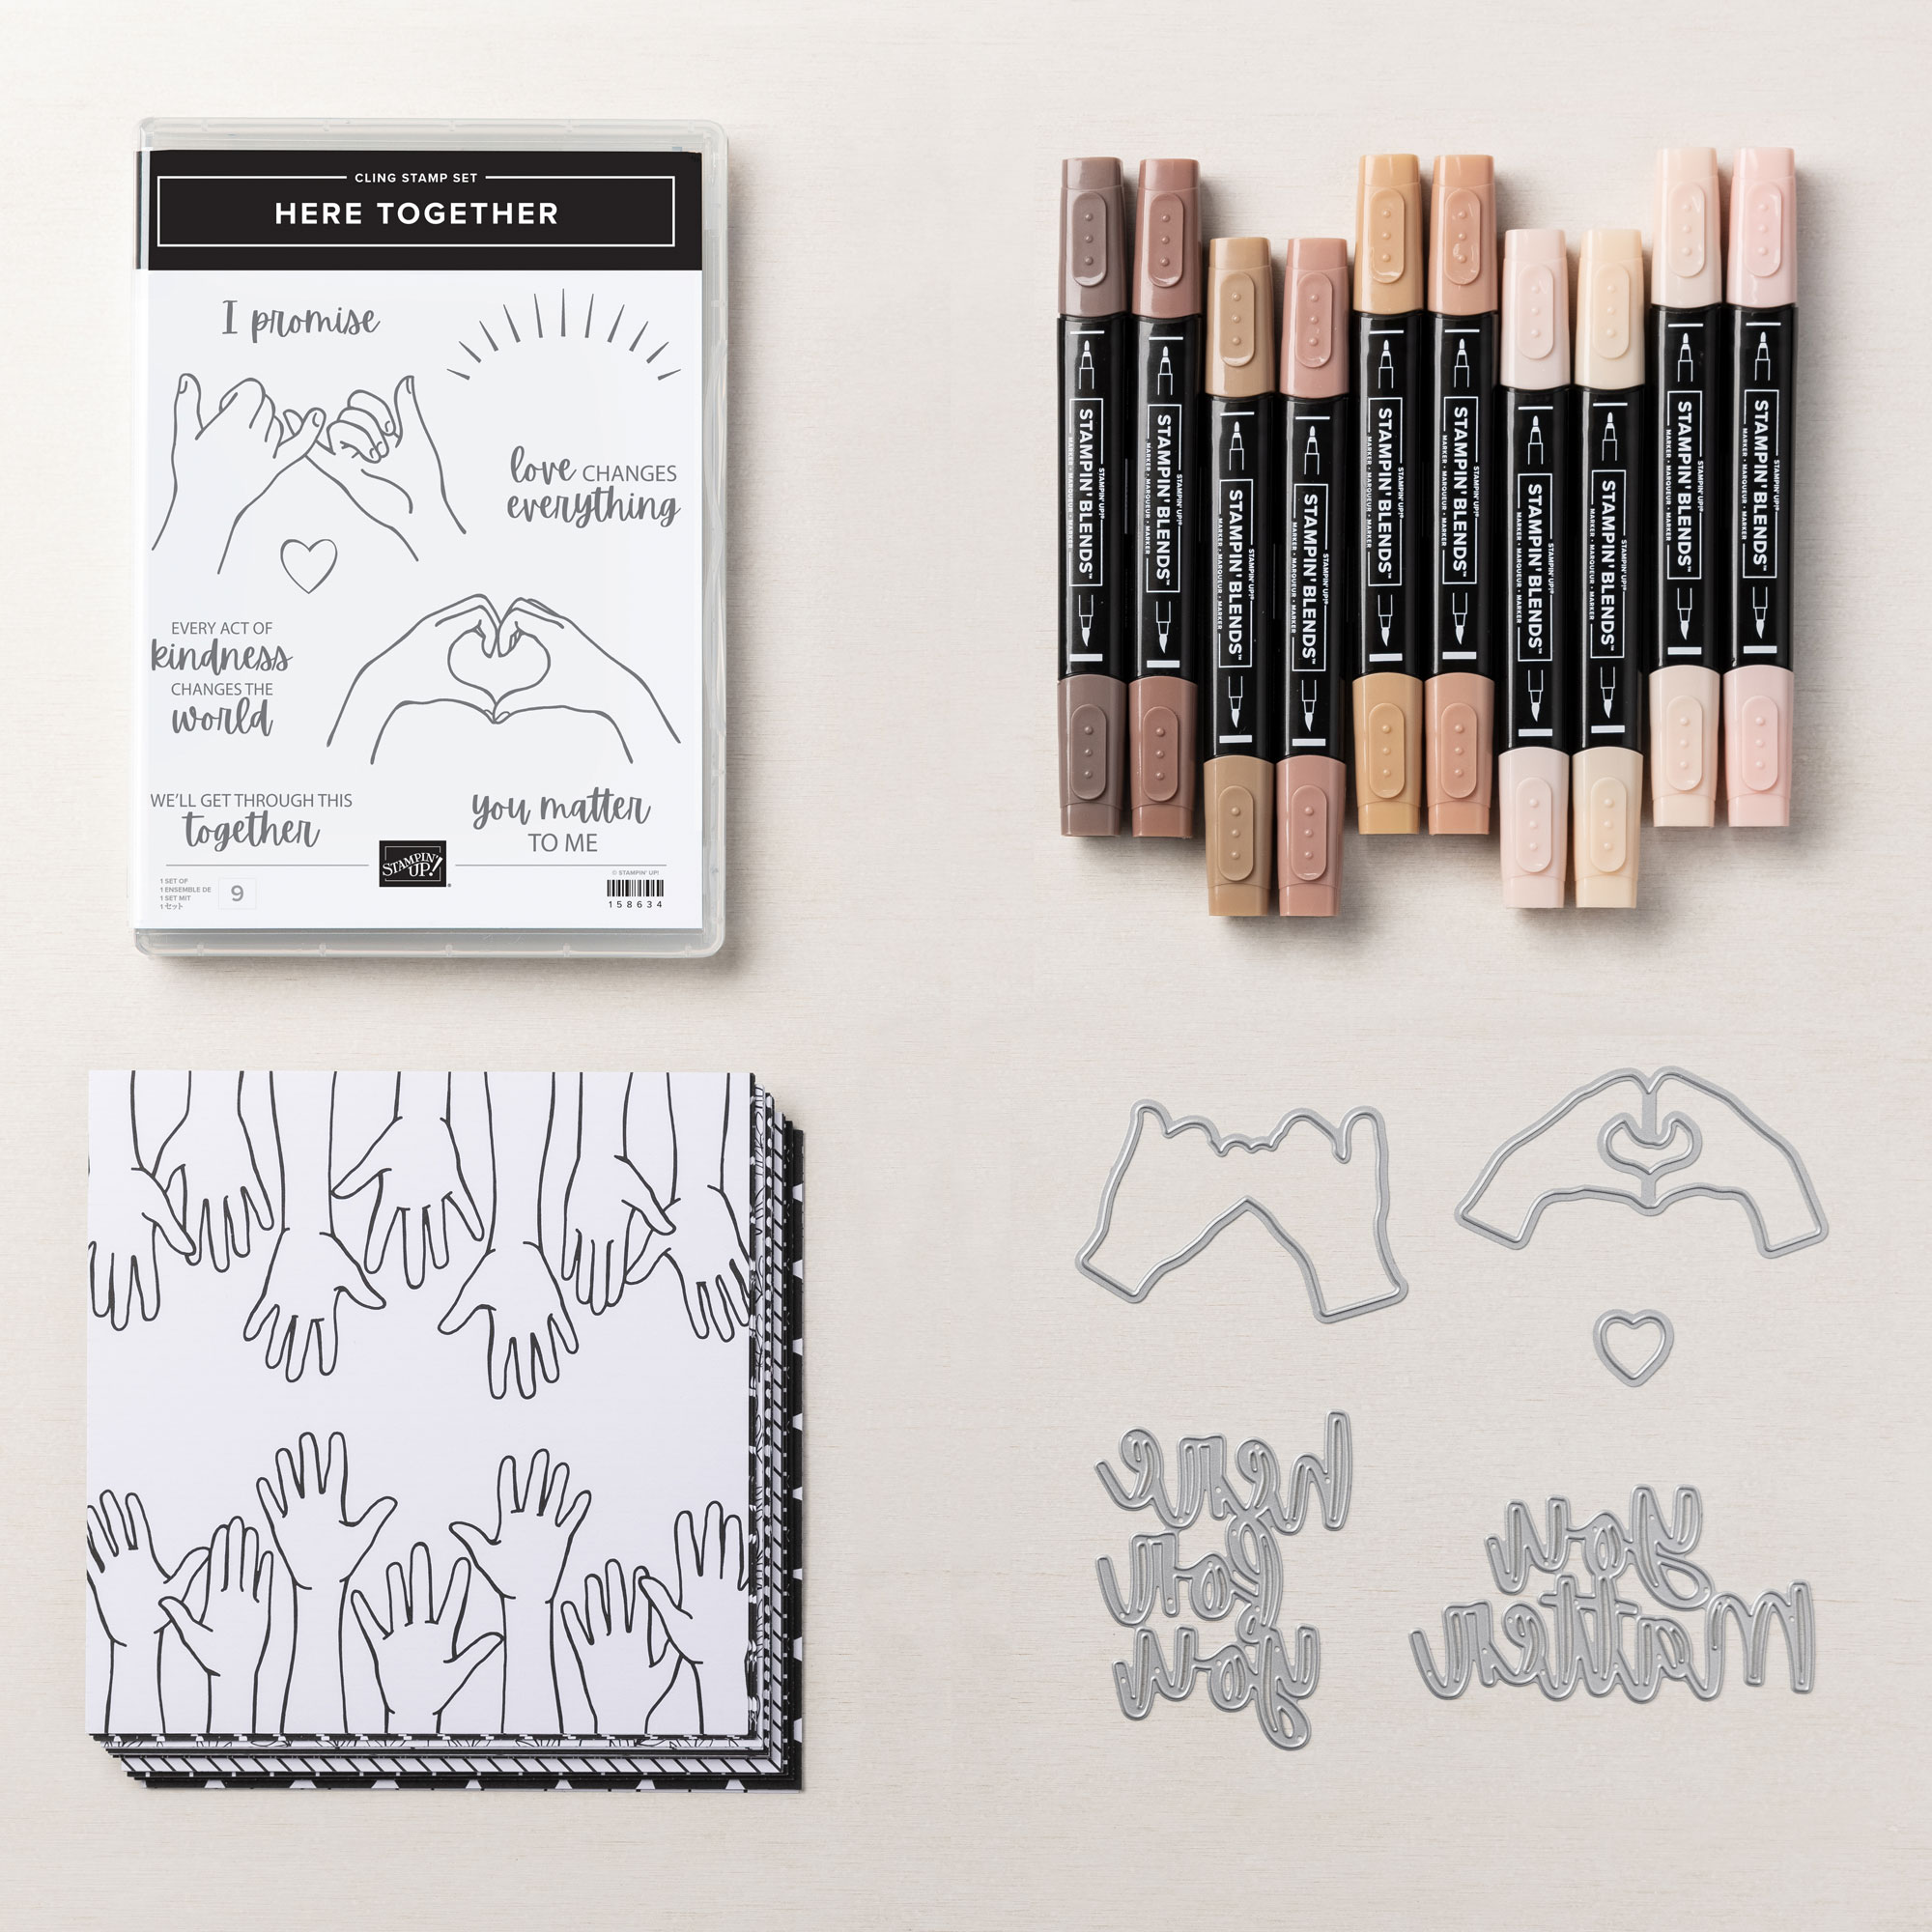
This simple layout can be anything you need – a true Swiss Army Knife design. Change the color palette and the DSP and you could have a child’s card, a feminine girlfriend card, or even a thoughtful sympathy card. The options are endless.

- Stamps: Heartfelt Hexagon, Everyday Greetings, Greetings of the Season
- Color Palette: Basic White, Pebble Path, Memento Black
- Accessories: Hexagon Punch, Stamp Cut & Emboss Machine, Dashing Designs 3D Embossing Folder, Country Woods DSP, 23-25 In Color Opaque Sparkle Dots, In Color Textured Ribbon (retired), Stampin’ Dimensionals
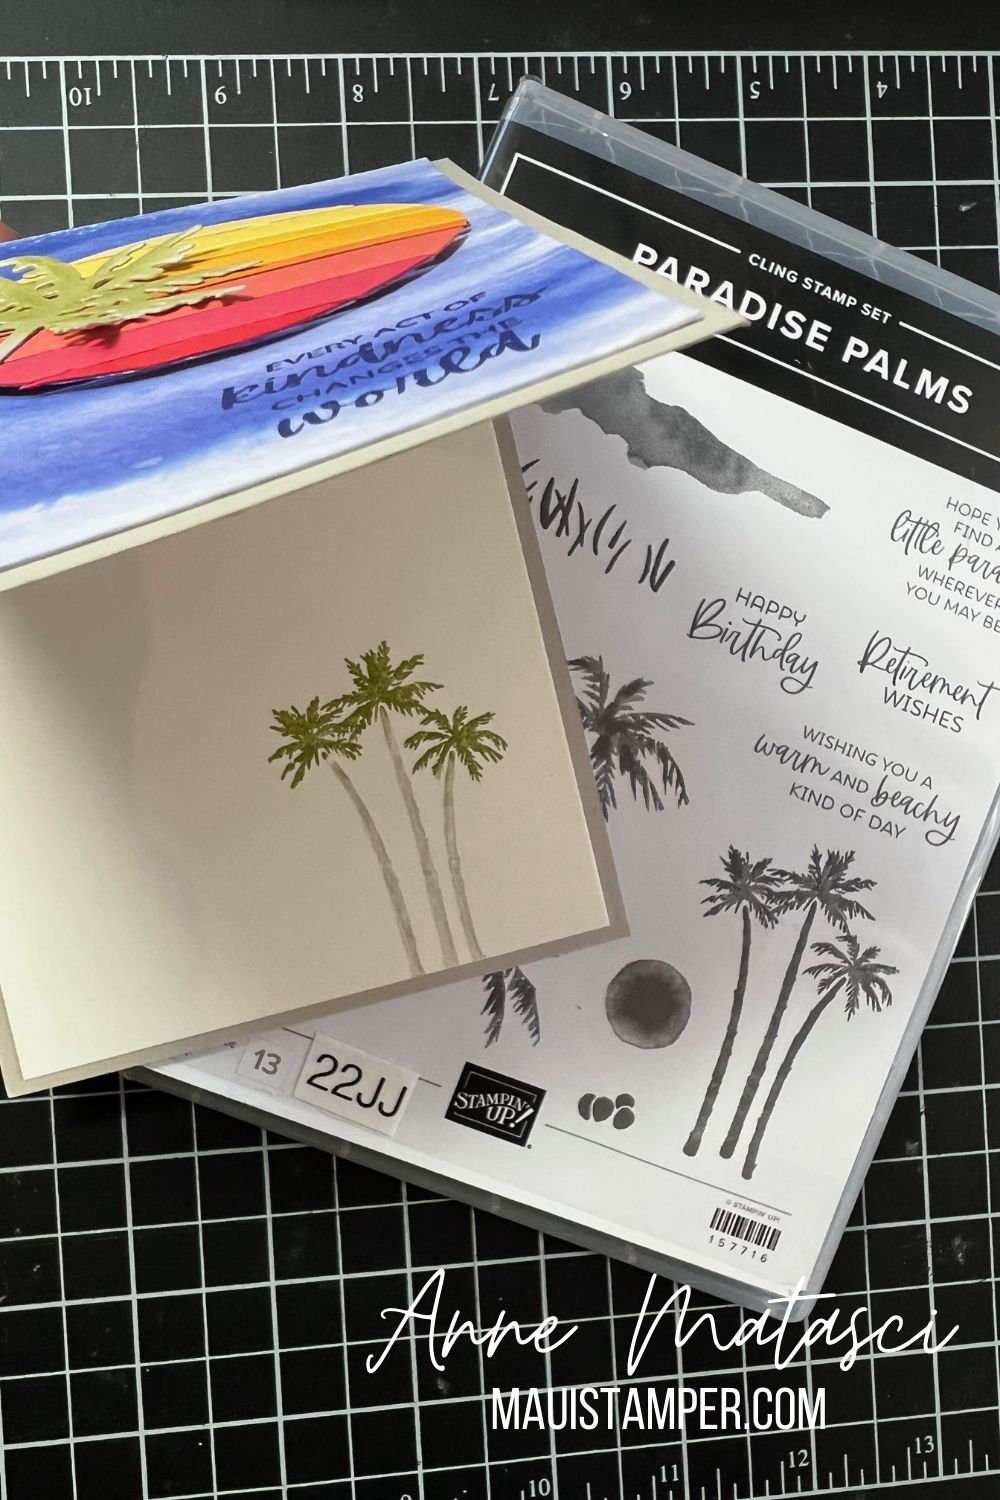
I discovered that the hexagon stamp can be a little tricky to line up on a block. Since it’s an open stamp, the edges move around a bit and when you go to punch it, if it’s not perfectly “squared” it doesn’t fit. I solved the problem by lining up the stamp on top of the punch – put the side that you use to stamp directly onto the punch and have the flat side facing up. Then place your block on top of the flat part and carefully peel the stamp off the hexagon. Try it, it works!

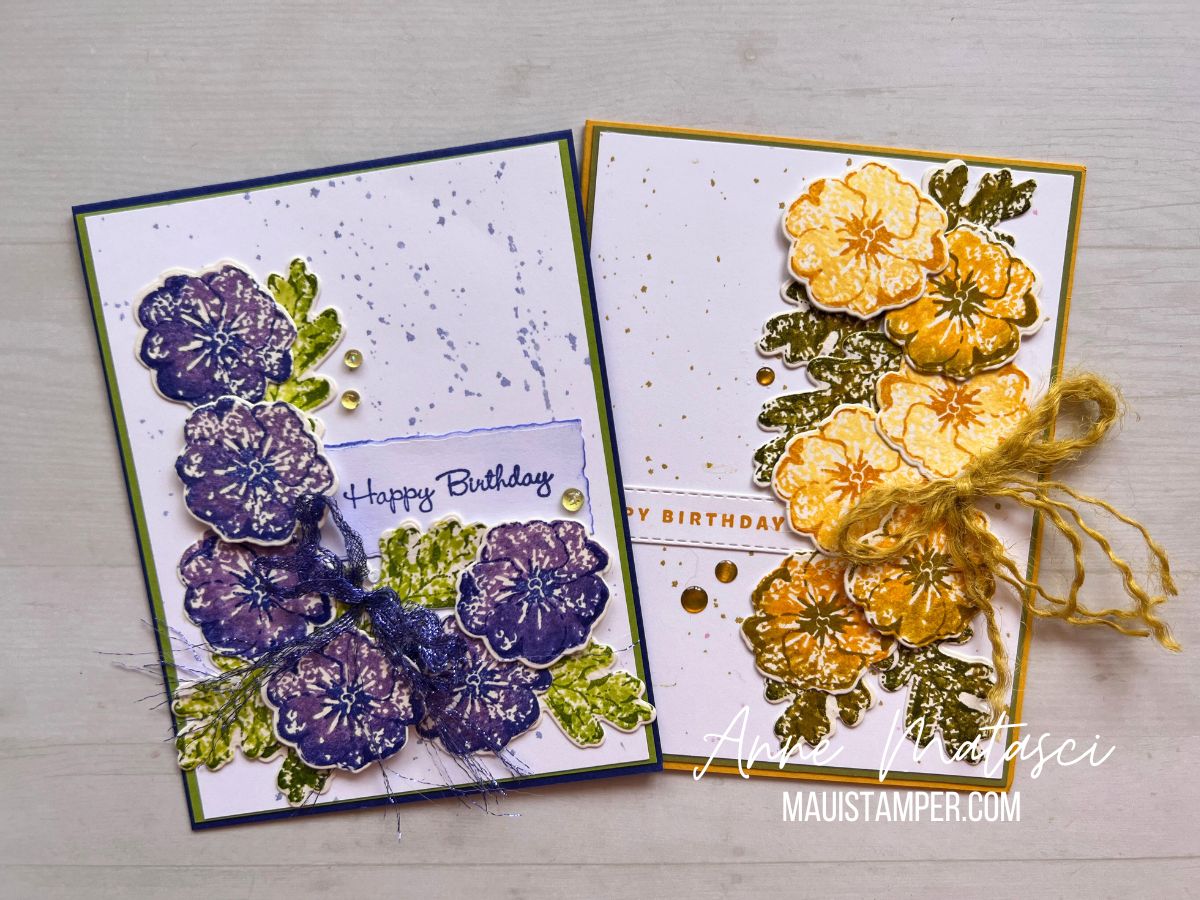
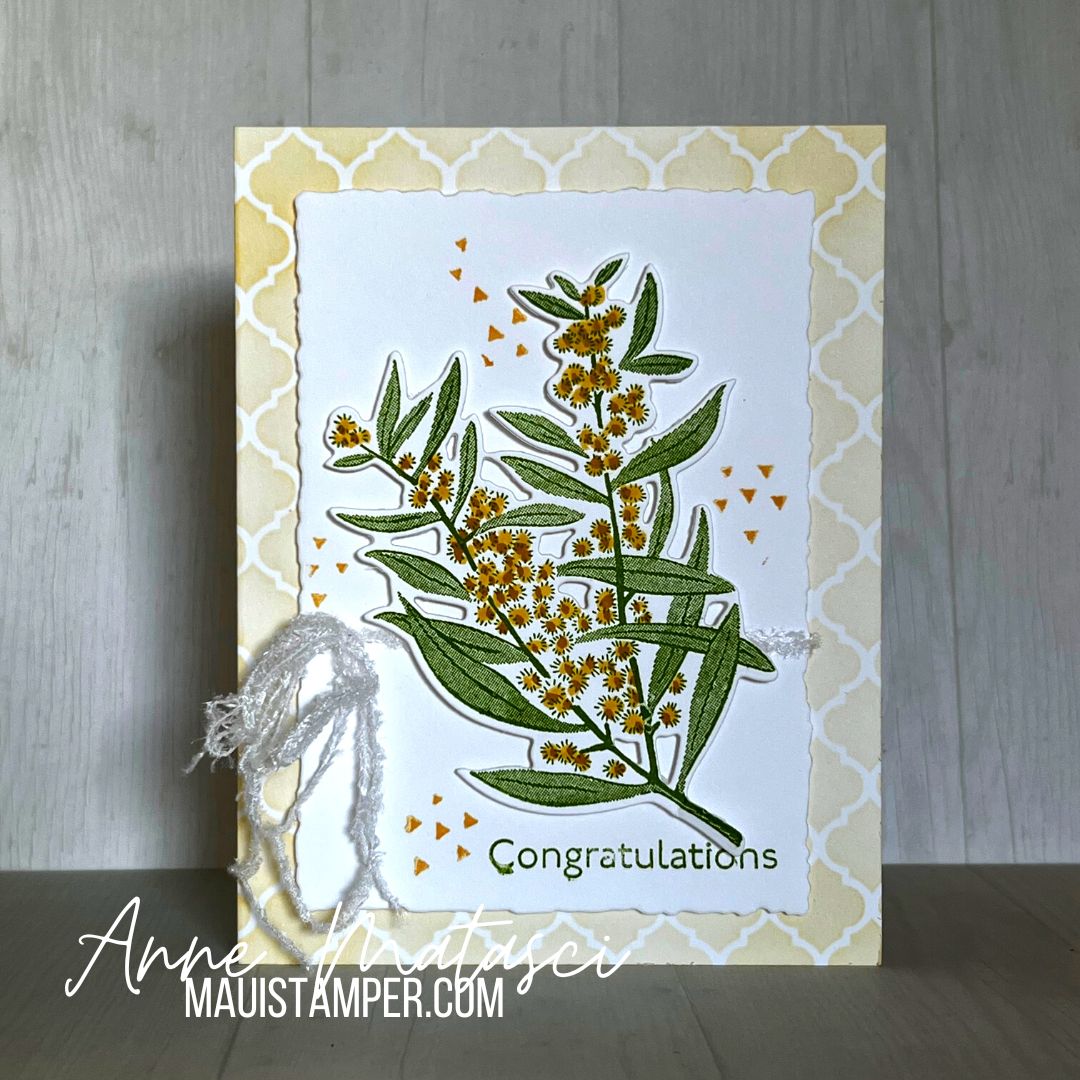
The sentiment uses two Online Exclusive stamp sets, Everyday Greetings and Greetings of the Season. Between the two, just about everything you might want to say is covered.
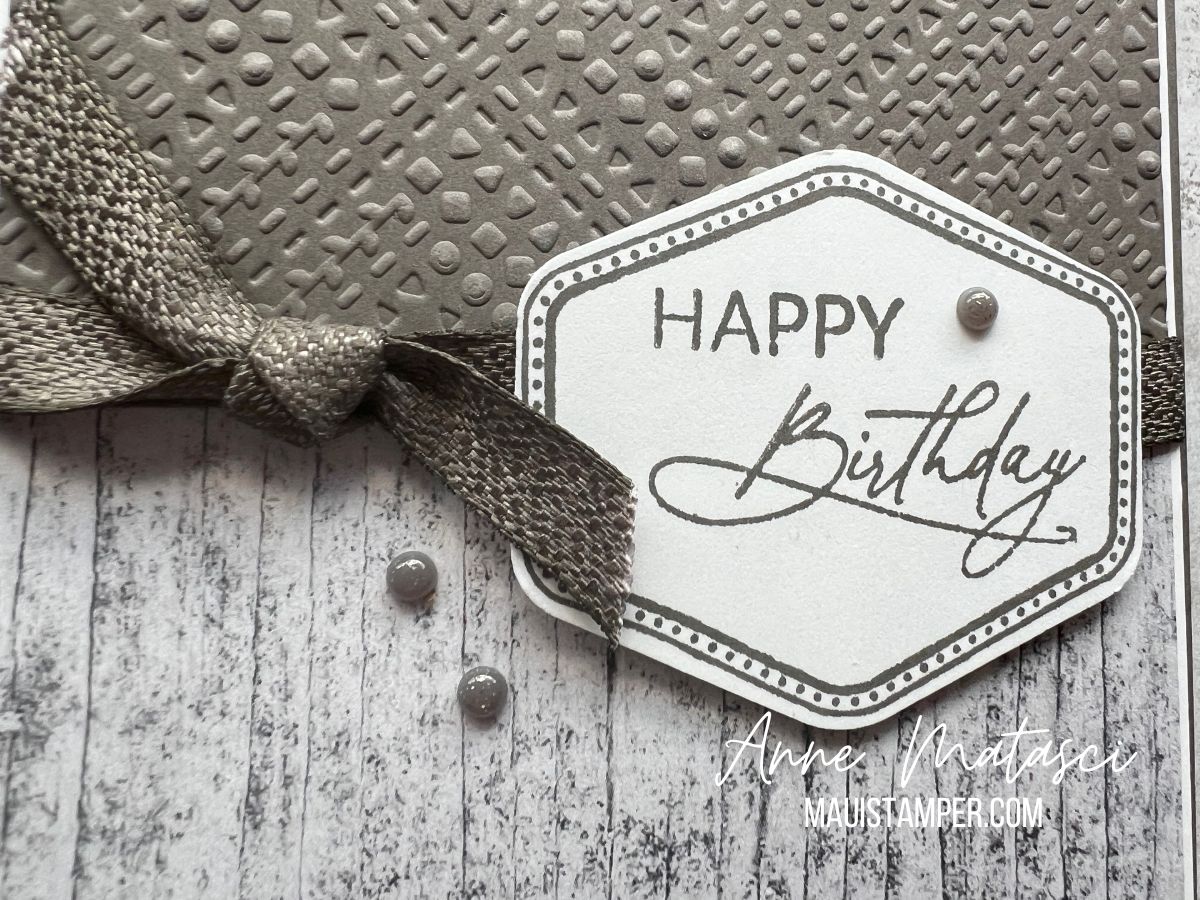
My apologies about yet another retired ribbon. You could substitute the Pebble Path Jute Trim, and that would be even more manly. I need to clear out my trim drawer.

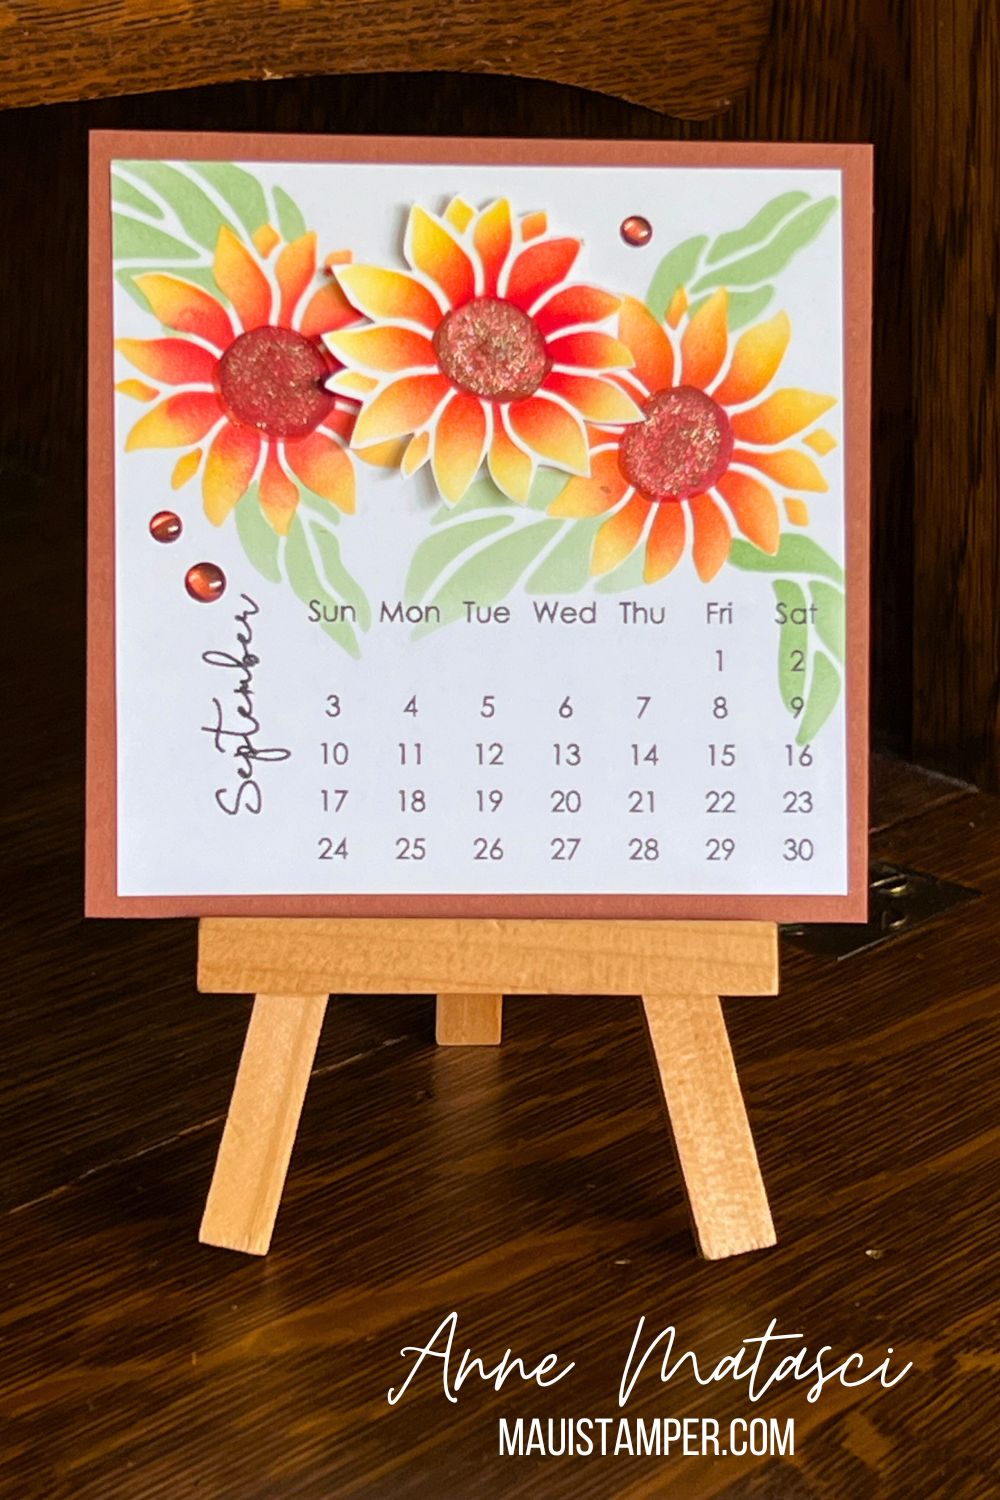
I usually make my mats pretty tight, so that Basic White panel is 4 1/8″ x 5 3/8″. That means the DSP is 4″ x 5 1/4″, and if you make the embossed piece 2 1/4″ tall and the DSP piece 3″ tall, they’ll butt up nicely to each other. I like to make my DSP panels 4″ wide so that I can cut 3 across on a 12″ piece of patterned paper. And my favorite Country Woods DSP is still on sale in the Online Store!
Select Designer Series papers are 15% off while supplies last !

- Bright and Beautiful
- Countryside Inn
- Country Lace
- Country Woods
- Full of Life
- Lily Pond
- Mediterranean Blooms
- Perennial Lavender
- Take to the Sky
- Thoughtful Journey
- To Market
- Unbounded Beauty
- Wildly Flowering
- Winter Meadow
It’s time to redeem your Bonus Days coupons! The code is in an email sent to the same address you used to place your order. You can use multiple codes on a single order – have some fun with it!

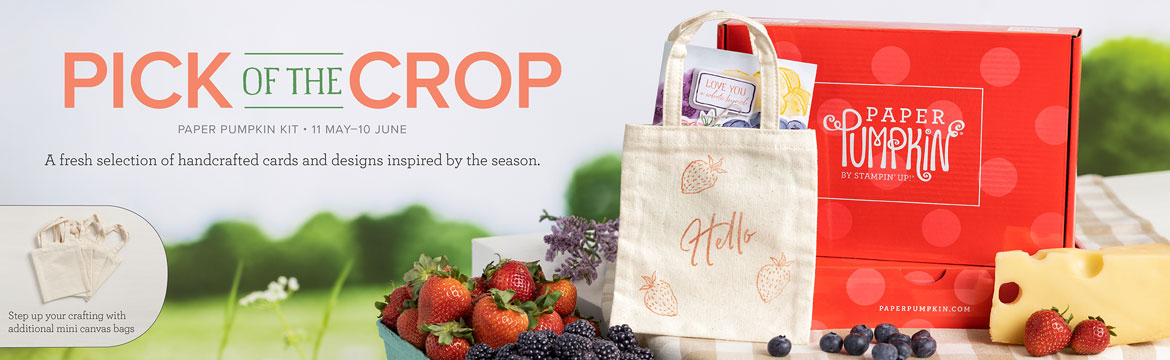
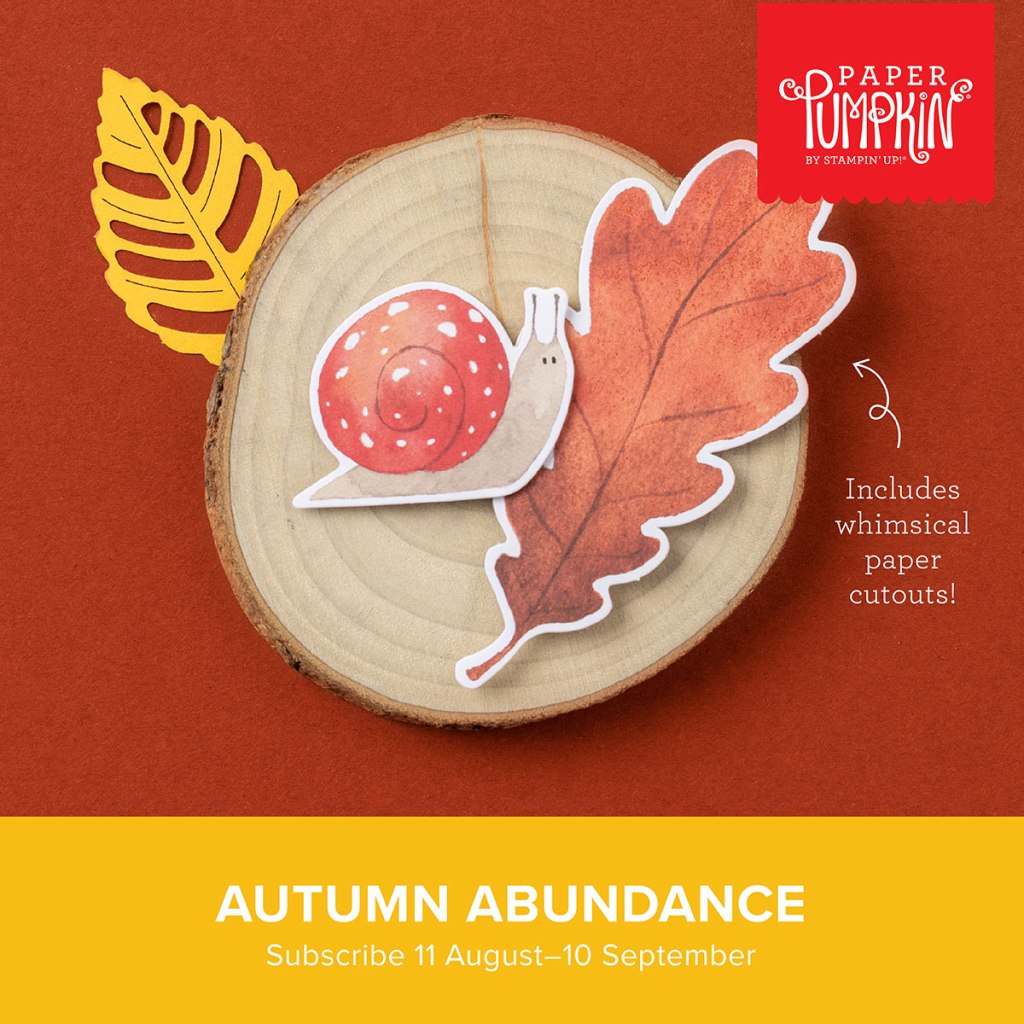
The September Paper Pumpkin Kit is Autumn Abundance. It includes everything you need for 9 cards and envelopes, and features laser cut card fronts and an ephemera pack. Every Celebration, an exclusive set of dies coordinates with all 3 third quarter Paper Pumpkin offerings. Subscribe HERE by September 10th.
Paper Pumpkin subscriptions deliver ready-to-go projects to your doorstep every month, but you have ultimate control to skip or cancel 😱 if you decide it’s not for you. Stampin’ Up! also features an exclusive collection of kits that don’t require a subscription. Visit the Online Store to see what’s available.
The 24-25 Annual Catalog is filled with inspiration. New stamps, dies, tools, and gorgeous new In Colors are waiting for you!! Shop HERE. And now more than ever, don’t neglect the Online Exclusives – you’ll find more beautiful products that never appear in a catalog.