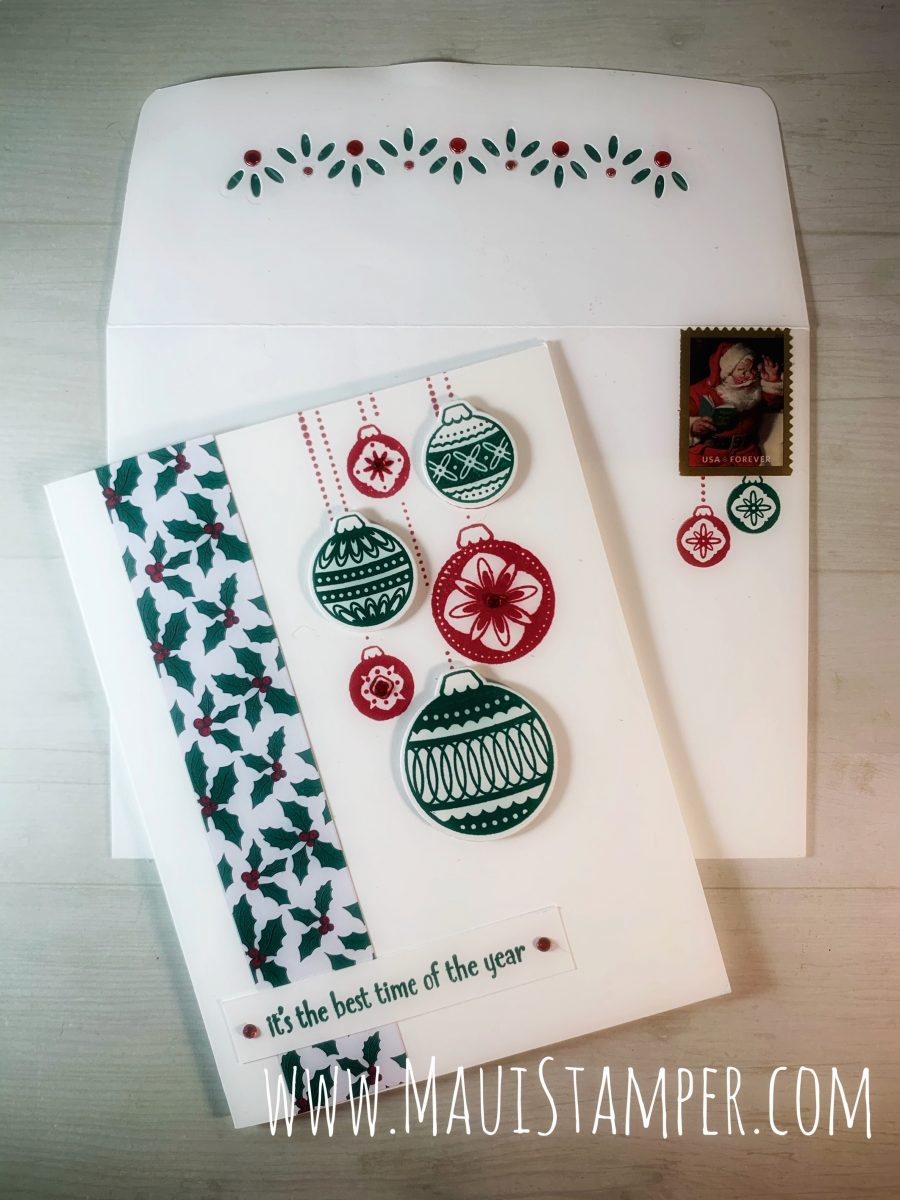
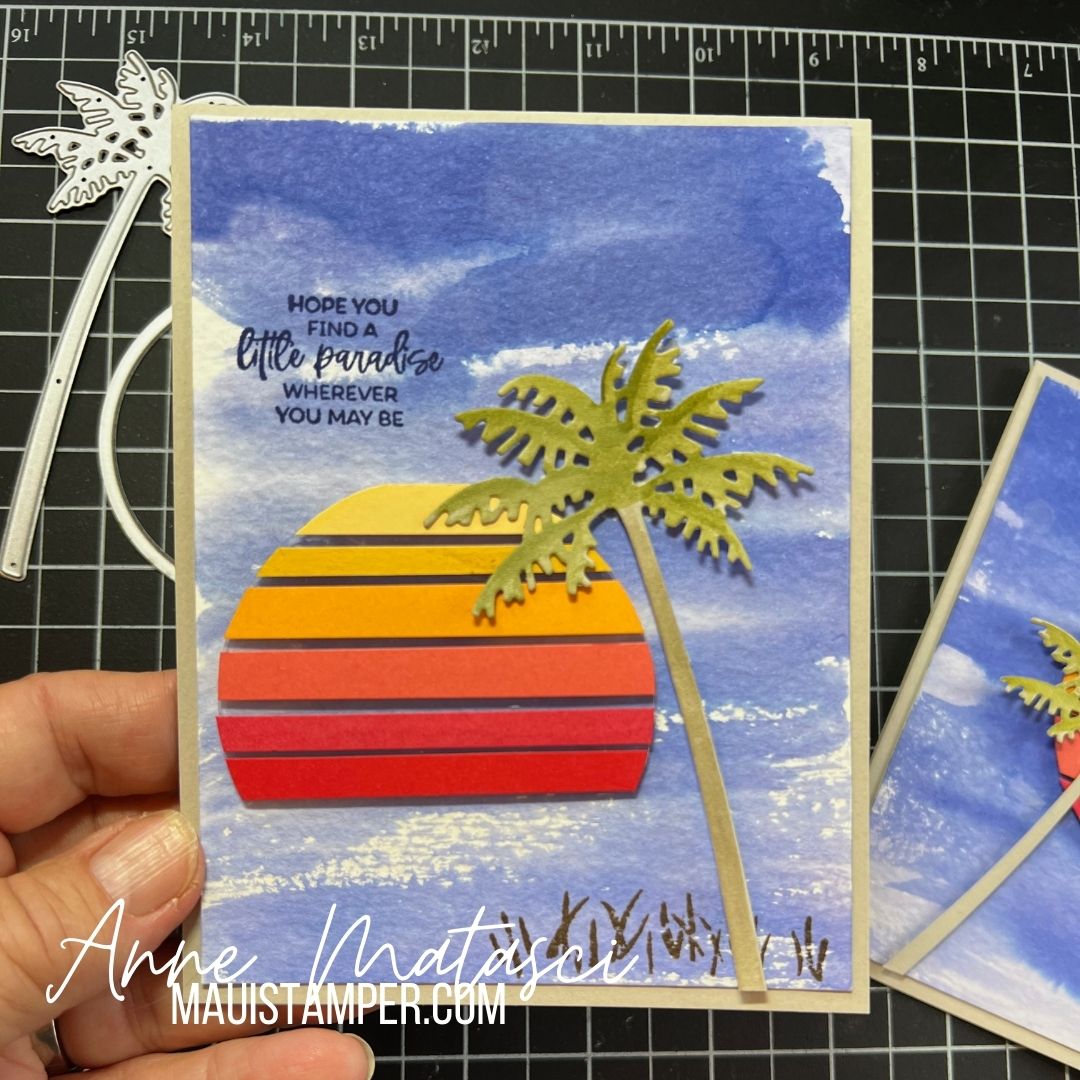
When I saw Laura’s Floating Sunset Palm card I did a little happy dance. I knew this was a card I would love making again and again, and the Paradise Palms bundle absolutely makes this project!

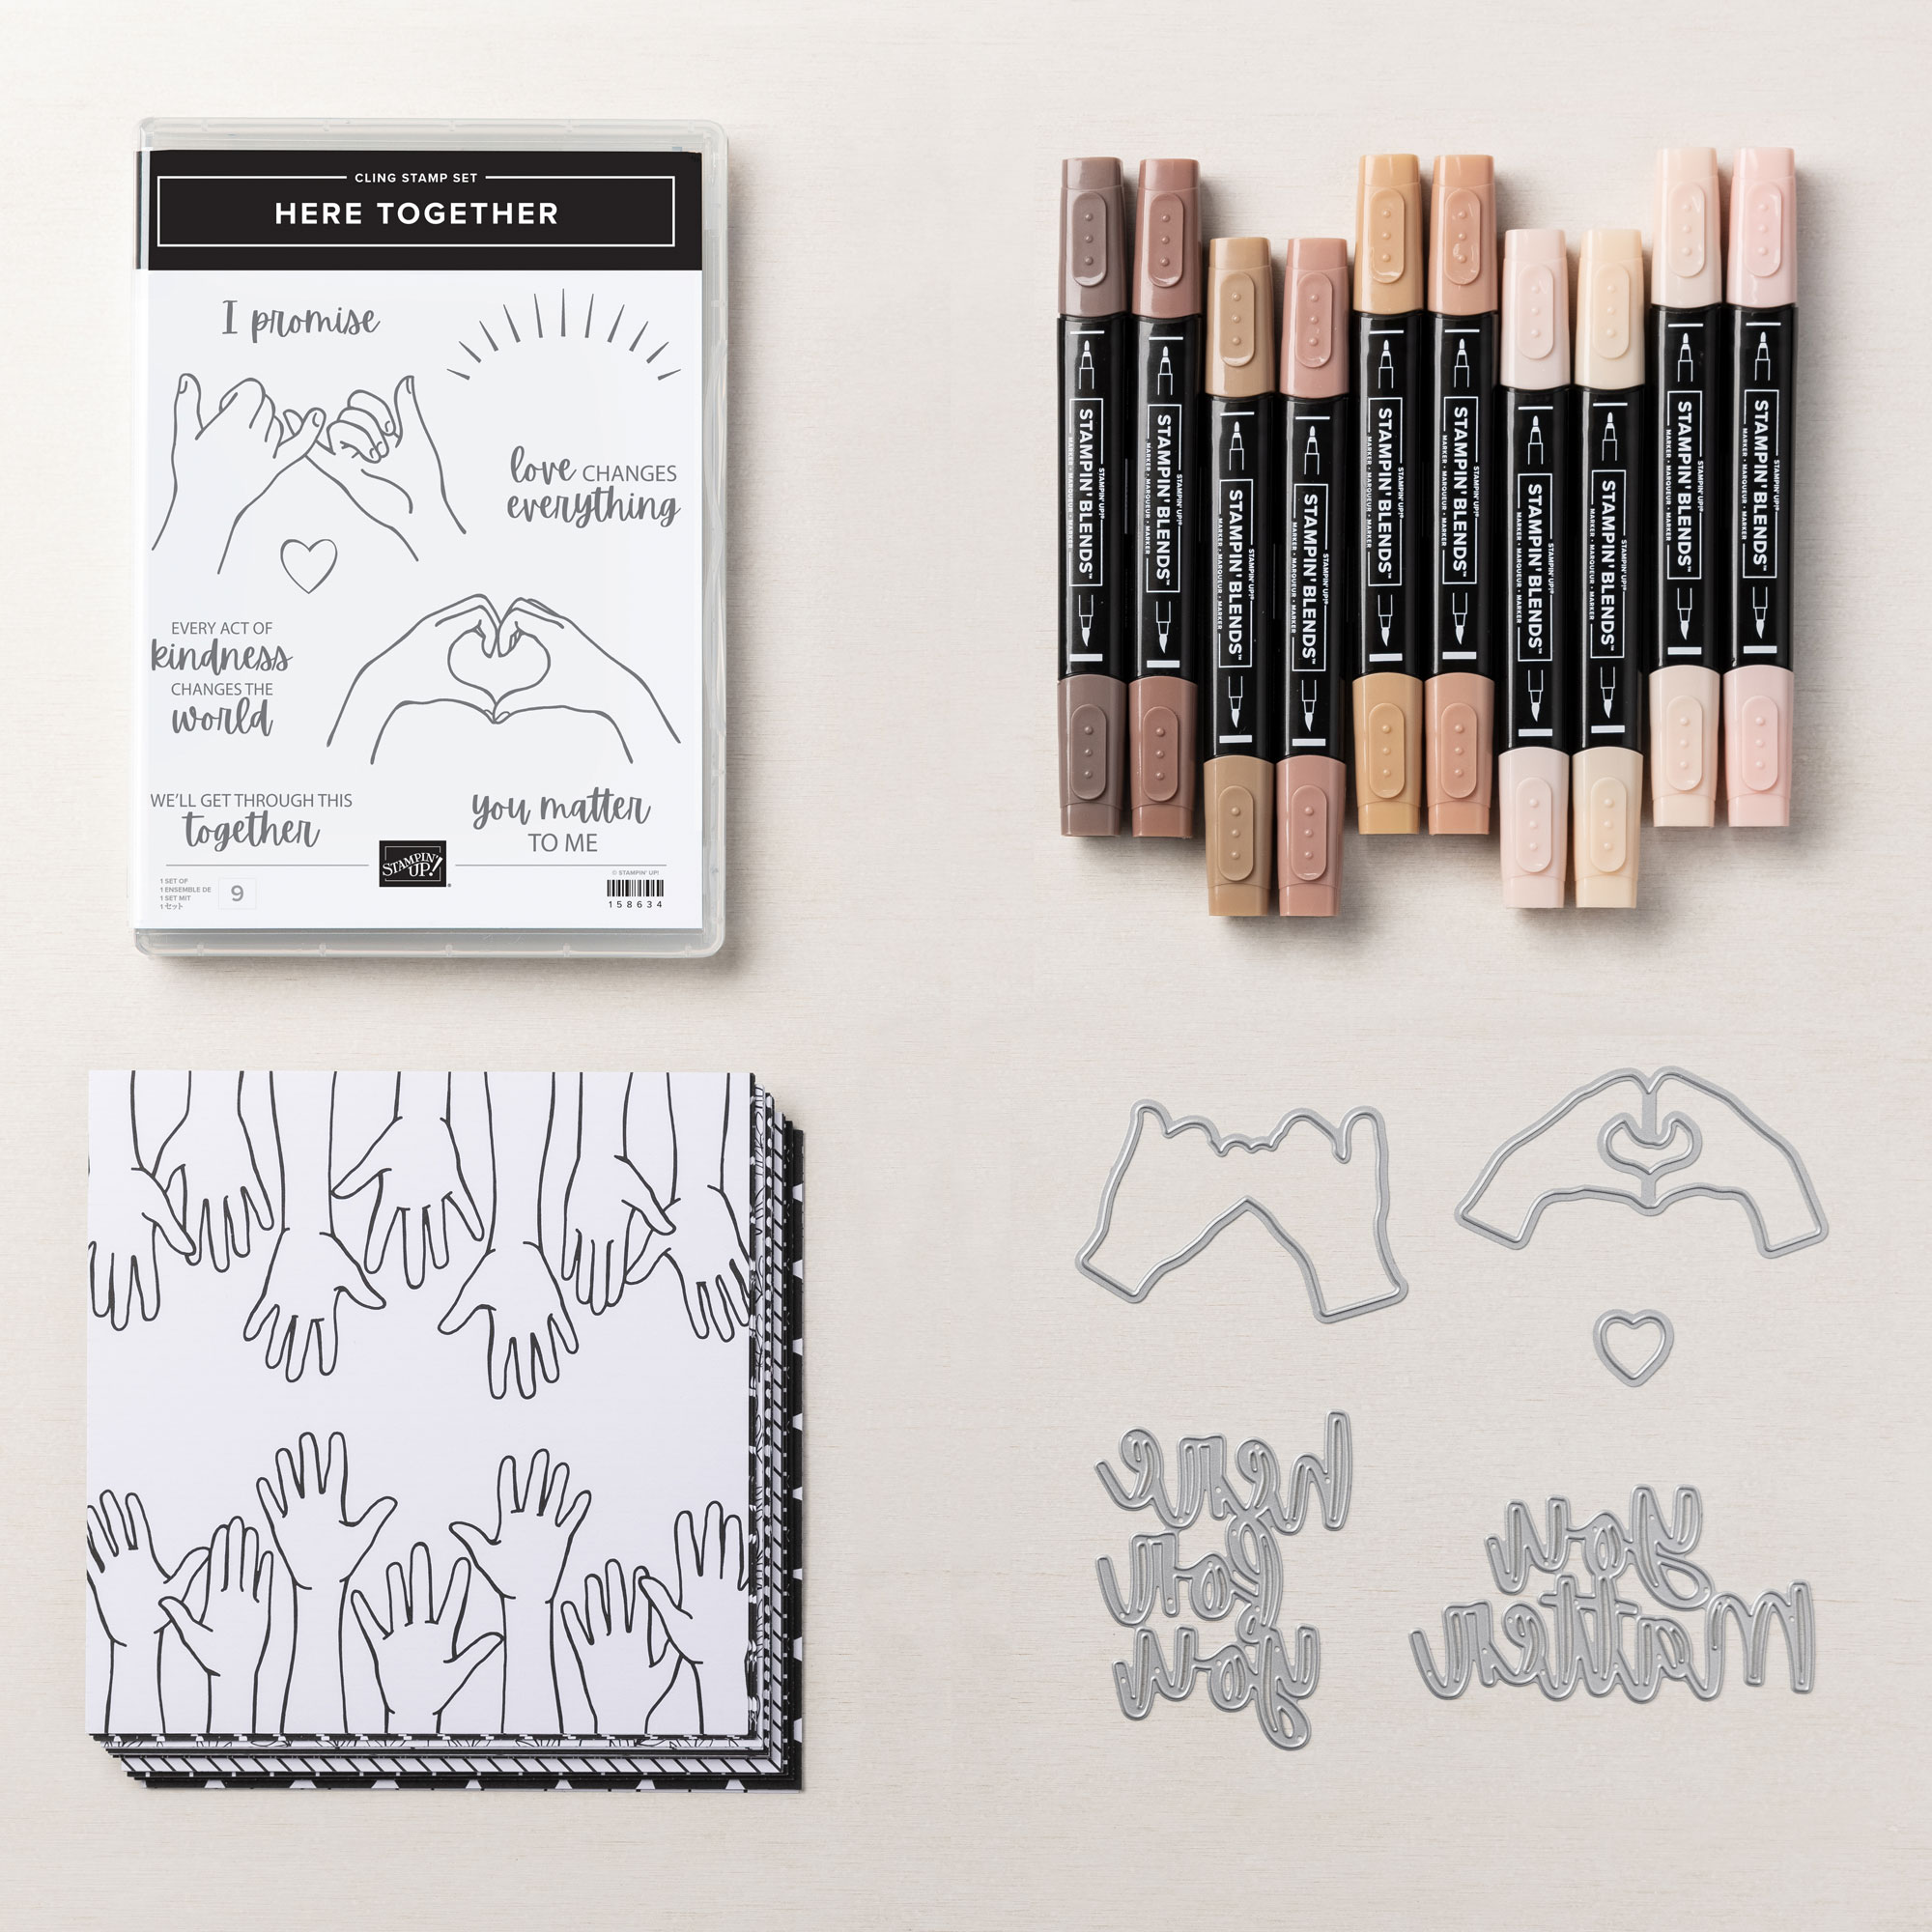
- Stamps: Paradise Palms, Here Together
- Color Palette: Sahara Sand, So Saffron, Daffodil Delight, Crushed Curry, Mango Melody, Pumpkin Pie, Calypso Coral, Sweet Sorbet, Poppy Parade, Starry Sky, Very Vanilla, Old Olive
- Accessories: Big Boss, Palms dies, Layering Circles dies, Watercolor Paper, Ink Refill, Water Painters, Window Sheets, Stampin’ Dimensionals
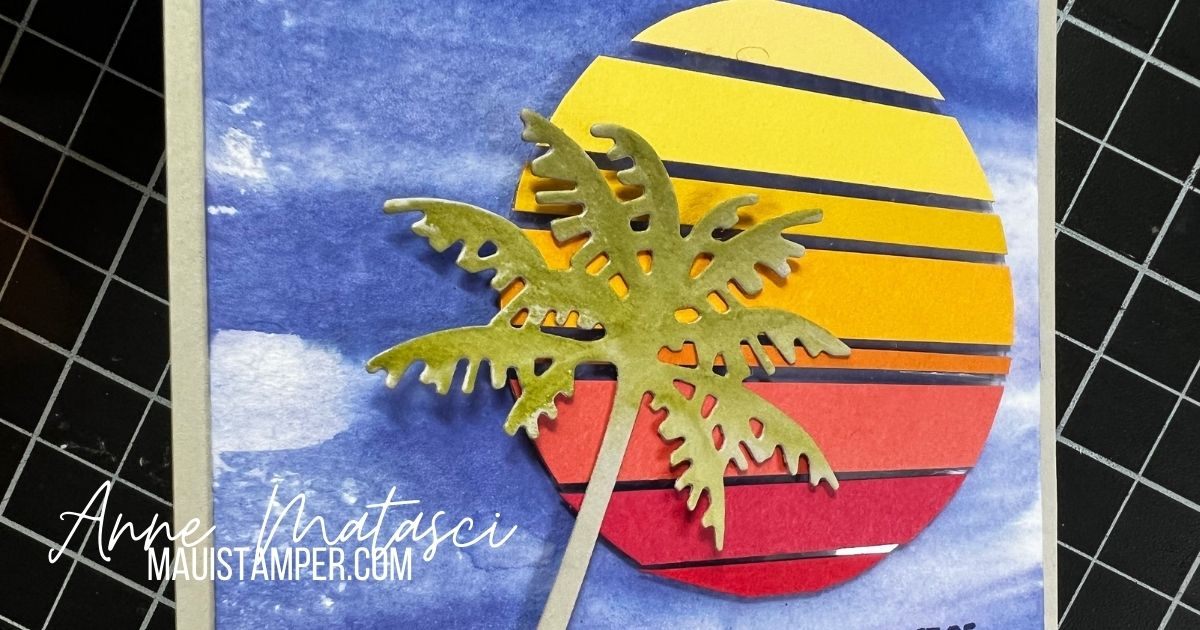
The technique is really simple: cut a circle from our window sheets and adhere strips of colored card stock. I chose to vary their width, which also allowed me to include more colors. 😁 I added a little color to the palm, and used Starry Sky to wash the watercolor paper with color for the background.
I made a second version with the sun sinking into the water. I considered changing the color of the background for this, but honestly, this is how it looks when I watch the sun go down, so I kept it.
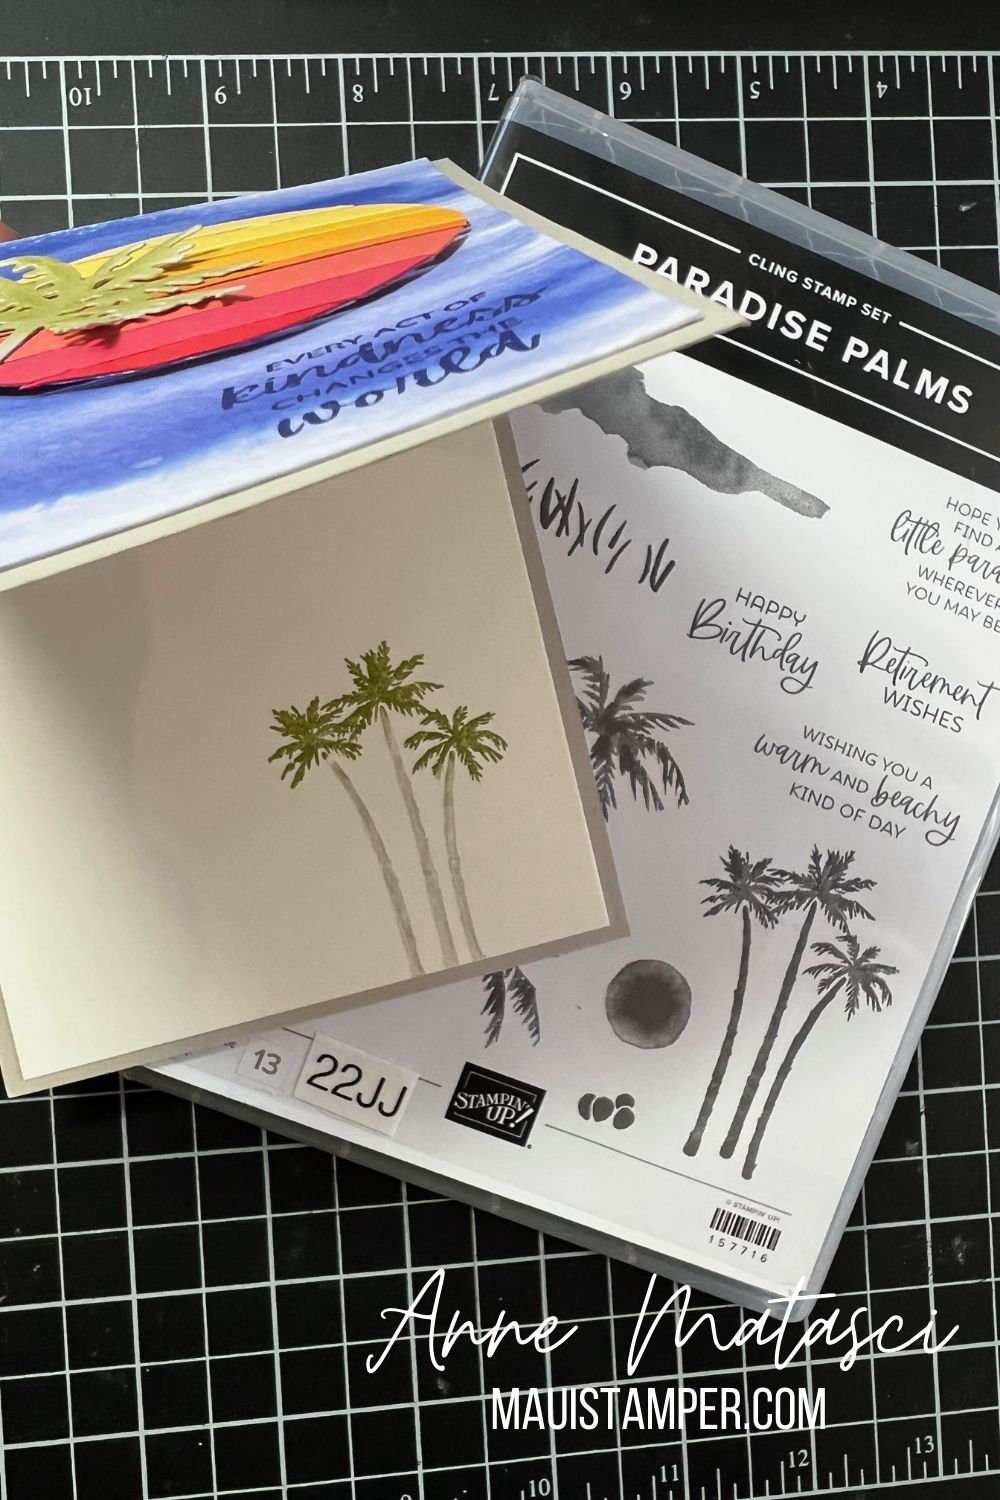
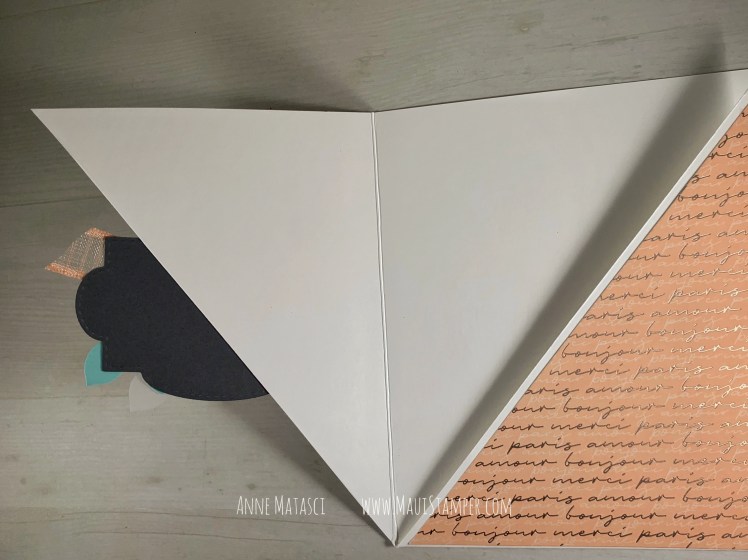
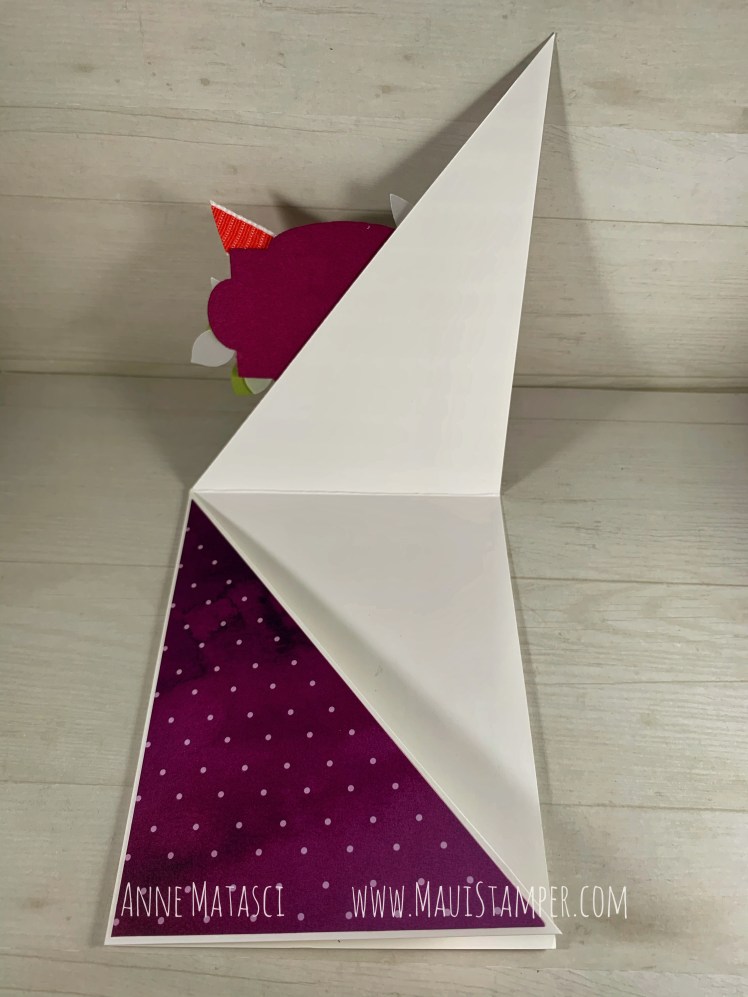
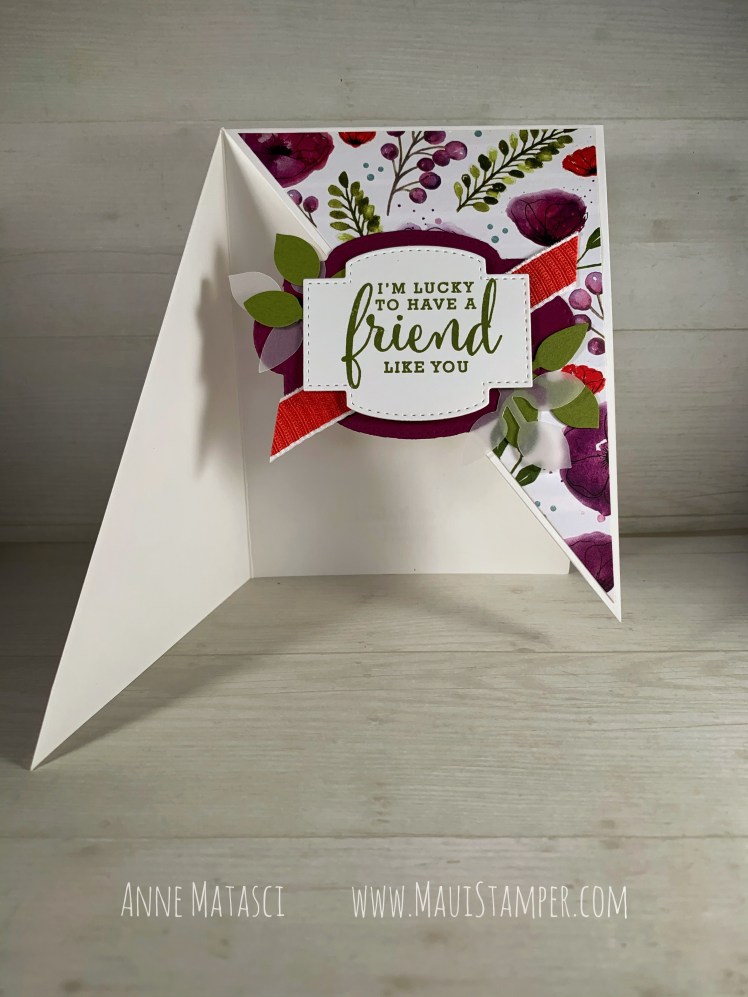
The inside of this card was begging for these 3 palms, which I colored with Stampin’ Write markers.
Do you see that label on my stamp case? 22JJ? I embraced my inner nerd and made labels for each case to indicate the catalog where they first appeared. I can’t tell you how many times I’ve tried to dig back for that information, so now when my order comes I get out my label maker and put labels on EVERYTHING.
22JJ means this bundle is made its debut in the January-June 2022 Mini Catalog. It has carried over to the 22-23 Annual Catalog, but it is NOT available as a bundle in the Annual Catalog. That means you have until June 30 to save 10% on this indispensable bundle, so SHOP NOW.
Is your wishlist $99 or more? Perhaps you’d like to become a discount shopper and purchase the customizable starter kit. For just $99 you’ll choose $125 in Stampin’ Up! product and receive a bonus of 22 – 24 In Color Grid Paper, ink pad assortment, cardstock assortment, and Designer Series paper – an added value of $66.50. Contact me with your questions, or click HERE to join the Maui Stamper team.

The June Paper Pumpkin features fresh summer designs and sentiments to make 9 cards with matching envelopes. Your kit includes a customizable canvas bag – and you can order more mini bags to deliver your cards with style!
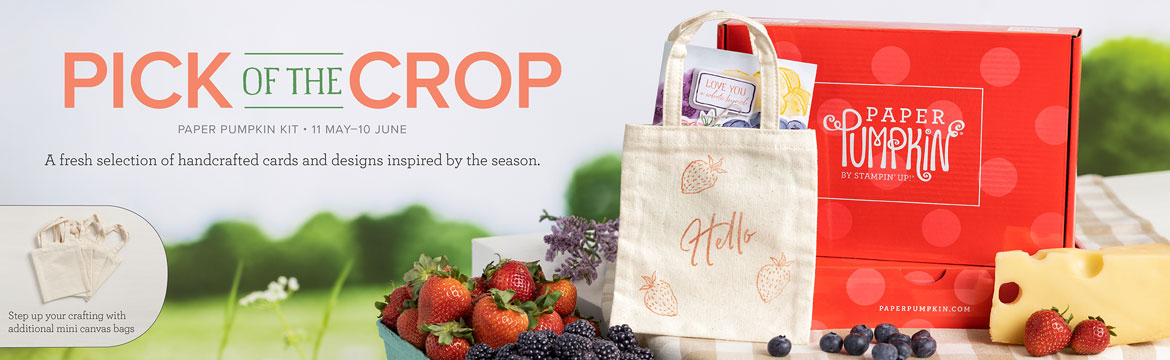
Be sure to subscribe by June 10th for your Craft Escape in a box! Paper Pumpkin subscriptions deliver ready-to-go projects to your doorstep every month, but you have ultimate control to skip or cancel 😱 if you decide it’s not for you.