It’s the first of the month, and it’s time for another DIY Calendar! The DIY Team stands ready to inspire you this month and every month. Fun Fact: We do not discuss what we’re doing each month. The other posts are as much a surprise to me as they are to you! Let’s see what’s happening in September.

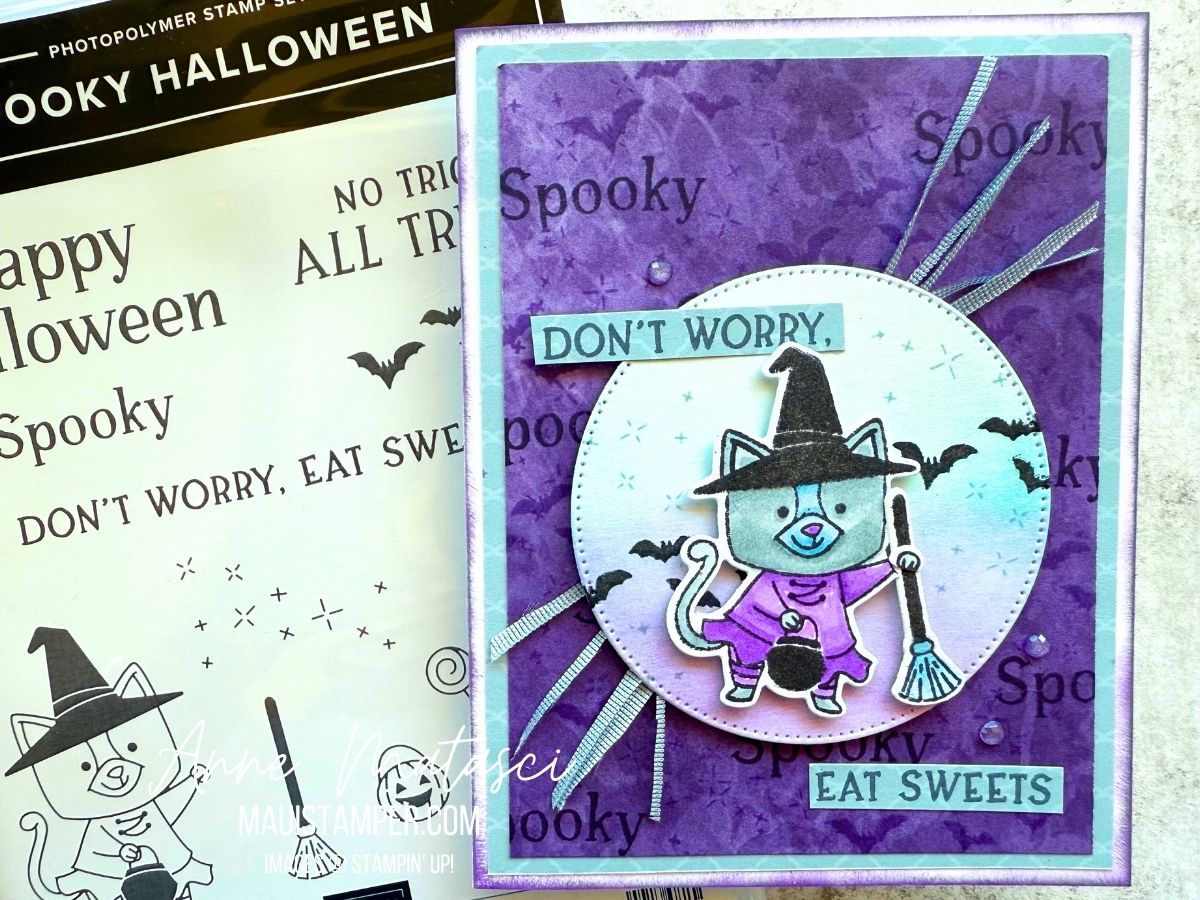
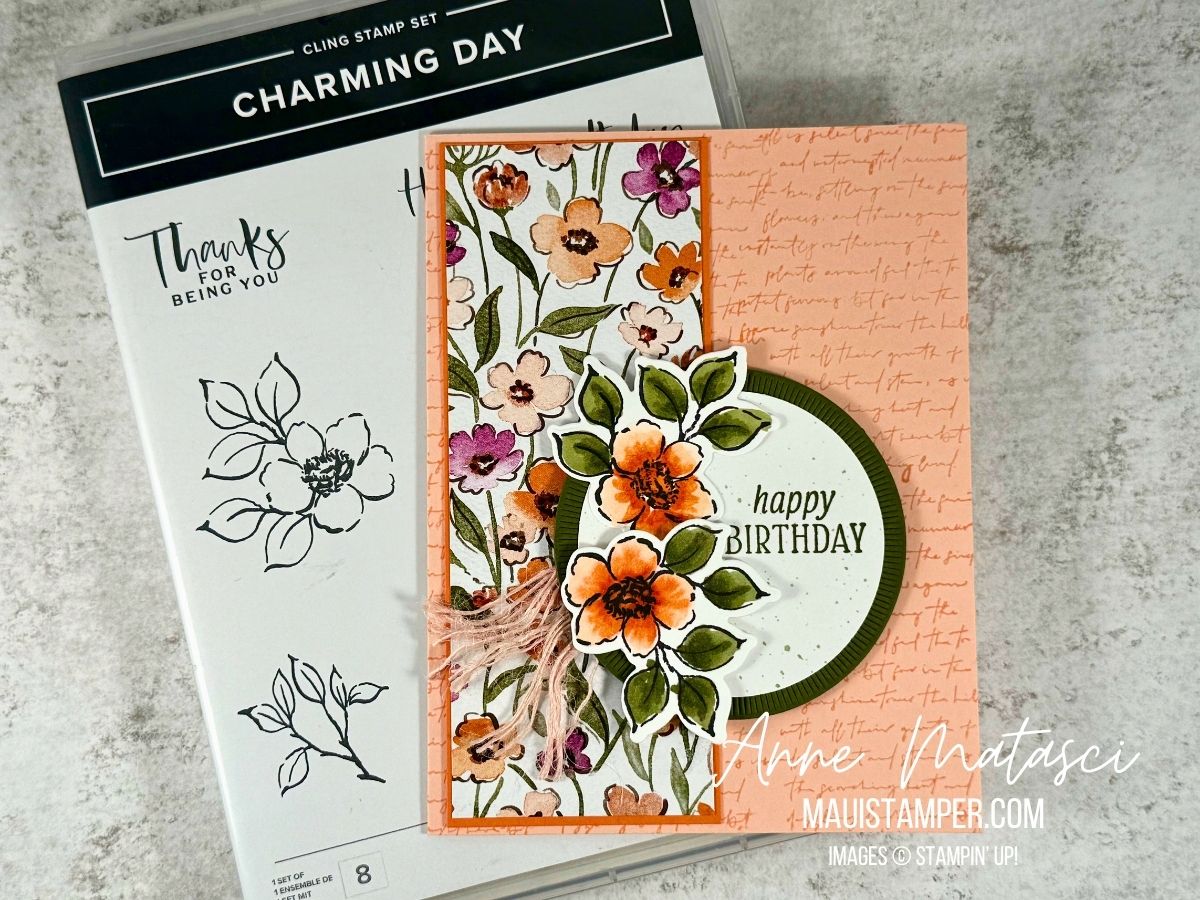
- Stamps: Long Time No See, Textured Notes
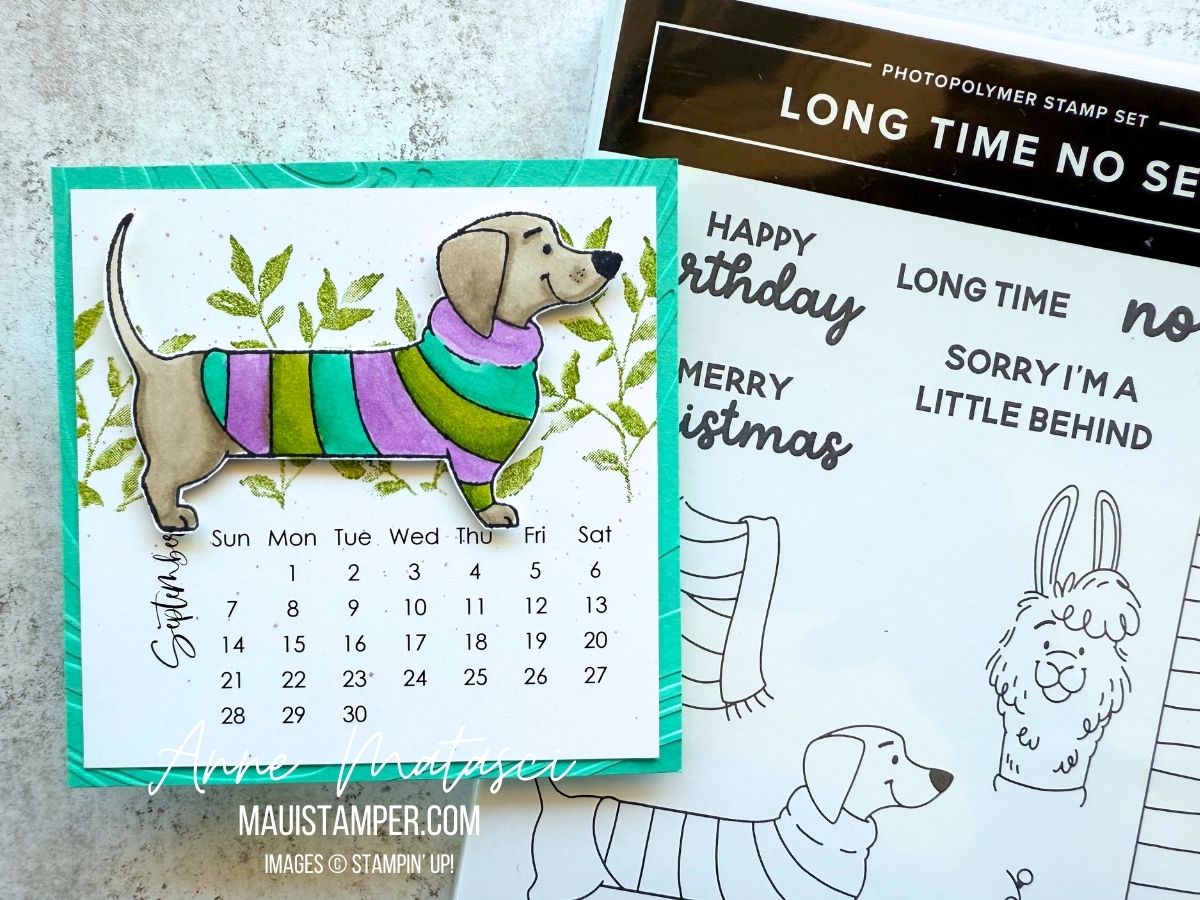
- Color Palette: Basic White, Summer Splash, Granny Apple Green, Fresh Freesia, Memento Black
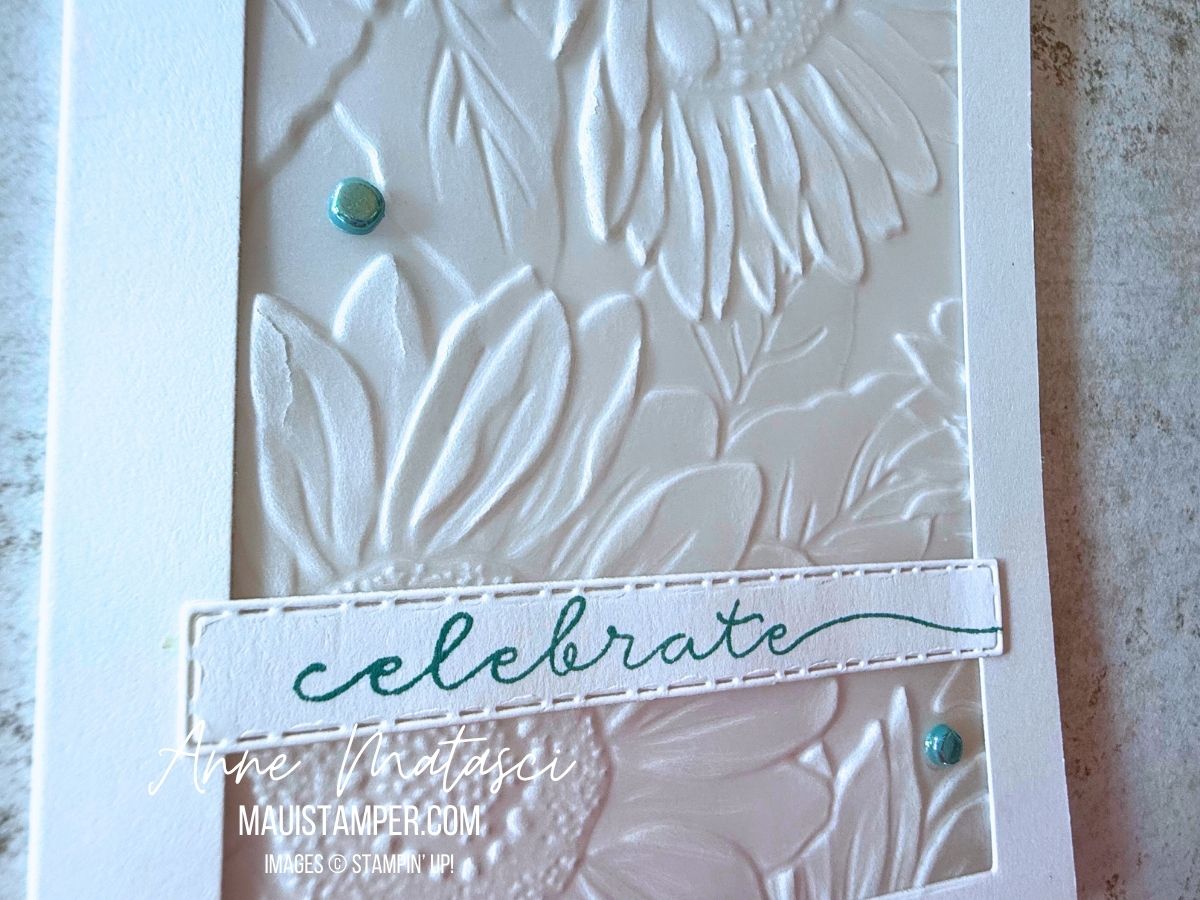
- Accessories: DIY Calendar Template (2026 is now available! see below), Stamp Cut and Emboss Machine, So Swirly Embossing Folder, Stampin’ Blends, Stampin’ Dimensionals
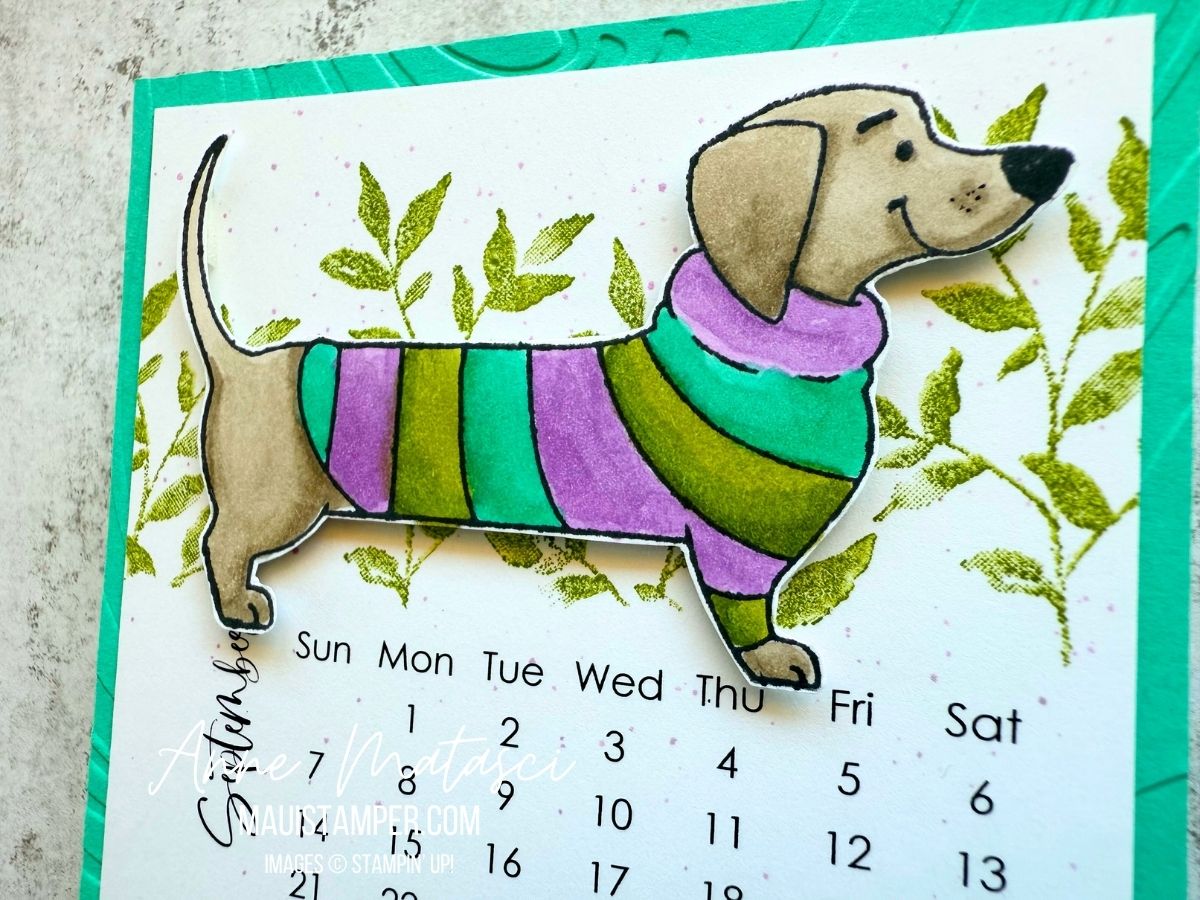
I’m not usually on the Cute Animal Train, but I made an exception with this set. My husband grew up with dachshunds, and he tells some pretty fabulous stories. When we were first dating, the dachshund in residence was Max, and he was a very stubborn dog. But that’s a story for another time…
If you look carefully, you’ll see the Summer Splash mat is embossed with the So Swirly 3D Embossing Folder. I don’t usually do that, but when I went to find a scrap for the mat, this one was there begging to be chosen. Why not? It’s kind of fun.
Now go and see what the Team has created for September!
Did you think I would forget 2026? I know some of you have been waiting for September!! Yes, the 2026 template is available. You can now purchase and download it right away – no more waiting til it’s daytime in Maui for me to respond 😆

Technology has a price, though. The template will be $6 this year, just 50 cents a month! You’re welcome to print multiple copies for yourself and for gifts. You are purchasing JUST a template: you’ll need to print and trim the pages.
I recommend Stampin’ Up! Basic White standard card stock. My printer doesn’t give me a crisp enough image, so I take my template and my paper to my local print shop. It’s worth the effort. I hope you’ll enjoy making your own DIY Calendar!