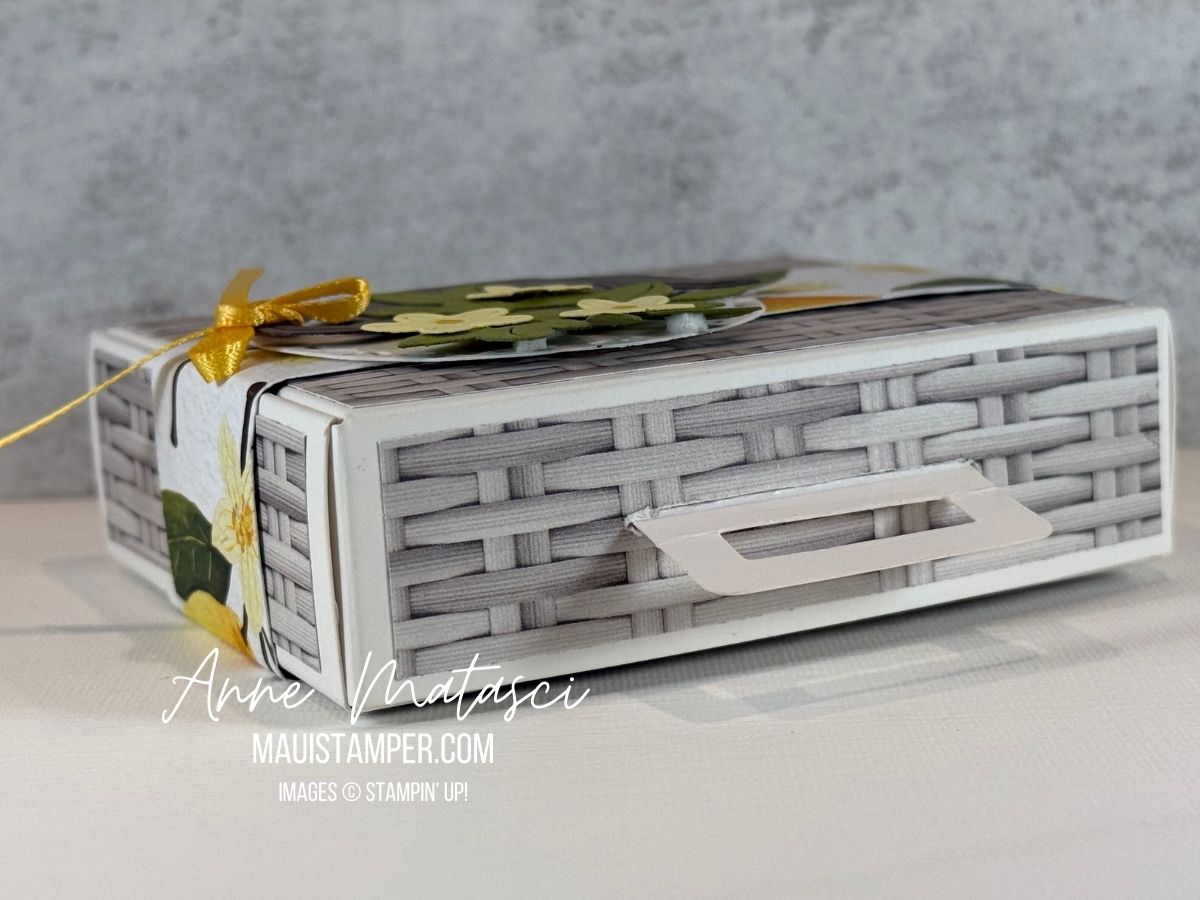
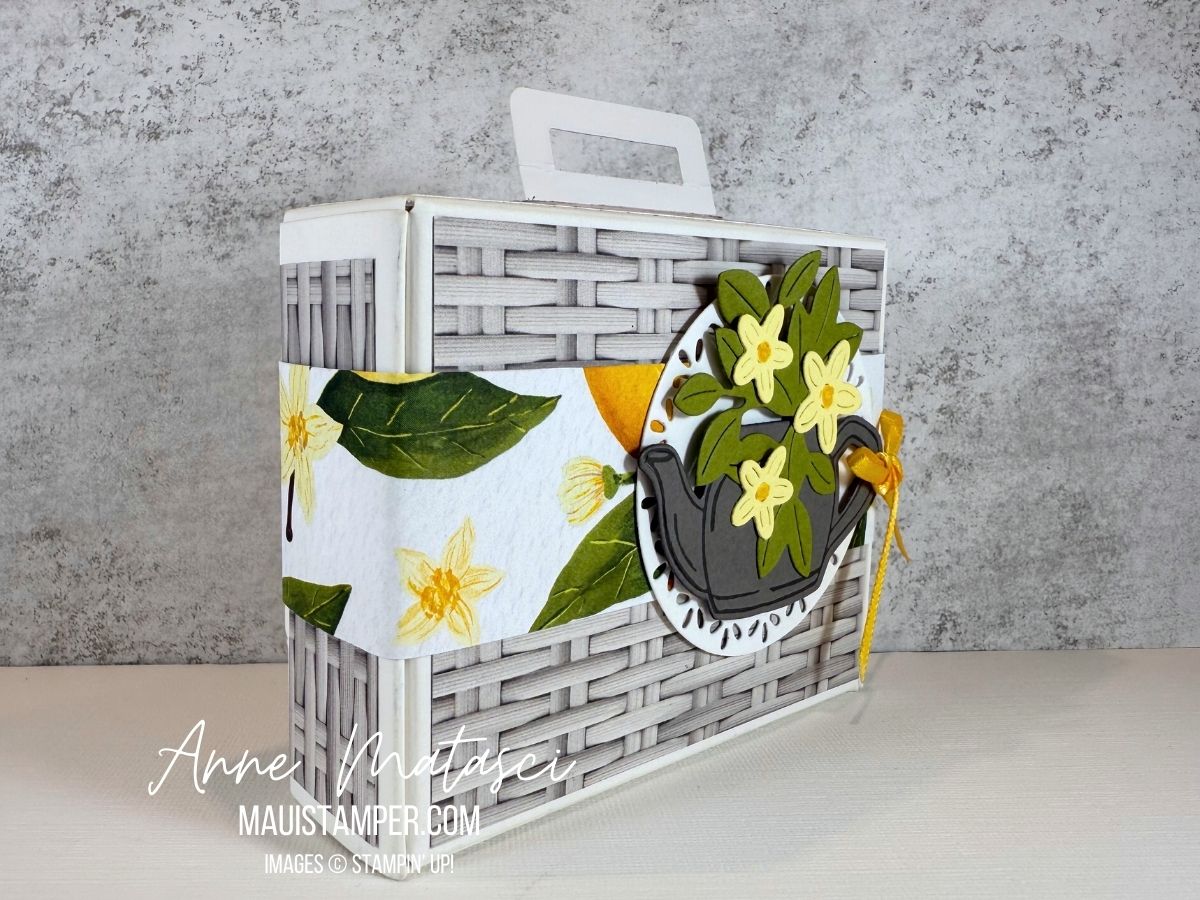
I like to send surprise cards – not for birthdays or other significant moments, but out-of-the-blue cards. I don’t know about you, but 70% of what I find in my mailbox is junk, 20% is solicitations from realtors or insurance, and 10% is actually for me. Most of that is bills, notices and statements! So getting a Real Card from a real person is a treat!

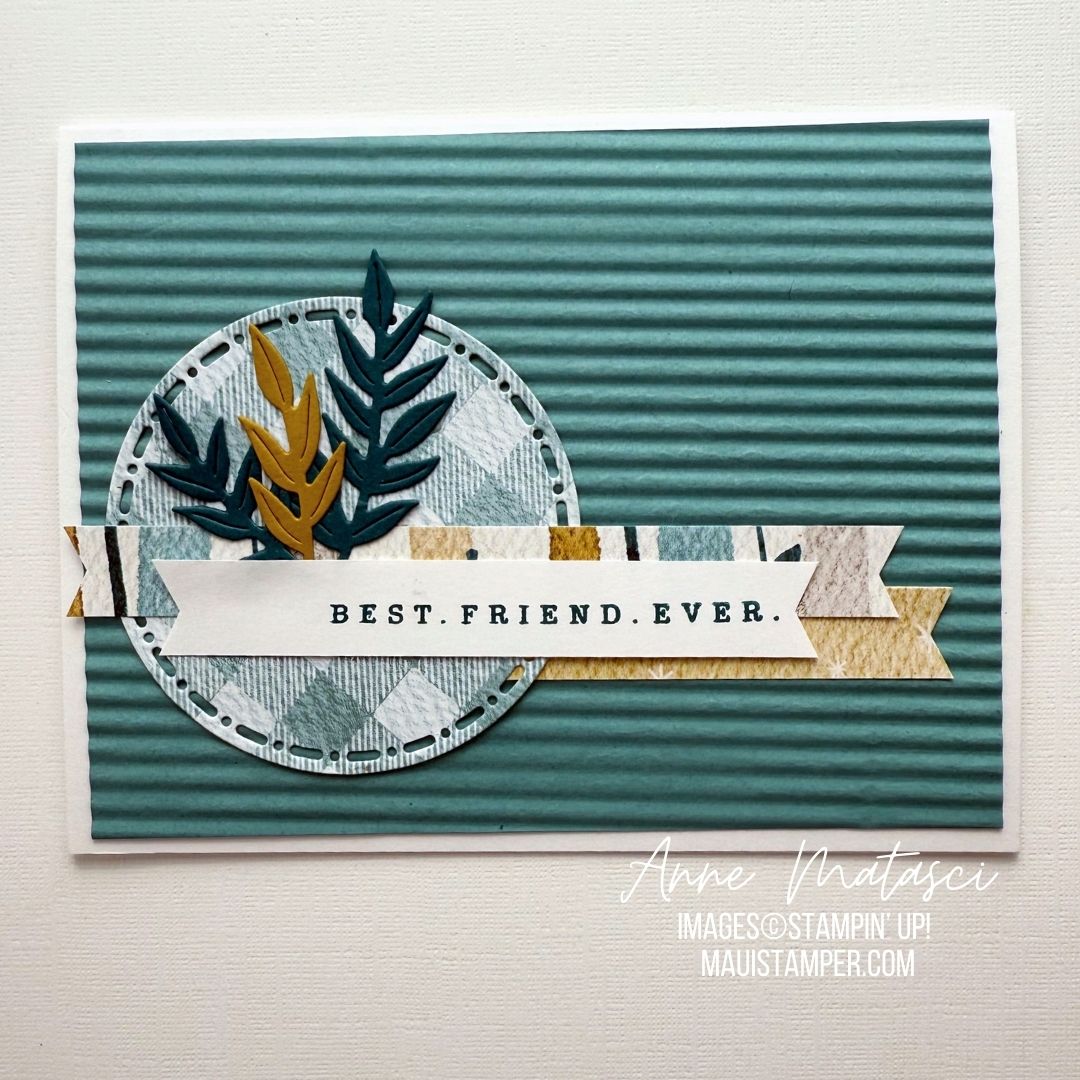
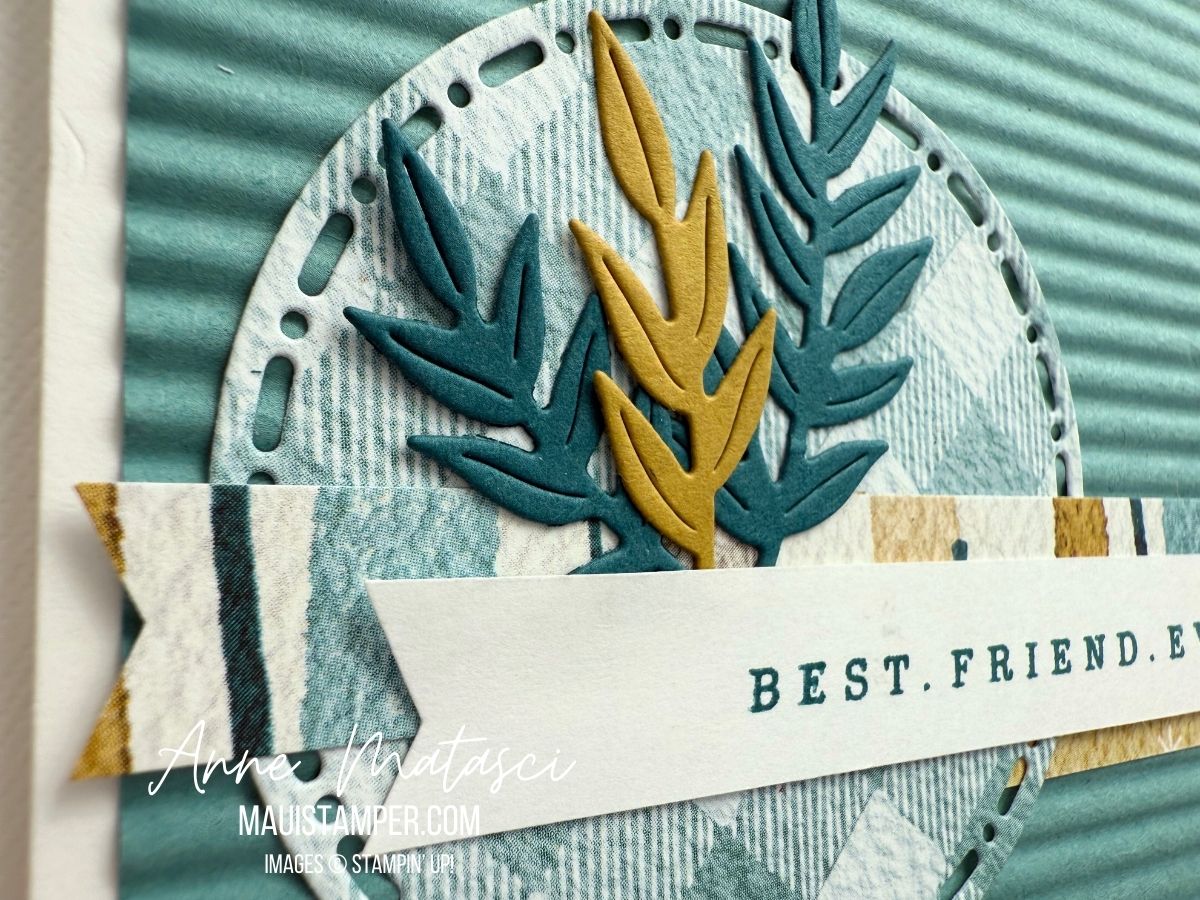
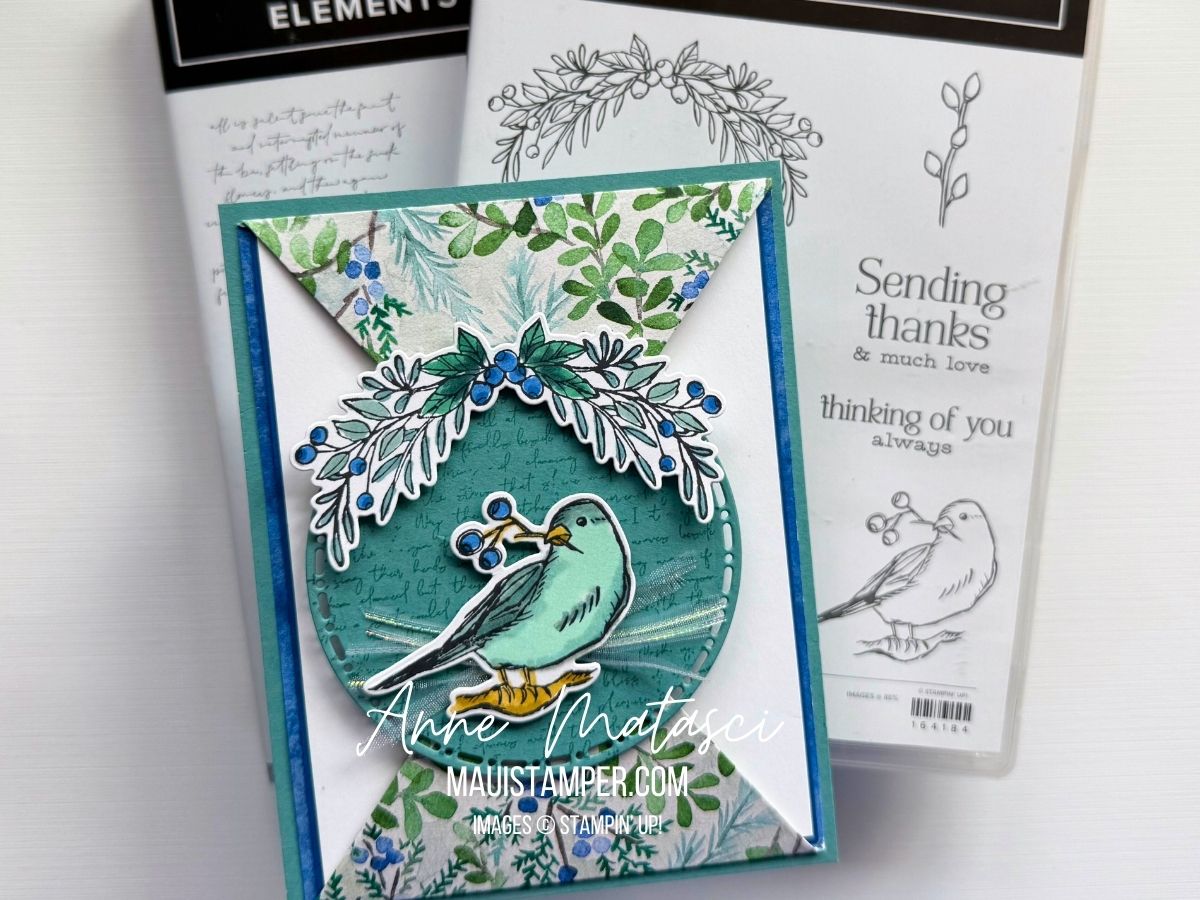
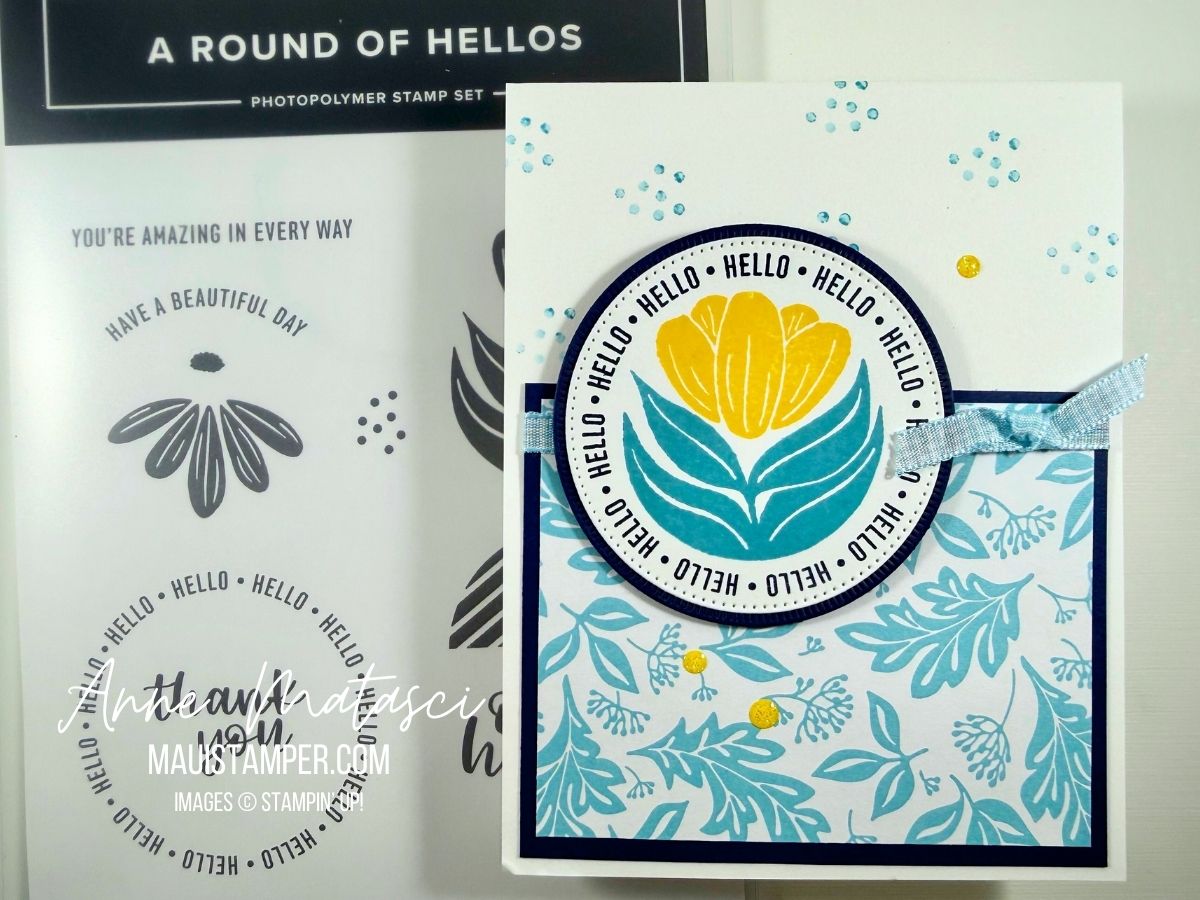
- Stamps: A Round of Hellos
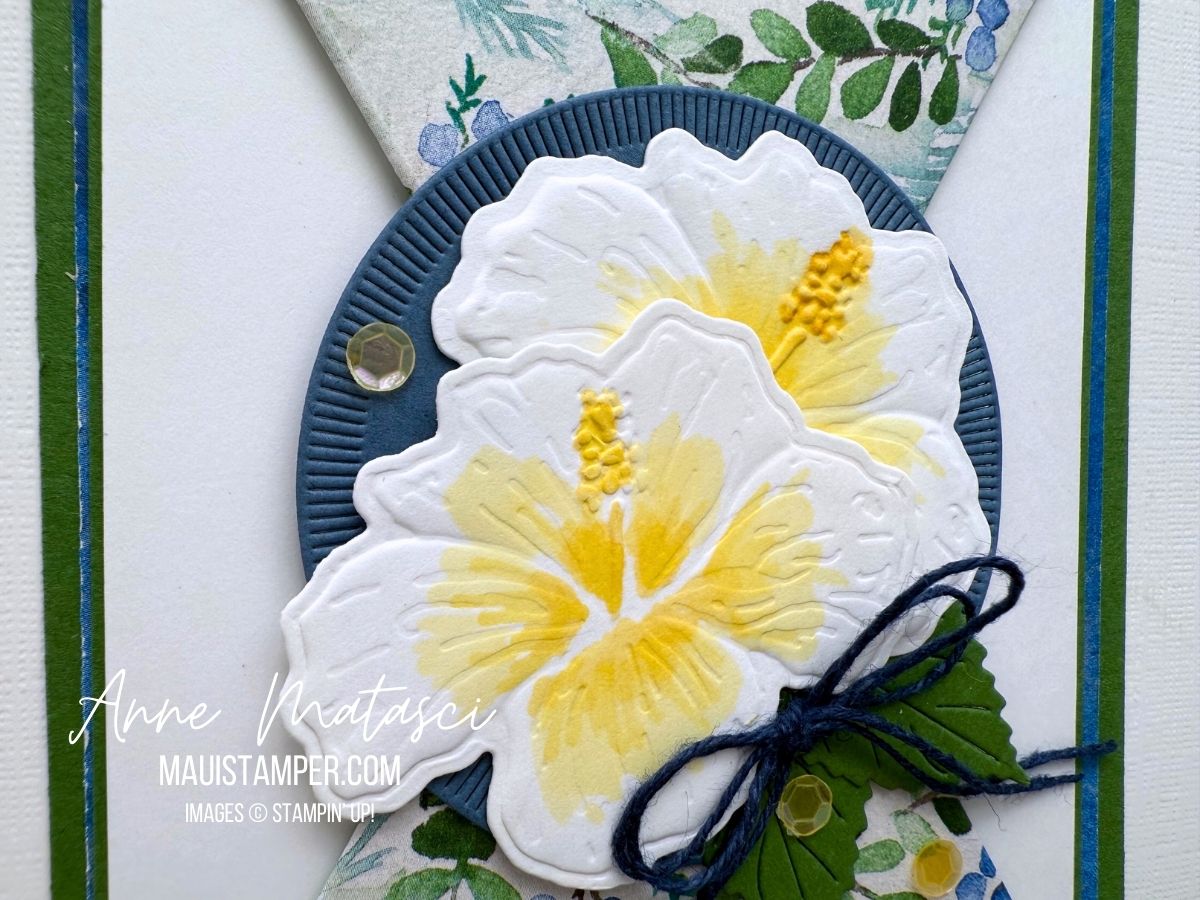
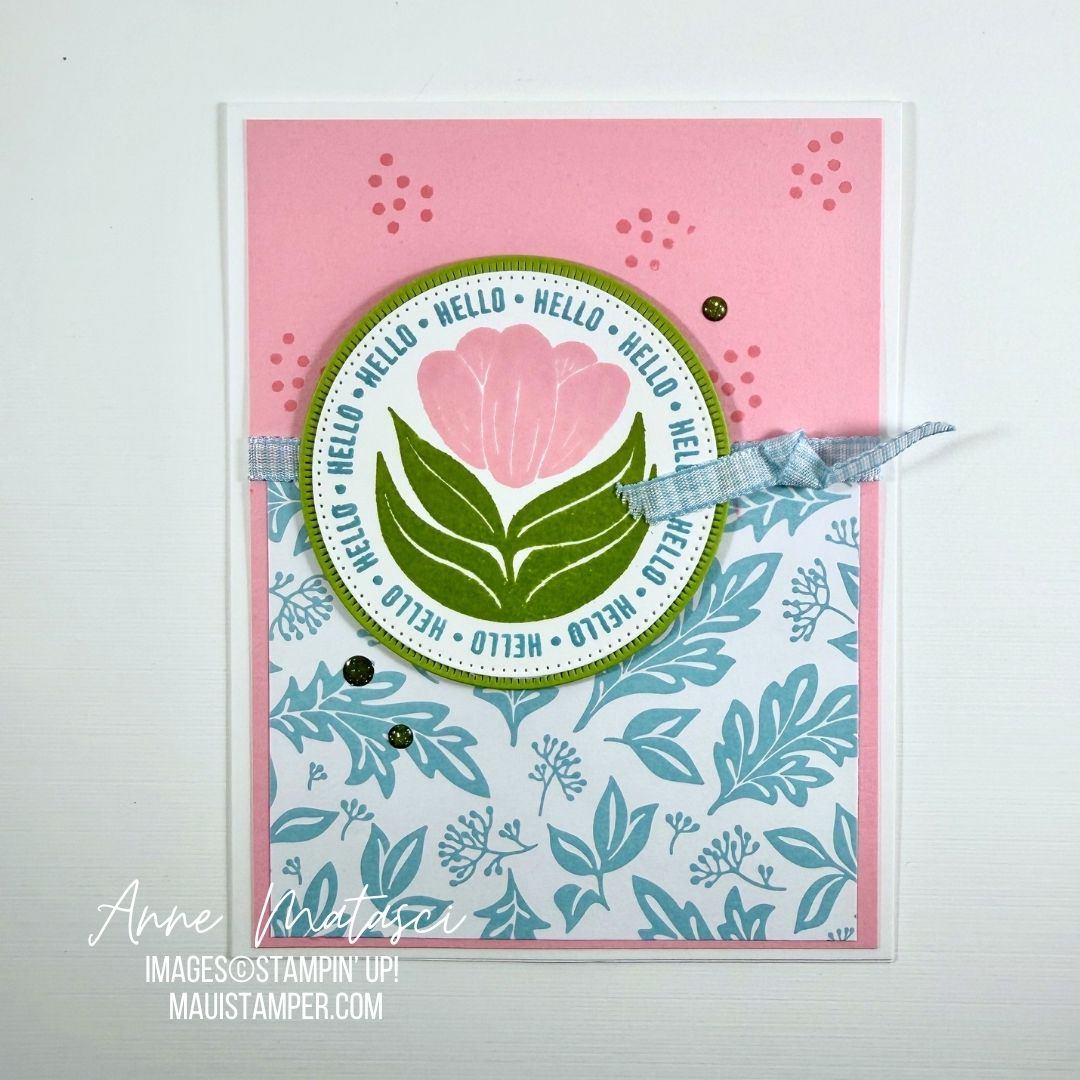
- Color Palette: Basic White, Daffodil Delight, Balmy Blue, Secret Sea
- Accessories: Stamp Cut & Emboss Machine, Stylish Shapes dies, Spotlight on Nature dies, Balmy Blue Gingham Ribbon, Low Profile Sparkle Dots, Stampin’ Dimensionals
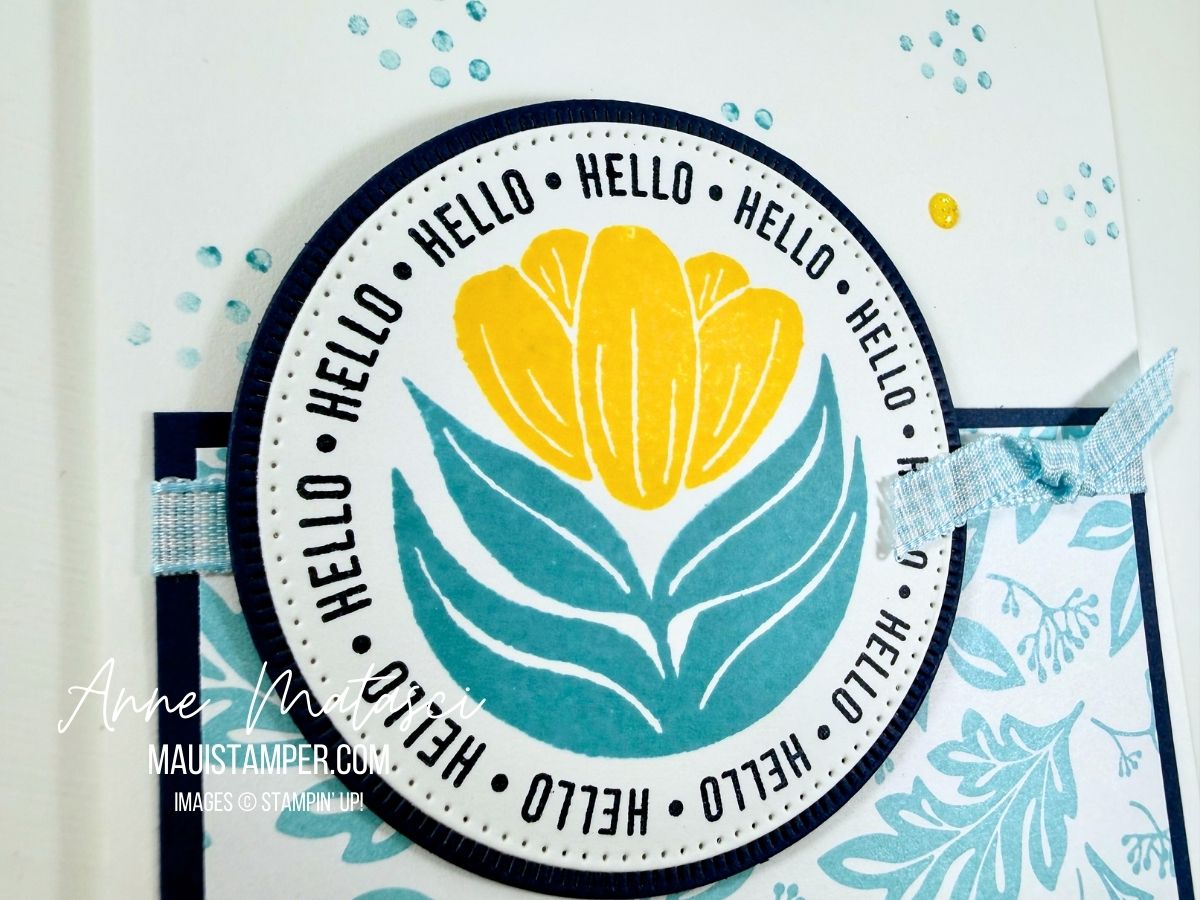
The Stylish Shapes and Spotlight on Nature dies nest beautifully. I like a narrow reveal on my mats, and these two dies were the perfect solution. I find stamping the blossom (the yellow image) first works well. I found it easier to snuggle the base into the blossom than to center the blossom on the base. Does that make sense?
This Balmy Blue and Daffodil combination is my second of this design – the first one was on a Pretty in Pink panel, and I just didn’t love it. Color choices make such a difference!
Don’t overlook A Round of Hellos – it’s in the Online Store.