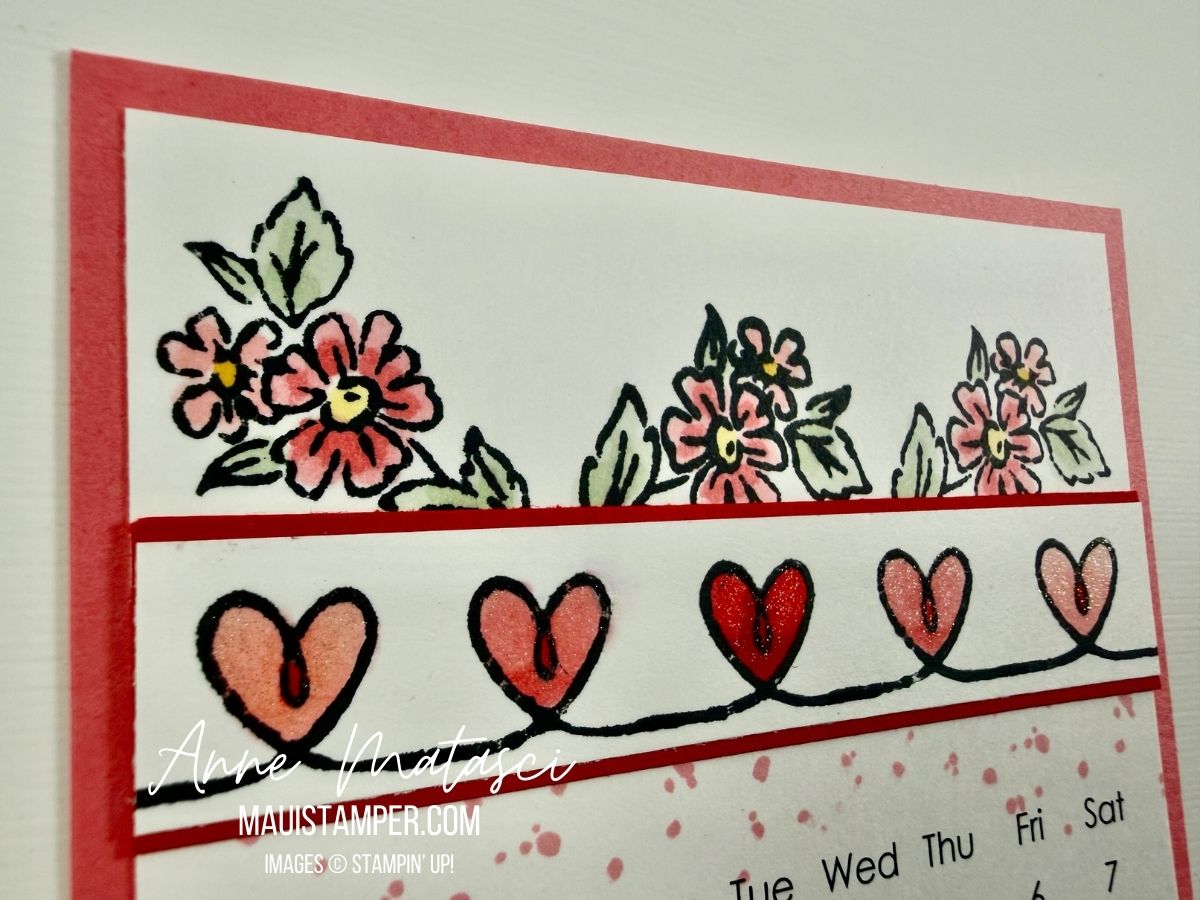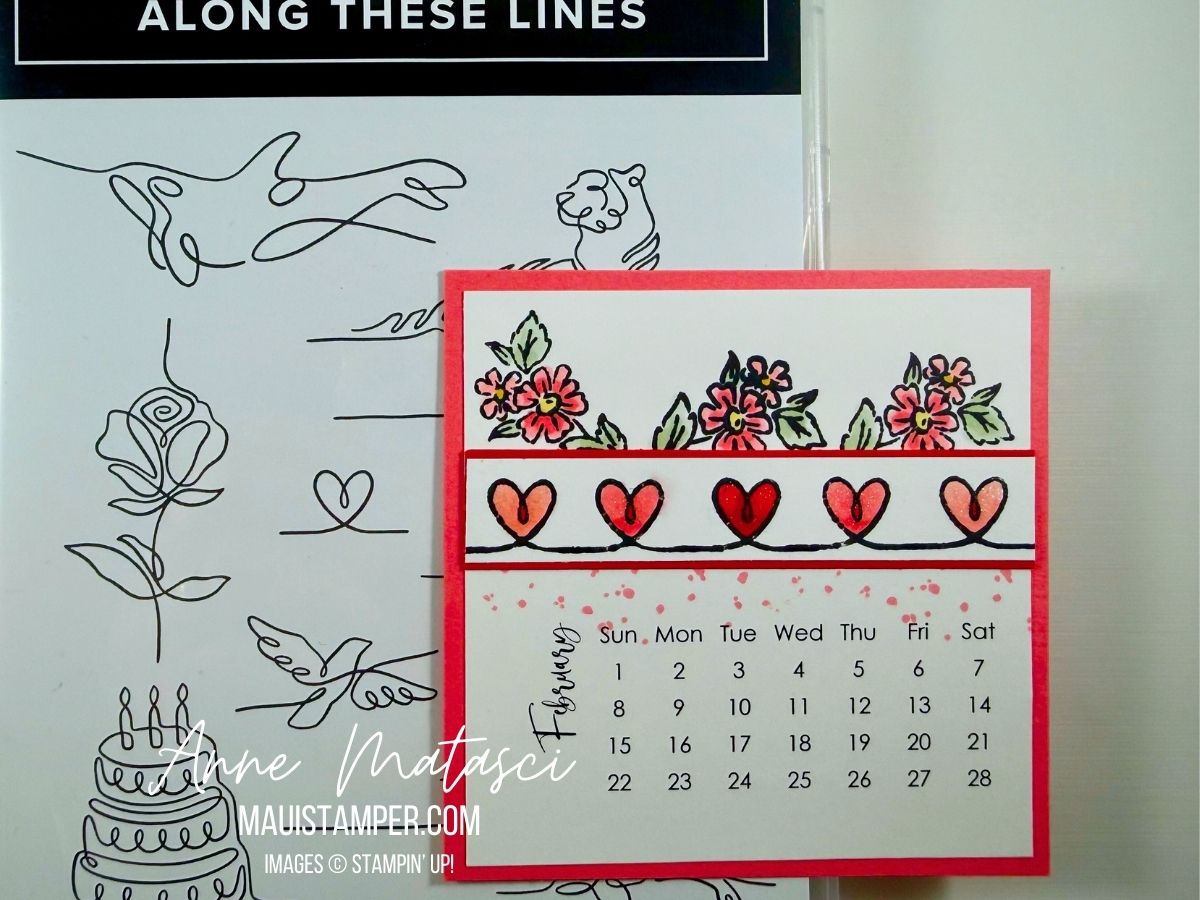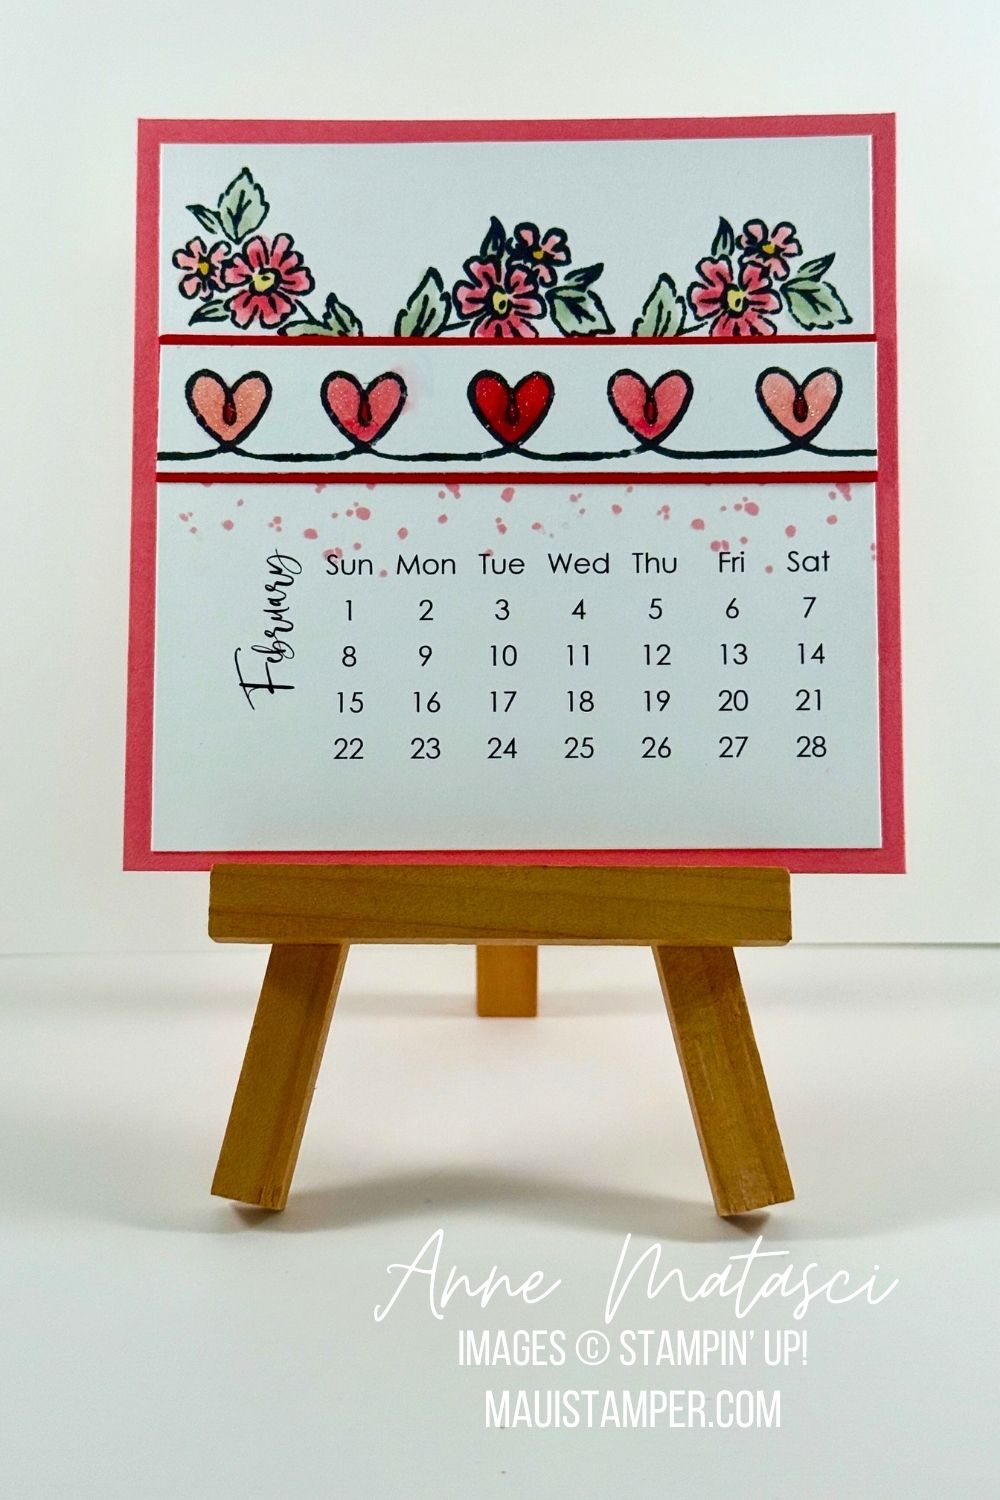
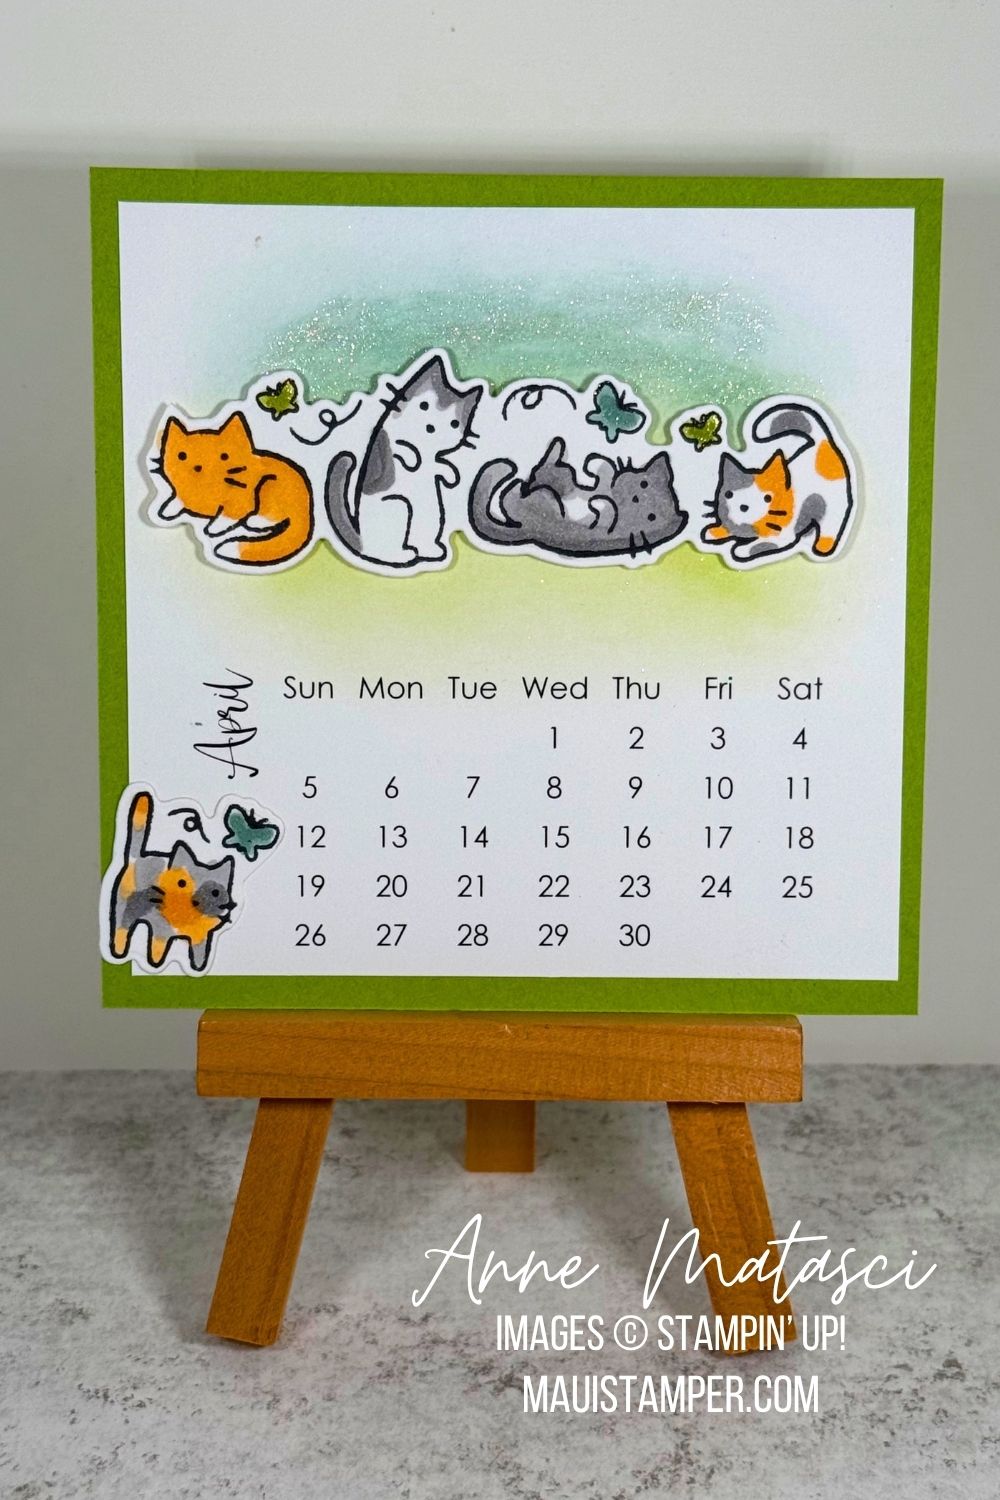
Welcome back to DIY Calendars for another month of hand-made desk top calendars. The crew has some beautiful spring designs for your pleasure and inspiration. My choice this month is the delightful Cutest Crew bundle.
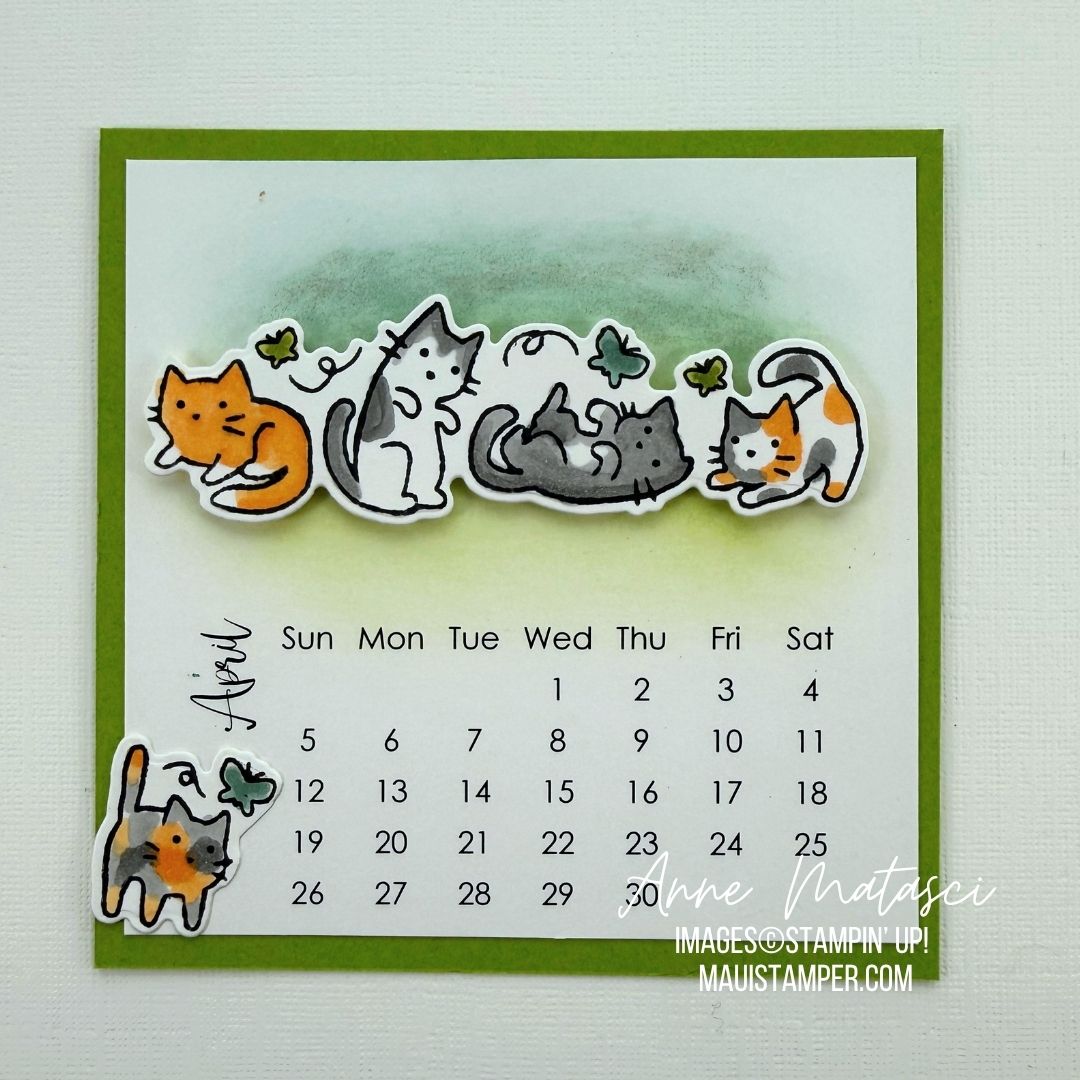
- Stamps: Cutest Crew
- Color Palette: Basic White, Memento Black, Peach Pie, Smoky Slate, Granny Apple Green, Lost Lagoon
- Accessories: DIY Calendar Template, Stamp Cut and Emboss Machine , Cutest Crew dies, Stampin’ Blends, Blending Brushes, Wink of Stella, Stampin’ Dimensionals
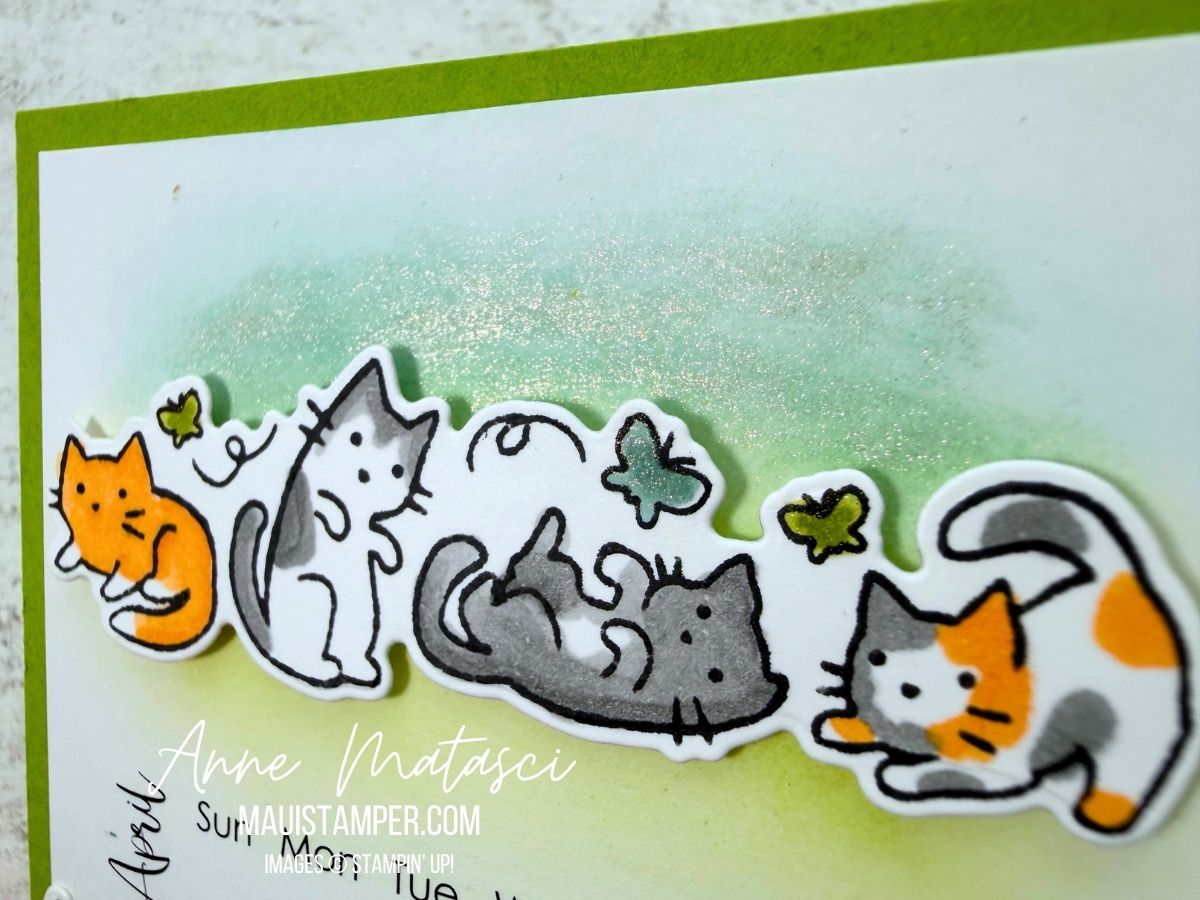
I gave the kittens a bit of a wash so they had a nice place to roll, and I added a little Wink of Stella because, well, Wink of Stella. I made the butterflies the same colors as the wash (Granny Apple Green and Lost Lagoon) so it would look properly planned.
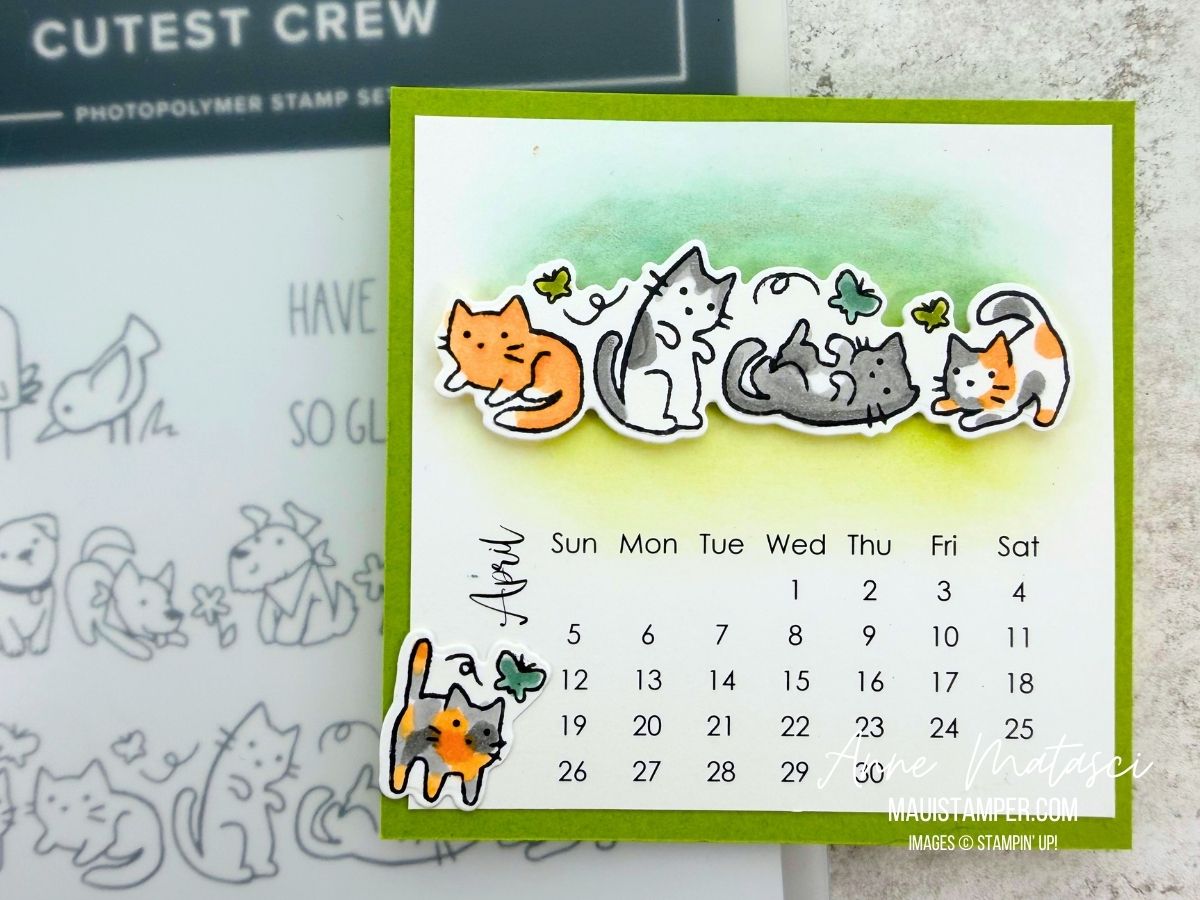
5 kittens were a little long for the calendar page, so I trimmed off the leading feline and popped it under the month. I couldn’t leave it off altogether now, could I?

Click the button to travel through the Blog Hop and see what Sharon and Cheryl have created this month. We’re so glad you’ve joined us!
Would you like to make your own DIY Calendars? The template is just $6. Visit my secure page to make your purchase. (You can also find the page on the banner across the top of my home page.) You’ll receive links to download the templates in an email after you’ve paid. You’ll need to cut and paste those links into your browser. (You may need to check your spam folder to find that email.)
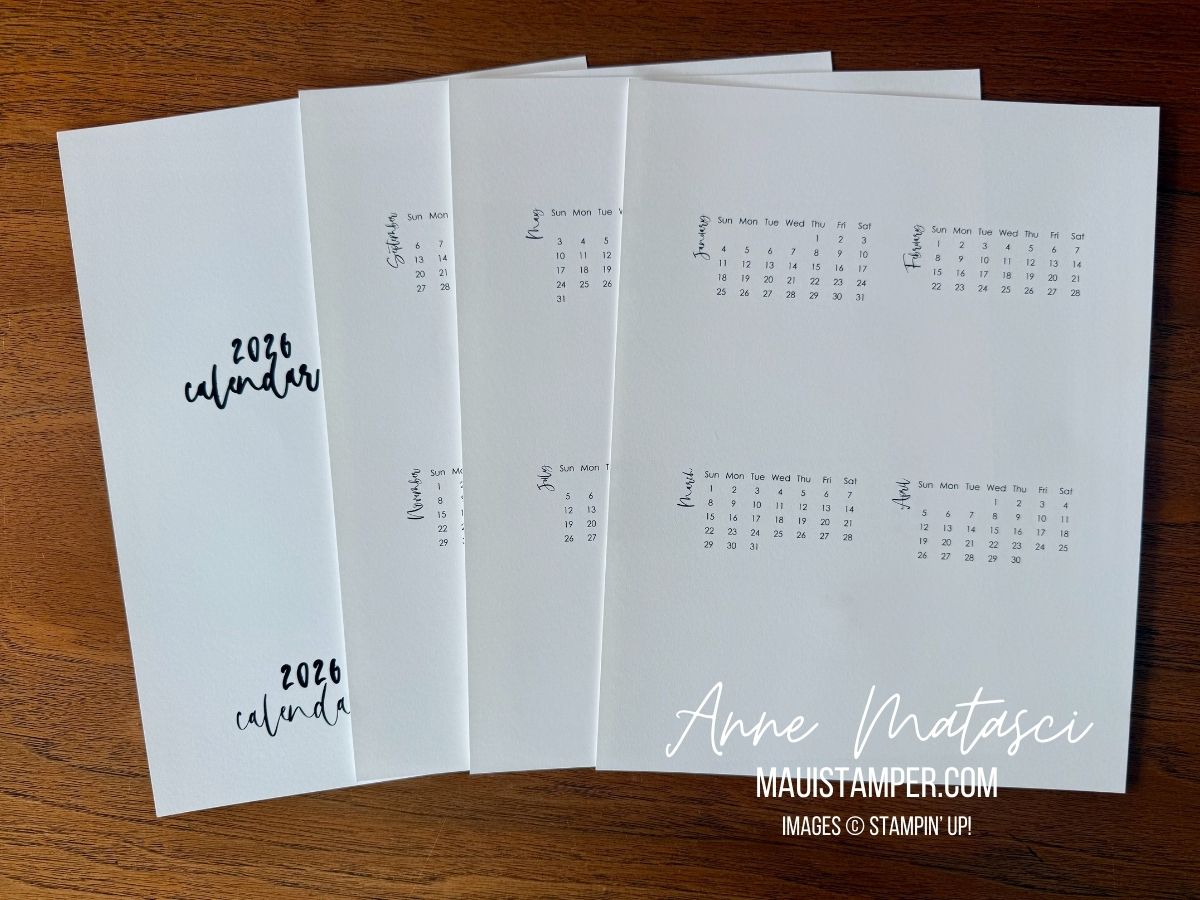
You are only purchasing a template, which you can download and print for your personal use. I hope you’ll enjoy it!