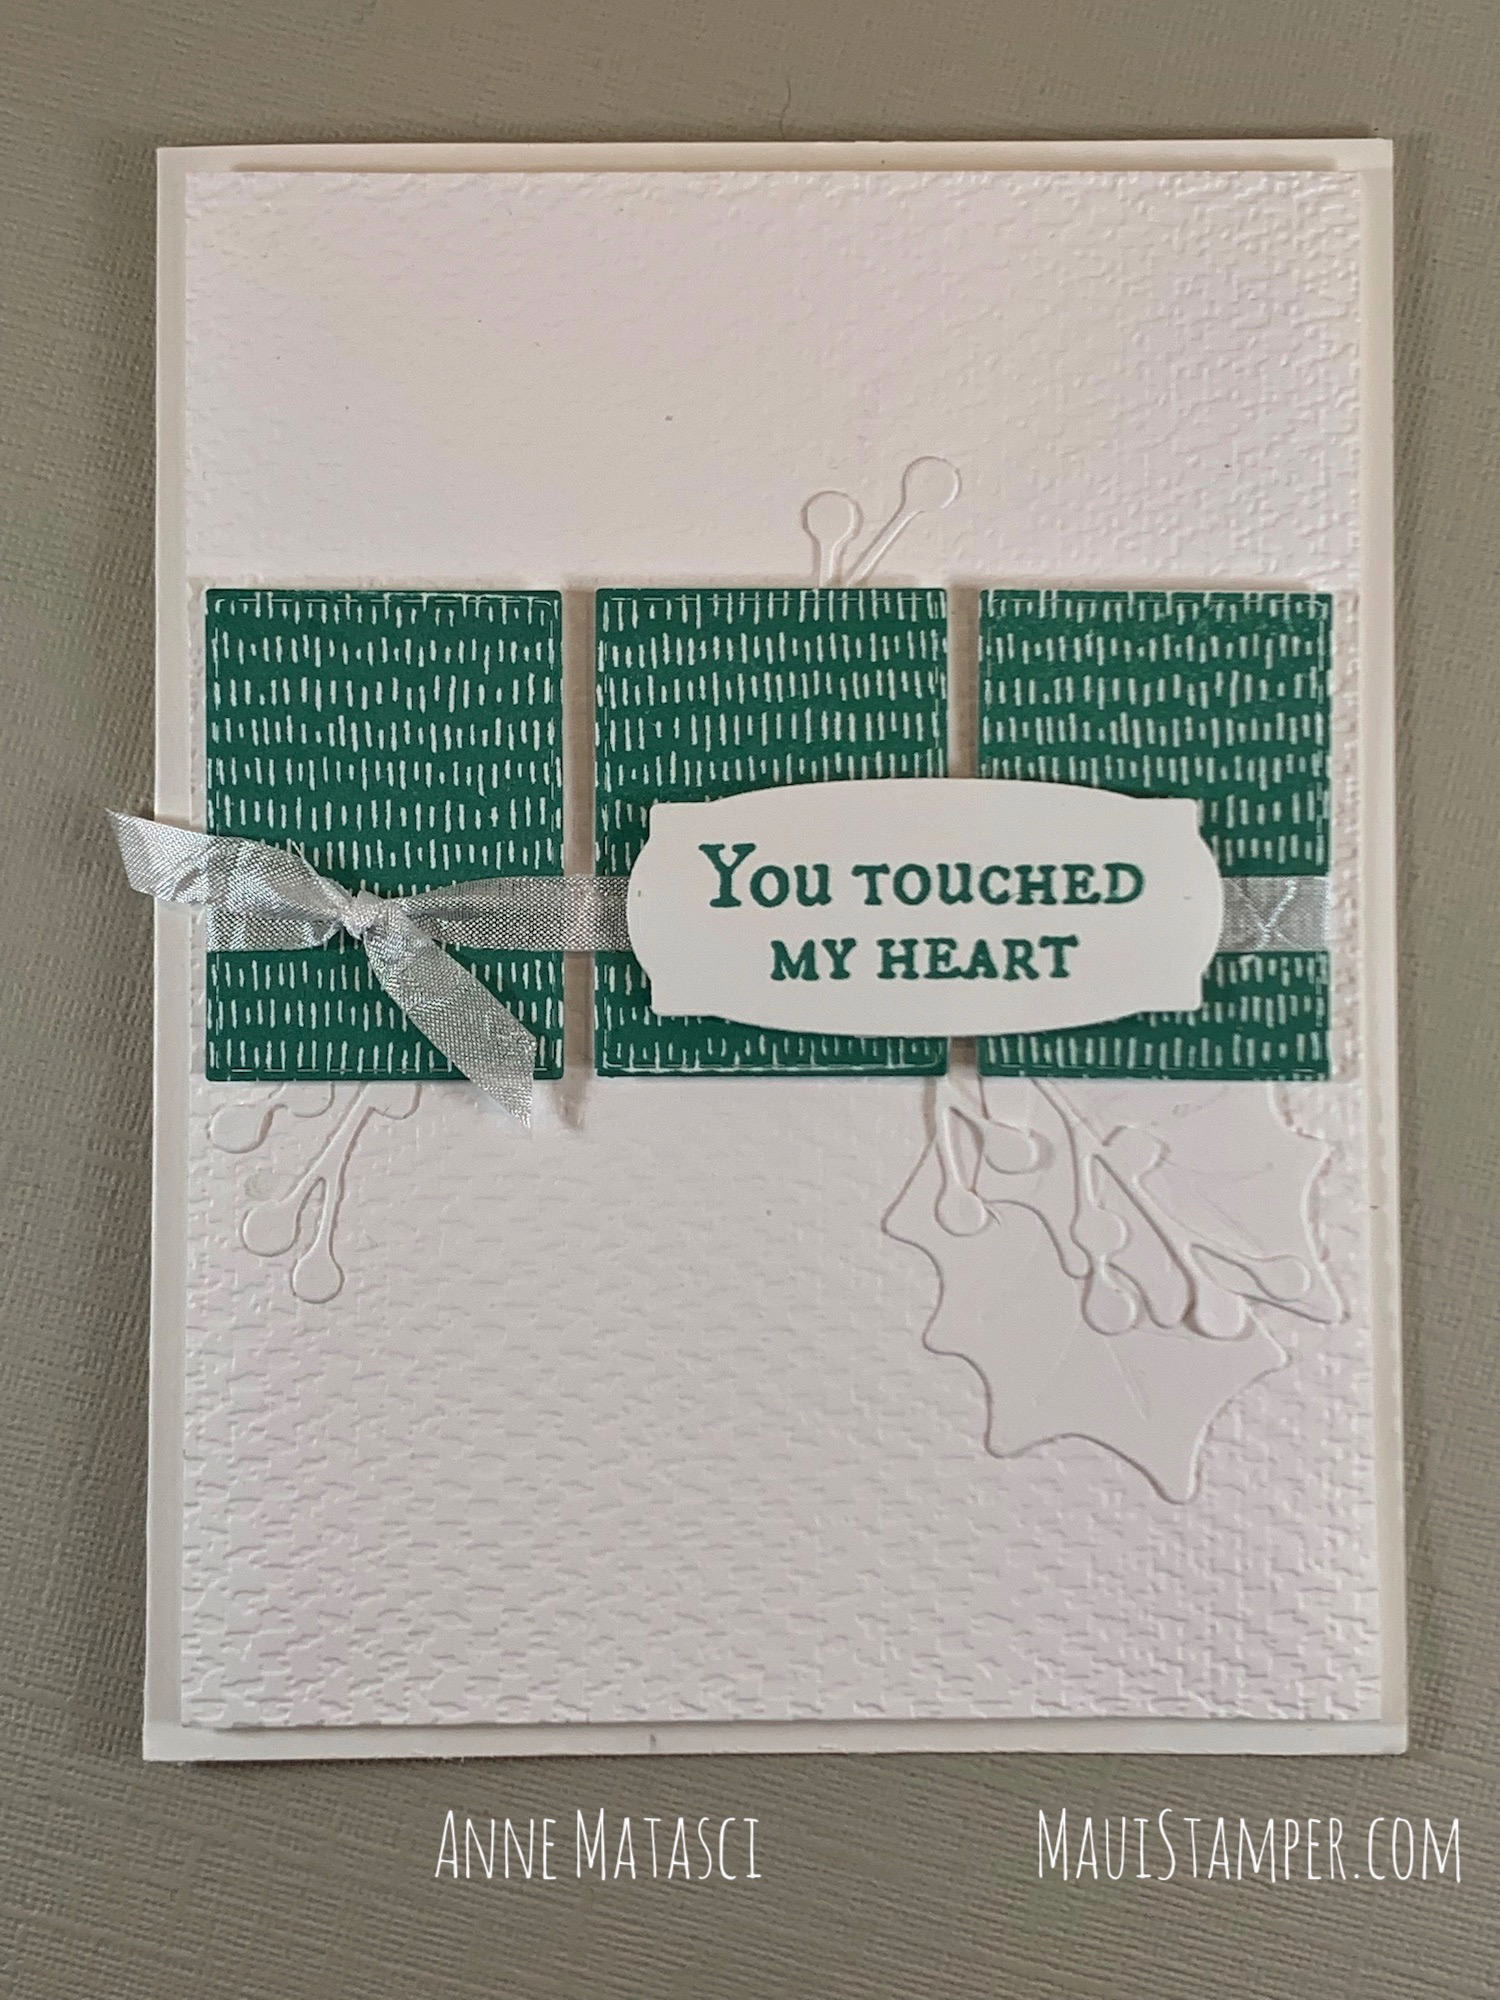
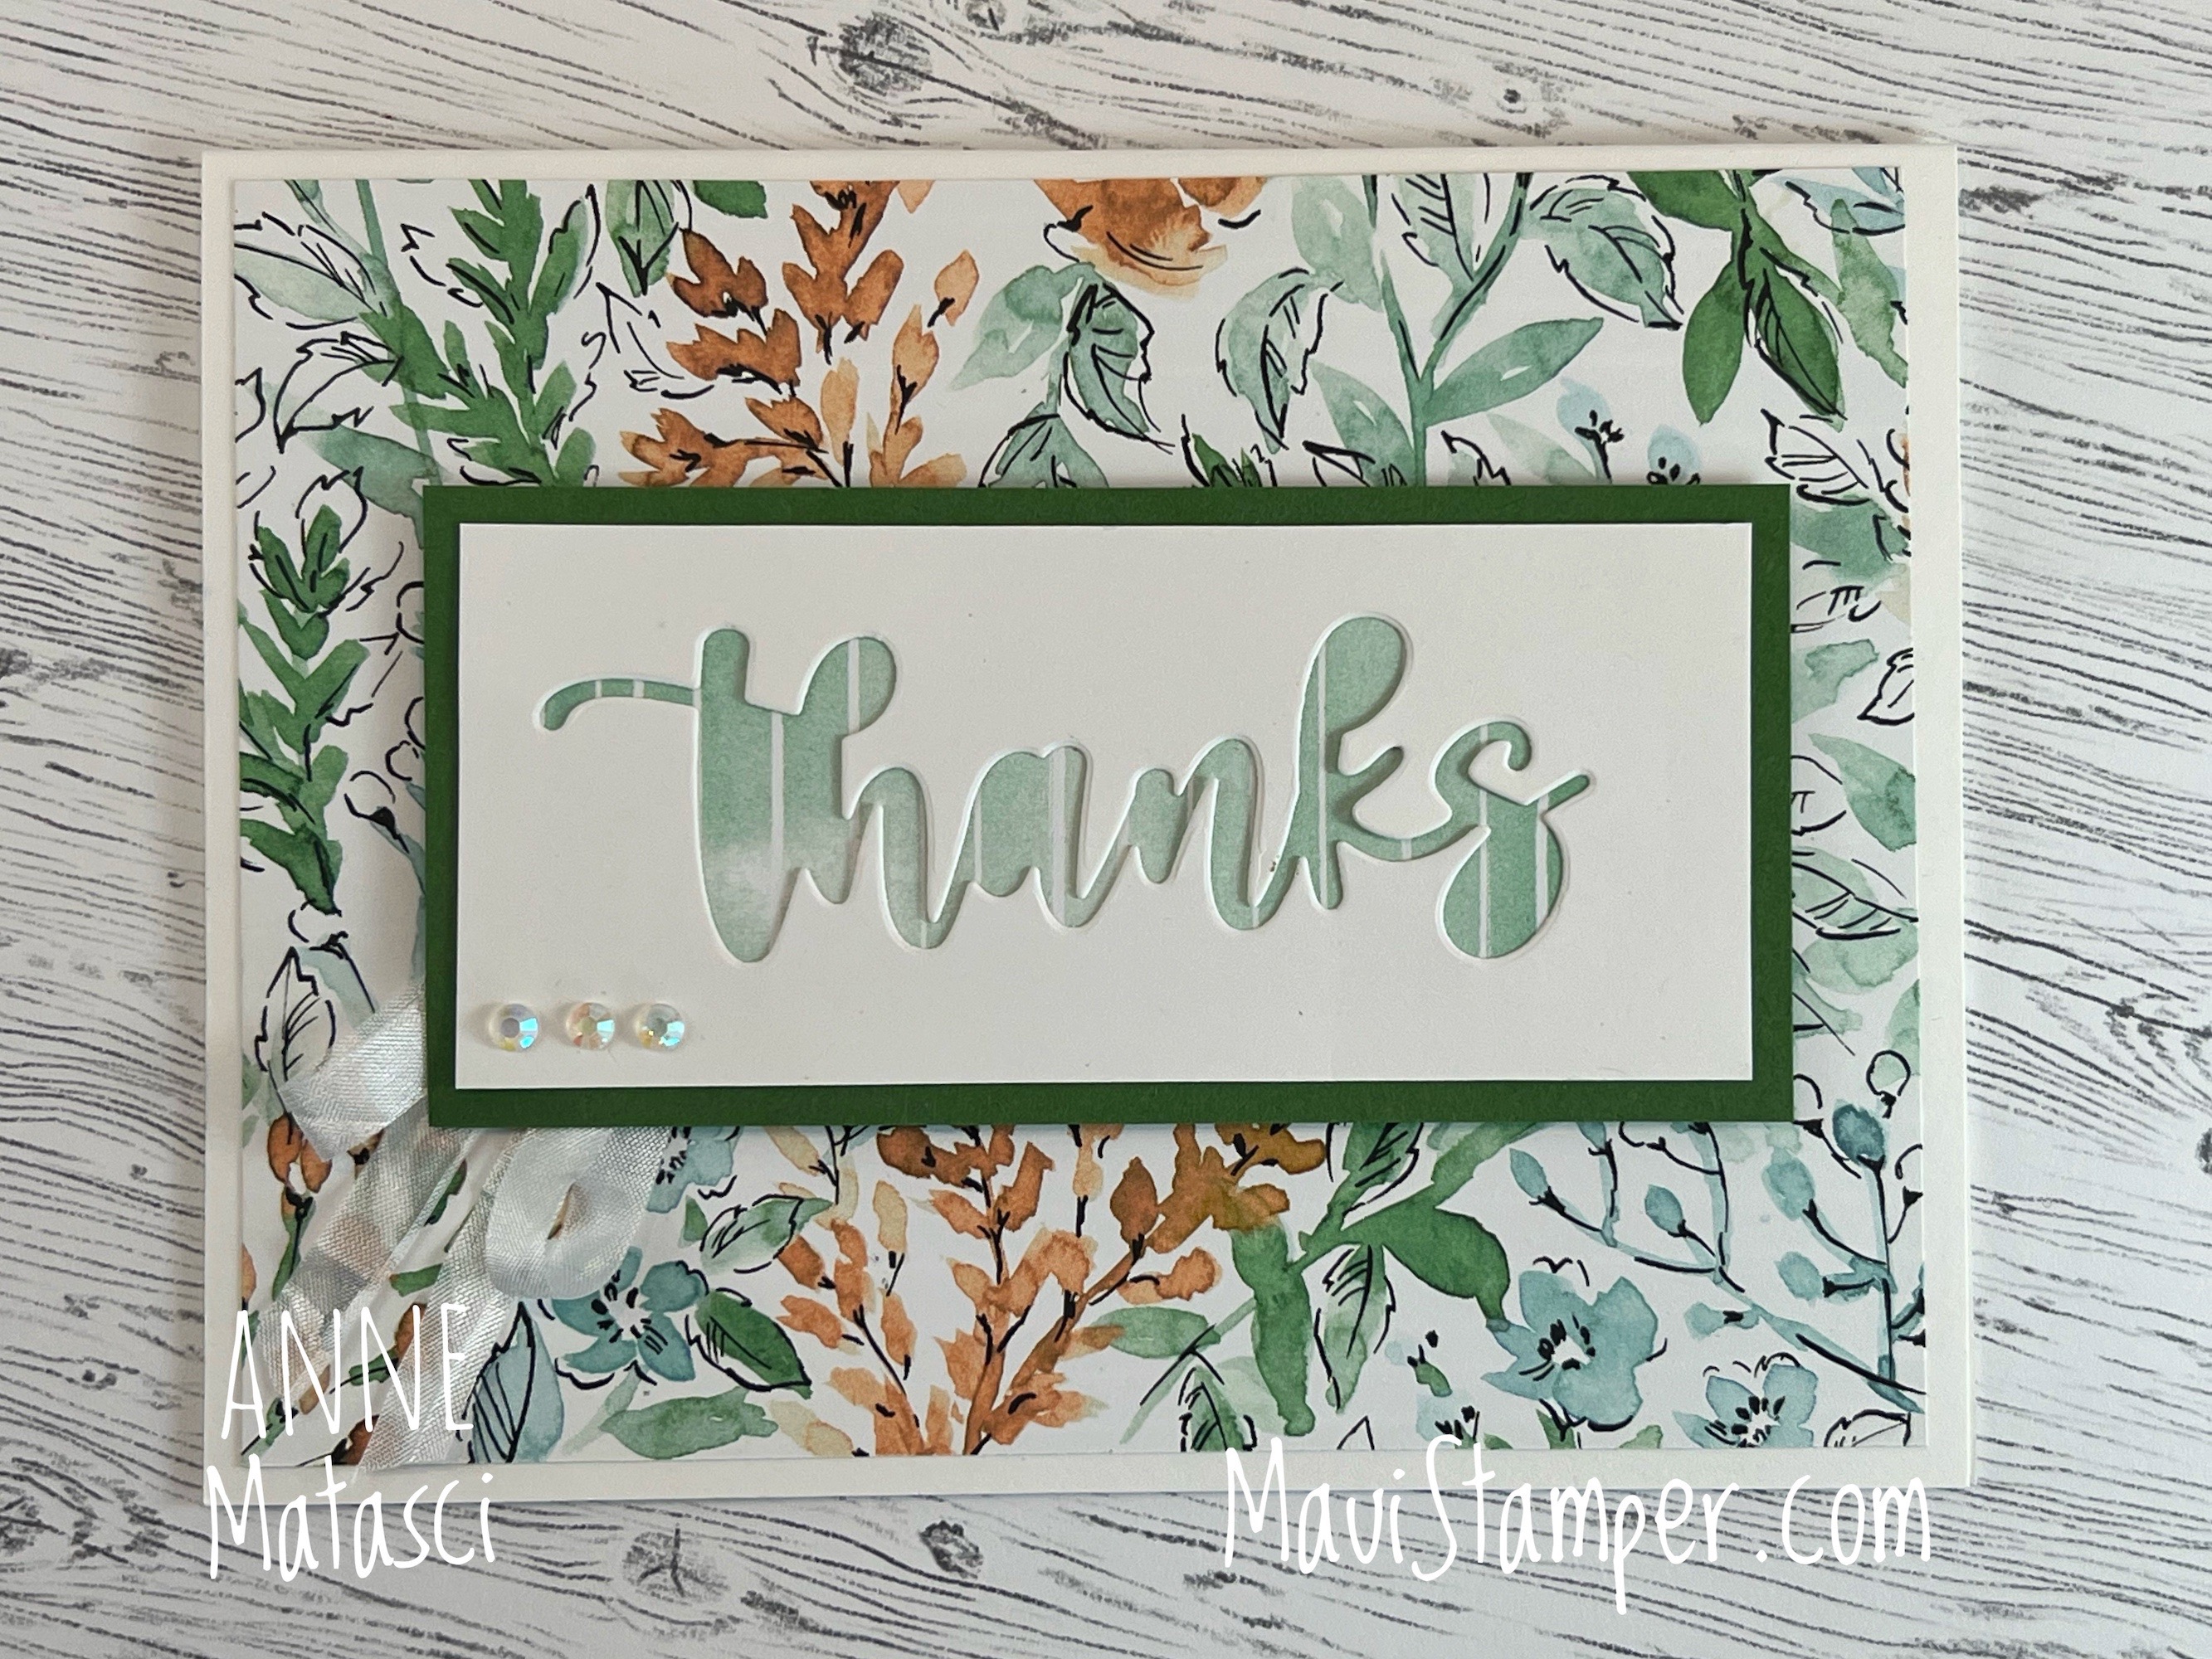
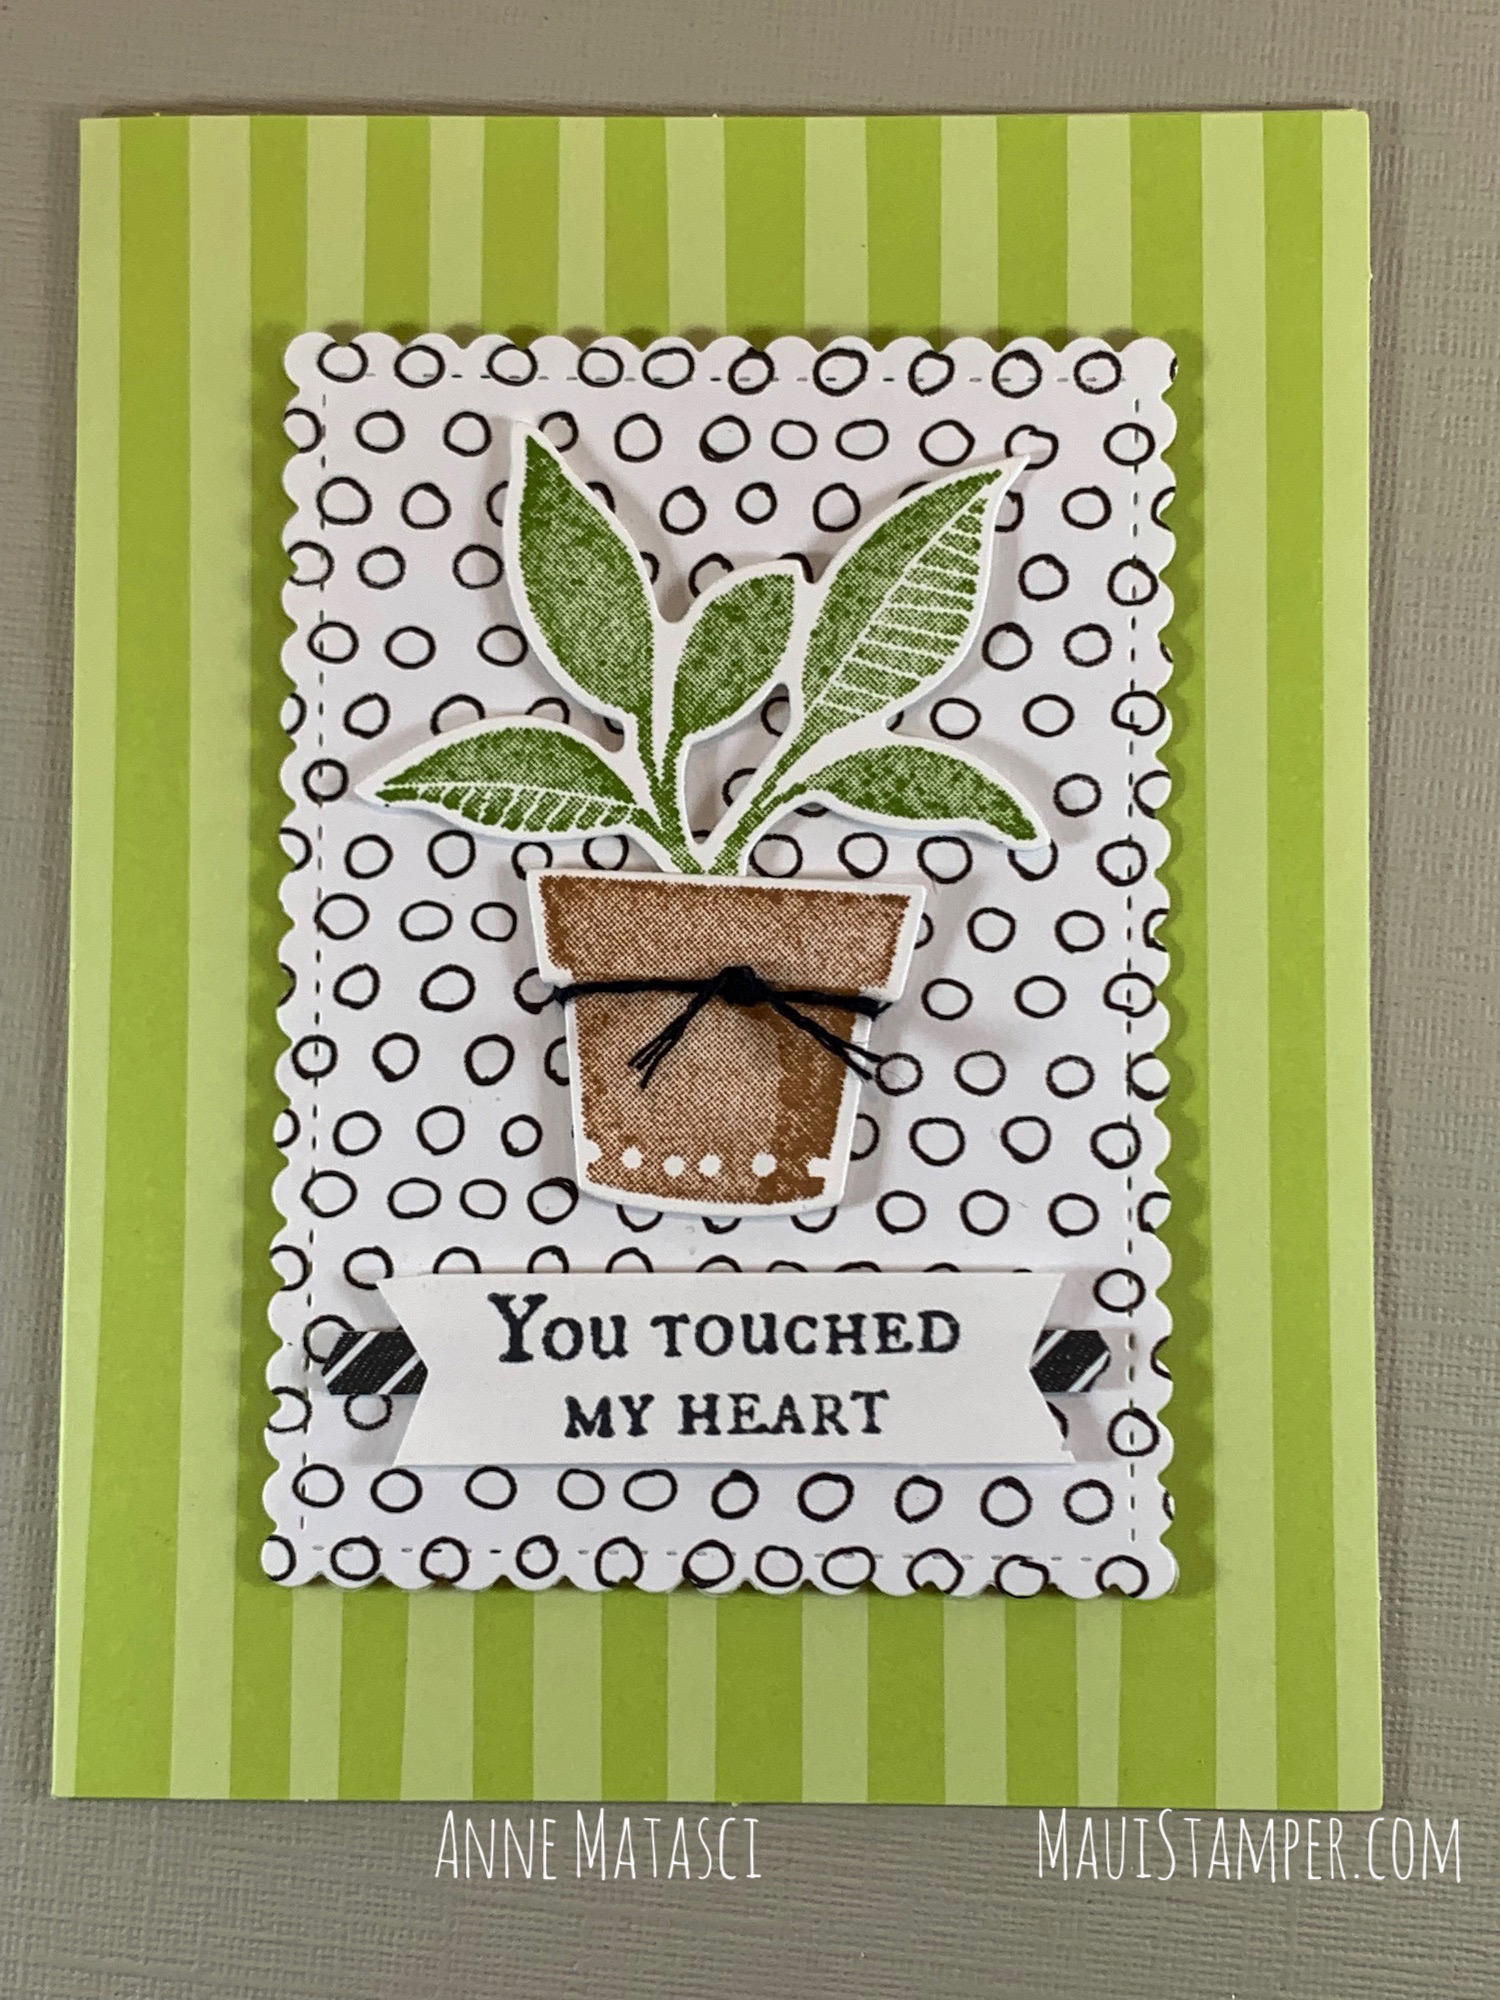
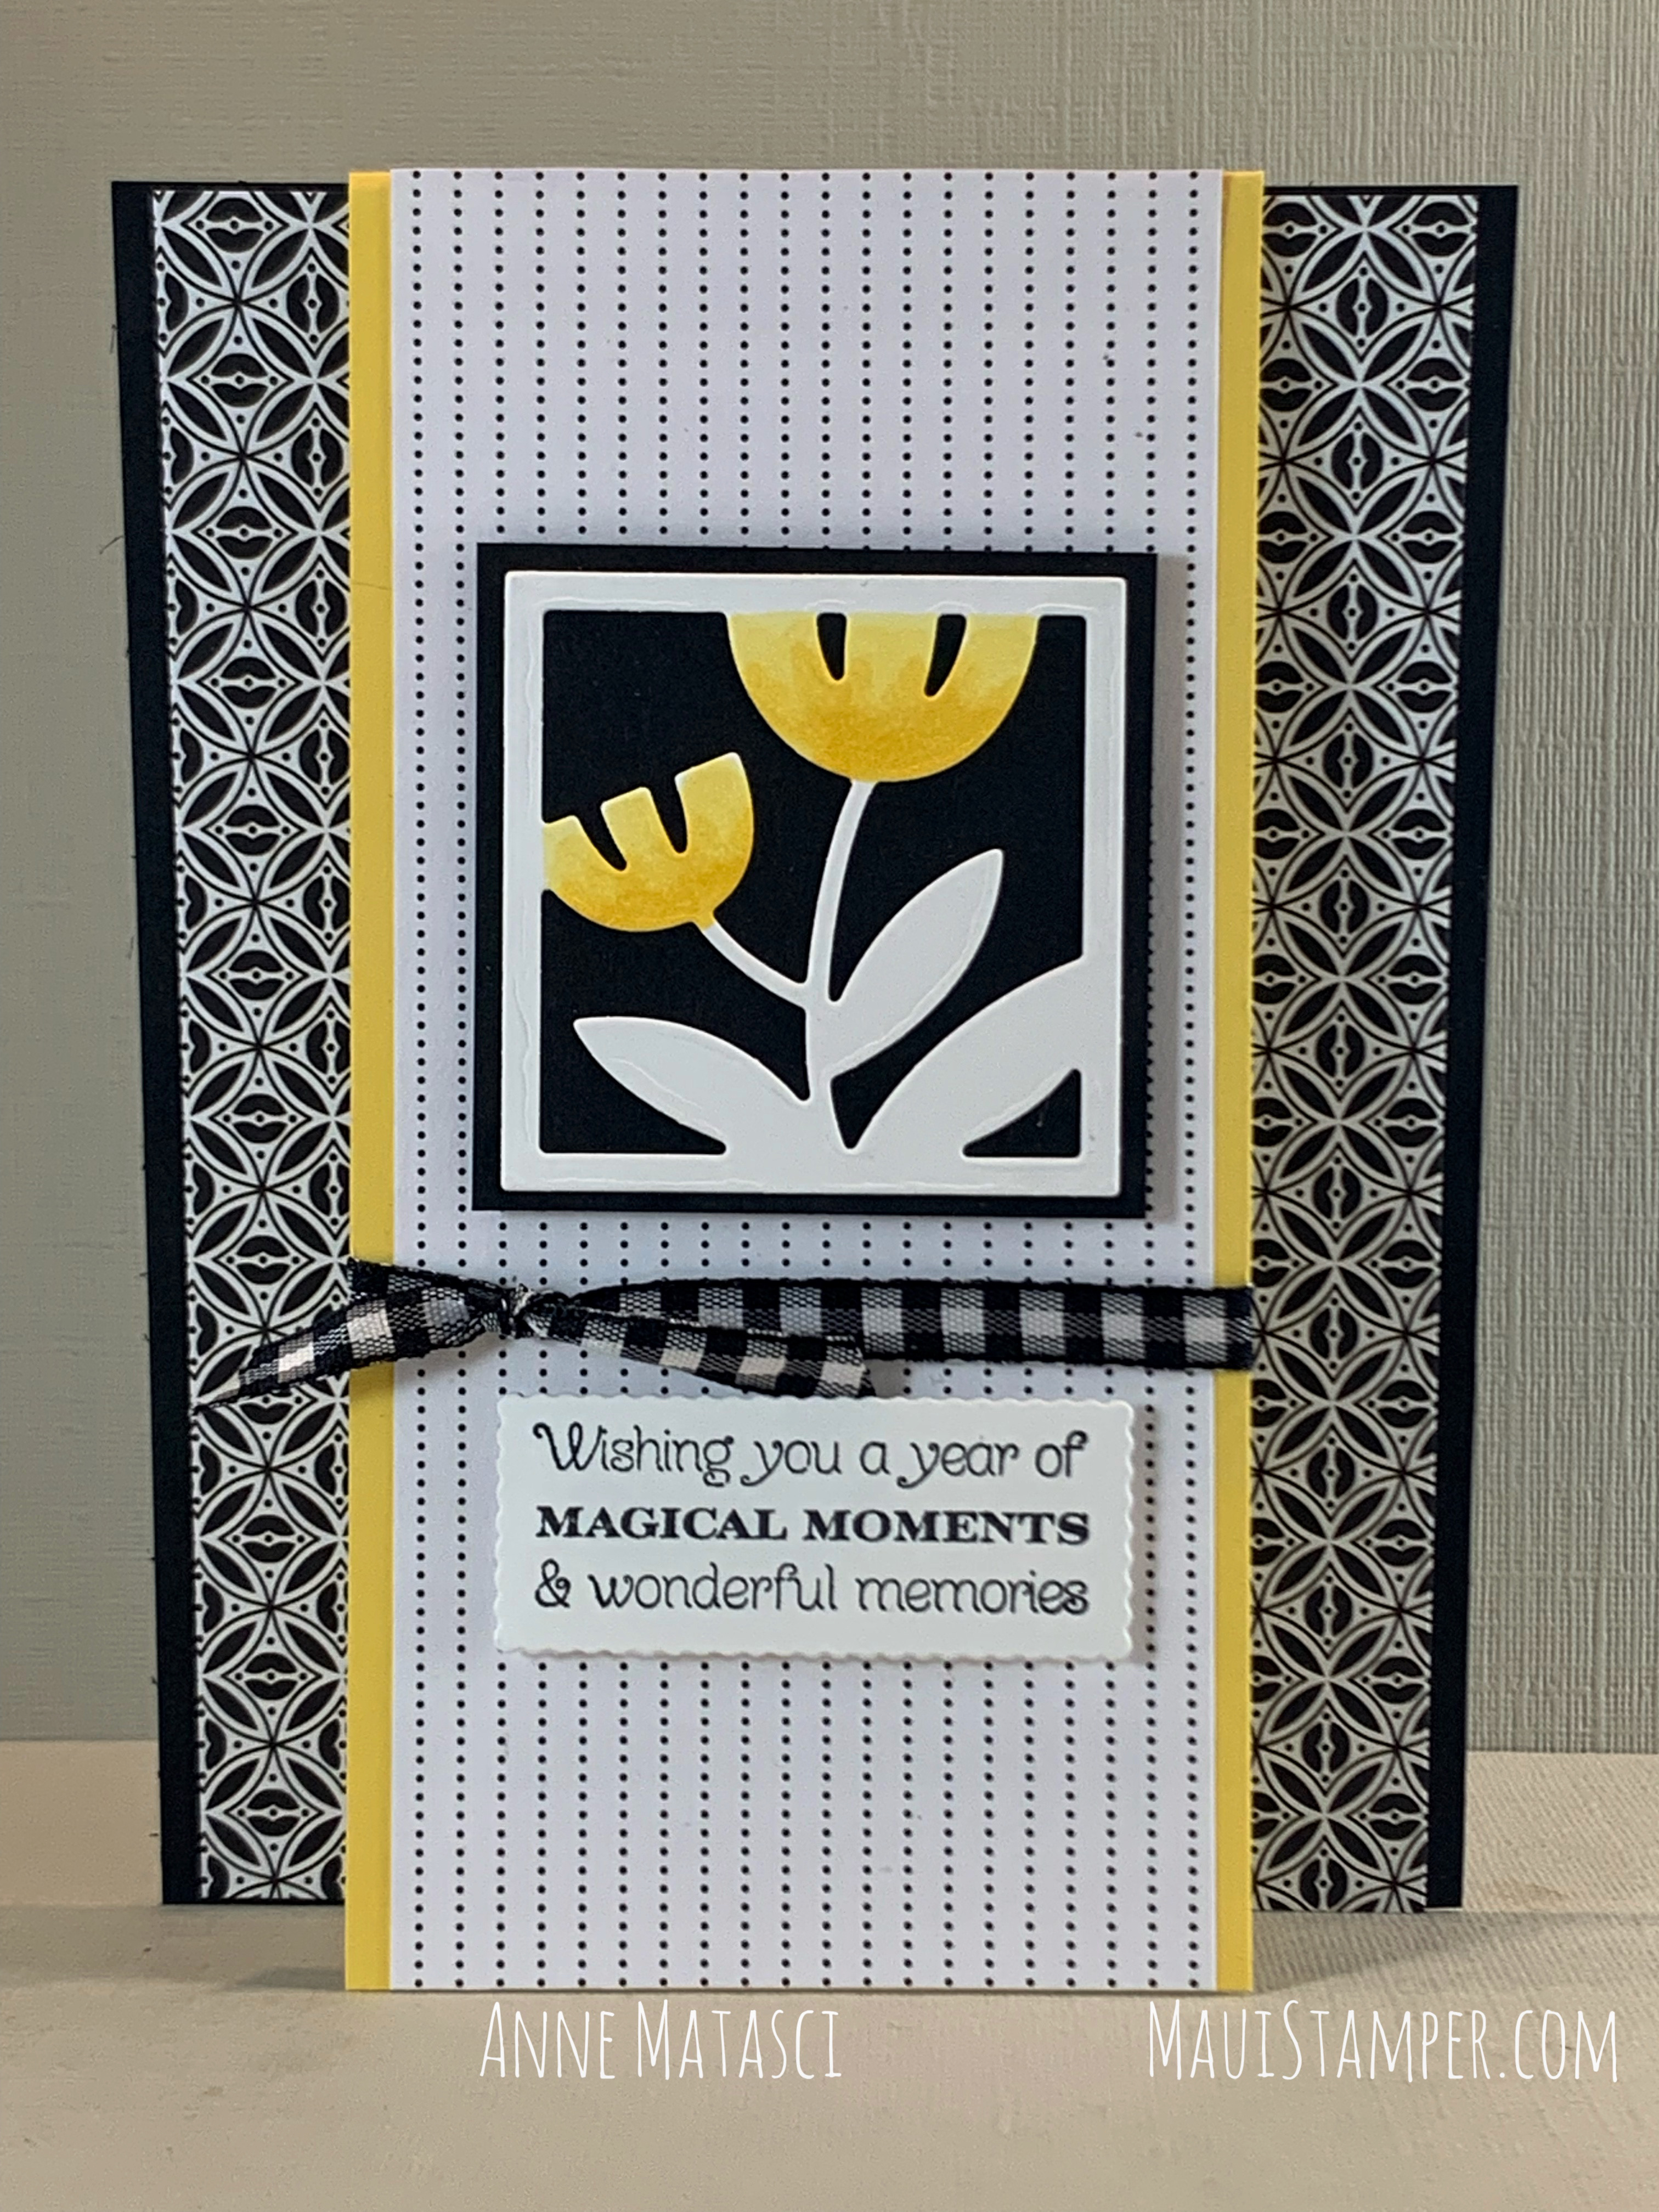
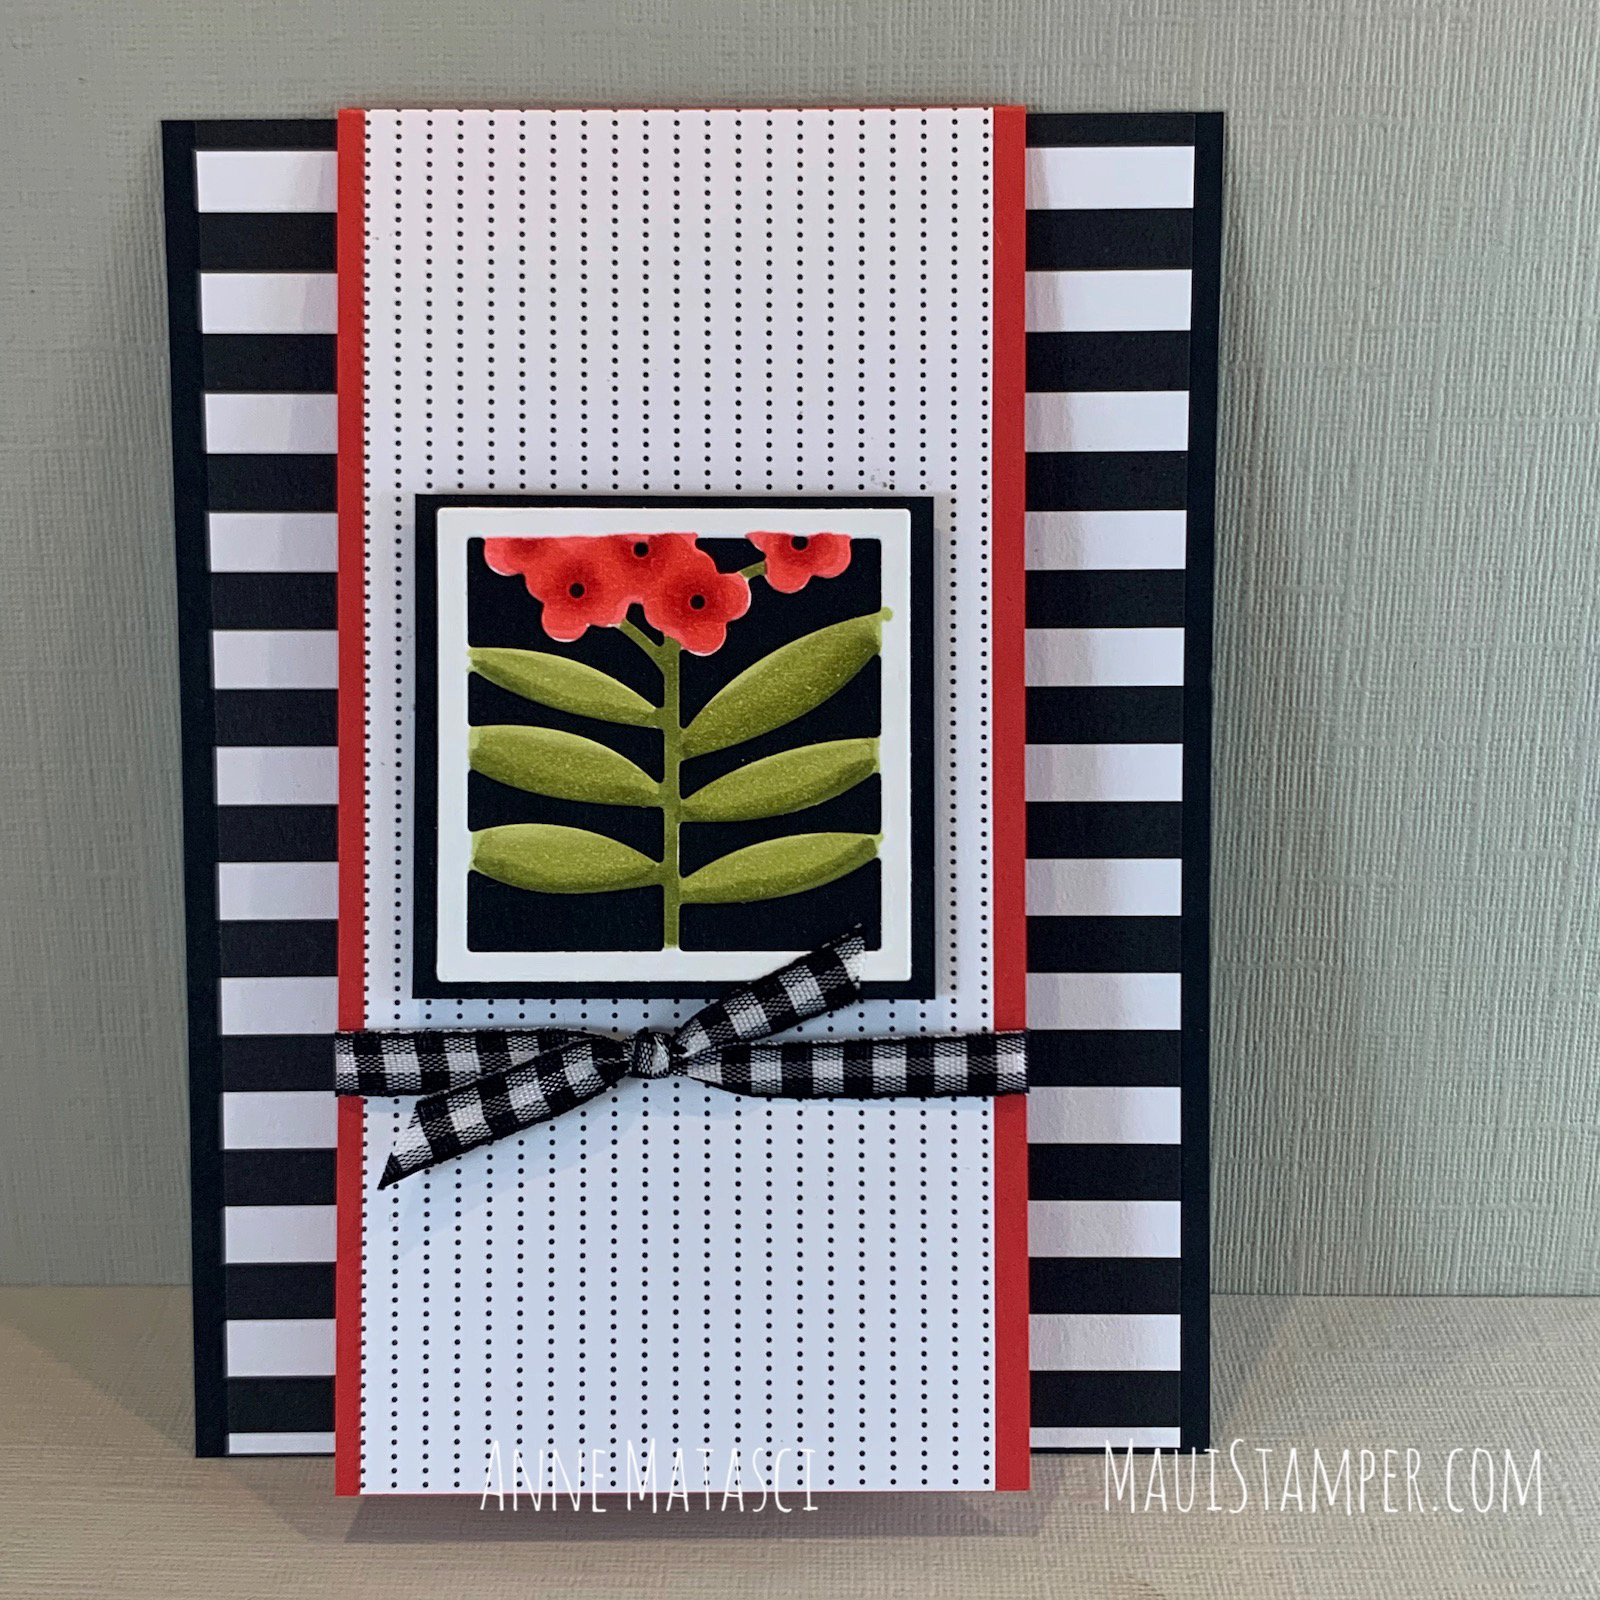
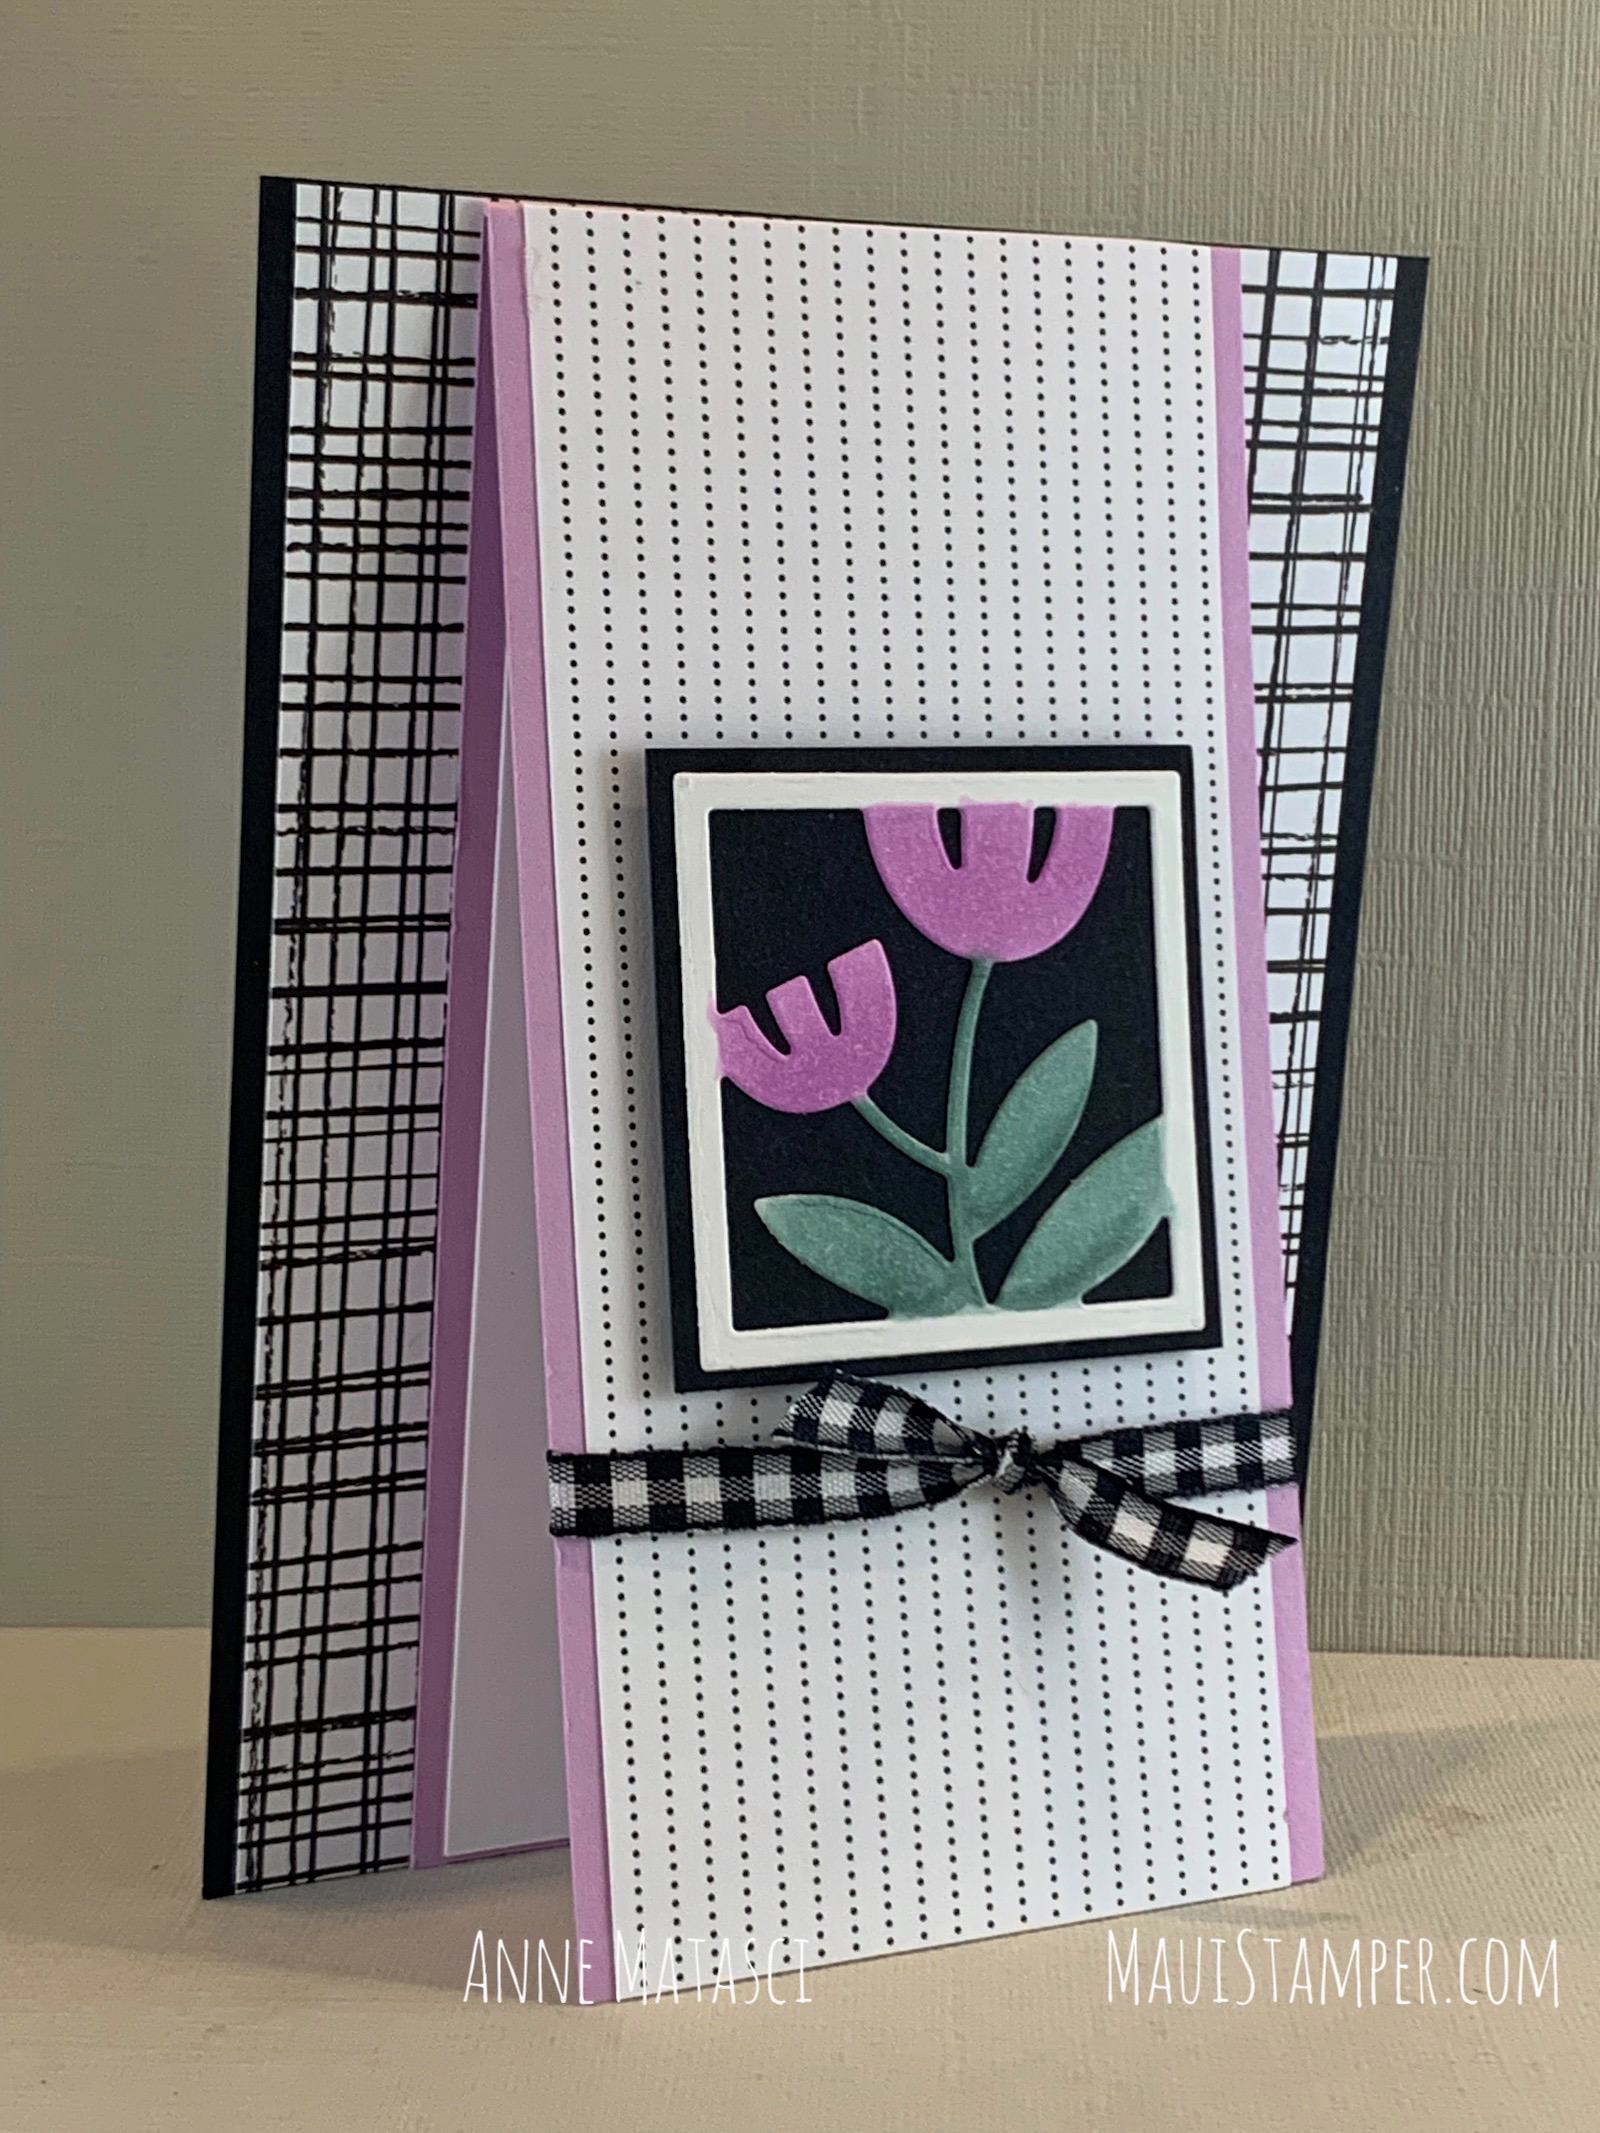
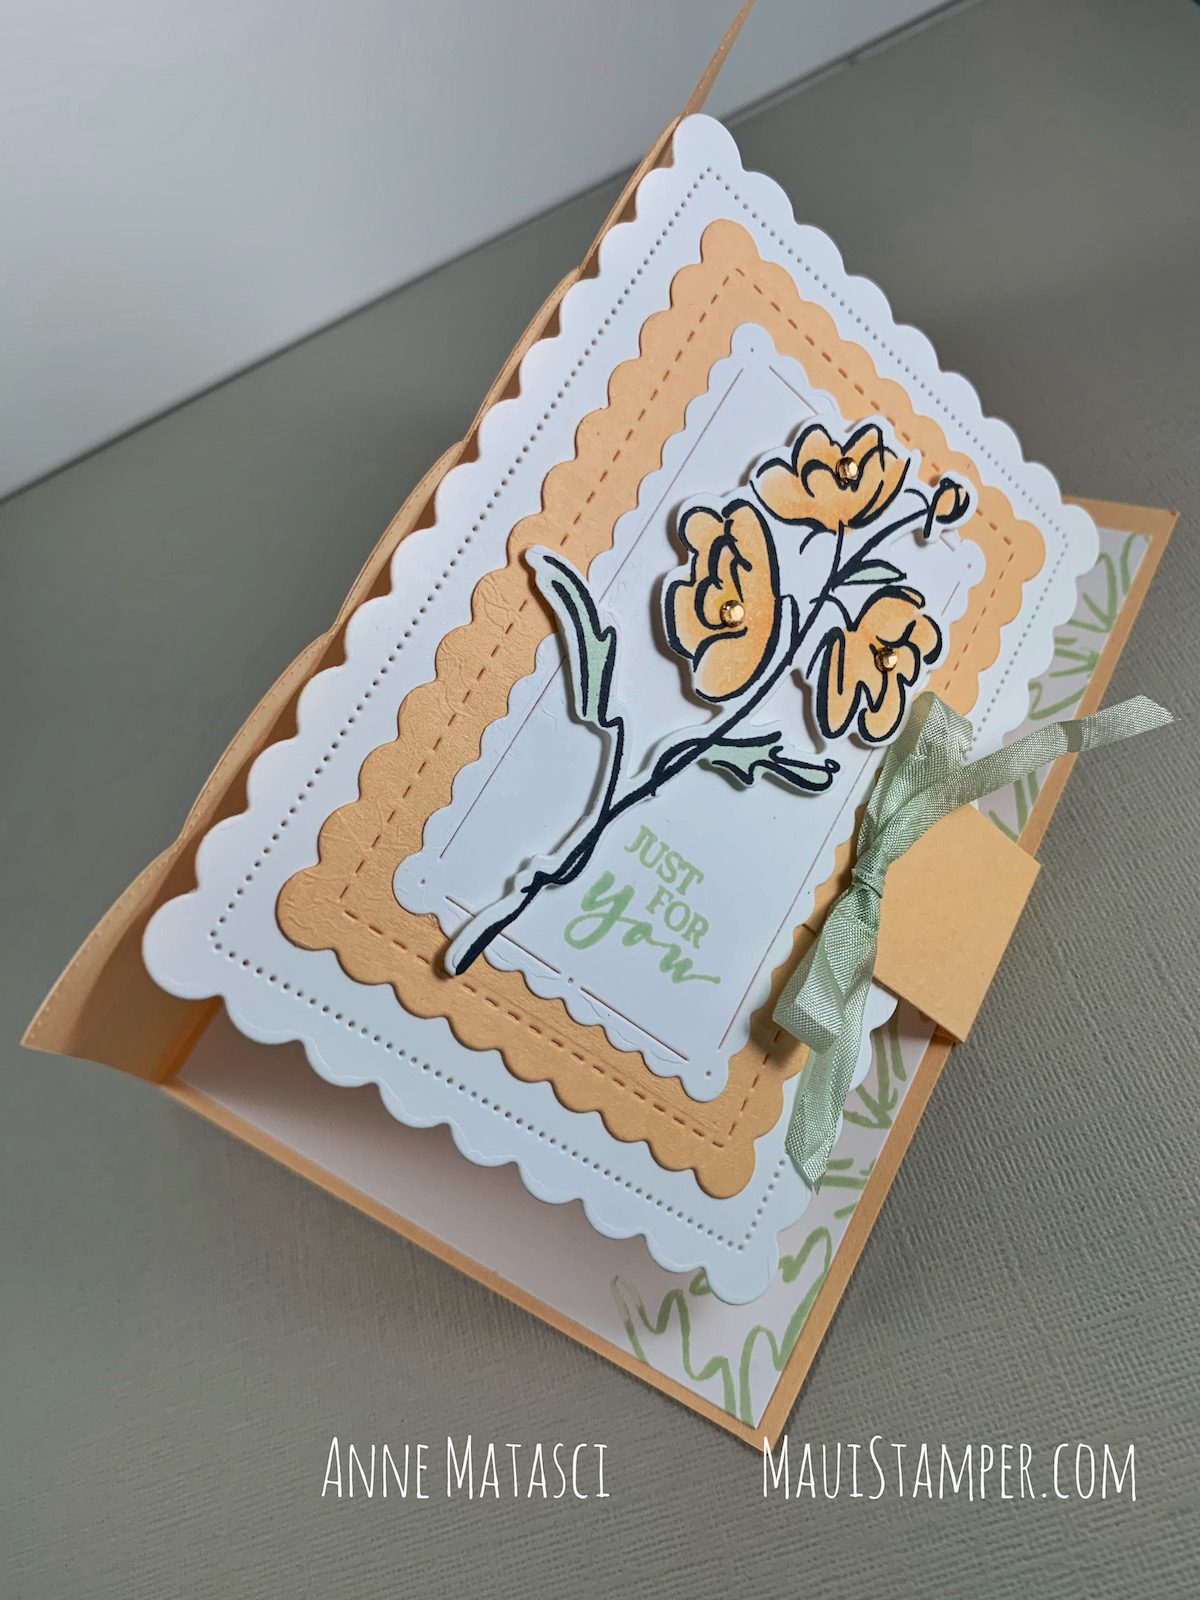
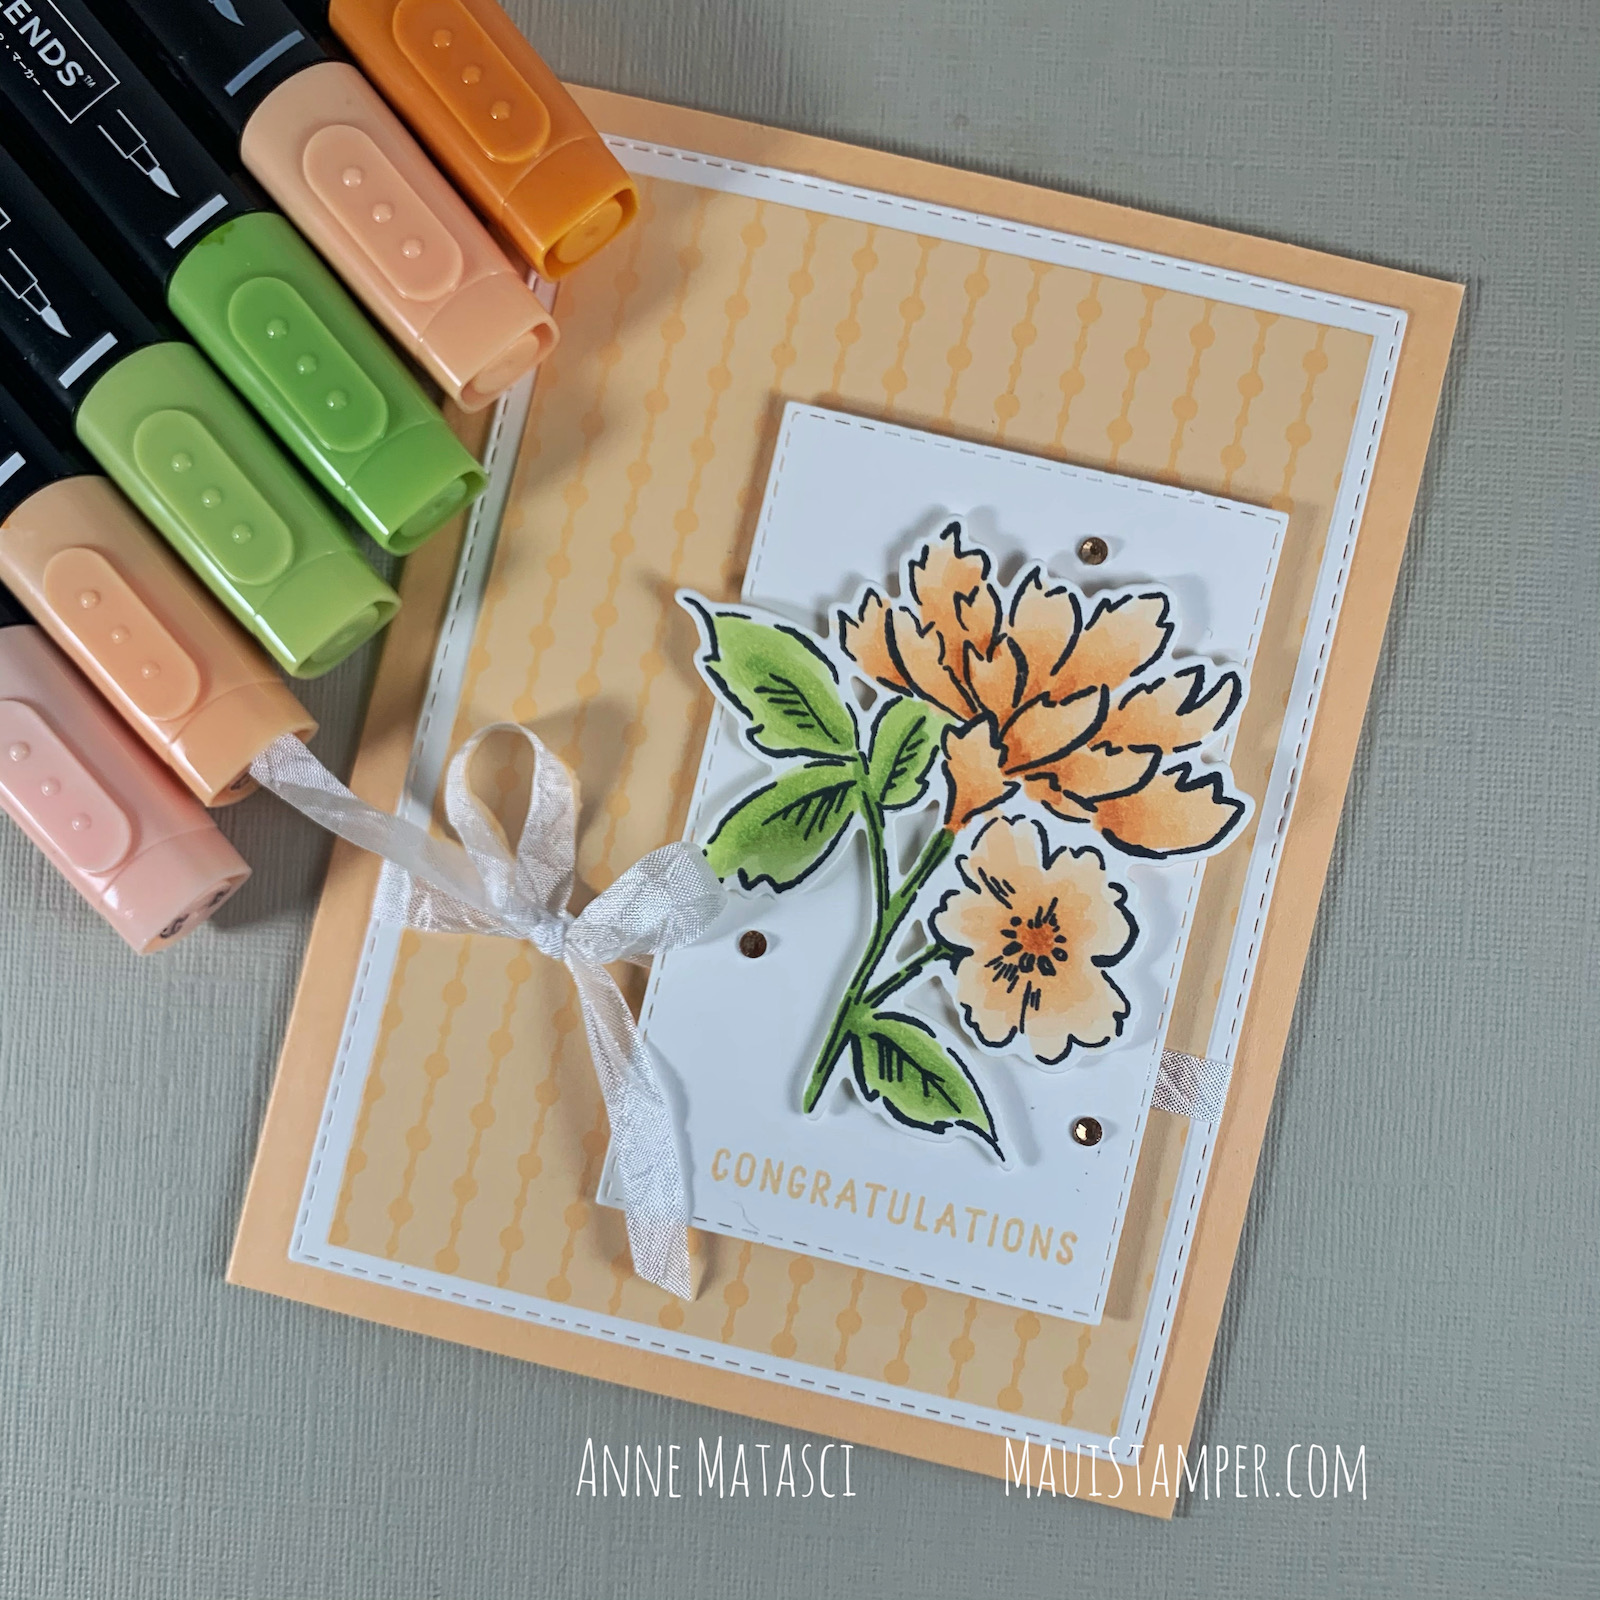
Cheryl, one of my Stampin’ BFFs, shared this fold with me. At the moment she did, I had Beauty of the Earth DSP on my craft desk and knew immediately what I wanted to do. I absolutely love the way these two designs work together, and I’m quite pleased with the end result:
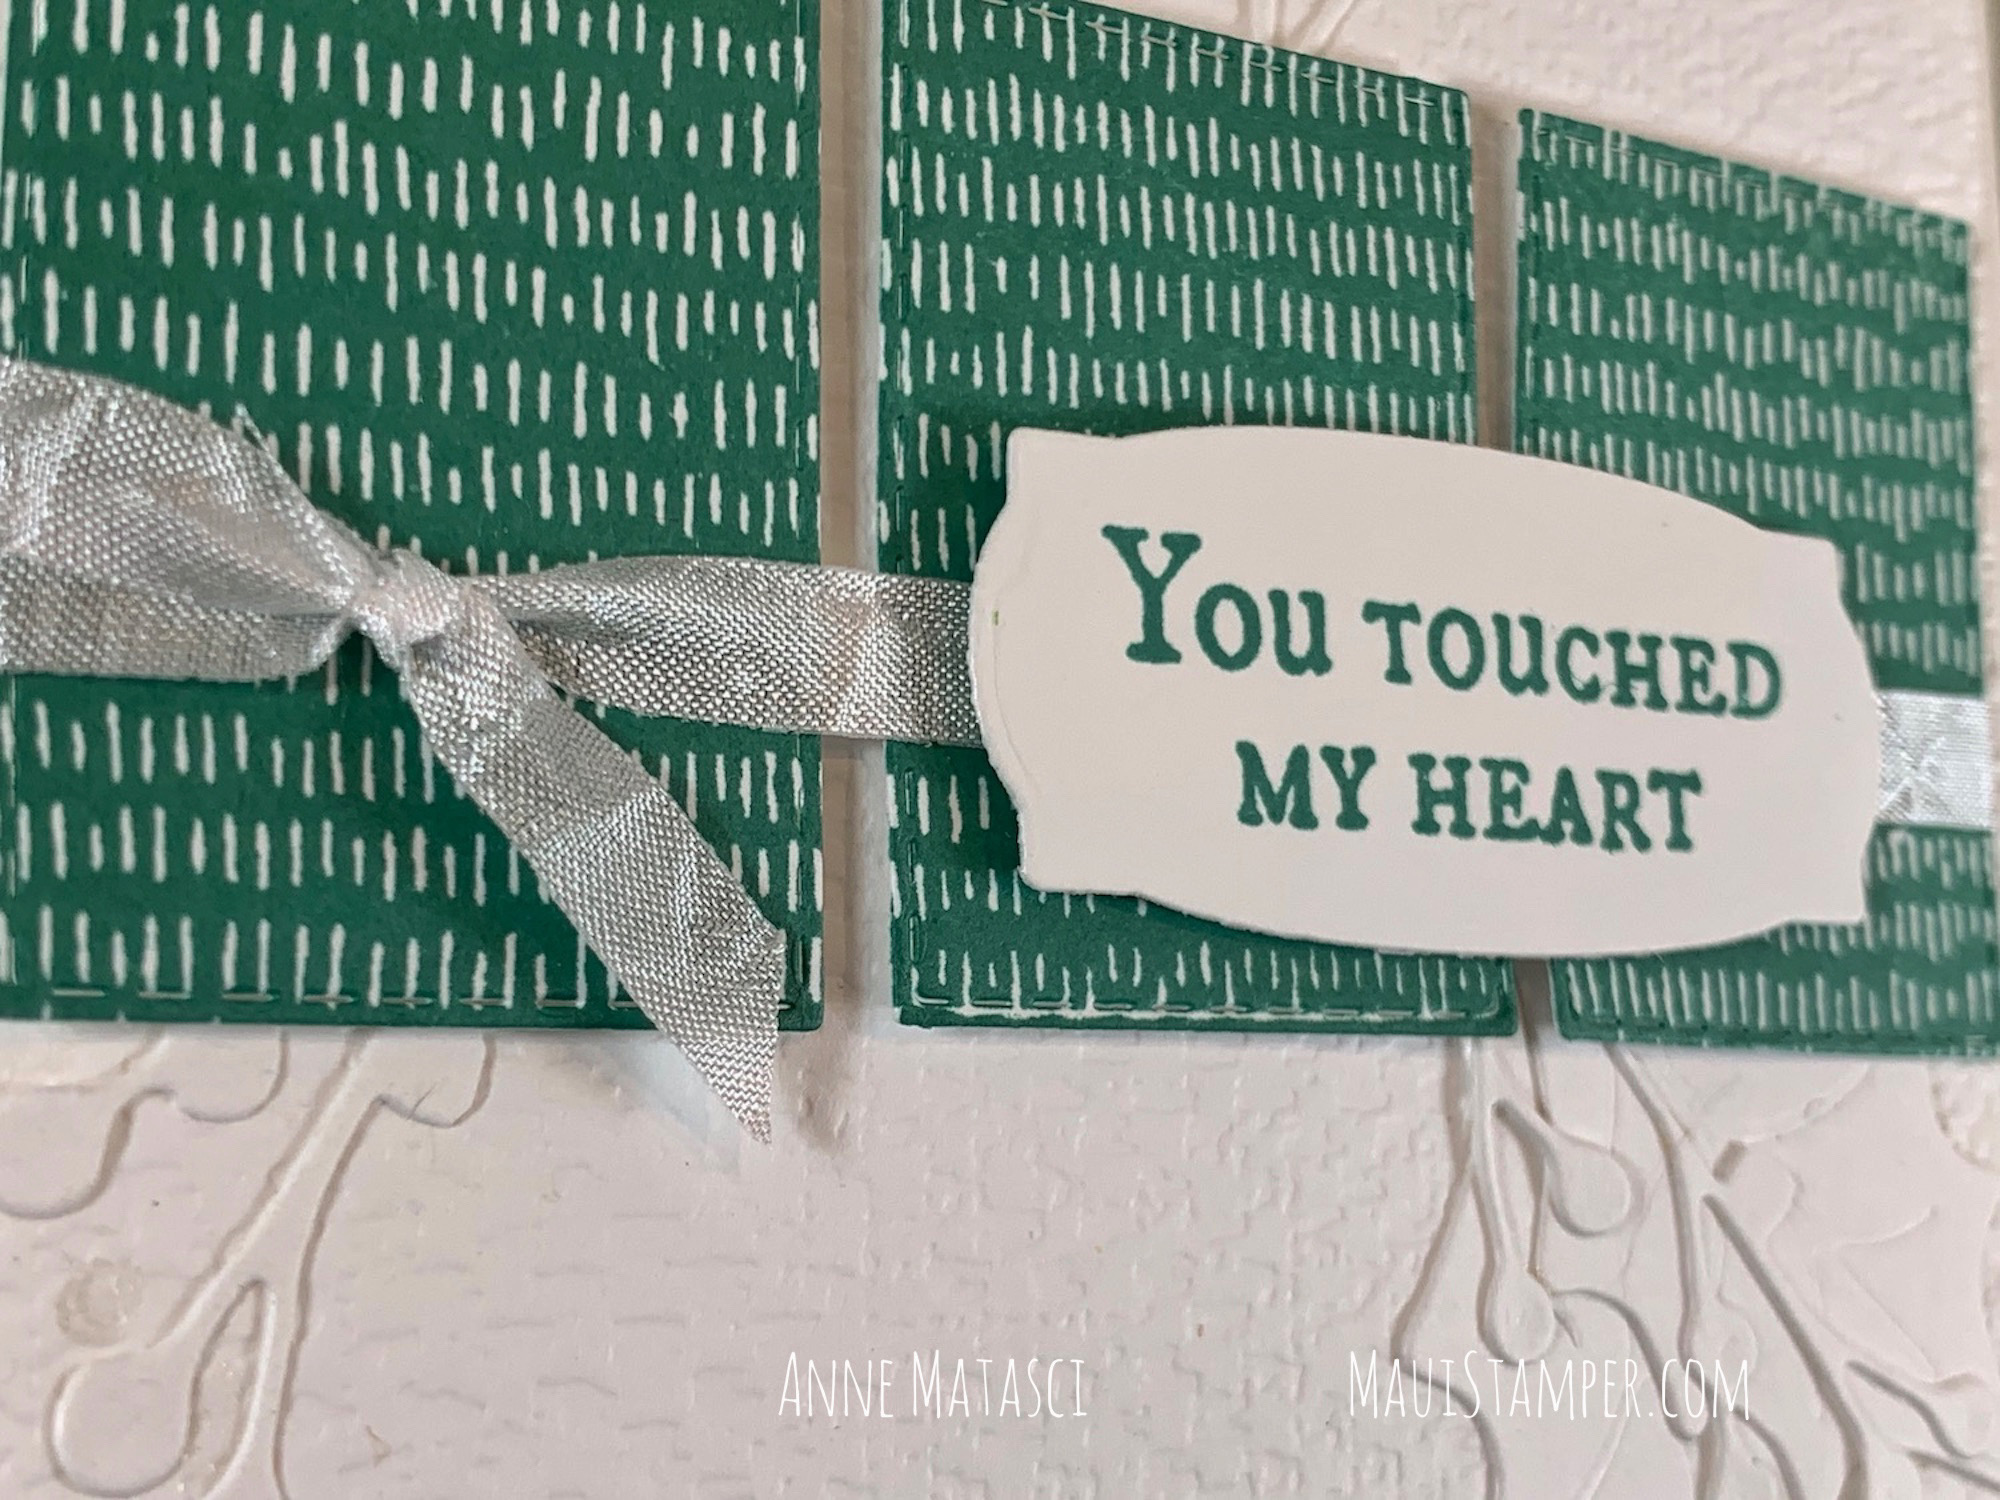
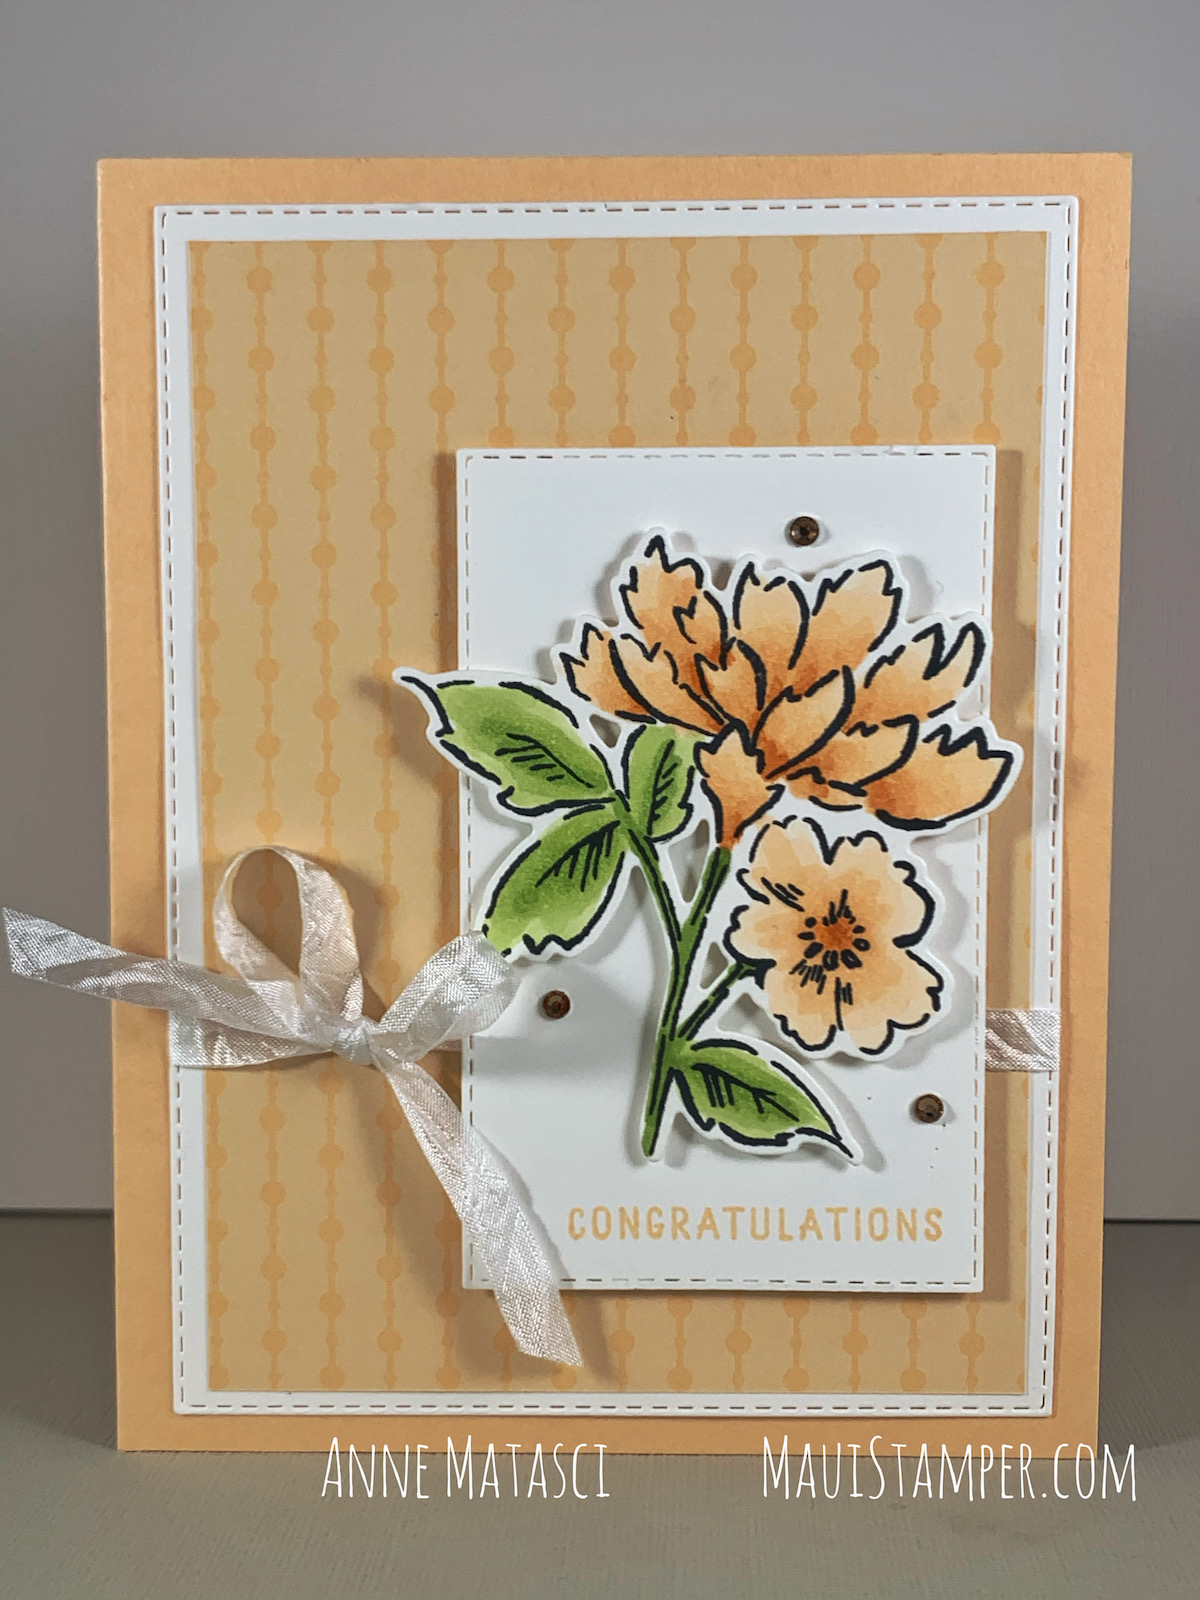
- Stamps: Peaceful Moments (my absolute fave sentiment set!), Forever Fern
- Color Palette: Basic White, Crushed Curry, Mossy Meadow
- Accessories: Big Boss, Painted Labels dies, Stitched So Sweetly dies, Beauty of the Earth Designer Series Paper, Champagne Jewels, Stampin’ Dimensionals
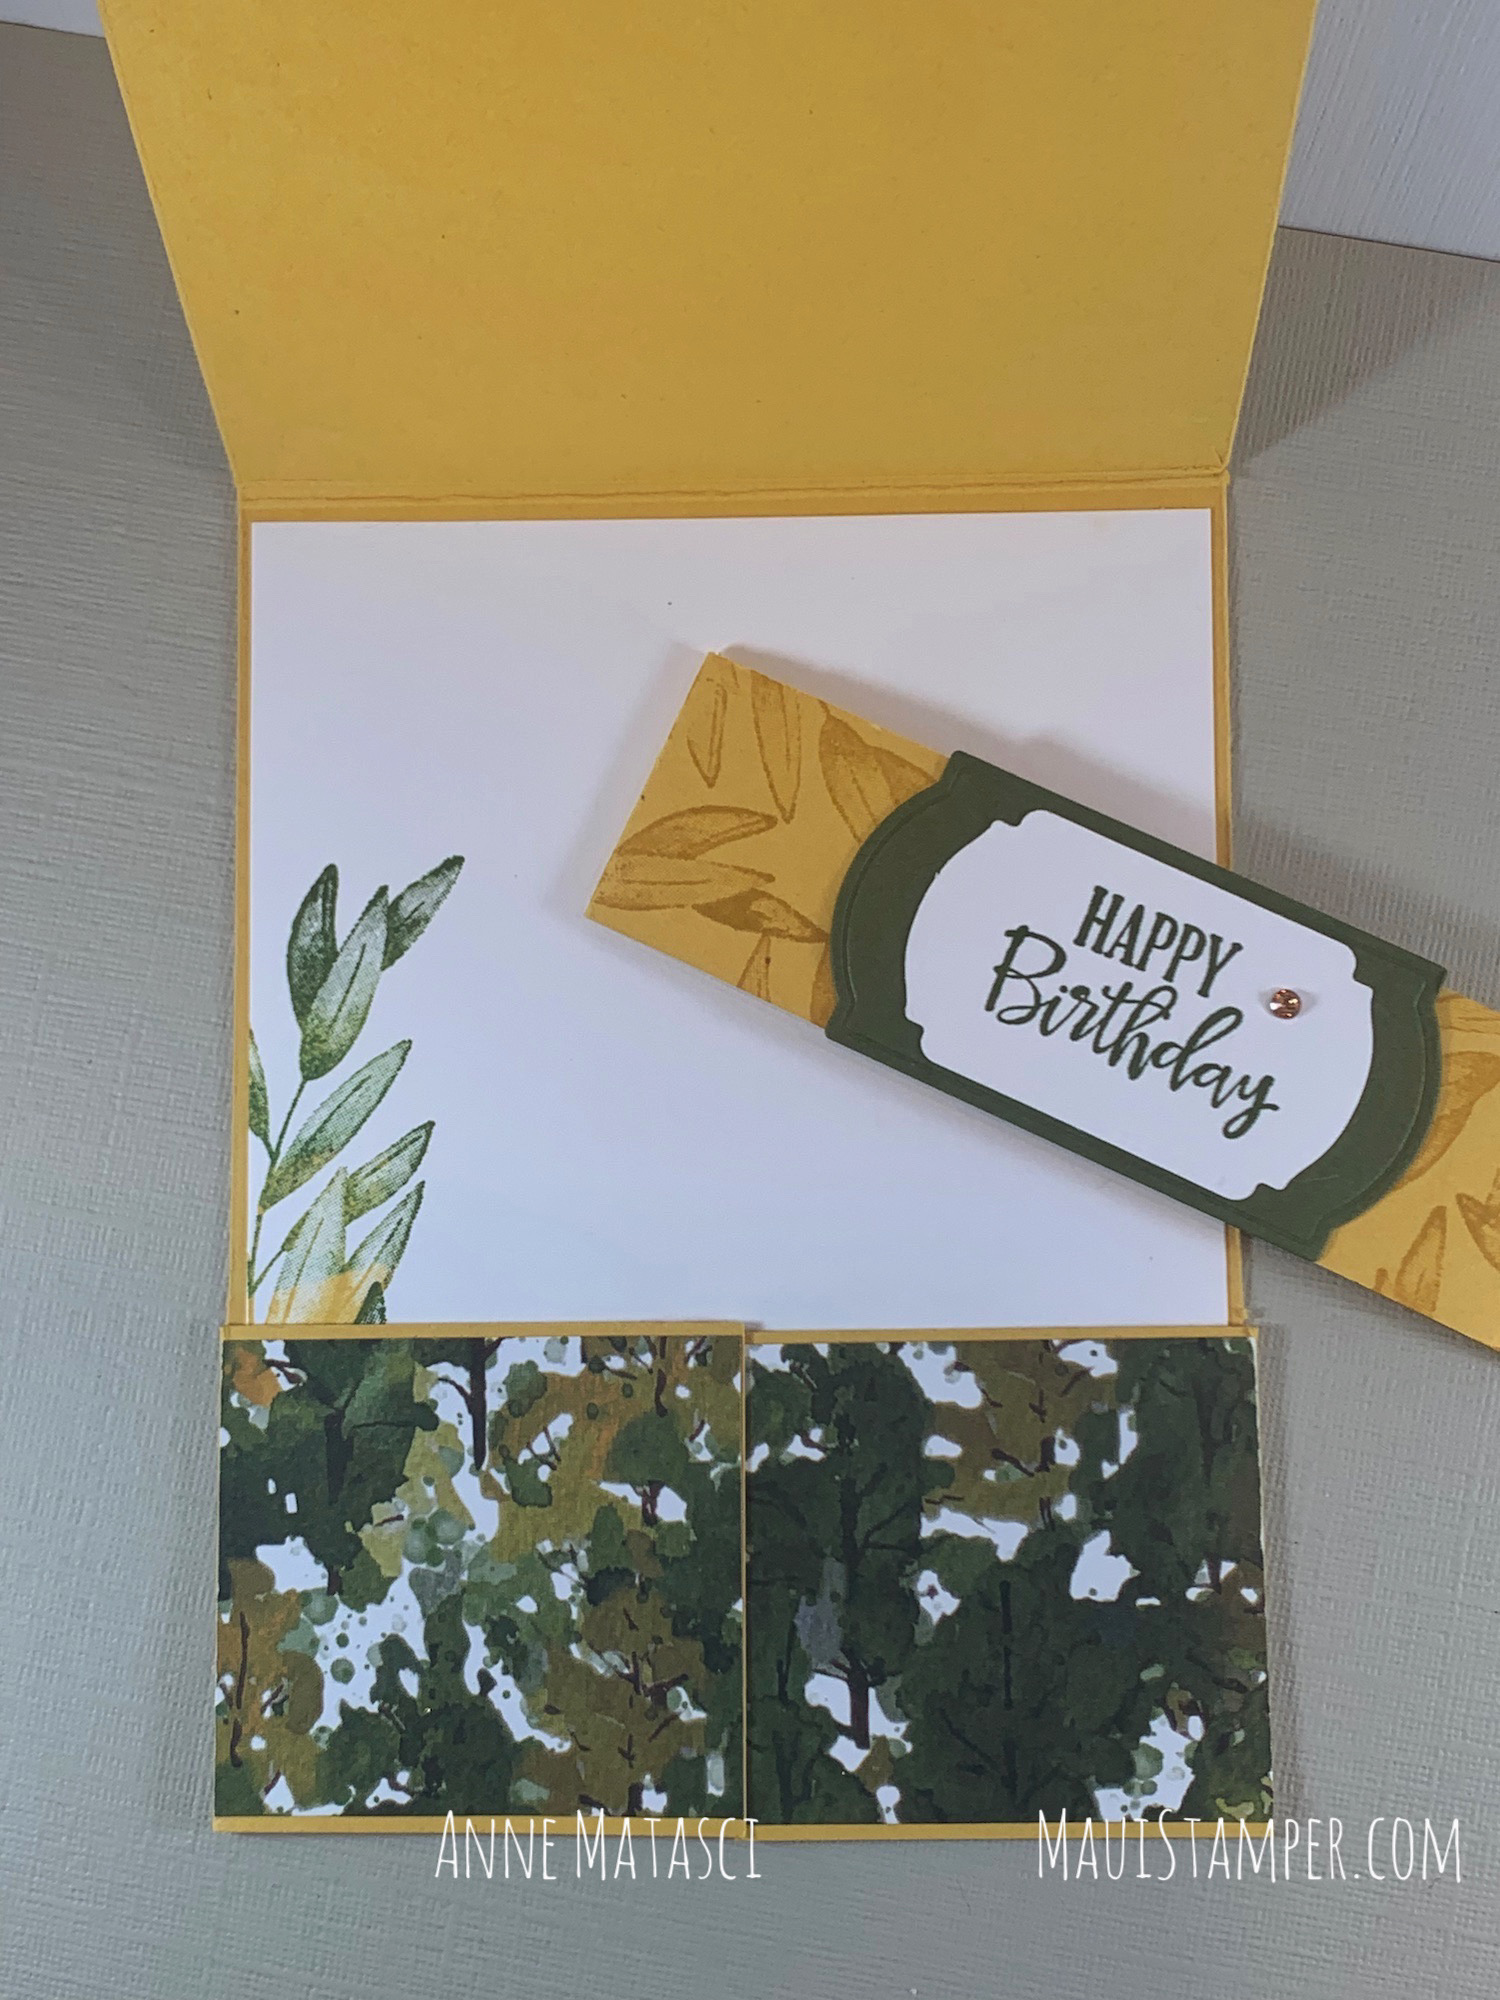
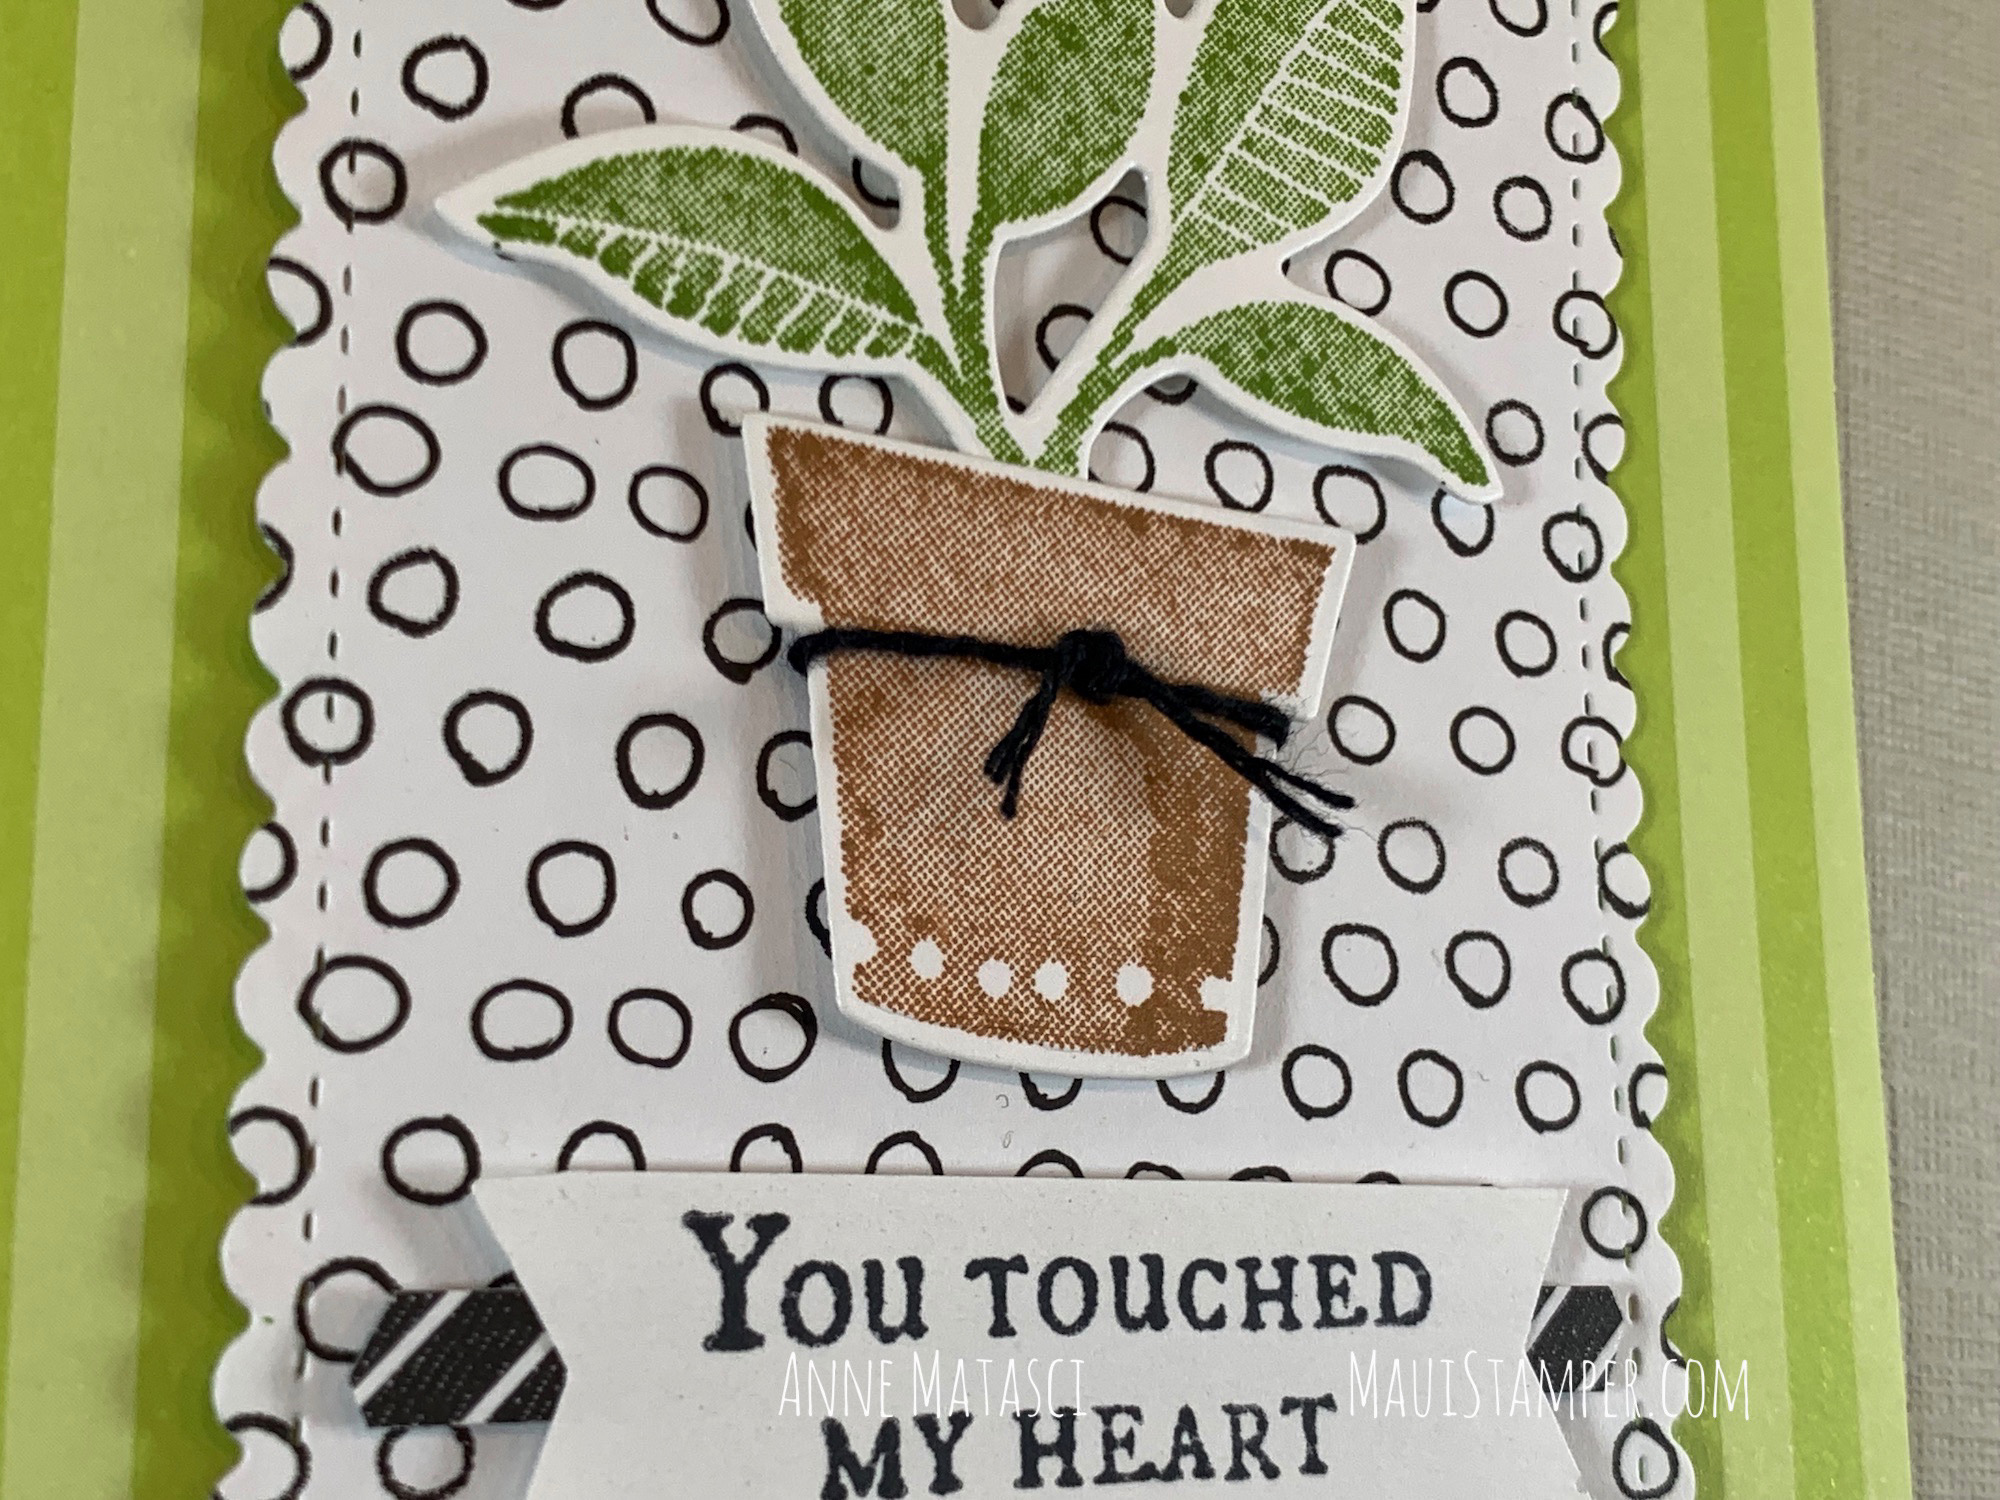
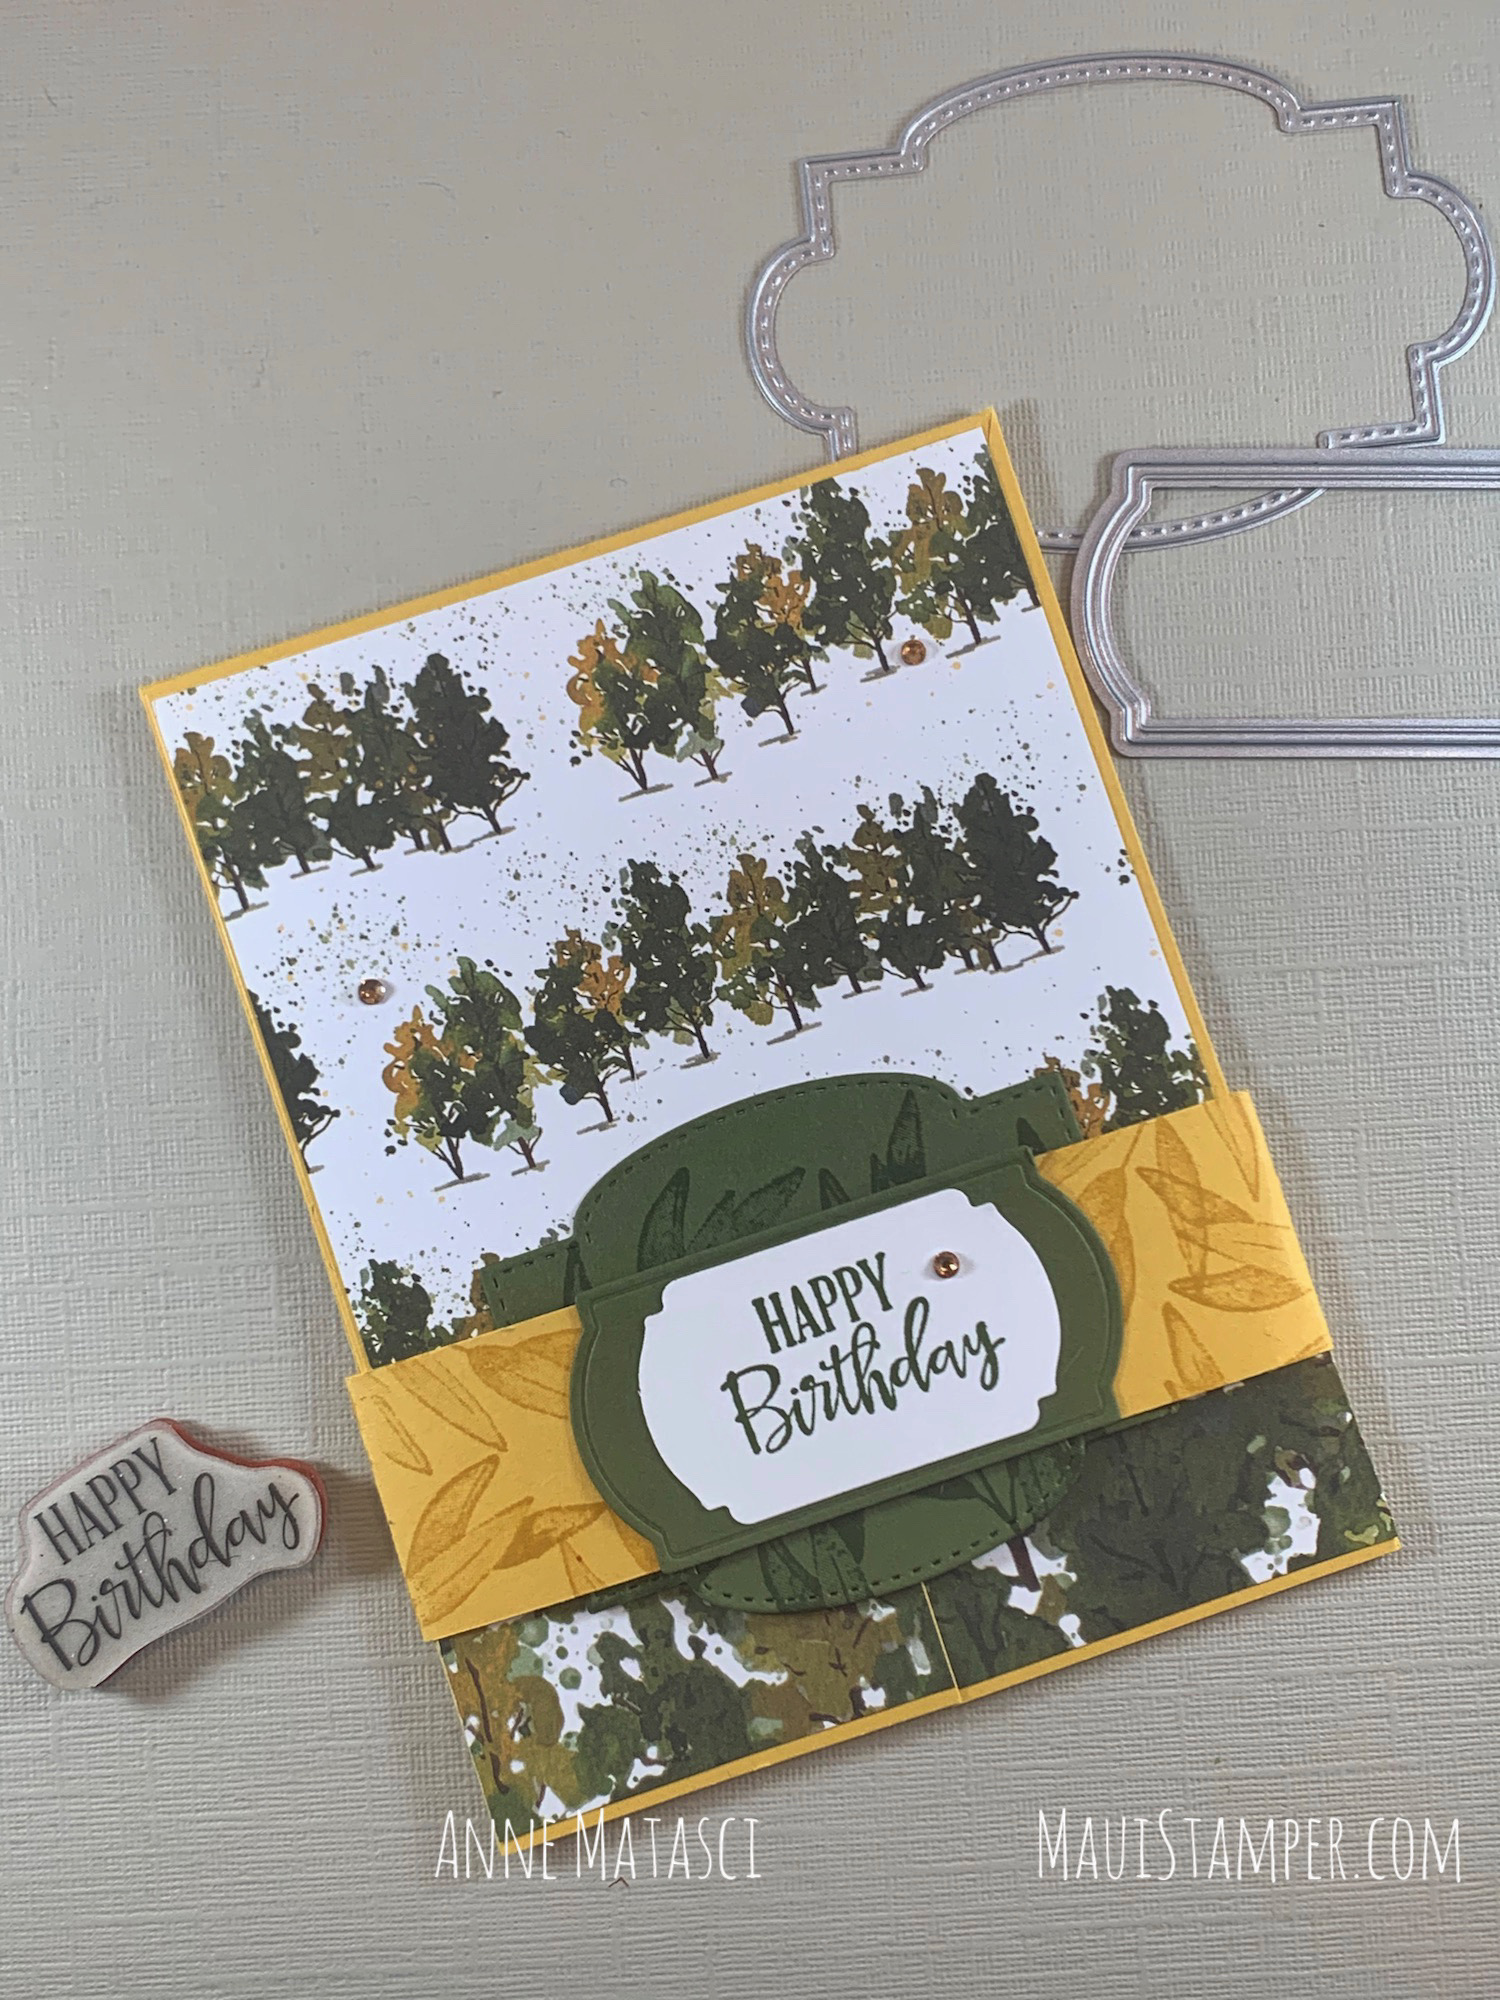
This is a design called Double Dutch Door. It’s very simple, but the cutting takes a little time and precision. When you remove the belly band, the top panel opens upward, and there are 2 mini panels at the bottom that open out to the sides.

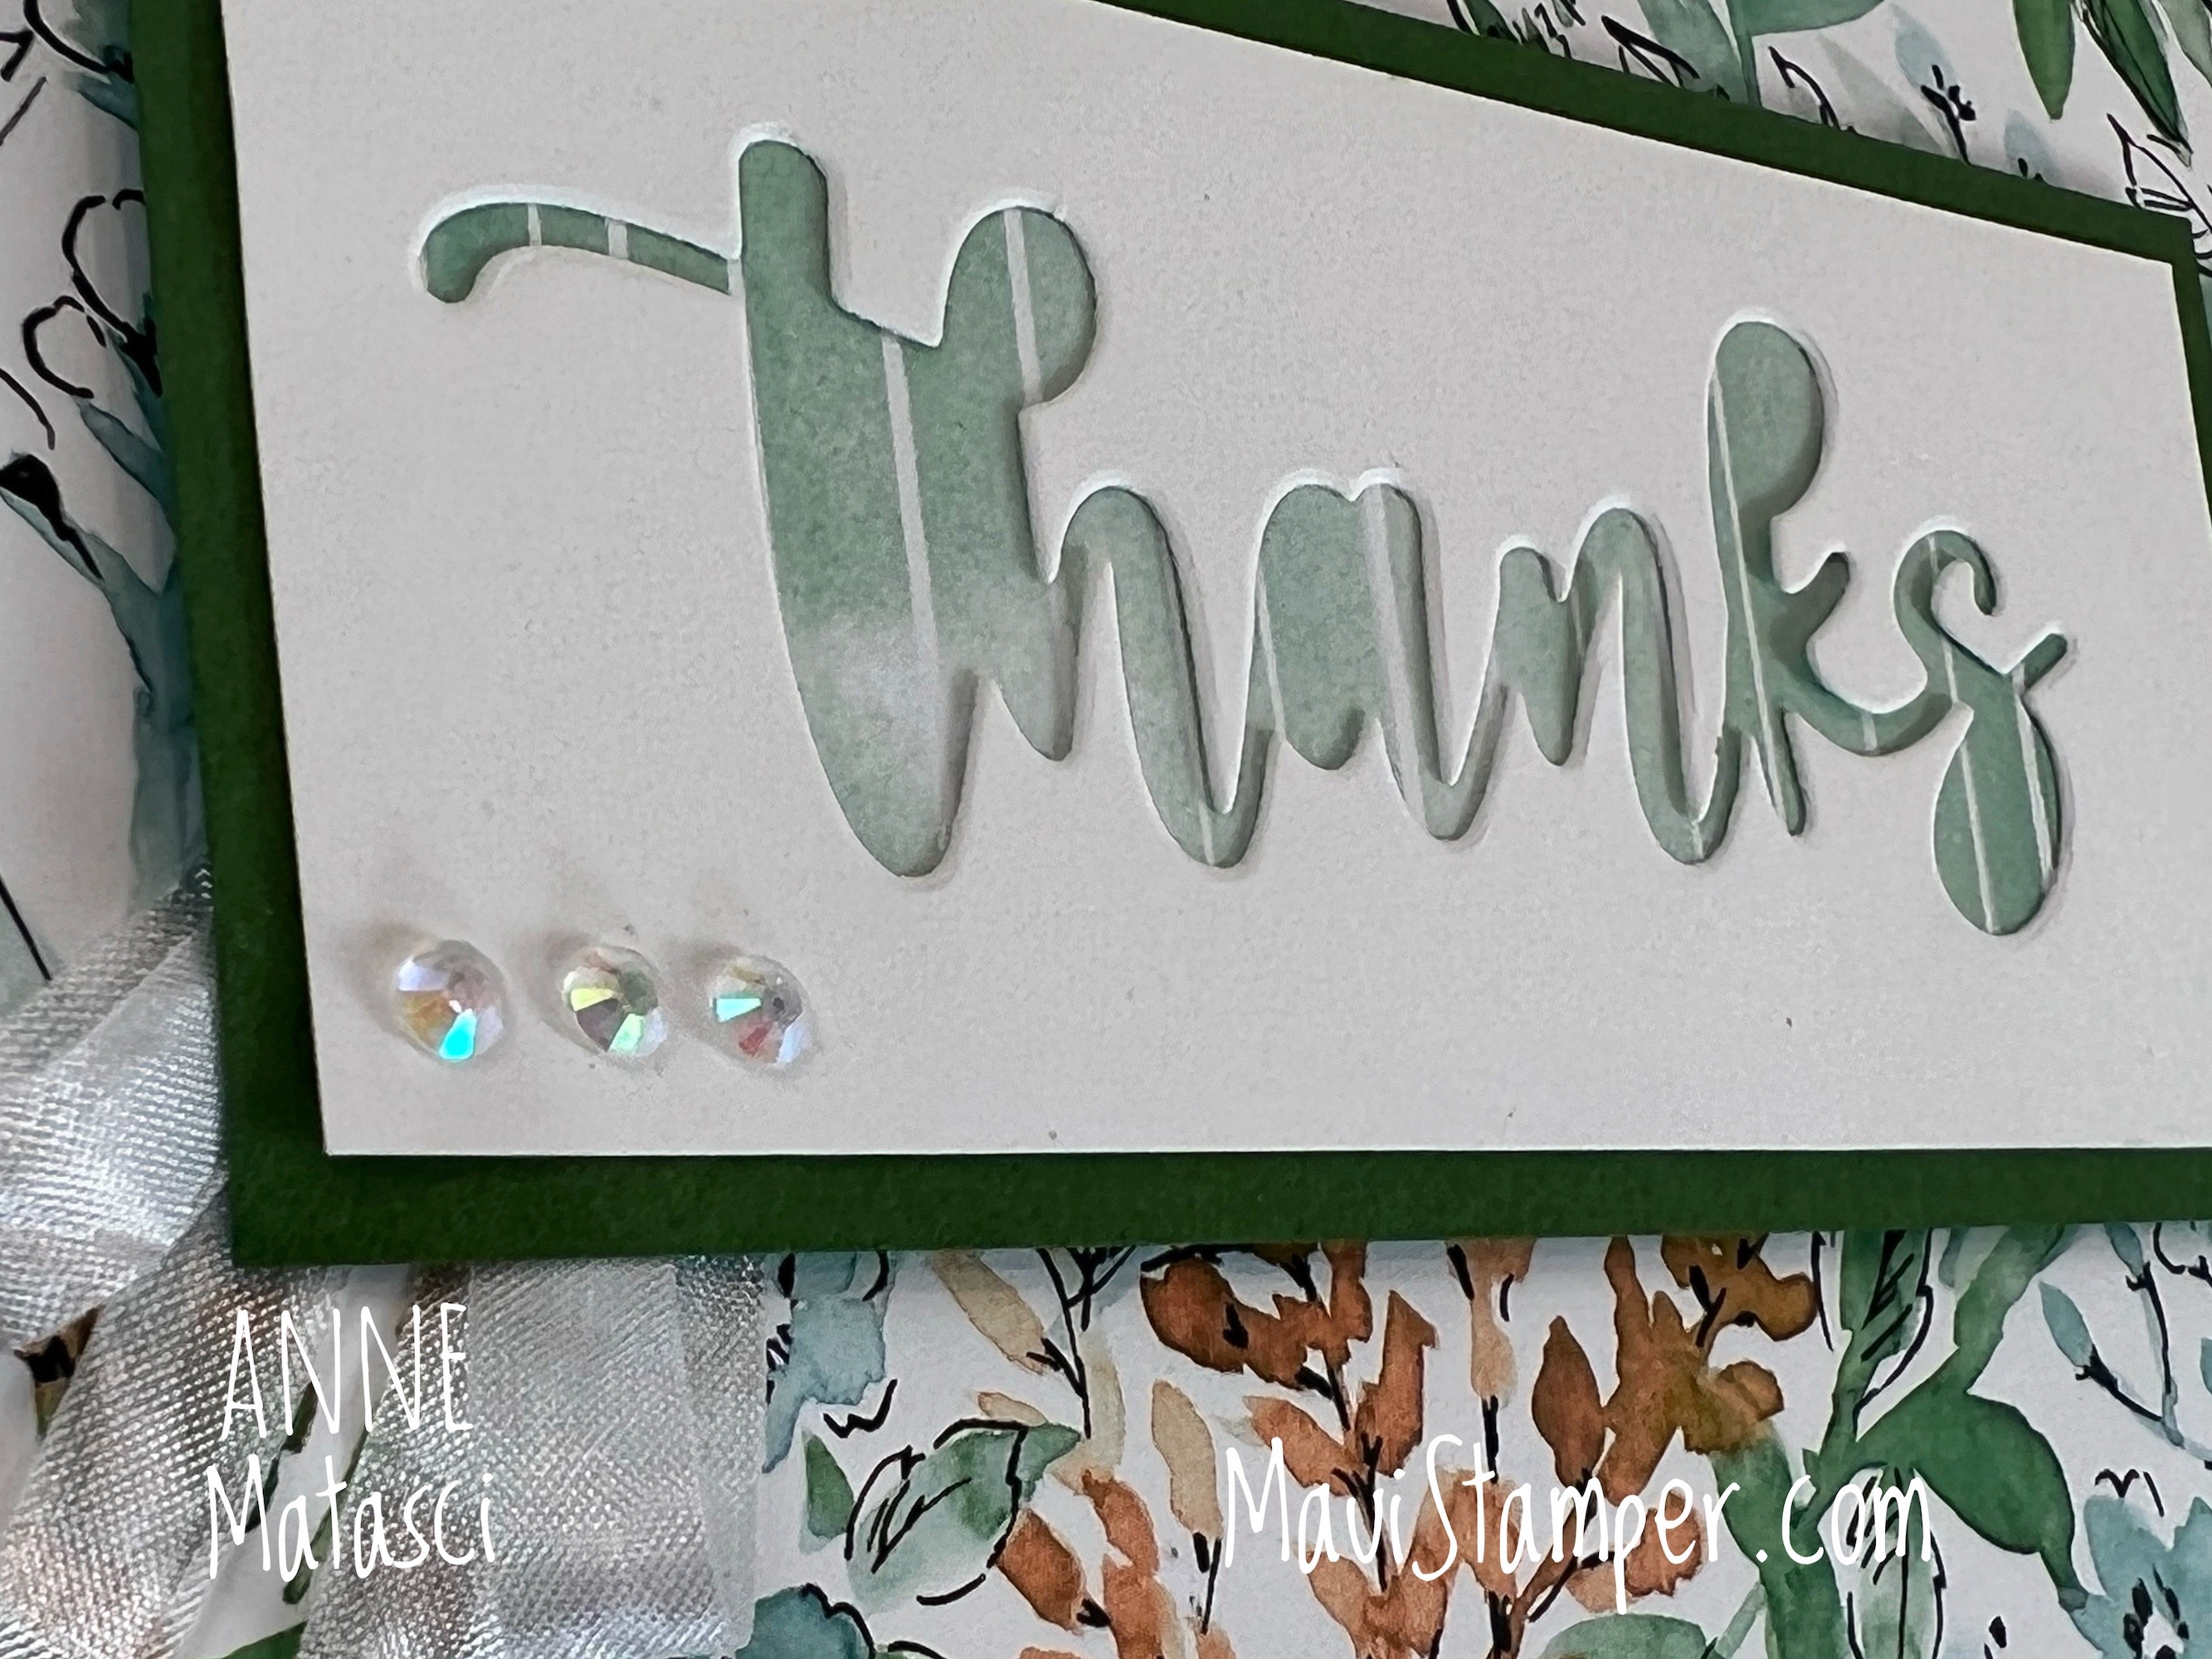
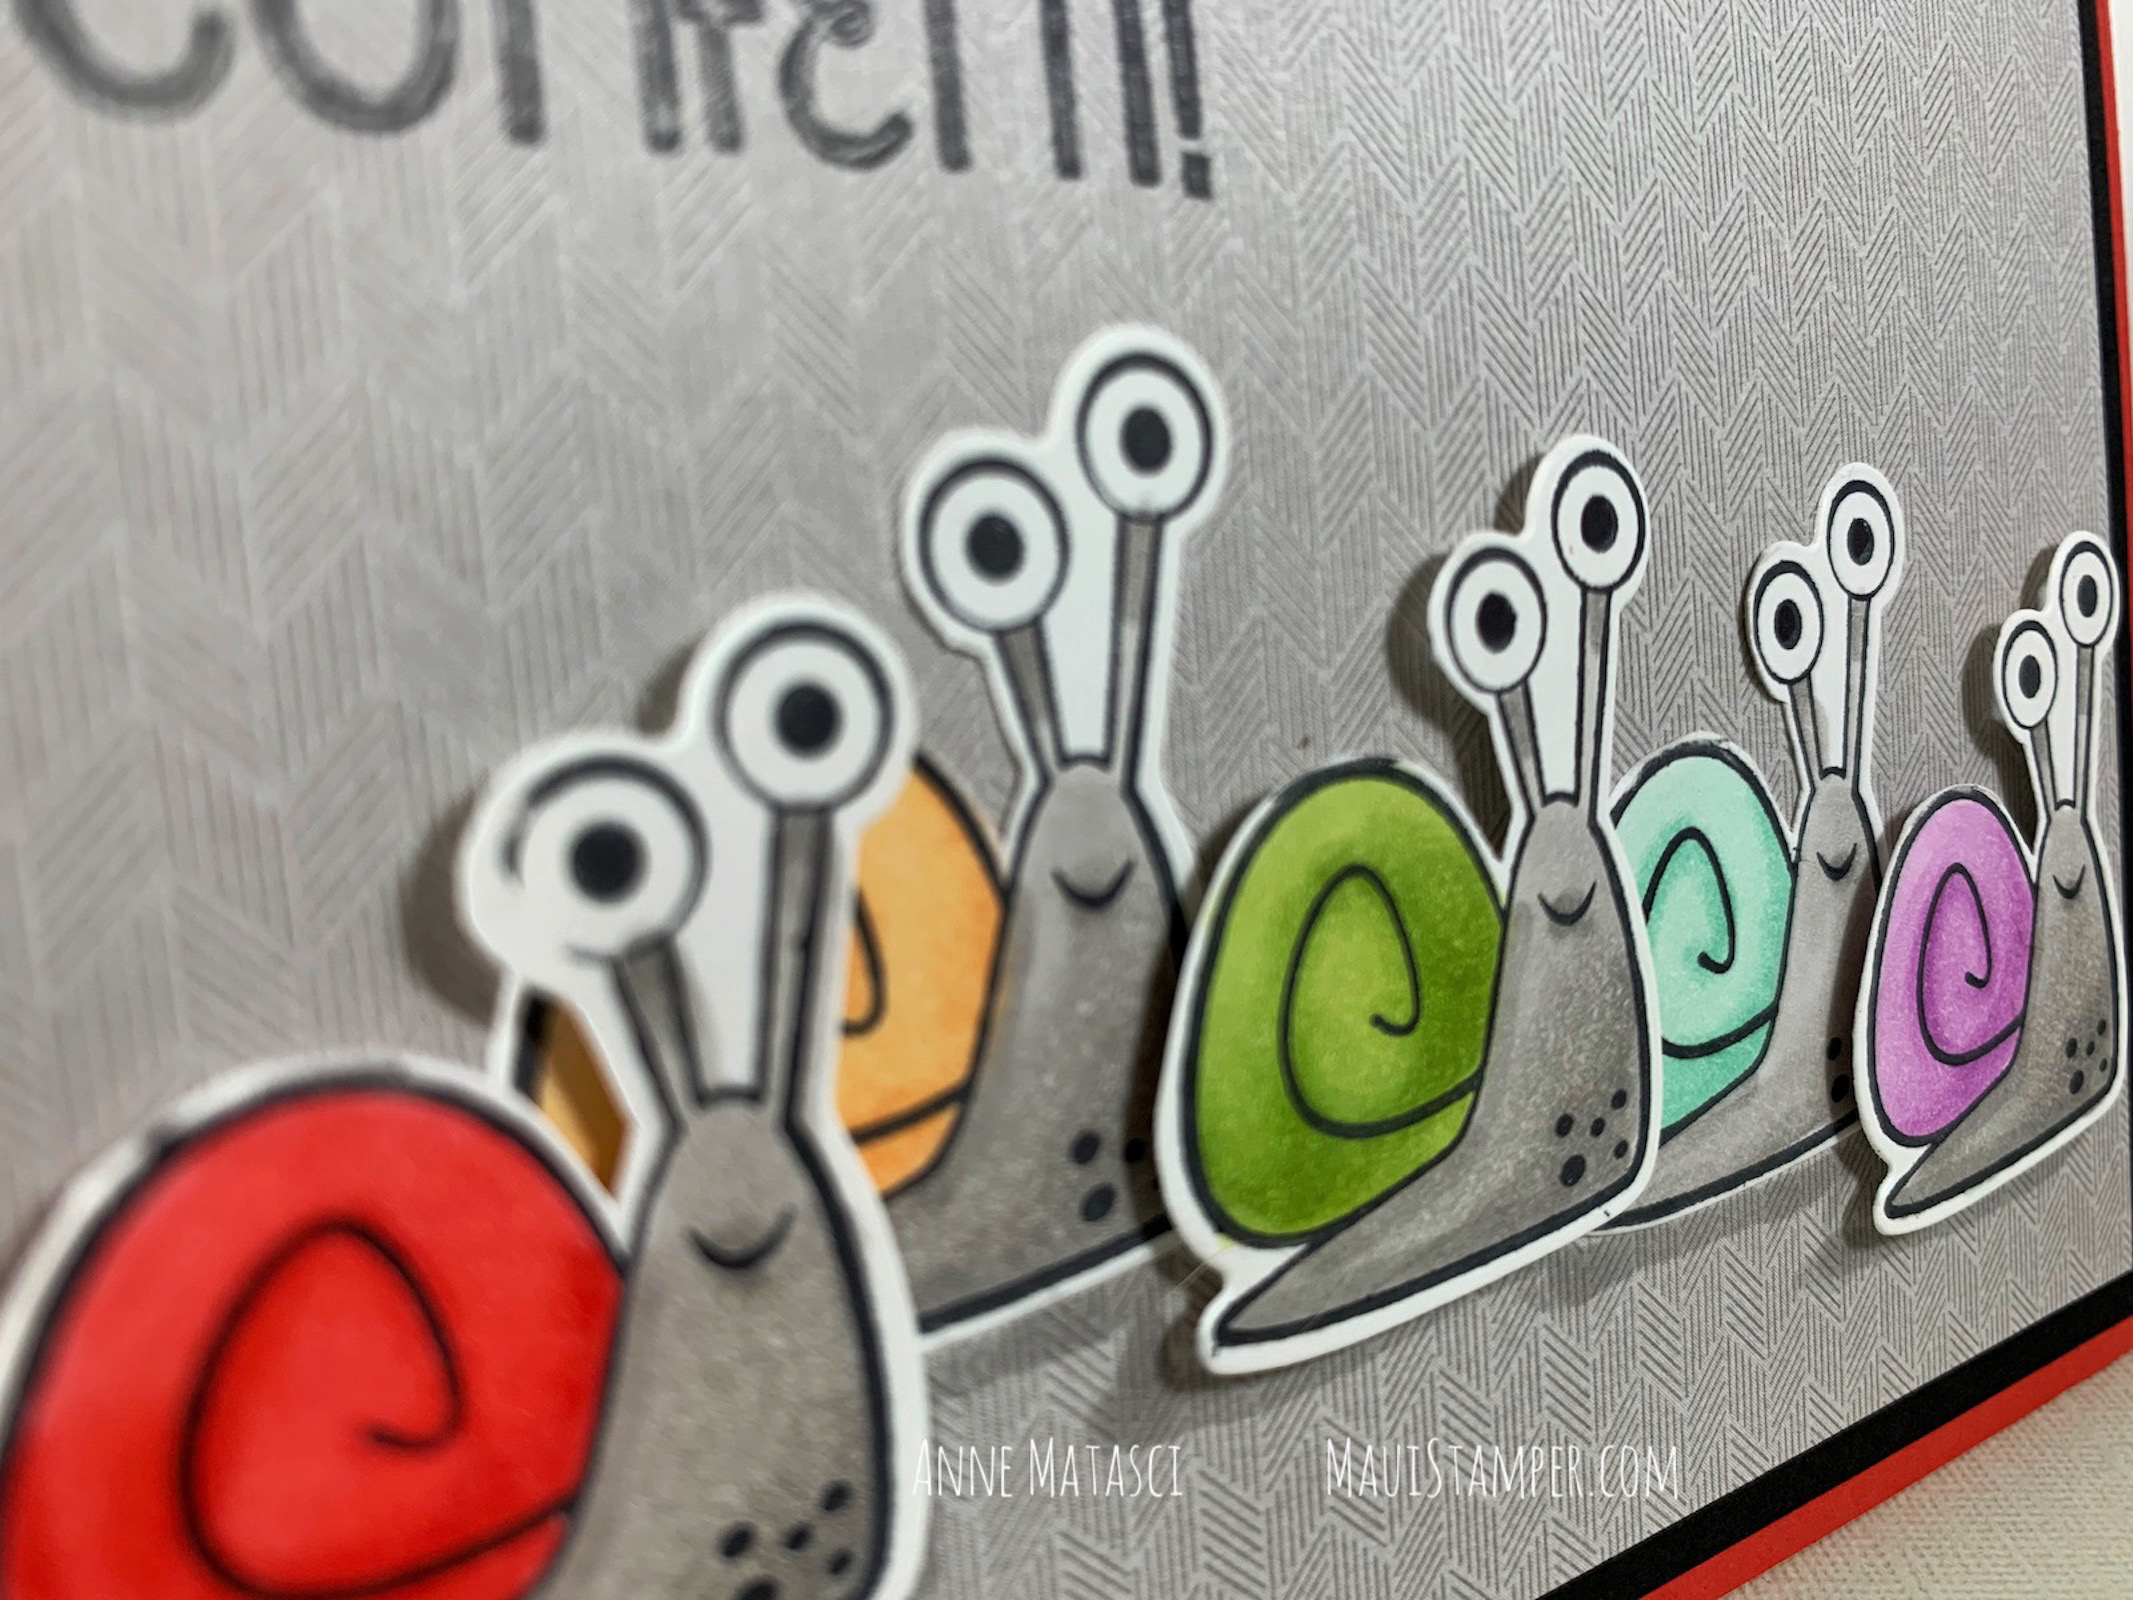
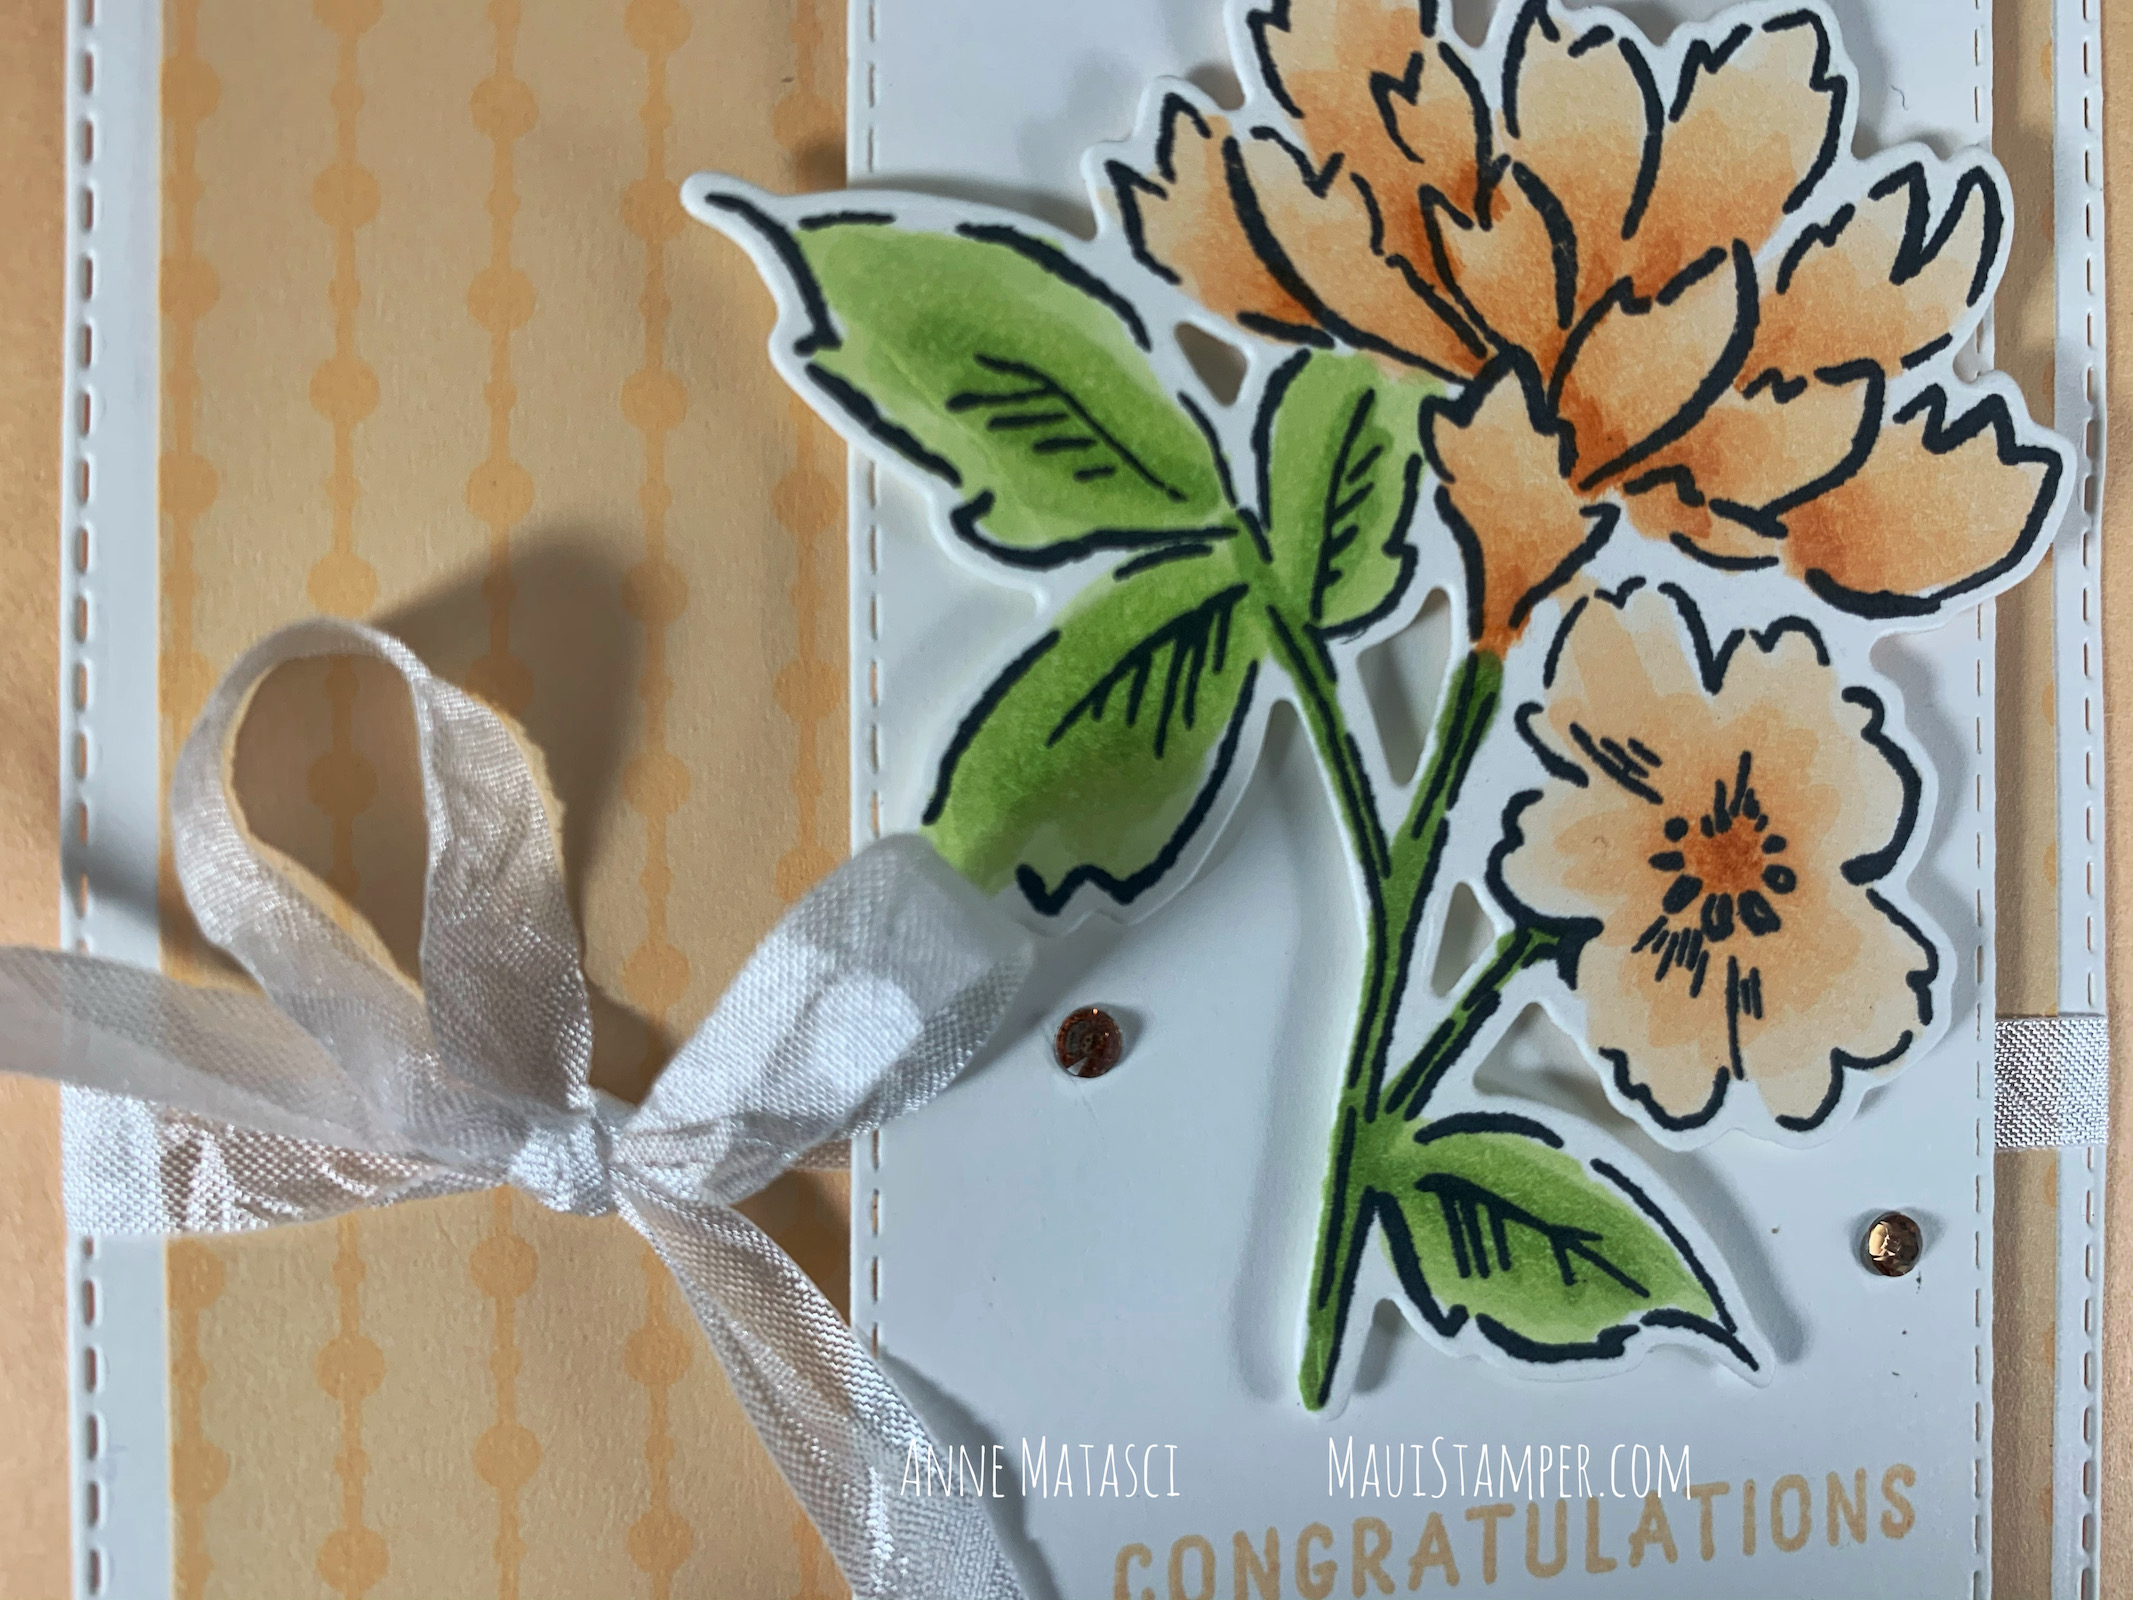
You can customize this one to your heart’s delight! I used both Mossy Meadow and Crushed Curry ink on the Forever Fern images – I just dunked the bottom half in one color and the top half in the other. You could call that a specific technique, or you could just call it lazy 😁

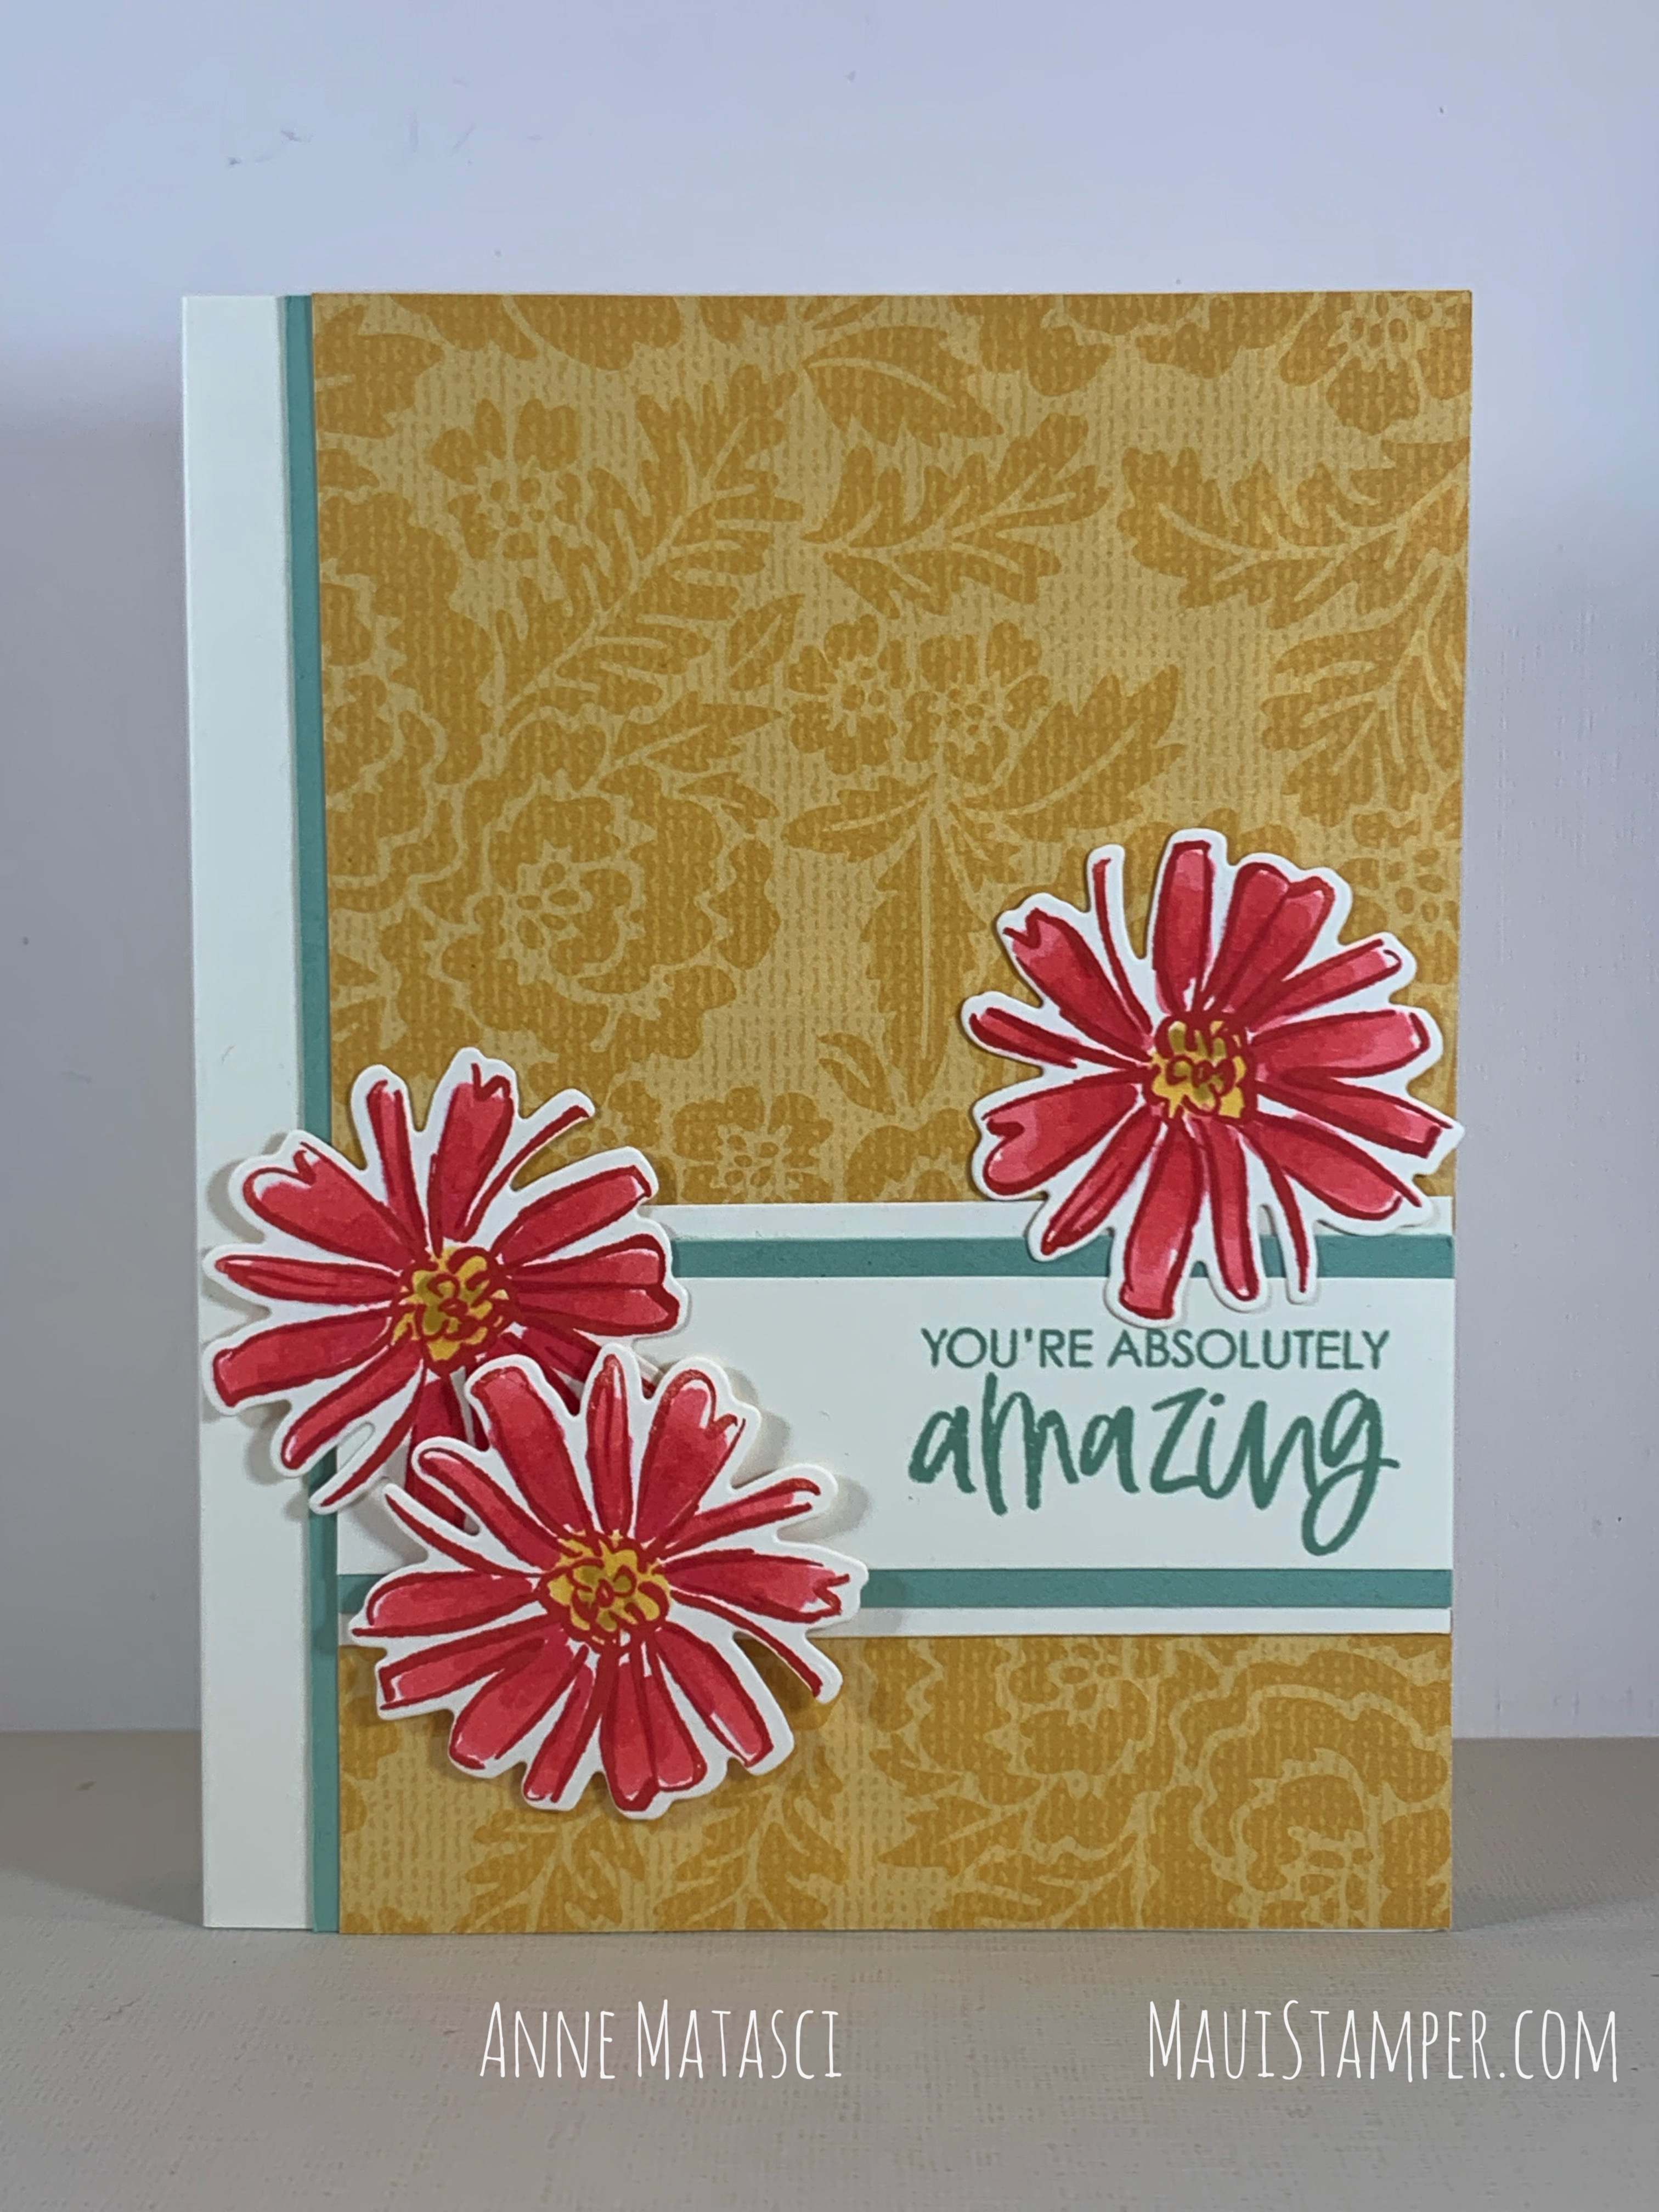
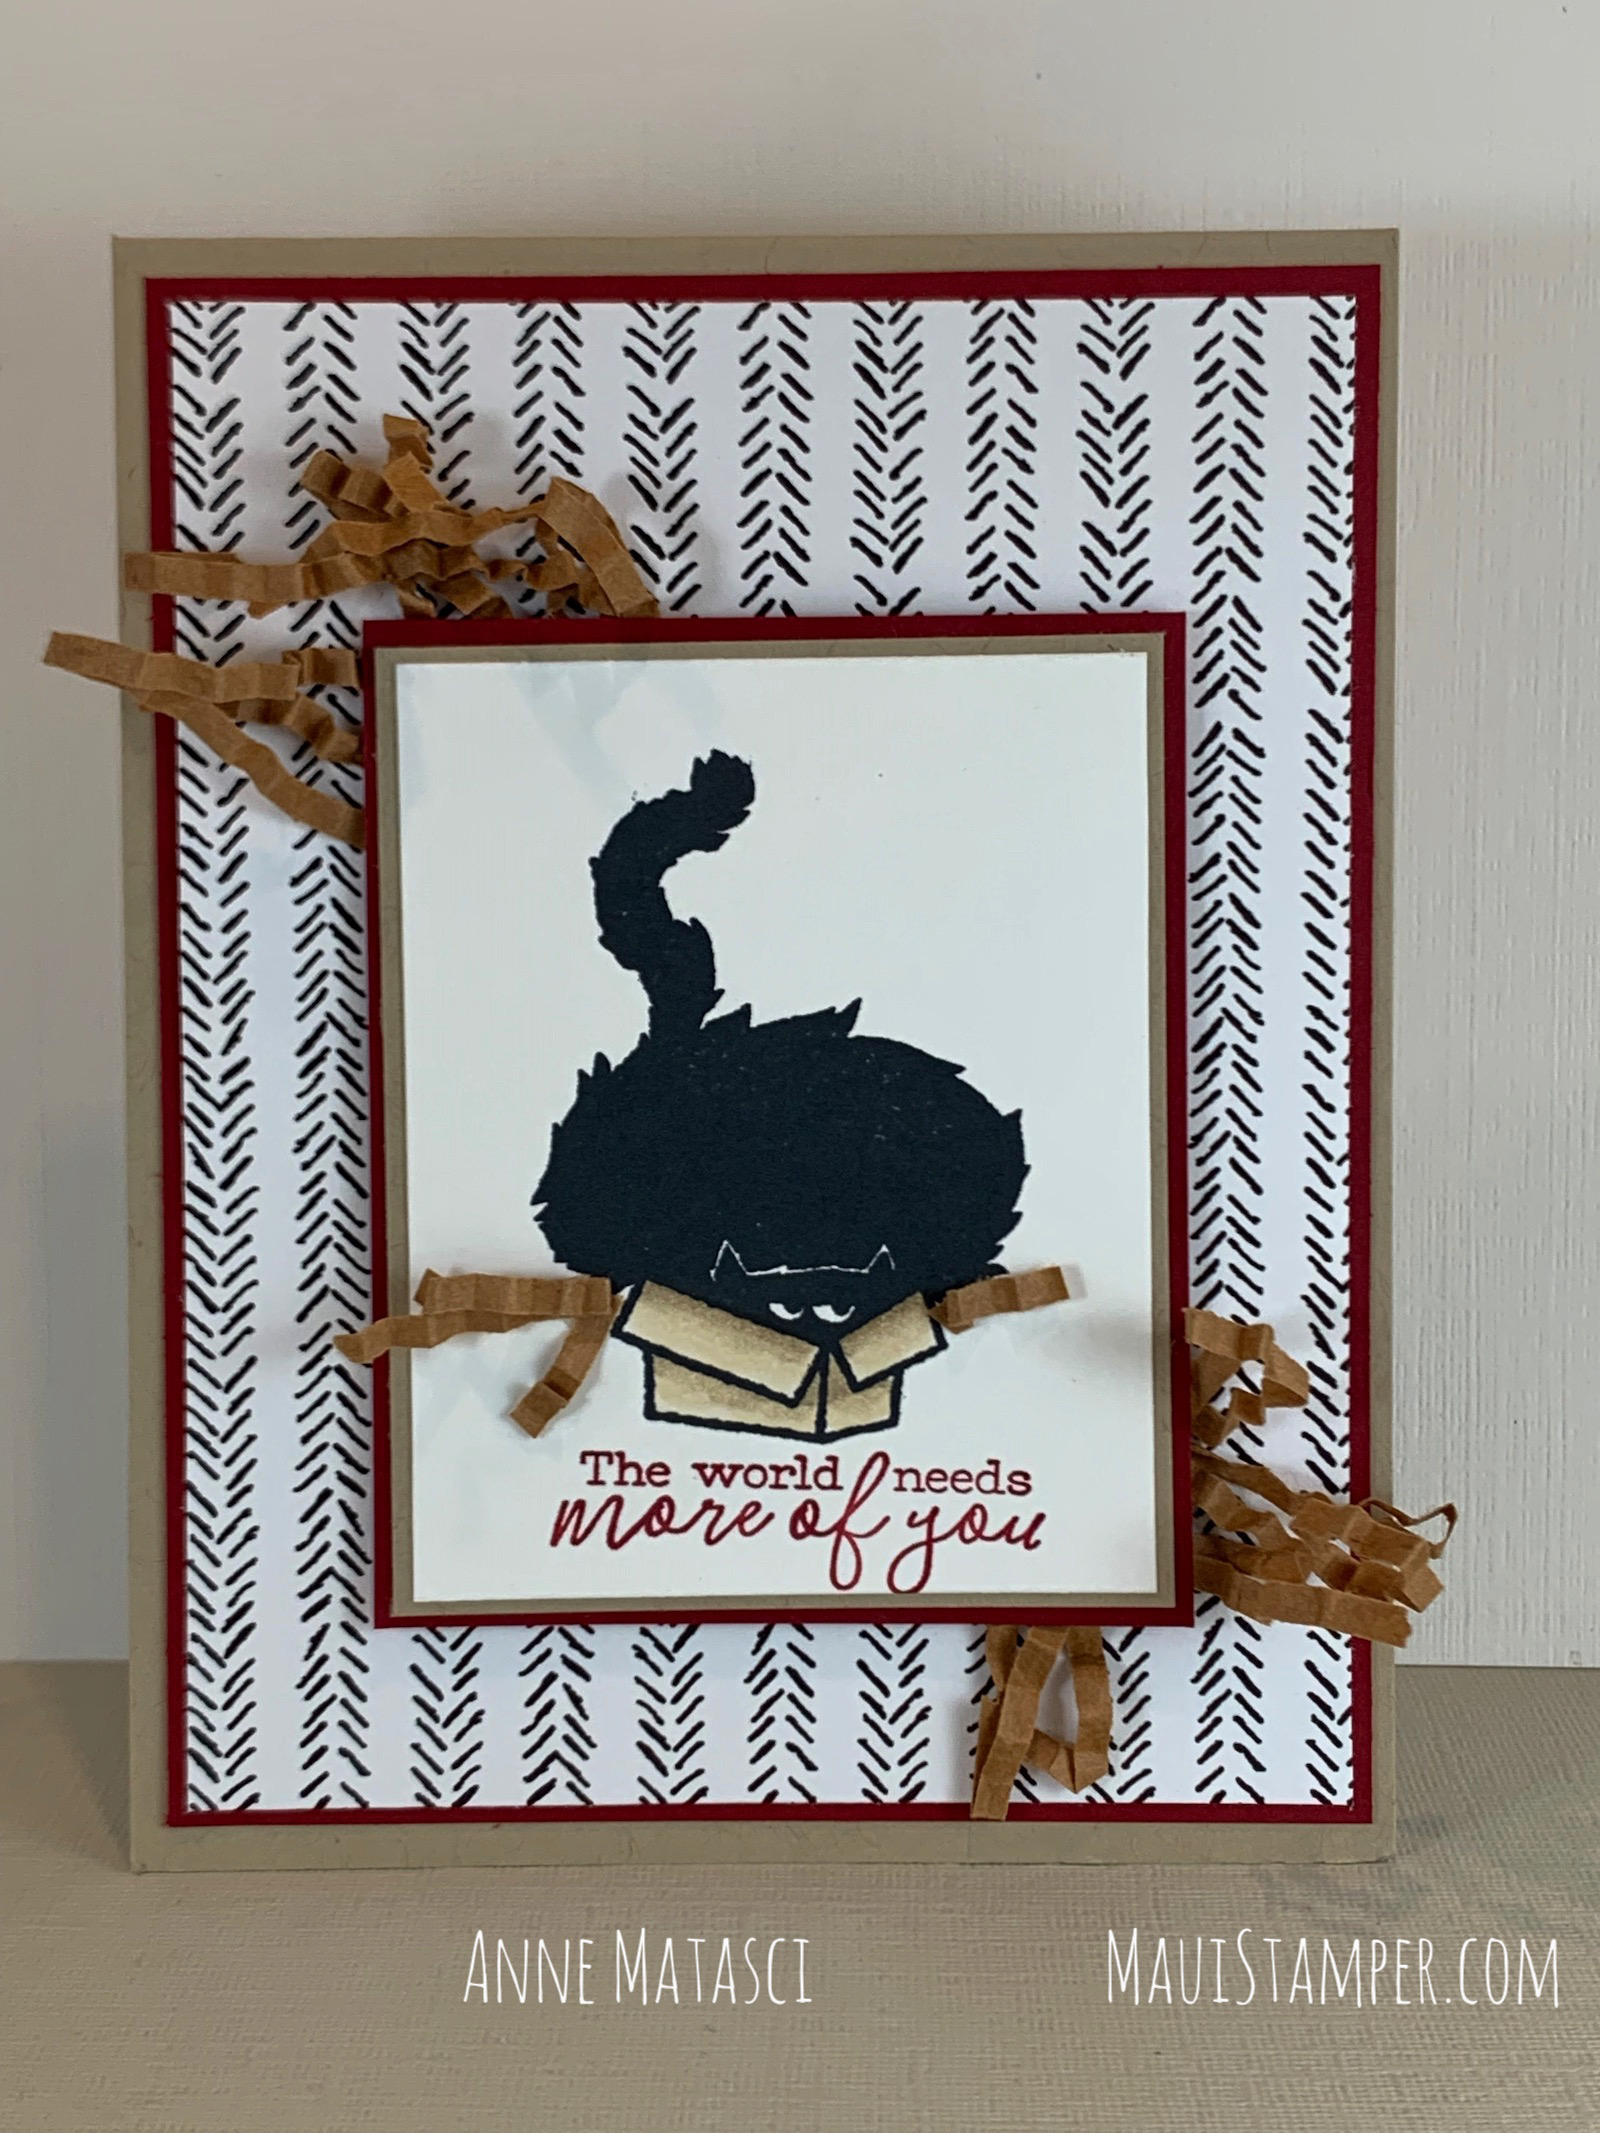
I’ve been making more of an effort to embellish my envelopes. Most often I add a layer of Designer Series paper to the flap, which would have been a great choice with this one, but I chose to use my “dunking” technique with the leaves instead. Do you embellish your envelopes? It doesn’t take much time at all – you just need to remember to do it.
There’s an entire suite called Beauty of the Earth. I chose to use just the paper for this project, but there’s a lot of inspiration in the Suite!
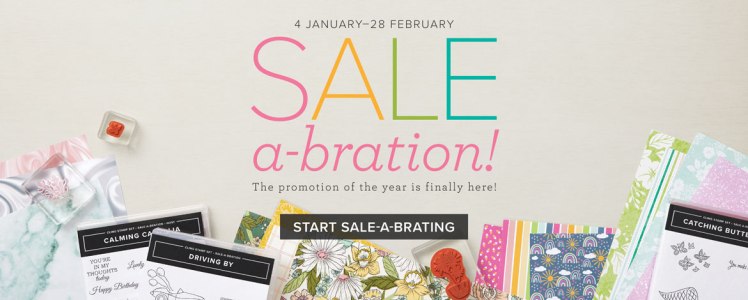
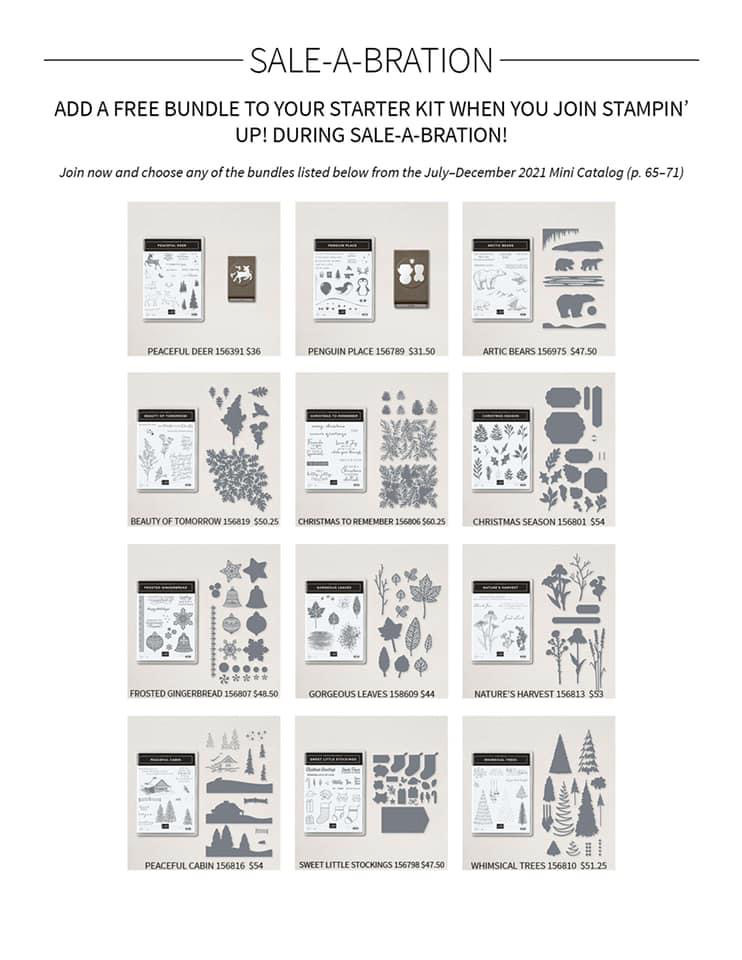
Everybody loves FREE!! Choose FREE goodies from January 4 to February 28, 2022!! Shop HERE.

Before you place that order, consider the Very Best Deal – joining Stampin’ Up! as a demonstrator! If you join by February 28, 2022, there’s a super opportunity. Choose 2 FREE stamp sets PLUS:
- $125 additional product of your choice for $99
- Free shipping on your kit
- 20% savings on your own purchases
- 6 months to try us out without risk – continue with just a $300 quarterly minimum
- Earn Sale-a-bration and host rewards on RETAIL price not your discounted price
- An incredible community of crafters
- Early access AND sneak peeks (you know you want to know!)
Join by February 28th for those two free stamp sets! Message me if you have questions or want to chat.

Be sure to subscribe by February 10th for your Craft Escape in a box! Paper Pumpkin subscriptions deliver ready-to-go projects to your doorstep every month, but you have ultimate control to skip or cancel 😱if you decide it’s not for you. The February kit will make 9 playful cards with envelopes that you can tailor to your card-sending needs. Don’t wait!