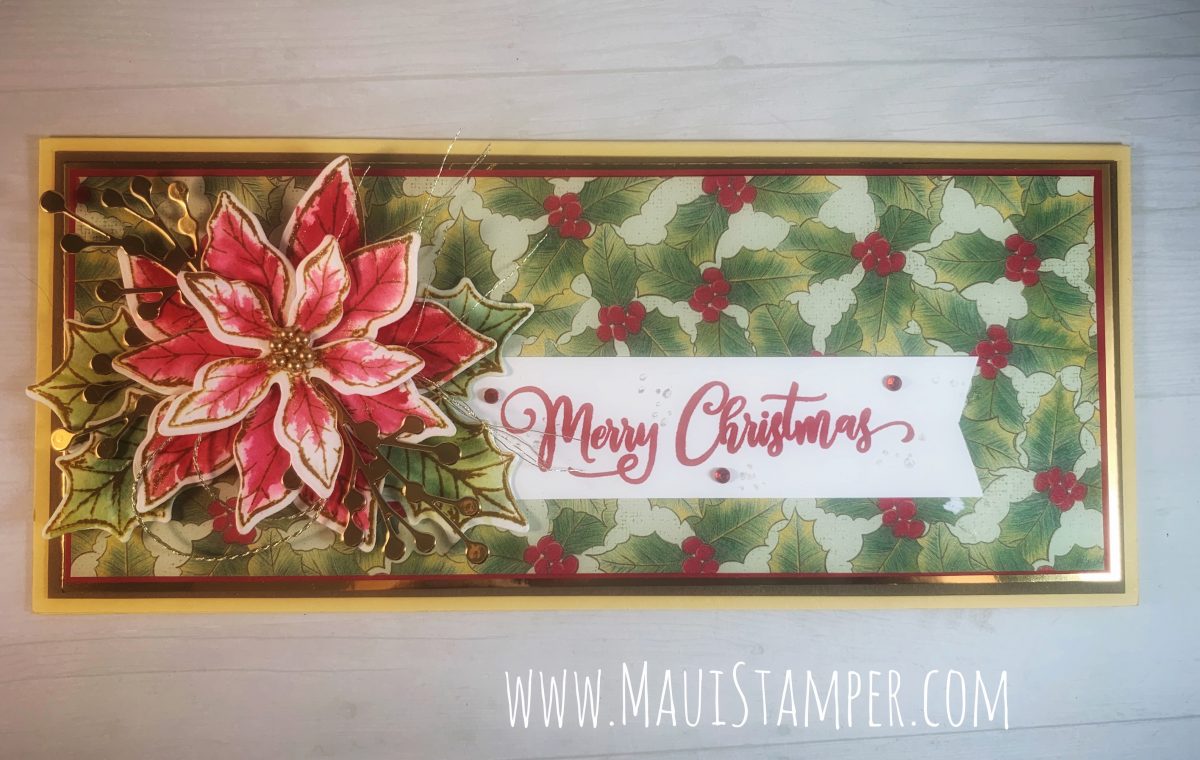
I’m a little late to the party on Slimline cards, but I’m happy with my first effort. Poinsettia Place was the first thing on my list for the August-December mini catalog, even though back in July my heart just wasn’t into Christmas crafting! News flash: it’s November and it’s time to get cracking.
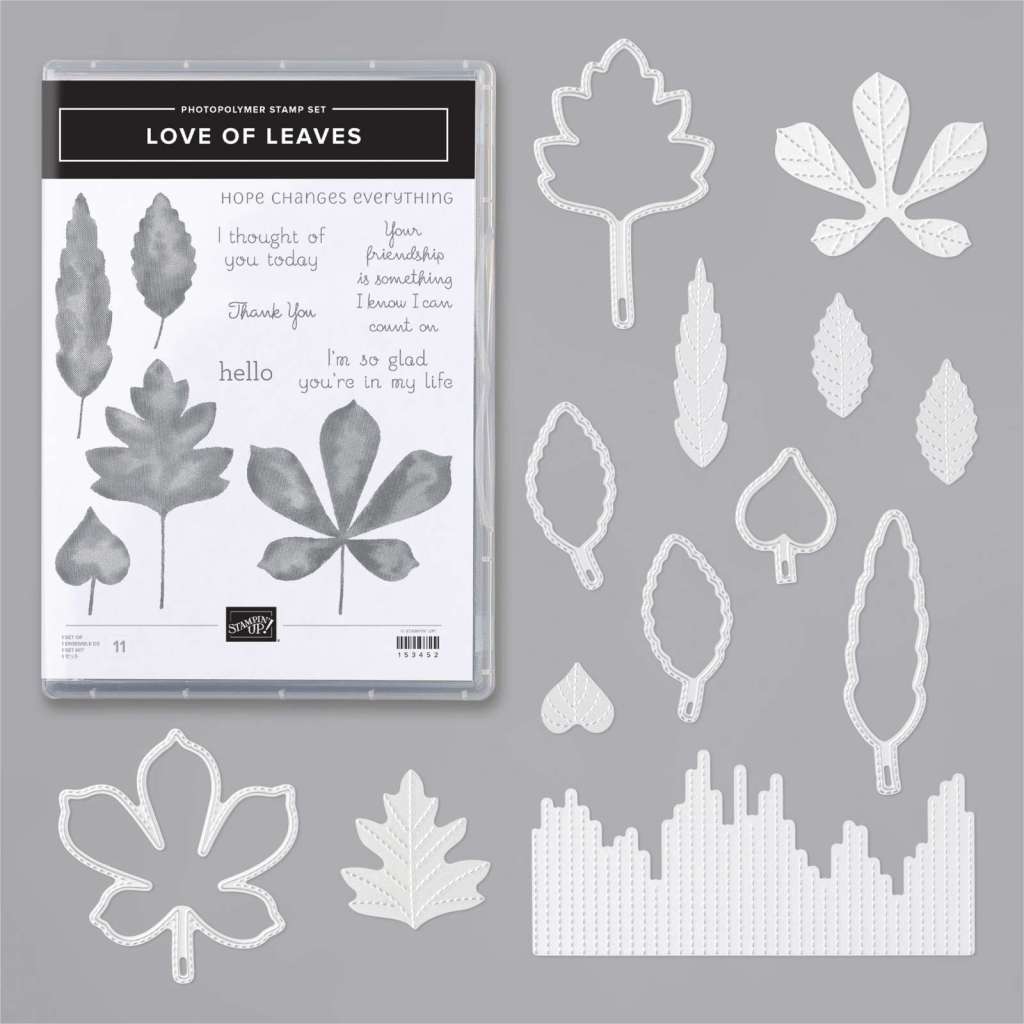
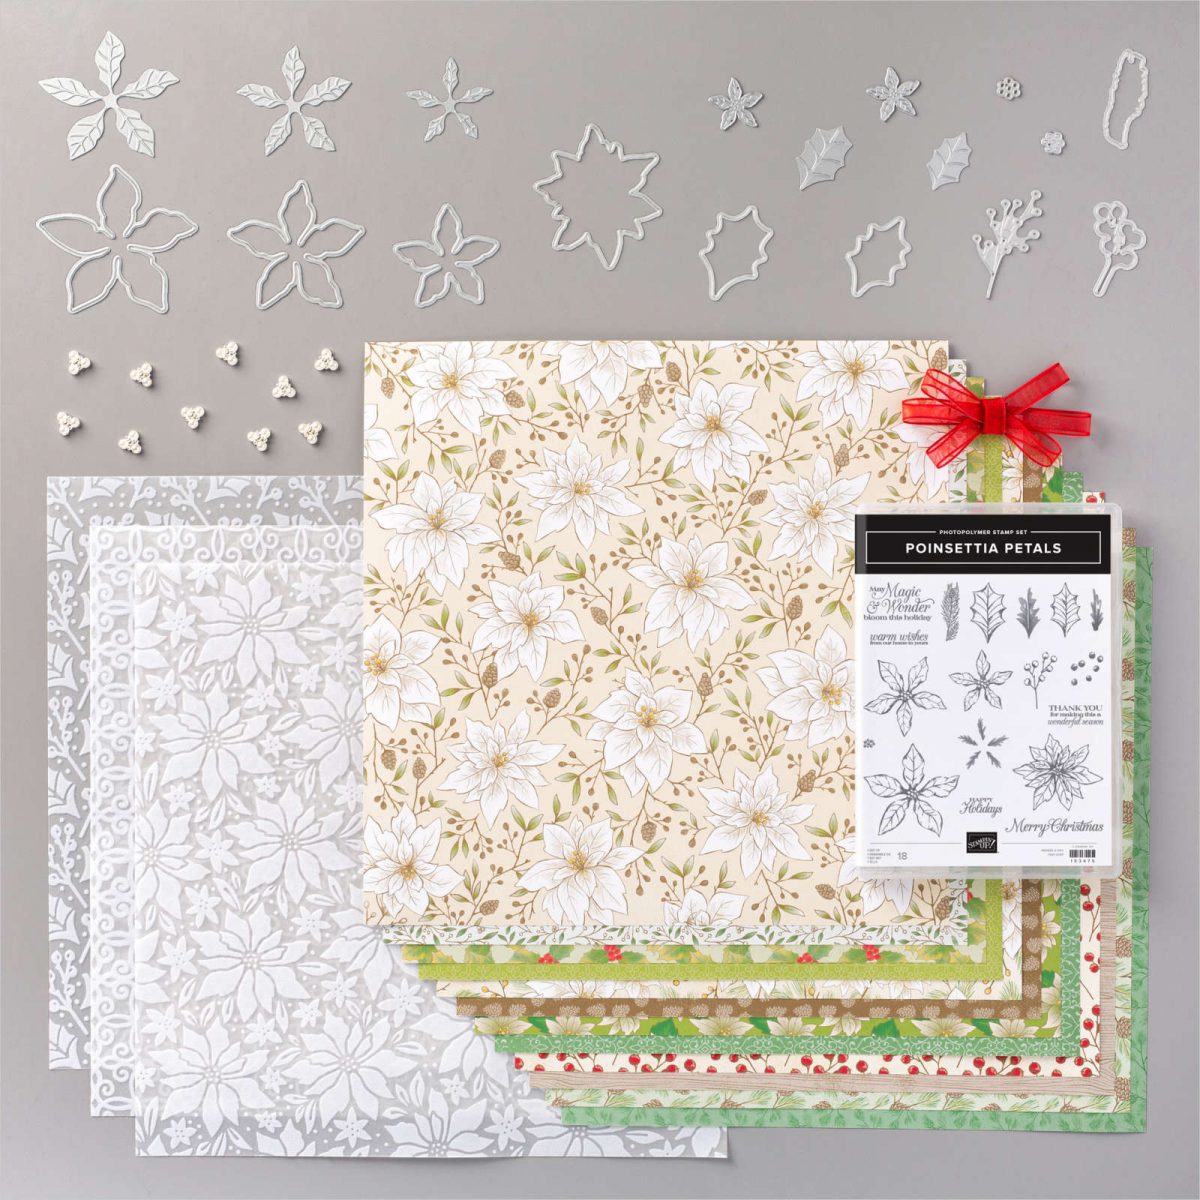
- Stamps: Poinsettia Place
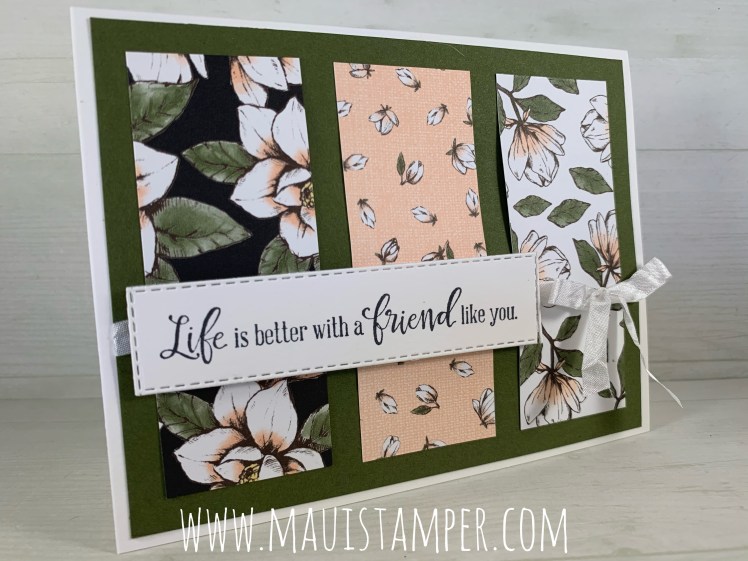
- Color Palette: Garden Green, Old Olive, Real Red, So Saffron, Soft Suede, Whisper White, Gold foil
- Accessories: Poinsettia dies, Stamp Cut & Emboss, Poinsettia Place DSP, Gold Foil, Forever Greenery Trim Combo pack (Gold thread), Metallic Pearls, Stampin’ Dimensionals, Fluid 100 watercolor paper, Water Painters, Detailed Trio Punch, Red Rhinestone gems, Wink of Stella. (Phew! Did I miss anything?)

When I first started using the Gold trim, I struggled to keep it from unraveling. (TIP: put a little glue from the Fine Tip Glue pen on the cut end to stop it from fraying.) My OCD self has experienced enlightenment now, and I encourage it to unravel – I love all those little threads!
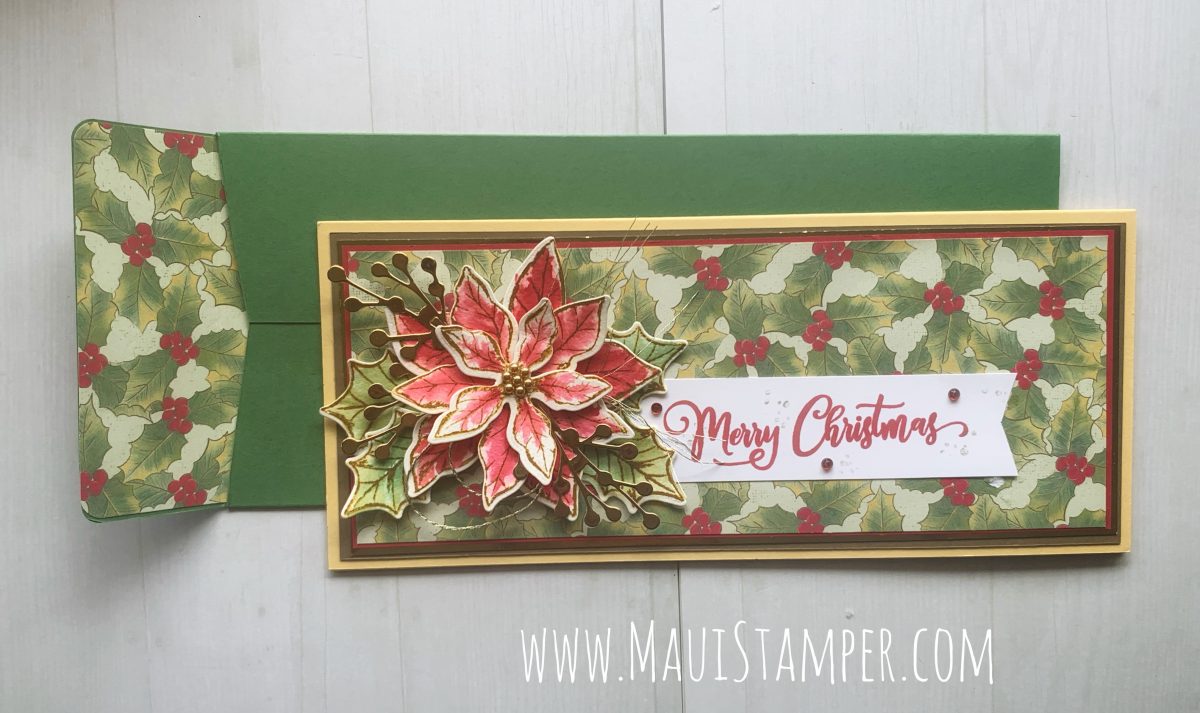
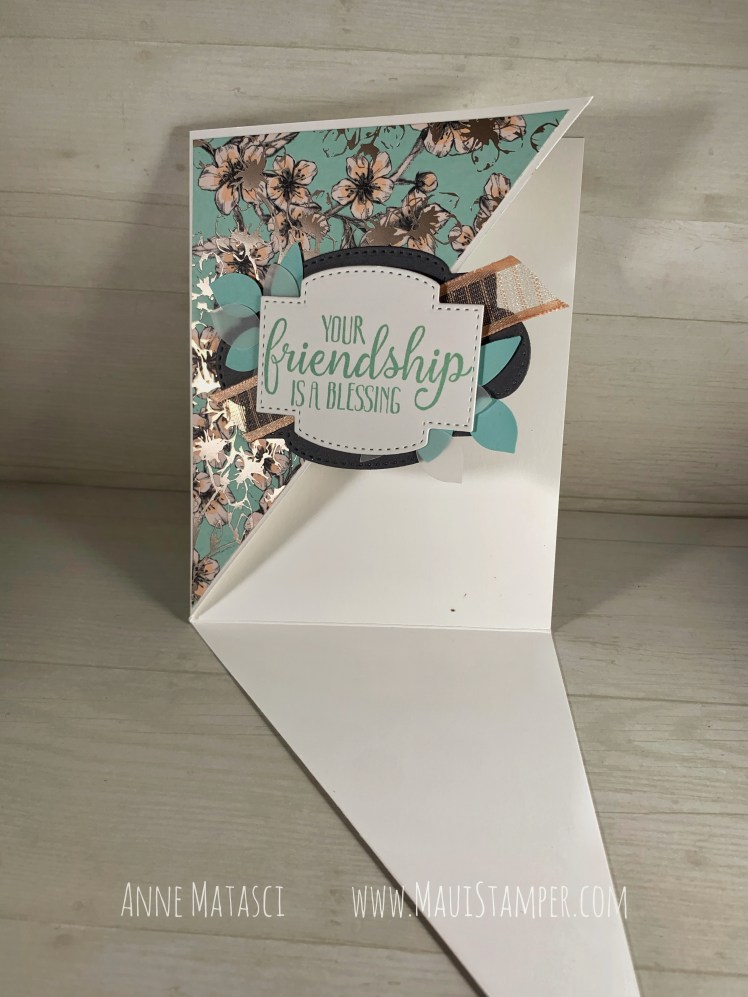
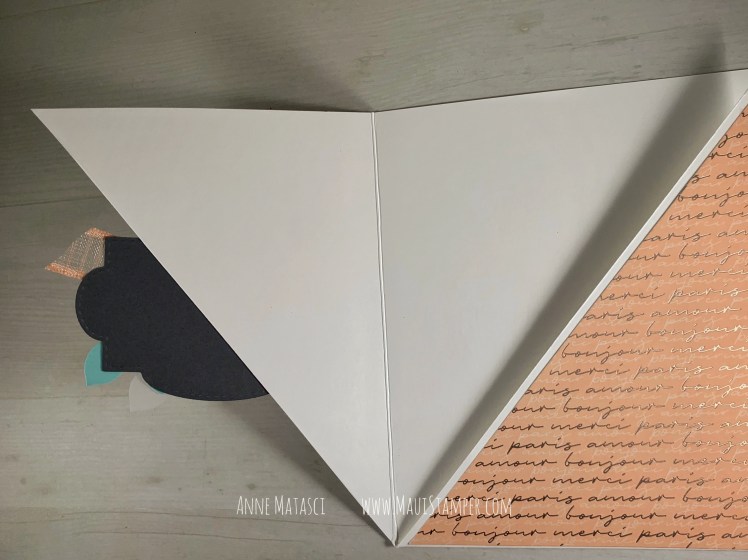
This card measures 3 3/4″ x 8 3/4″ folded, or 7 1/2″ x 8 3/4″ unfolded. The envelope is very simple to create with the Simply Scored tool. I began with a piece of 8 1/2″ x 11″ card stock and with the long end across the top of my Simply Scored I marked 1 1/2″ and 10 1/2″. I turned the card stock a quarter turn so that the short end was across the top of the Simply Scored and marked 2″ and 6″. Cut away the rectangles at the four corners, fold along the score lines, and assemble the envelope with Stampin’ Seal+. I trimmed the top edges of the envelope before I adhered it so there would be a small reveal, and I cut a piece of Designer Series paper 3 3/8″ wide and 3″ long to line the top of the envelope. The Detailed Trio punch rounds the corners perfectly!

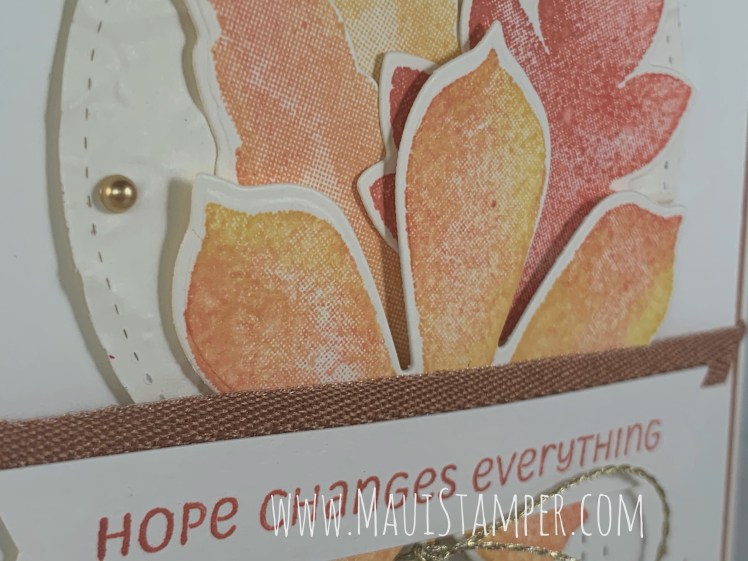
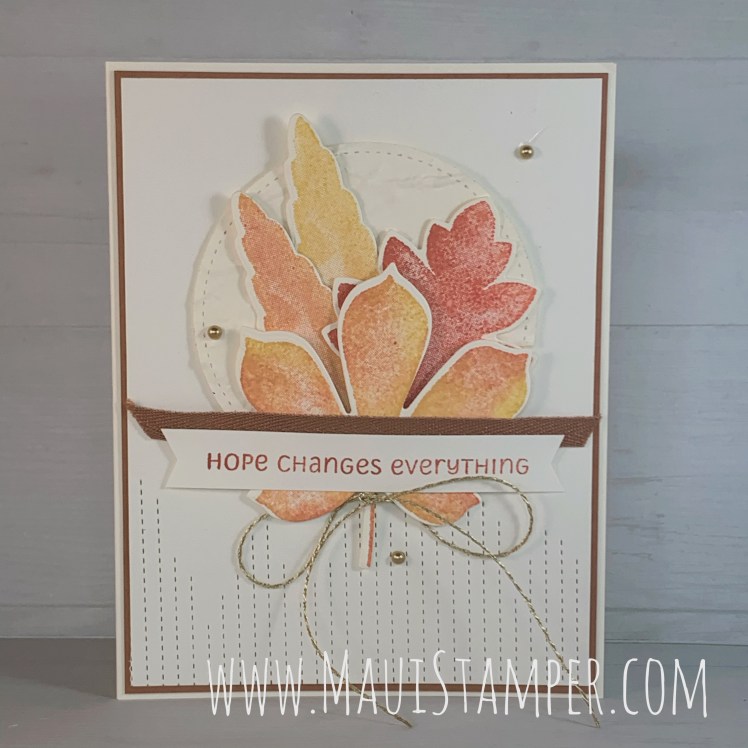
I used a few drops of ink refill in Real Red, Garden Green and Old Olive to watercolor the poinsettia and the leaves with our fabulous new Water Pens. These images are really forgiving, which made the watercoloring really enjoyable. I don’t have any formal art training, so it’s always an adventure to see how things turn out.
Ready to add this gorgeous suite to your collection? These are timeless, classic images that you’ll reach for again and again. Shop HERE.