I’m retiring at last

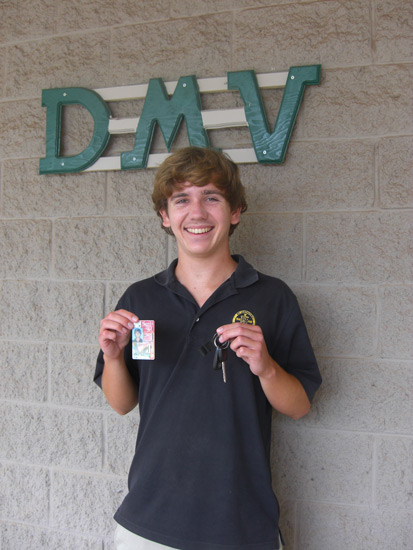
No, it’s not what you think:  I’m retiring as chauffeur.  My son passed his driver’s license exam this morning!

The successful driver

It’s tough to pass the test in Hawaii – as it should be – but he was well prepared and ready to take the test.  I’ll tell you what’s REALLY tough – it’s sitting on that bench, watching as he walks out to the parking lot with the examiner and waiting while they go out on the road.  This is my third time through that process, and it doesn’t get any easier.  My stomach is always in knots as the test begins, but as time goes by and there’s no early return (meaning failure) the knot starts to settle.  It’s a great feeling to see your child come around that corner with a confident smile and a thumbs-up.  (My middle daughter thought she would be funny and walked towards me looking as downcast as possible, sending my heart to my toes until she lookup up and grinned and said “I passed!”.  Stinker.)

My life as chauffeur is over, and I am thrilled to become the chauffeured.  Congratulations, Matt.  Well done.

Kitchen Sink Card Making

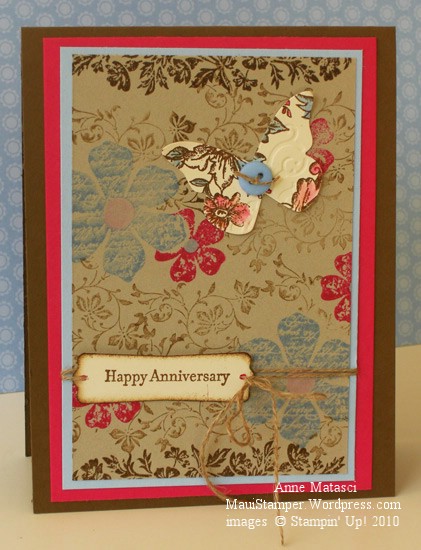
Do you ever have one of those crafting moments when you can’t stop yourself?  You think “ah, that’s just it!” and then you spot a little something over there in the corner of your craft desk and before you know it, you’ve added it in.  You could call it “Kitchen Sink Card Making”,  I suppose.  Well, that happened to me:

Vintage Style and more...

  • Vintage Vogue, Bella Toile, and Teeny Tiny Wishes stamp sets
  • Very Vanilla, Sahara Sand, Bashful Blue, Melon Mambo and Soft Suede card stock
  • Soft Suede, Bashful Blue and Melon Mambo Classic ink pads
  • Melon Mambo and Bashful Blue Classic Ink refills
  • Modern Label punch, Fresh Favorites buttons, and Linen Thread
  • Aquapainter,  and Stampin Sponges
  • Big Shot and Beautiful Wings embosslit

Those butterflies from yesterday’s post were lurking around on the craft table and I couldn’t resist them.  However, it appears I couldn’t resist anything else!  This was fun to play with, even it if does look a little…hmmm…shall we say “busy”?  That would be kind.

One note:  Be sure to insert a liner on the inside of a card that’s this deep in color.  A simple Very Vanilla panel would do here, although I often add a mat and stamp a little in the corner.  What the heck – if the front is gonna be all out, the inside needs a little zip too!

Re-interpreting the Mini…Summer Mini, that is!

If you’re a Stampin’ Up! demonstrator AND you’ve received your advance copy of the Summer Mini Catalog (May 1 to August 31) this card may seem vaguely familiar:

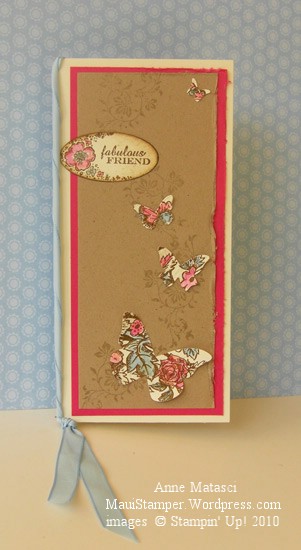
Vintage Butterflies with a Summer Mini inspiration

  • Vintage Vogue,  Bella Toile and Only Ovals stamp sets
  • Very Vanilla, Kraft and Melon Mambo card stock
  • Sahara Sand and Soft Suede Classic ink pad
  • Bashful Blue and Melon Mambo Classic ink refills
  • Big Shot and Beautiful Wings embosslit
  • Oval punch, Stampin’ Sponges Aquapainter and Bashful Blue taffeta ribbon

I looked at the images on the front of that mini catalog and fell in love with the colors and the vintage style.  The more I looked, the more I thought I could find a way to create that same feeling with stamps I already had.  I pulled out the color palette the cover artists used, rummaged around until I found a few vintage-looking stamp sets, and started to play.

I wanted to add the ribbon, but with the tall skinny card format it just seemed too wide even at 3/8″.  Eventually, the little light bulb went on in the air over my head and I figured out that I could twist the ribbon to make it fit my purpose.  The butterflies were created from the Beautiful Wings embosslit using paper that was stamped with the Bella Toile background stamp (an under-utilized stamp, I might add!).  I used the Aquapainter and Classic ink refills to selectively color bits of the image and I love the result.

By the way, that Beautiful Wings embosslit is so popular that Stampin’ Up! is STILL experiencing shipping delays.  If you want it,  my suggestion is to put in your order and get in line now!

Just because I could recreate this concept does NOT mean I won’t be buying this set.  You see, one of the many beautiful images it features is a hummingbird, my favorite bird to watch.  They are fast, tiny, jewel-colored, and crazily territorial little things and I love the zzzhhhmm noise they make when they go by.  Somehow, the little hummer has never made it to Hawaii, and I miss seeing it.

Have I got you thinking ahead about that Summer Mini??  Good.

Black and White and Sweet Stems all over

Oh man, does it feel great when my hands and my brain are on the same page!  I get all buzzed because it happens so seldom.  I’ve seen a lot of cards using a quilt-square layout on the forums and blogs lately but nothing came to mind until yesterday.  When inspiration struck, it was very specific:

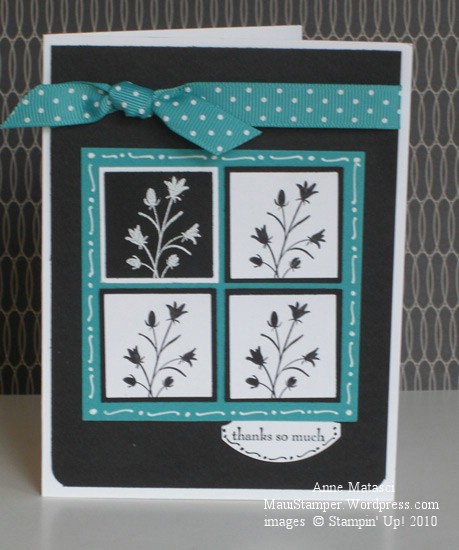
Black and White and Sweet Stems all over

  • Sweet Stems stamp set
  • Whisper White, Basic Black and Bermuda Bay card stock
  • Basic Black Classic ink pad; Whisper White Craft ink pad; Black Stampn’ Write marker
  • Embossing buddy (a MUST), WHITE embossing powder and heat tool
  • 1 3/8 and 1 1/4 inch square punches; Round tab punch
  • Corner rounder, white gel pen and Bermuda Bay polka dot grosgrain ribbon

To get that white–on-black look just right, I stamped the image in Craft White and then embossed it with white embossing powder.  You have to take your time with this – even with judicious use of the Embossing Buddy, there are a few tiny specs of white embossing powder on that black card stock.  I remove those specs with a fine paintbrush, very lightly moistened (OK, I admit it, I lick my finger and twist the fibers together).  If you leave just one, when you’ve finished with the heat tool those specs look like bowling balls.

I suppose I could have embossed the black images too, but I was in too big a hurry to see this put together.  I think start to finish it was 15 minutes – that’s a record for me!

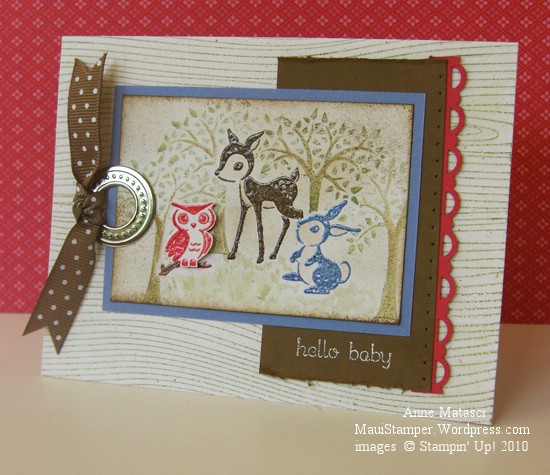
Hello Forest Babies

There’s a new baby I’m looking forward to meeting.  His Auntie, Grandma and Grandpa are here from the Mainland, so I’ll wait my turn – but while I am waiting, I made him a card.

Welcome from the Forest Friends

  • Forest Friends, Woodgrain and Teeny Tiny Wishes stamp sets
  • Naturals White, Brocade Blue, Ruby Red and Soft Suede card stock
  • Brocade Blue, Ruby Red and Soft Suede Classic ink pads
  • Versamark ink and Whisper White Craft ink pad
  • Clear embossing powder, heat tool, Stampin’ Sponges, piercing tool and mat
  • Jumbo grommet, Soft Suede polka dot ribbon and Scallop trim border punch

There was a lot of masking involved in lining up these images.  It’s not hard at all – and it doesn’t take much time.  Stamp your image on a re-positionable note and trim it out.  I just stamp again after I’ve stamped my first image – you only need the outline.  When I’ve used the mask I stick in inside the storage container for the stamp set so I don’t have to cut another one the next time.

A sweet and whimsical basket

The Weekly Inkling from SplitCoastStampers had a tutorial for a charming little basket last week.  I had an idea I wanted to try but it’s taken me a while to put it together:

SCS Easter Basket

  • Very Vanilla, Blush Blossom, So Saffron, Barely Banana and Apricot Appeal cardstock
  • Various Designer Series Papers
  • Scallop, 1  3/8″, 1  1/4″, 1″, and 3/4″ circle punches
  • Piercing tool, mat and gold brads
  • Sticky Strip and Vanilla Taffeta ribbon

It takes a while to punch all those circles and smush them all up.  If I do it again, I’ll  spritz them with water to make them more pliable.  The brads go right through the center of those stacked up circles and into the side of the basket.

I love the soft, romantic look of these pastel colors.  These baskets would make great bridal shower decorations if you had help putting them together.  Or if you only needed one.  I’m not so sure I would sign up to do a bunch of them myself.

Happy Birthday to me

Nothing new for you, though I did work on a couple of projects today.  It’s my birthday, I’ve had a lovely day, and I just wanted to share a couple of highlights.

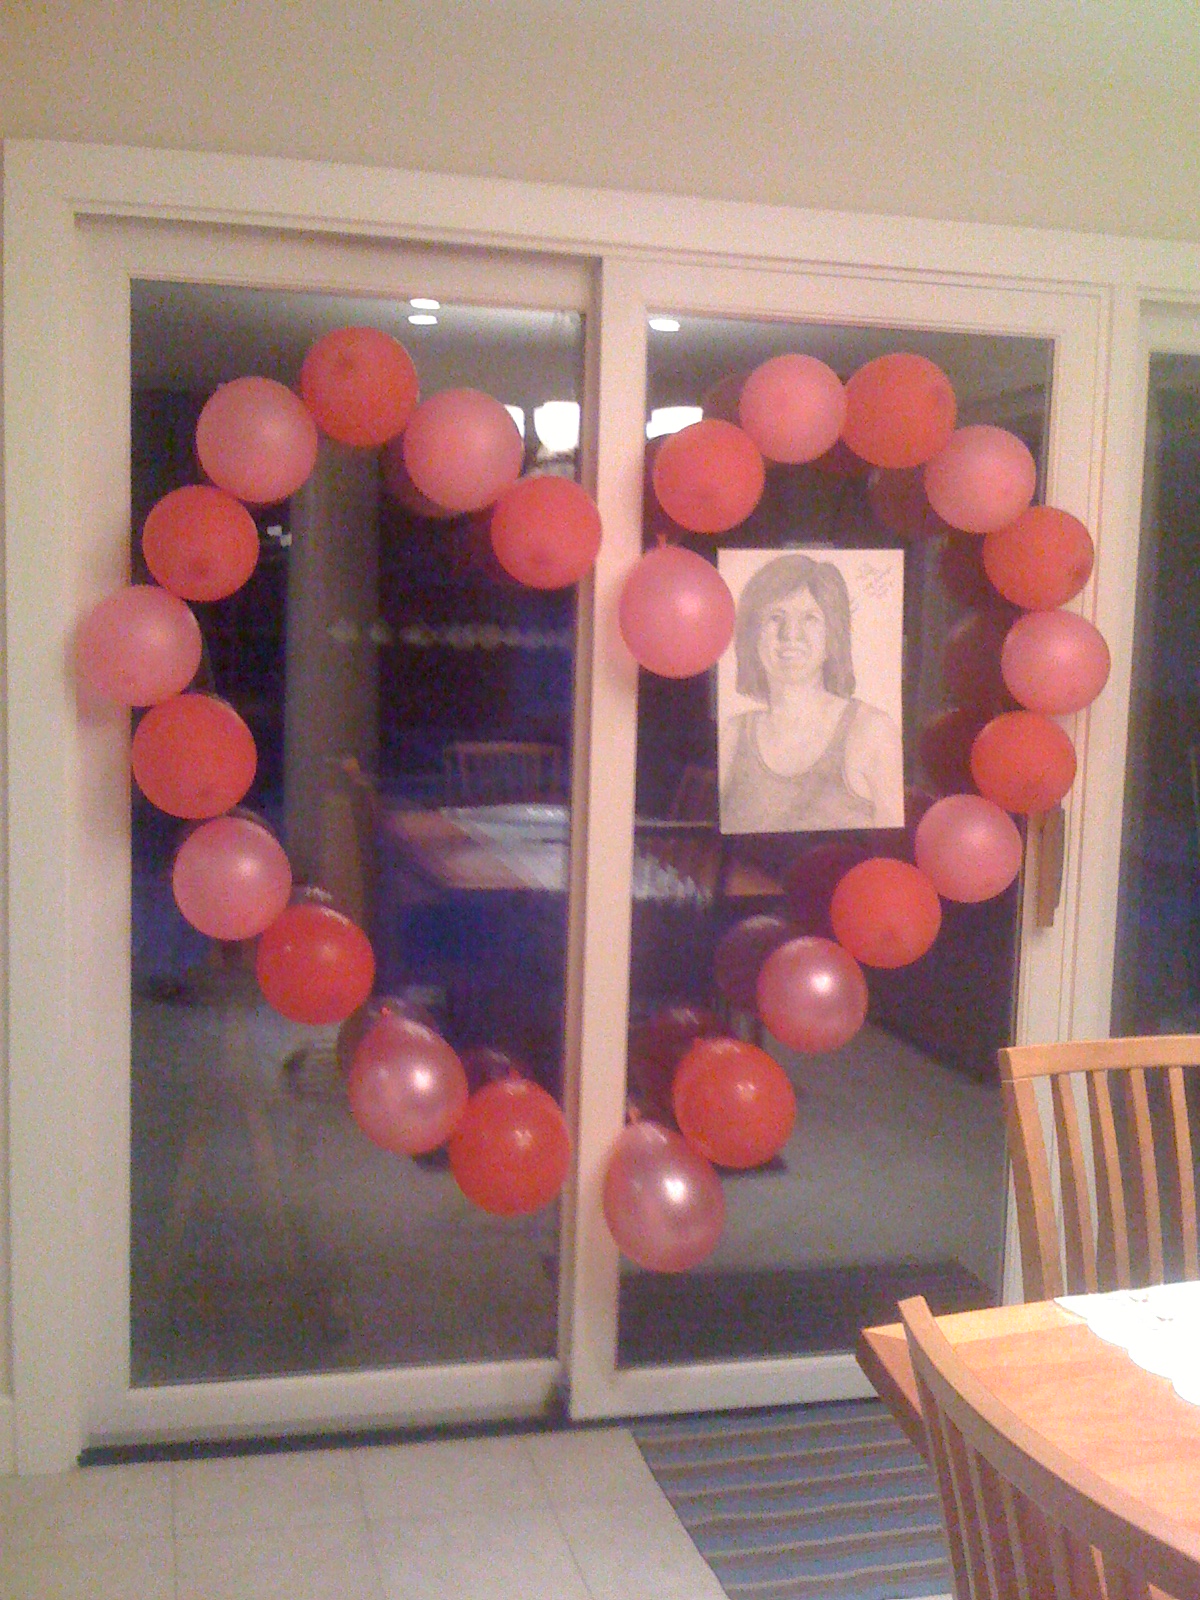
Happy Birthday from Kseniya

I came downstairs this morning VERY early and I had my own Balloon Birthday from Kseniya.  Yes, she did the pencil drawing of me in the middle of the balloons – she’s very talented!  What a great way to start my day.

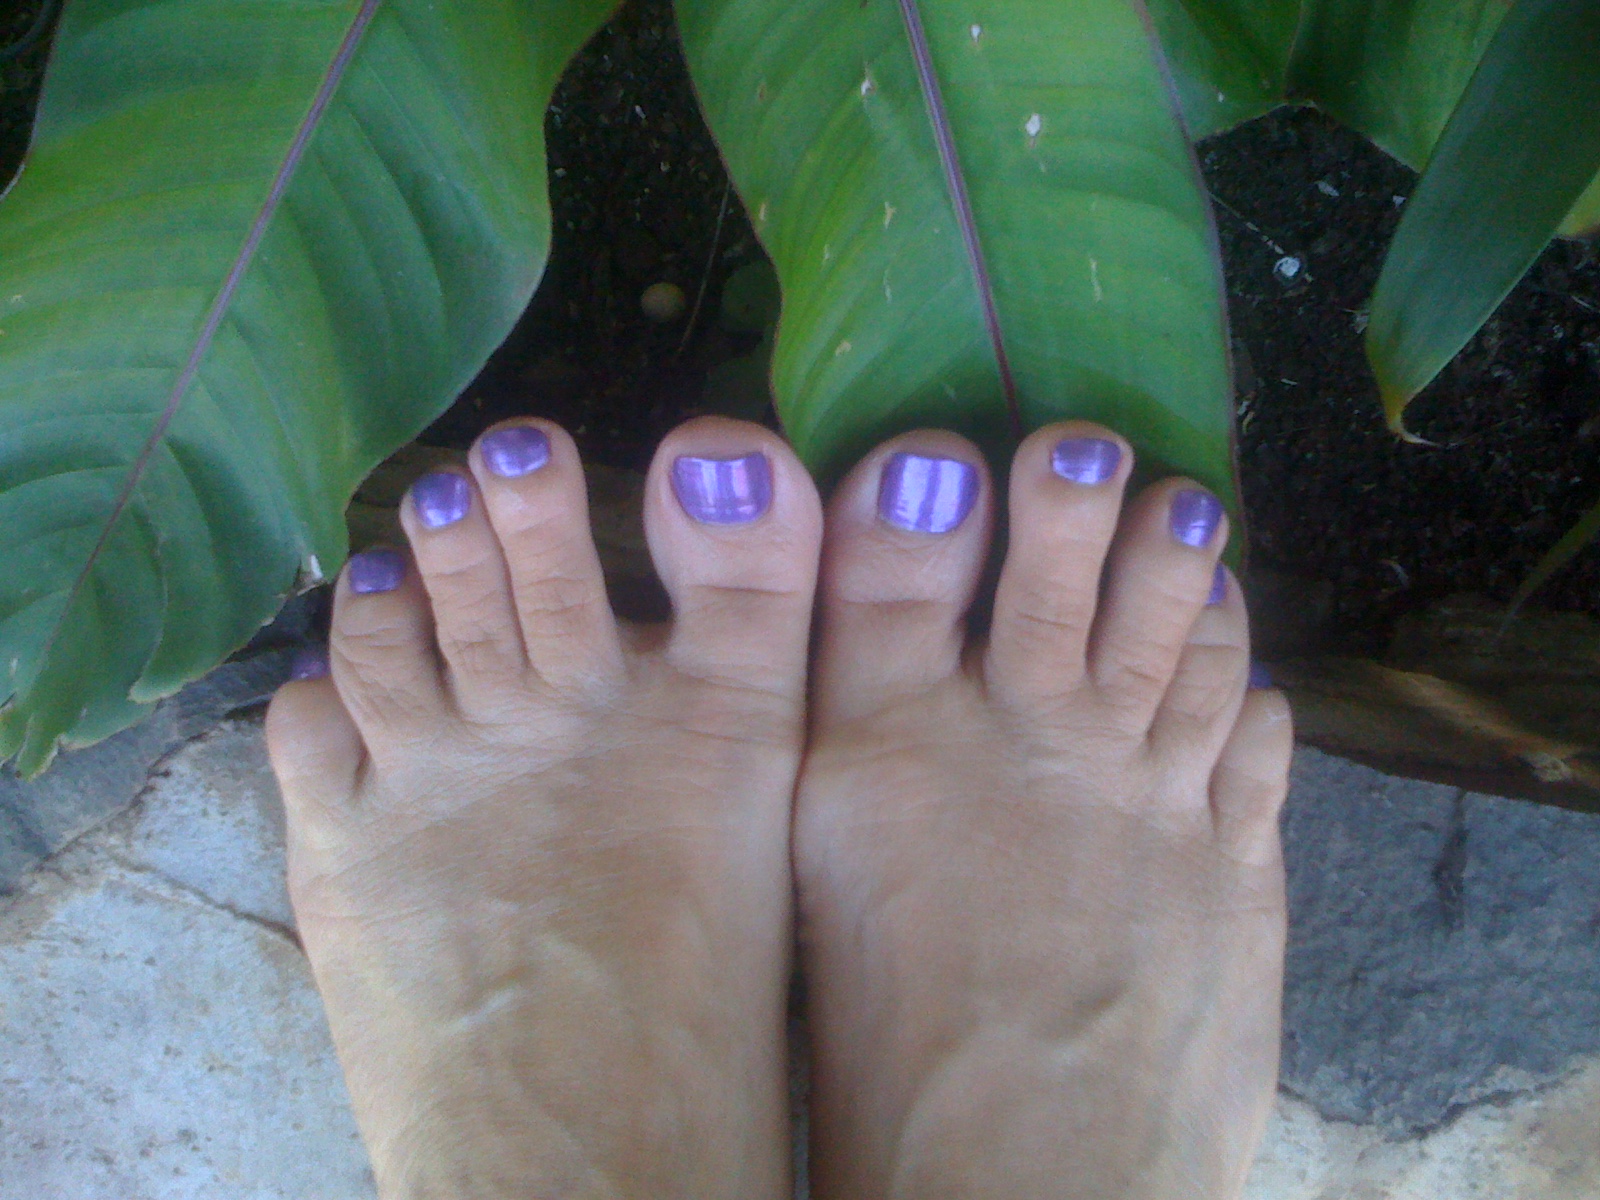
I’m training to be a Weight Watcher’s leader, so it was off to an early morning meeting.  After the meeting, Cheryl, Robbie and I met for pedicures and laughs.  I’m sure the salon professionals thought we’d been drinking, we laughed so hard!  Cheryl got sparkley pink, Robbie got a pinky- purple, and I went for violet:

Purple toes

Yep.  Those are my wide Birkie feet.  Those purple toes look great in Birks!

It’s been a wonderful day – I’ve gotten cards and flowers, lots of  happy phone calls, and we have plans for dinner later tonight at Mala’s Wailea.  I even set up a Facebook account – my girls finally gave up protesting.  I’ve promised not to lurk.  Shoot, I probably won’t even keep my own page up to date!

Happy Birthday to me!

Still workin’ through the Stash

Here’s the deal:  I’m in the process of moving all my craft supplies into my oldest daughter’s FORMER bedroom.  When she left for University 4 1/2 years ago, I put up a 6 foot folding table in her room.  (Her younger sister promptly took a photo and sent it to her, the rat.)  When she would come home for breaks, I would clear out the debris and we would attempt to peacefully co-exist in that space.  Once she graduated, she moved home for 8 months, and I had to move out.  Everything went into the laundry room, which is a lovely laundry room but wasn’t quite designed for paper, stamps, ink, a Big Shot, ribbon, hardware…you get the picture.  Now that she’s moved to Australia for the time being (SIGH) I’m reclaiming that room.  Silver linings and all that jazz.

Where is all this going?  As part of moving I’m going through lots of crafting supplies.  Some are staying, some are going, and some, well, I just haven’t decided yet.  But I keep coming across retired products – stamps, papers, ribbons, In Color stuff – and remembering how much I loved those things when they were current.  Some of them I still love a whole lot.  Like this goofy owl:
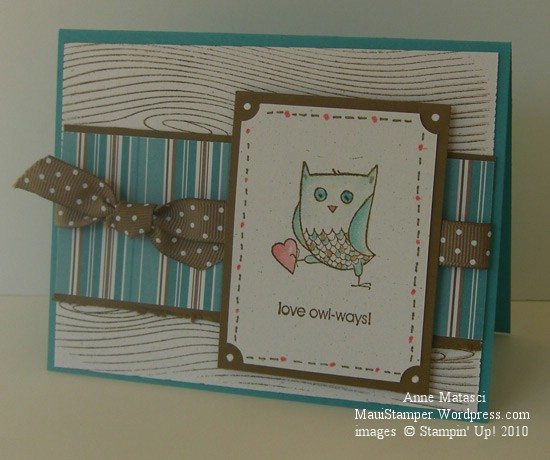
Love Owl Ways

  • Love Owl Ways stamp set (retired) and Wood grain background stamp
  • Bermuda Bay, Soft Suede and Naturals White card stock; Thoroughly Modern DSP
  • Soft Suede Classic Ink Pad; Soft Suede, Cameo Coral and Bermuda Bay ink refills
  • Soft Suede and Cameo Coral Stampin’ Write markers; white gel pen
  • Aquapainter, Ticket Corner punch, Stampin’ Dimensionals and Soft Suede polka dot ribbon

You can’t see it in the photo but there’s a little Champagne Mist shimmer in the owl’s wings and chest because there was already shimmer paint in the lid of the stamp pad when I went to watercolor with my aquapainter.  I usually just put a drop from the re-inker into the lid of the pad when I watercolor, because if I don’t use it all or if I change my mind and need more, it’s there next time I need it.

If owls are your thing, then I’m sorry to torment you with retired stamps.  There’s hope, though – I’ve seen the Stampin’ Up!  Summer Mini catalog, and it may or may not feature a new owl stamp set.  How’s that for sneaky??
A Special Birthday

It’s not every day you turn 16.

Today is my son’s 16th birthday.  I remember it very clearly – he was 11 days late, and our entire household was anxiously waiting for him to make up his mind.  Turned out he was worth the wait.

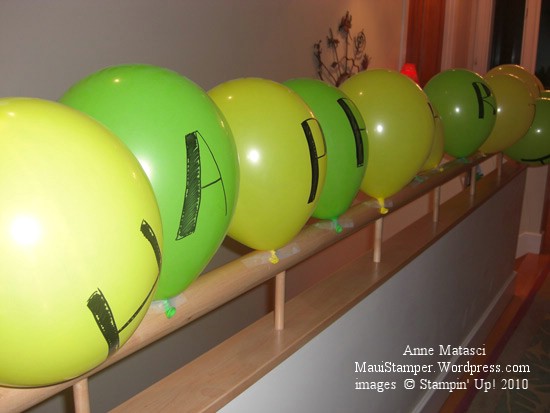
Our host daughter was up VERY early and prepared a special surprise for him in the hallway outside his room:

Balloon Banner:  Matt Happy Birthday

She leaves the house at 6:30am to catch the bus, so she was at this very early.  He thought it was pretty cool.

Here’s one of the cards he’ll be receiving later today:

Happy #16 Matt

  • Vintage Labels (SAB) and Short Order (retired) stamp sets
  • Chocolate Chip and Bermuda Bay Classic ink pads
  • Very Vanilla card stock
  • Welcome Neighbor and Sweet Pea Designer Series papers; retired DSP
  • Chocolate Chip ribbon, Curly Label punch, linen thread and a Fresh Favorites button

Matt’s a wonderful kid, though at 16 I guess he’s not really a kid any more.  He passed me up a long time ago and is very close to seeing eye-to-eye with his dad.  He’s smart and has a wicked sense of humor, and he keeps us on our toes.  He’s also very thoughtful (uh oh, I’ll be in trouble for that one) and we love him whole big bunches.

Happy Birthday, Matthew.

Inspired by Poppin’ Pastels

True confessions time:  I have never tried the Poppin’ Pastels technique until now.  I know.  What was I thinking?

I thought it would be hard.  I thought it would be messy.  I thought it would look stupid.  I thought wrong!

Inspired by Poppin' Pastels

  • Inspired by Nature and Whimsical Words (SAB) stamp sets
  • Certainly Celery and  Whisper White card stock; retired Designer Series Paper
  • Versamark ink pad;  Certainly Celery and Almost Amethyst Classic ink pads
  • Stampin’ Pastels, Curly Label punch,and So Saffron grosgrain ribbon (retired)
  • Stampin’ Sponges, Brayer and Perfect Details Texturz plate

This is so easy and so fun.  Reminds me of those old coloring books way back in the time before dirt when you just dipped your paintbrush into water and painted it onto the page to reveal the colors.  It was MAGIC!  So is this.

Stamp your image in Versamark and be sure you use a clean Versamark pad, not the yukky one you keep just for embossing.  Open up your Stampin’ Pastels and grab one of the little applicators (they’re basically skinny little Q-tips) and start dusting the color where you want it.  You can mix and blend and shade to your heart’s content.  There’s even an eraser if you smudge the pastels onto the paper.  Too cool.

The other little trick I discovered is to use a brayer and a Big Shot Texturz plate to create visual texture on cardstock.  If you look closely at the Certainly Celery card base, you’ll see a design that isn’t embossed, it’s inked.  I just brayered the ink directly onto the Texturz plate, put the cardstock face down, covered it with scratch paper and brayered again.  More subtle than running it through the Big Shot.

Go try something new today!!