These little critters have wiggled their collective way into my heart and I am really sad to see them retire on June 3. Even though this set is designed as a Valentine’s Day set, I’ve used it for many other purposes and been delighted with the results. Here’s one last look:
These Narrow Note cards are not big enough to mail through the USPS, but they’re perfect enclosures for a small gift or a quick message. I like to have a few on hand as they’re perfect for last minute notes.
Hey Love is retiring on June 3, but is guaranteed available only through May 24, 2019. Don’t miss out – shop HERE.
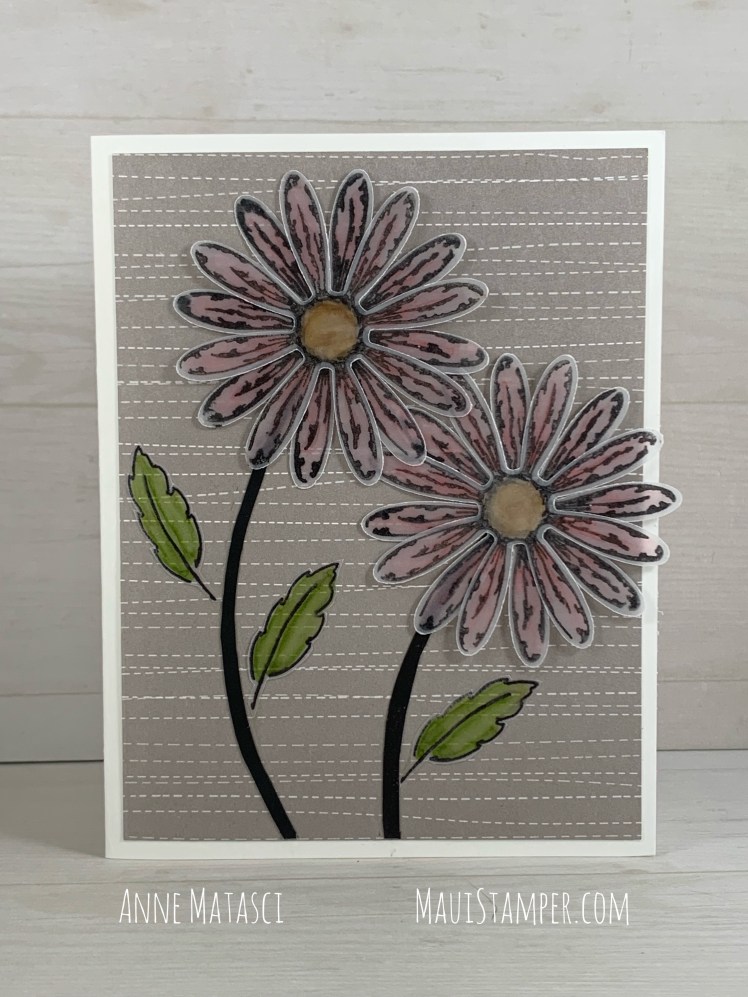
Rumor has it there’s a new Daisy set (with a coordinating mid-sized punch) in the 2019-2020 Annual Catalog. I don’t have it yet, but seeing some of the images from our April Demonstrator Event sent me to the craft room to play.
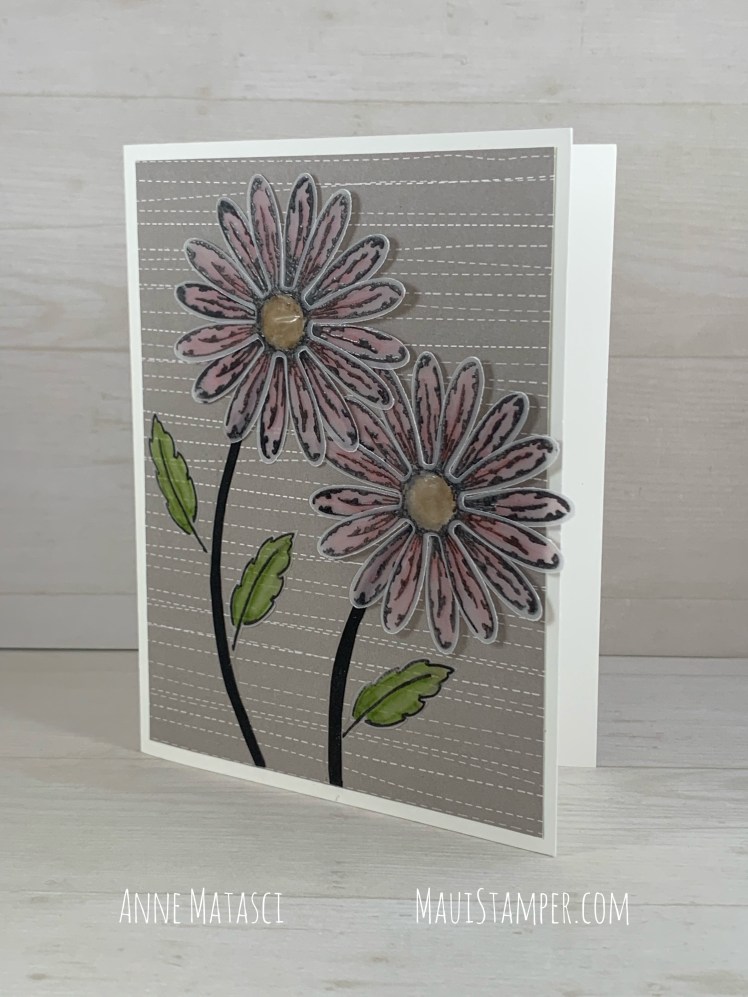
I’m starting to get a little neurotic about plant parts. I decided I didn’t like the stems that came with the Daisy stamp, so I cut my own out of Basic Black card stock with my Paper Snips and adhered them with the Fine Tip Glue Pen. I’m starting to feel kind of renegade about stems and leaves (do you remember my orchid leaves?)
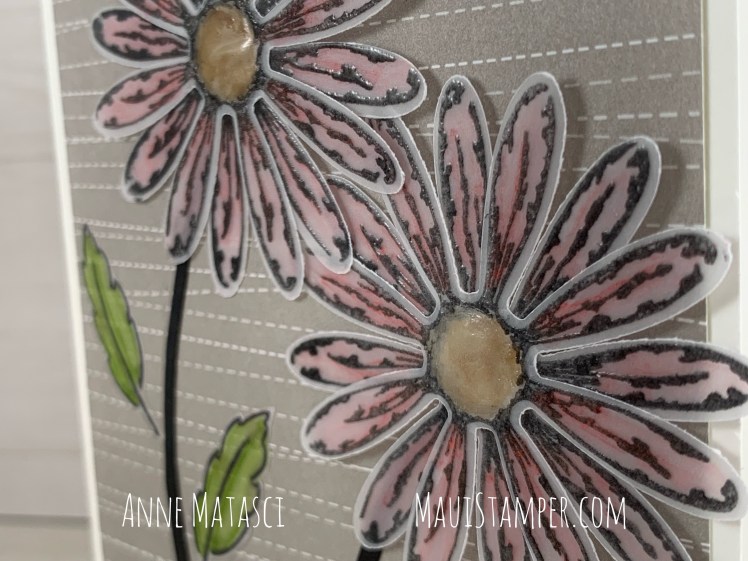
I embossed the daisy images on the Vellum so the lines wouldn’t run when I colored them. In retrospect, I could have stamped them with Stazon ink and colored them on the REVERSE side and gotten a very similar look. I call that Delayed Intelligence. When you’re coloring with Stampin’ Blends, you need to use Memento Ink to avoid smearing, but Stazon will dry much faster on Vellum and since it’s translucent, you can color from behind.
The Fine Tip Glue Pen dries clear behind Vellum so it’s the perfect adhesive, but it also leaves a lovely clear lacquer effect if you’re patient and allow it to dry.
I’m leaving this one without a sentiment for now. I like to have a few cards ready-to-personalize for last minute card needs. What would you choose for this one?
If you’d like to purchase any of these products, please shop HERE.
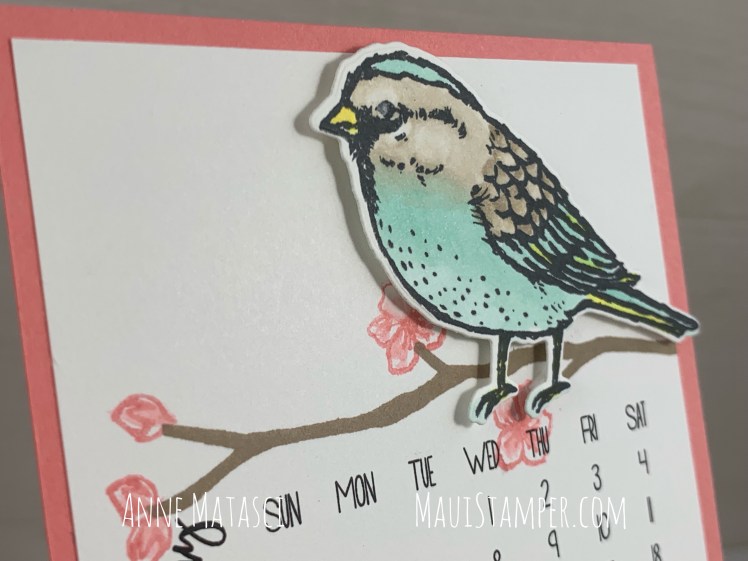
Happy May Day! It’s the first of the month, and that means I’ve got a new calendar to share. This month, I’m featuring one of the charming birds from the Best Birds set – it retires in June and while I’m sad to see it go, I’ve seen enough to know that there are new birdies in my future!
I used Stampin’ Blends to color the bird, and I’m experimenting with some new coloring techniques. One of the things I thought I’d heard was to use circular motions to blend the colors, but as I’ve explored more it seems that short, flicked strokes layered on top of each other give a smoother result. It’s still a work in progress.
However you choose to color, it’s a lot of fun to play with different combinations. I have a couple more birds on my craft desk waiting for projects.
And yes, I know this guy isn’t exactly on the branch. Call it artistic license.
Please stop by and see what Crystal and Cheryl have done for May. We all enjoy putting these calendars together for you each month. I have both the 2019 and 2020 calendars available in PDF form for the great price of $5 each. Message me if you’d like to purchase one or both!
And if you’re ready to add this charming little avian to your next, shop HERE.
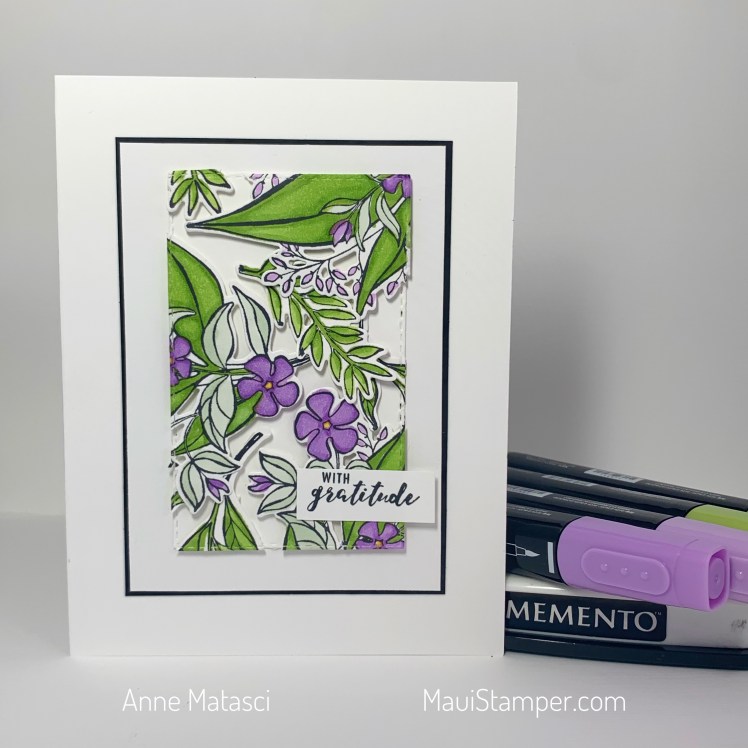
This is the first card I created for the Colour Inkspiration 54 challenge – Black and White with a POP of colour. I love how it turned out, but I didn’t feel it represented the POP very well.
What do you think? I love the softness of the composition, but that’s exactly why I don’t think it qualifies for a POP of colour. It’s more muted, especially with the grey tones added in.
There’s one little trick you might not have noticed. The smallest rectangle in the Rectangle Stitched Framelits isn’t that small. I stamped my greeting and aligned one end of the framelit with the beginning of the message. Once I’d run it through the Big Shot, I carefully repositioned the framelit on the other end and rolled it through the Big Shot just enough to cut off the opposite end right where I wanted it!
The Wink of Stella helps brighten these pretty white flowers. I wish there were dies of all three blooms in the set of framelits, because I think that would really enhance the composition and set off the floral aspect. I usually don’t mind fussy cutting, but I just wasn’t feeling it on this one. It is what it is!
I think this image could really work in a lot of other colour combinations. I currently have one in process on my craft desk, but it’s giving me a little bit of a fit trying to figure out how to finish it off. If I’m successful, I’ll share it with you next week. To share your own beautiful Black and White and POP project, visit the Colour Inkspiration Facebook page.
In the meantime, there are all kinds of gorgeous products at great discounts available on the Clearance Rack. The retiring stamps, bundles, and accessory products are selling quickly, and when those products are gone, they’re gone. (Hint: bundles are priced with a 10% discount – they may continue into 2019-2020, but they won’t be bundled and you won’t have the opportunity to save.) If there’s something you love, I highly recommend you take immediate action. Shop HERE if you’re feeling inspired!
The 2018-2019 and Occasions Retiring Products Lists have been released, and it’s a bittersweet thing. There are some stamps I’m quite happy to see move on, and others that break my heart just a teeny tiny bit. All That You Are kind of breaks my heart.
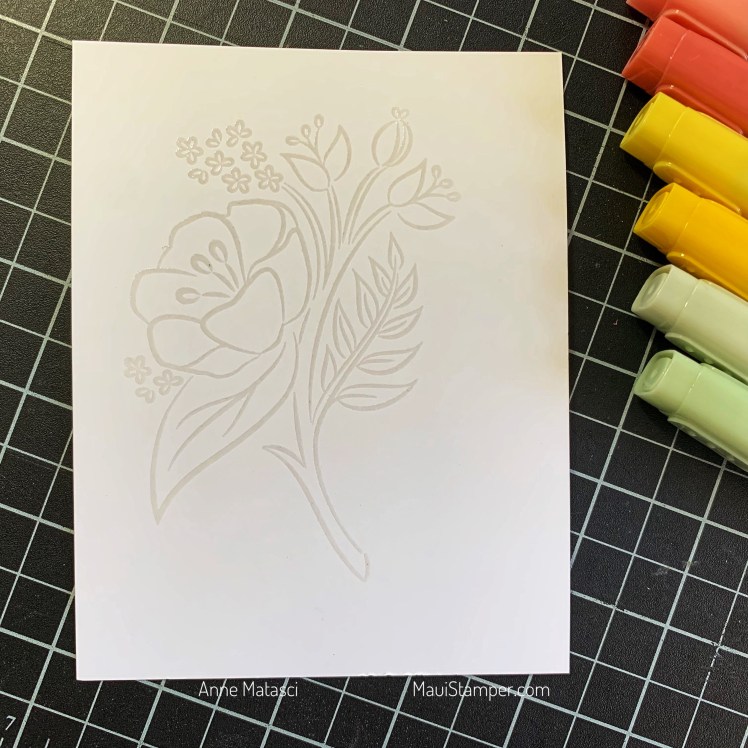
This is a simple technique with very satisfying results. The image is inked with Versamark ink and embossed with Clear Embossing Powder. To get the best results, I highly recommend using the Embossing Buddy to prepare your paper. Using the Stamparatus to ink your card stock enables you to ensure even, thorough coverage with the Versamark ink, resulting in a high quality embossed image.
It’s easier than you might expect to see the embossed image. Coloring an embossed image is especially enjoyable because there is a tactile response – you feel the lines, helping you stay within them (if that’s how you roll!)
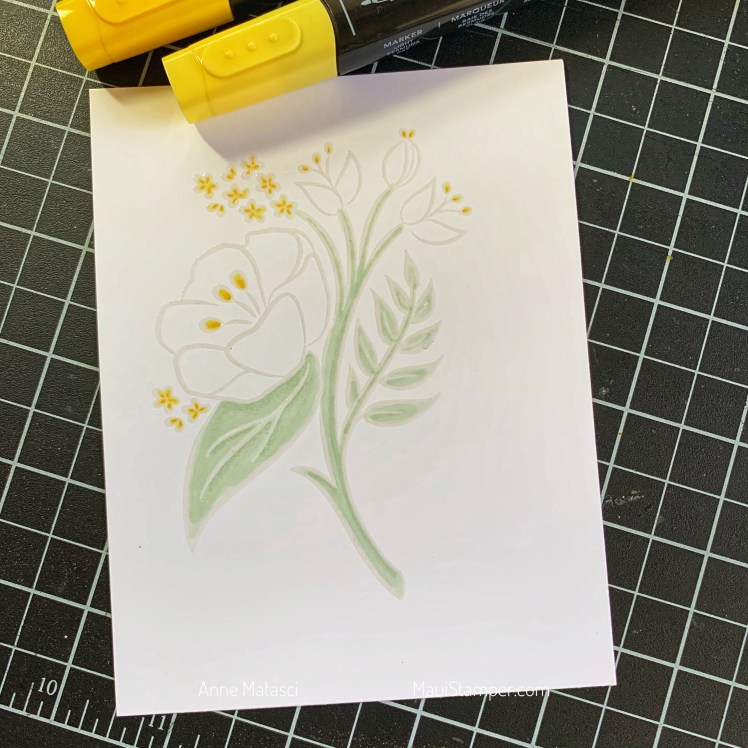
I used both light and dark Stampin’ Write markers in each color,. Sometimes I’m literally adding just a dot of color, other times a line or a full blending effort. I’m one of those people who find coloring to be very therapeutic, so it’s a pleasure for me.
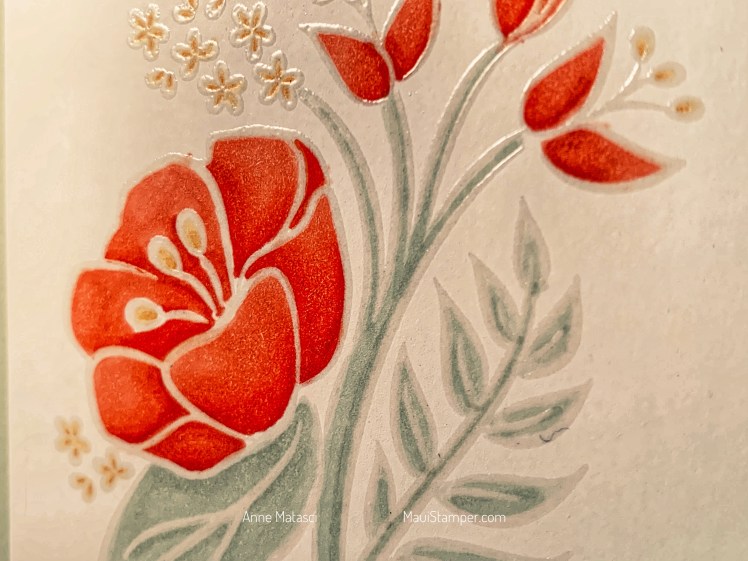
If you’re as fond of All That You Are as I am, shop HERE before it’s retired for good. While you’re shopping, there are a few additional products you might want to think about:
The Paper Piercing Tool – aka Pokie Doodle – is being retired now that we have the fabulous all-in-one Take Your Pick tool. I’ll be stocking up on a few Pokie Doodles to have handy.
There’s a bundle of two Stampin’ Write markers in Coastal Cabana and Lovely Lipstick. I like to stock up on singles when I have the chance.
Stampin’ Trimmer cutting blades are currently unavailable, but you can add your email address to be notified when they come back in stock. The trimmer is retiring.
All 2017-2019 In Color Products – Lemon Lime Twist, Berry Burst, Tranquil Tide, Powder Pink and Fresh Fig – are retiring. Don’t forget the ink refills!
This technique has been making the rounds again as the Press’n’Seal Floating Frame card, and if I had Press’n’Seal I would have used it…but my entire kitchen is Furnished By Costco, so it’s the Kirkland Cling Wrap technique today, my friends!
This is a really enjoyable technique, but it takes time and patience to color all of the elements you need to create the floating frame. It’s a great project for when you’re at home recovering from the flu (ahem). One of the complaints I read when crafters used Press ‘n Seal was that it stuck too well to the card stock, causing the surface to tear. Trust me, that’s not a problem with the Kirkland wrap!
As you can see, when I ran everything through the Big Shot it cut the pieces quite nicely, but things moved around quite a bit once I removed the cutting plates. I had to be patient when I adhered the pieces to the frame, but by using the corner shapes as anchors everything else fell into place nicely. It’s quite similar to assembling a puzzle! You’ll want to be VERY VERY generous with the Stampin’ Dimensionals on this one – be prepared to find a lot of those little paper hexagons floating around your craft room!
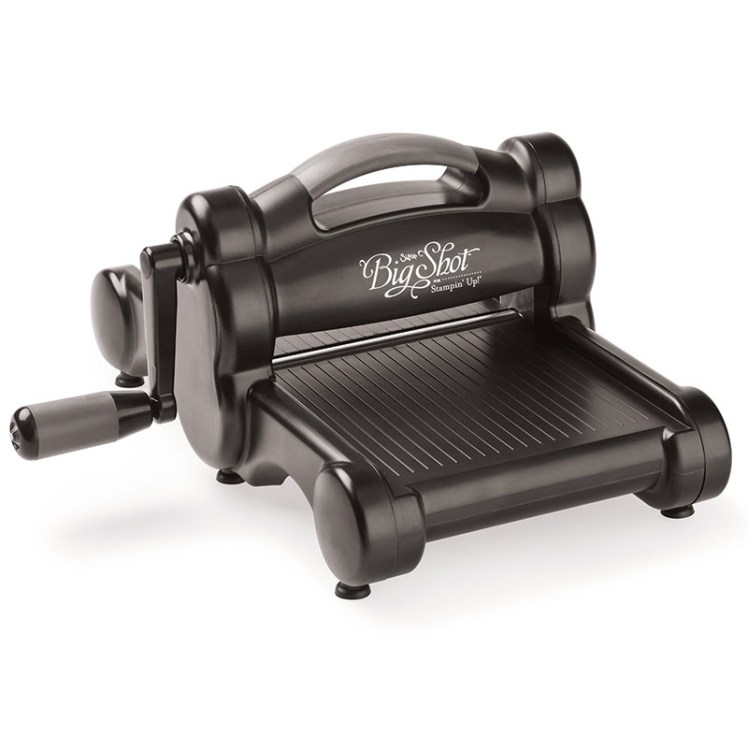
Speaking of the Big Shot, you may have heard the announcement that Stampin’ Up! is terminating its relationship with Sizzex at the end of the 2018-2019 Annual Catalog period, effective June 3, 2019. This change will streamline design and production, and allow Stampin’ Up! to work directly with a manufacturer. This in turn will provide a more nimble response to inspiration, supply and demand. While Stampin’ Up! will still sell dies and embossing folders that are compatible with the Big Shot, we will no longer market the machine itself or any accessories (cutting pads, specialized platforms, etc). A new die cutting machine is in development, but it is not ready for the 2019-2020 catalog. If you need any accessories, I encourage you to shop soon, as supplies of retiring products are not guaranteed.
Similarly, Stampin’ Up! is also discontinuing the Stampin’ Trimmer. While this product has been extremely popular, recent concerns with blade quality have caused Stampin’ Up! to seek an alternate supplier. Again, a new Trimmer is in development but will not be available in time for the 2019-2020 Annual Catalog. If you would like to stock up on cutting blades, I urge you to act quickly as these accessories will also retire at the end of the catalog. As we all know too well, supplies of retiring items are not guaranteed! There is currently a limit of 3 packages of cutting blades per order, but that limit will be raised to 6 when the Retiring Products List is released on April 15, 2019.
If you’ve made it this far, congratulations – you get a bonus question! Lyssa Zwolaneck, a generous demo friend, created a fun graphic now that demonstrators have seen the NAMES of the 2019-2020 In Colors but not the shades!! What do YOU think???
One of the serendipities of the Cling Wrap Frame technique is that it’s a “two-fer”: when you cut the frame, you get an extra piece that functions as a beautiful focal point on a second card. Today I’m sharing that card!
The Stitched Rectangle shape was the middle of the frame from THIS post, and I was pleased with the balance of color and shape. It really didn’t need much embellishment, but I decided to emphasize it a bit by adding a narrow black mat.
The sentiment was stamped on a little strip of paper and trimmed to fit. I kept it small and simple to offset the detailed design and images from the focal panel.
Are you ready to try this for yourself? It’s not hard and the results are so satisfying.
If you’ve followed the Maui Stamper, you’ll know that the first of each month I share my version of a small desktop easel calendar. It’s a delightful format precisely because it is so small, and I’m finding that I enjoy coloring these little pages.
I often have help in the craft room these days, and even more so in the morning when the sun streams in the windows. It’s been a cold winter on Maui – this morning it was 61°.
(Before you tell me how cold it was in Minnebraska this morning, remember that we live in sundresses and rubber slippers and don’t have heat in our homes. Our bodies are accustomed to 78°, partly cloudy with scattered showers. I live on the dry side of the island where annual rainfall is 11 inches and it seldom gets below 76°. 61° is cold!)
Ahem. So, back to my helper. She’s adorable, but she’s a big pest. I can’t tell you how challenging it is to color with Bella “helping”. She’s never still for long, and she likes to bump things to tell you how much she likes them. I’ll bet there are plenty of you who can relate:
Crystal and Cheryl and I have a mini-blog hop with our DIY Calendars each month, and I hope you’ll visit them as well to see what they’ve created for March. You can search DIY Calendar or click on the tags to see years worth of these little calendar pages! I have the pdf available for you to create your own as well – message me and I’ll send you an invoice. It’s just $5!
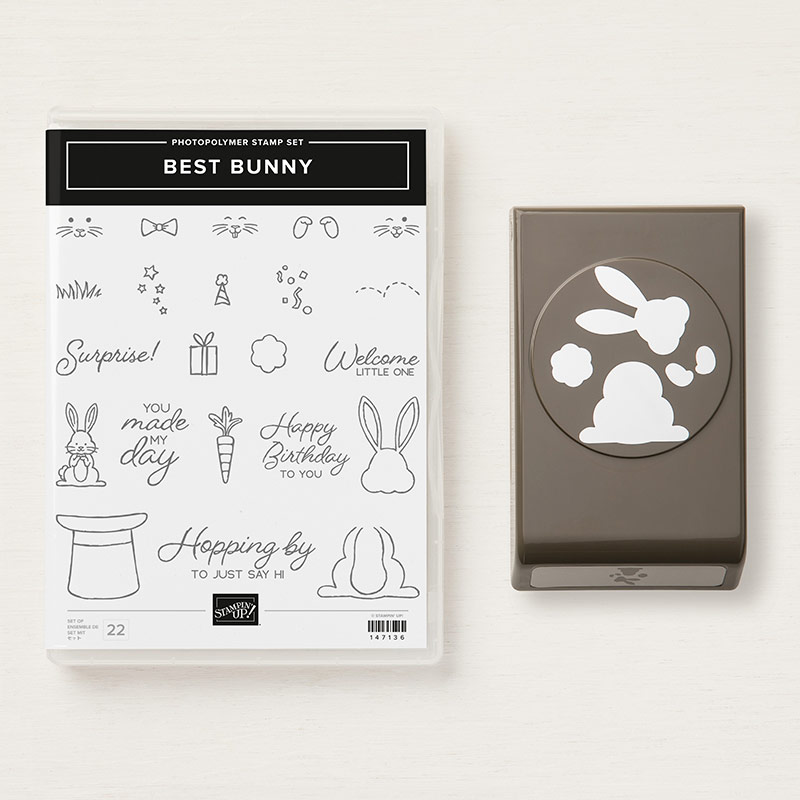
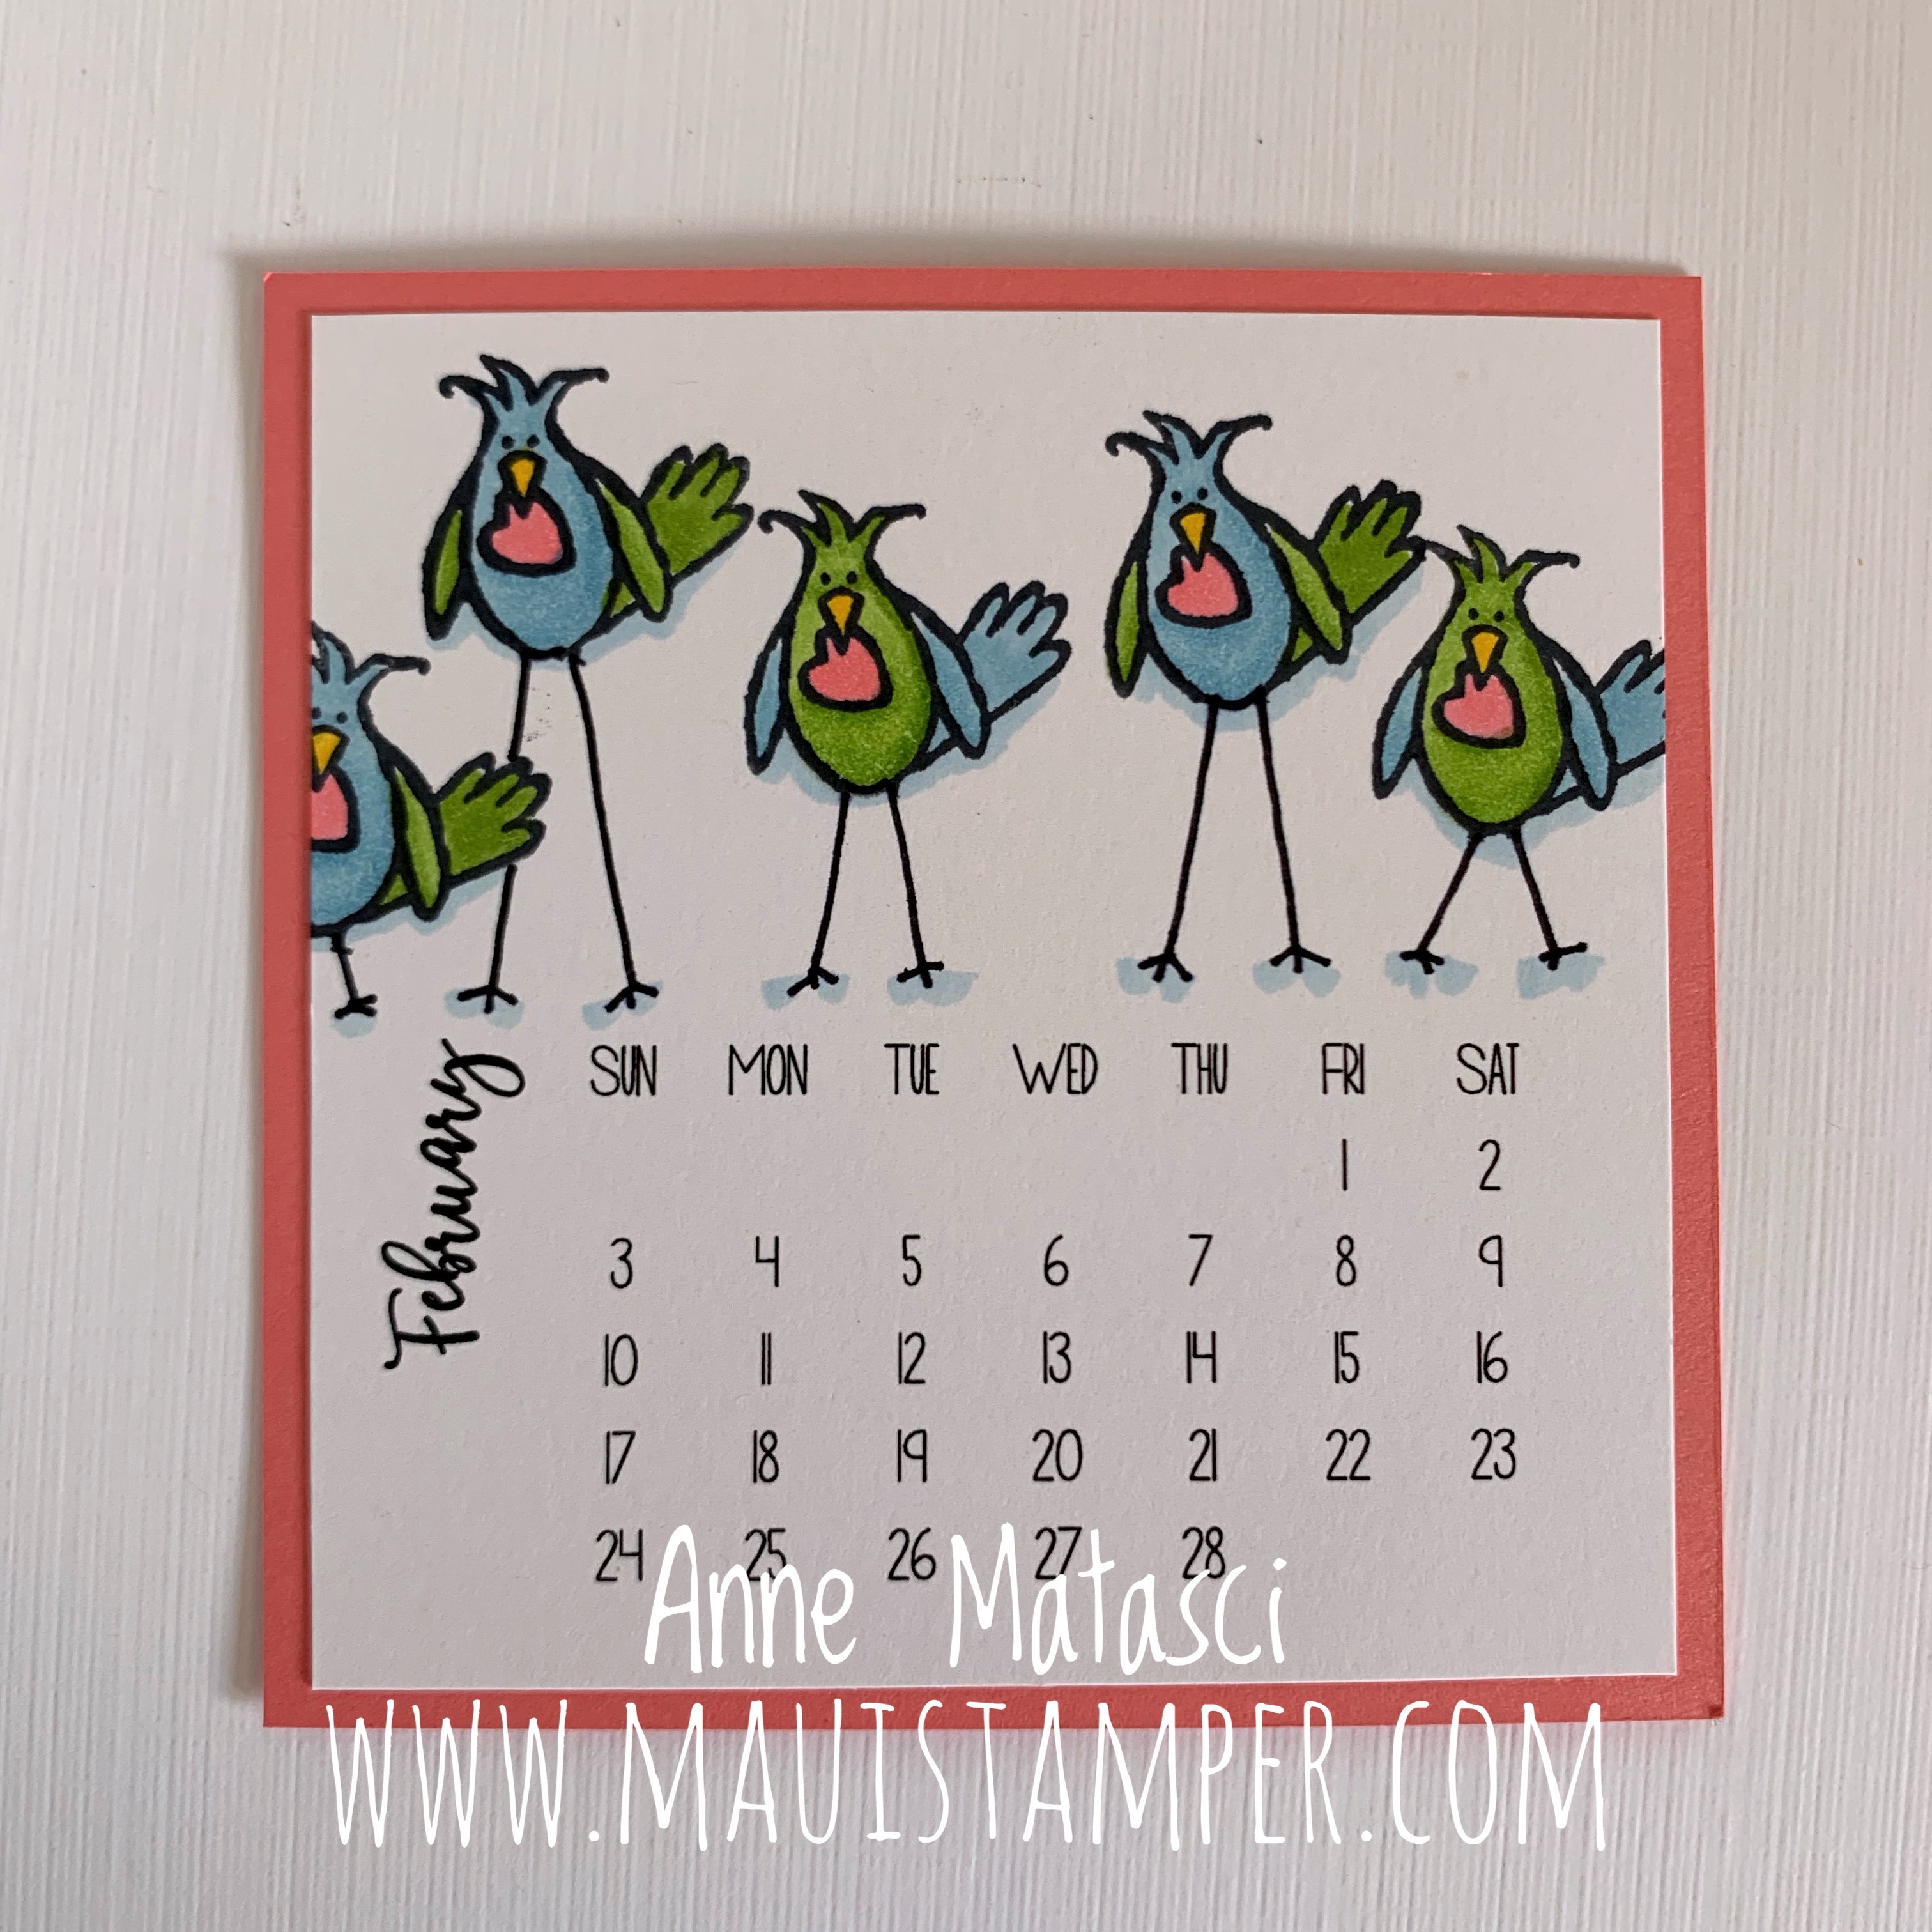
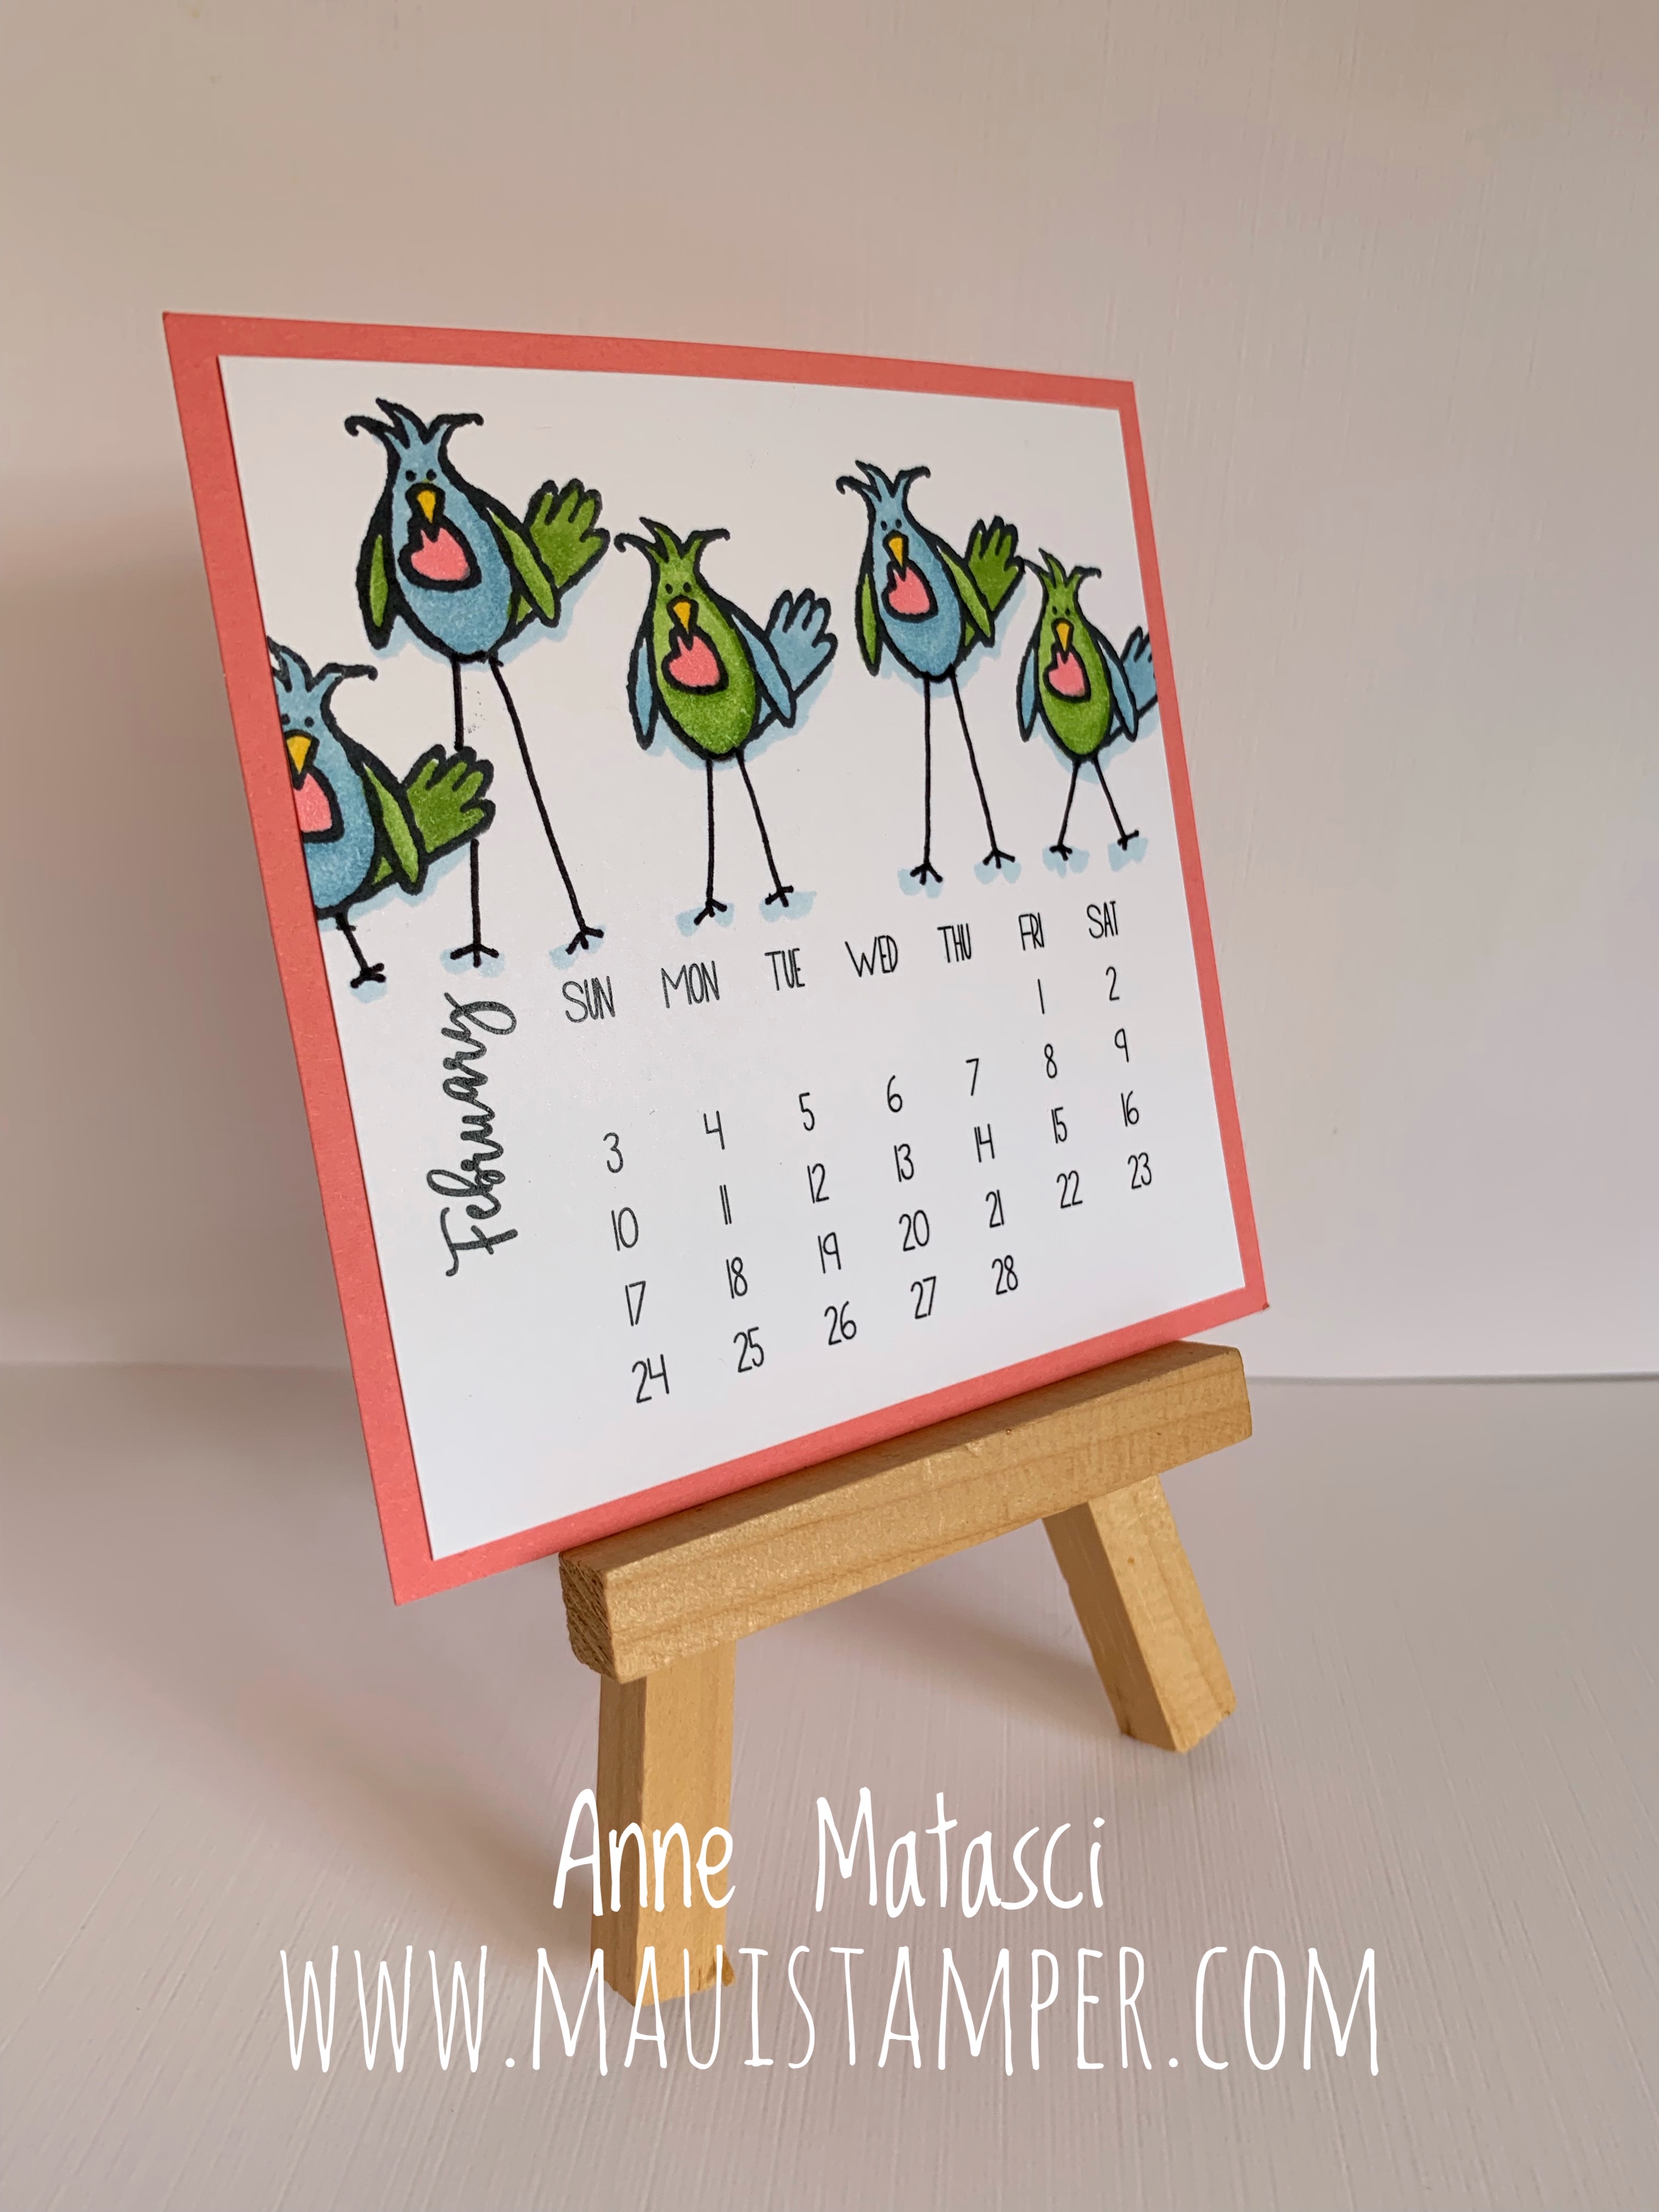
Welcome to February at the Maui Stamper! I’m celebrating with these crazy long-legged birds from Hey Love in the Occasions 2019 catalog. You don’t see them there? Well, I do have a little trick…
I masked off the little short legs that this birdie was given by the (awesome) artists at Stampin’ Up! using a sticky note. I inked them in Memento Black and stamped them up and down across the calendar – and as you can see, one of them is on the way out. Using a Basic Black Stampin’ Write marker, I drew legs on each bird. I was inspired by Sharni Haines in THIS POST.
It’s not too late to create your own 2019 DIY Easel Calendar. I’ve made the pdf available for your personal use at a cost of $5. It includes 12 months plus a cover should you choose to gift your own version of a DIY calendar. Just message me your email and I’ll be glad to send you an invoice.
My favorite crafty buddies in the whole wide world have February calendars to share with you too. Visit Crystal and Cheryl for more 2019 goodness.
If you’d like to draw legs on your own set of birds, shop HERE.
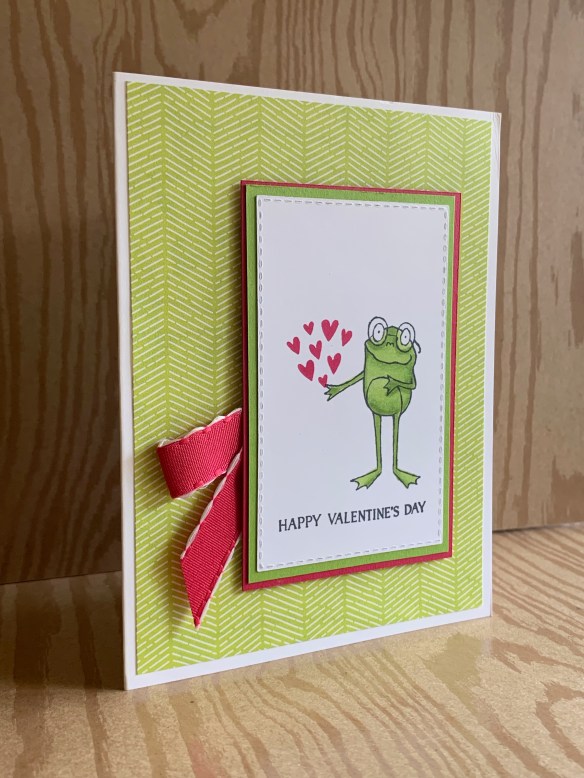
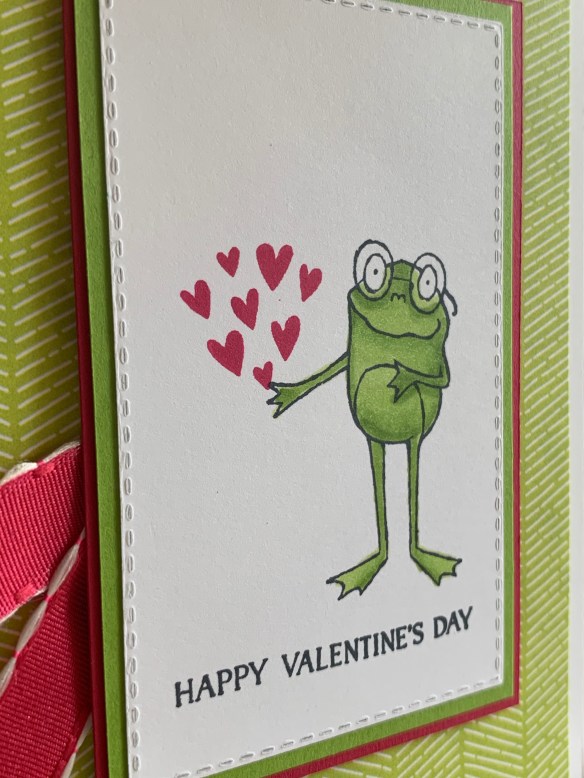
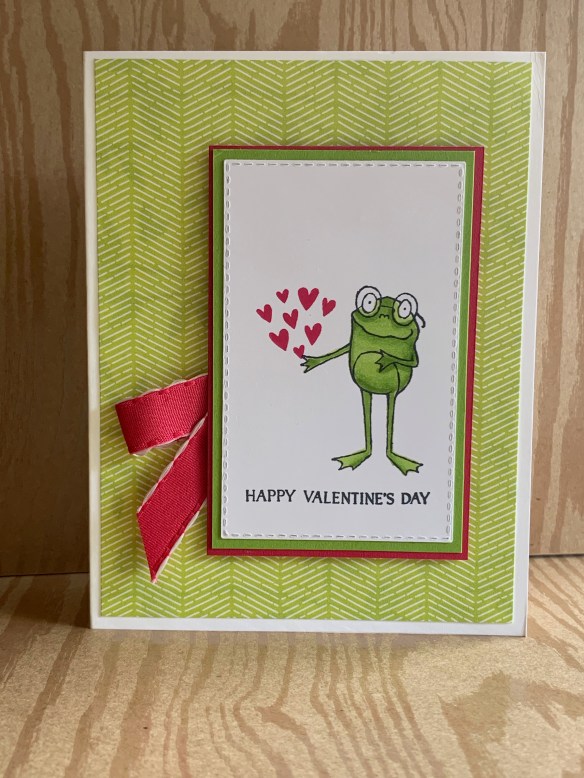
Granny Apple Green is one of my favorite new greens in our color palette, and immediately presented itself as the perfect Frog color as I contemplated my options for So Hoppy Together. I’m no herpetologist, but I know a happy frog when I see one, and a Granny Apple Green frog is a Happy Frog!
Does anyone besides me remember that weird cartoon about the singing frog? And the guy who finds him and thinks he’ll be famous? And the frog won’t sing for anyone else? This little frog needs a top hat and I think he could play that role. (If this makes no sense to you, ignore it. That happens to me a lot. After they give me The Look.)
The handful of hearts reminds me of a bouquet, or a balloon, or even a scatter of those little cutout things that people put on the table when they’re decorating for a party and then you find them EVERYWHERE later on. They’re not quite as bad as glitter, but they’re up there. You know what I mean.
I’m delighted with the Stitched Rectangle Framelits. The set includes nesting sizes in different aspect ratios so you have a lot of options. The framelits leave stitching on both the positive and negative sides of the die cut – Stampin’ Up! really did their homework on this one!
I folded the Lovely Lipstick ribbon from the All My Love ribbon pack and left a tail hanging. I actually stapled the top together so I wouldn’t have to try to hold it in place as I was adhering it between the DSP and the focal panel. There’s Tear ‘n Tape on both sides of the ribbon embellishment holding it in place.
Ready to do a little Sale-a-brating? You earn exclusive free items when you spend $50 in merchandise HERE. There are lots of great choices!
Need a catalog? Message me, and I’ll get one right out to you. Happy shopping!