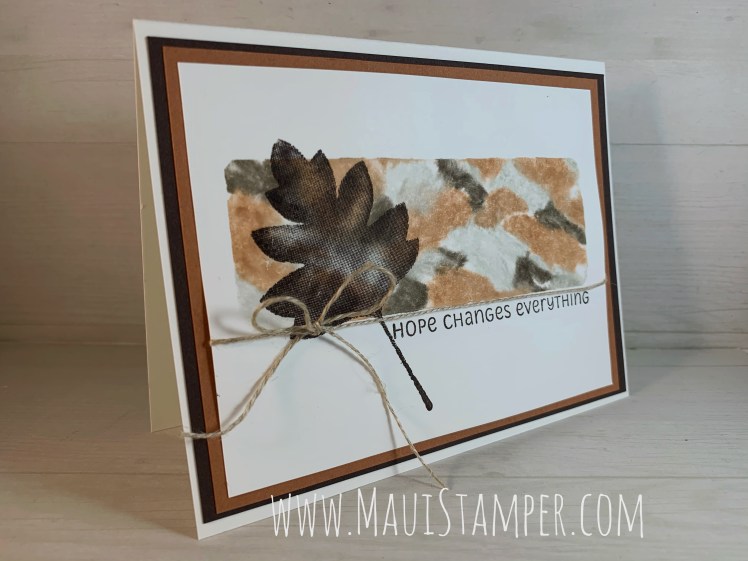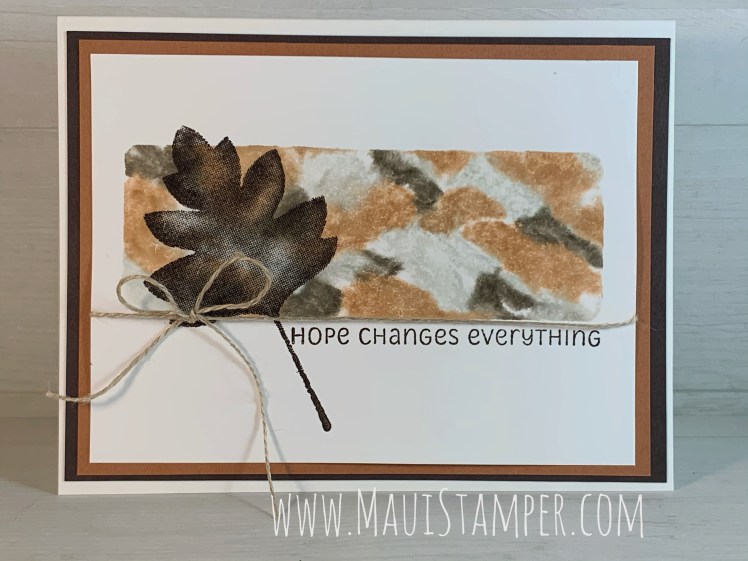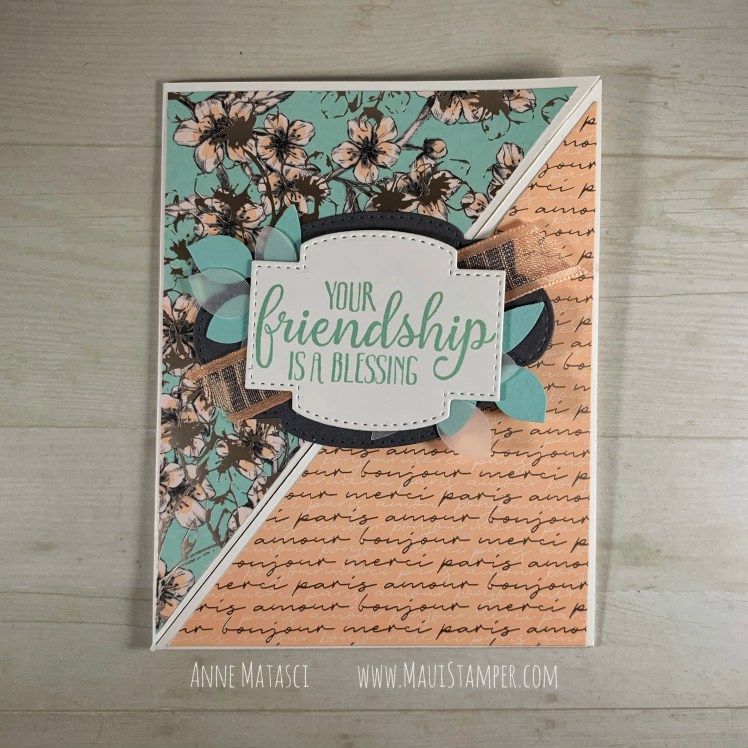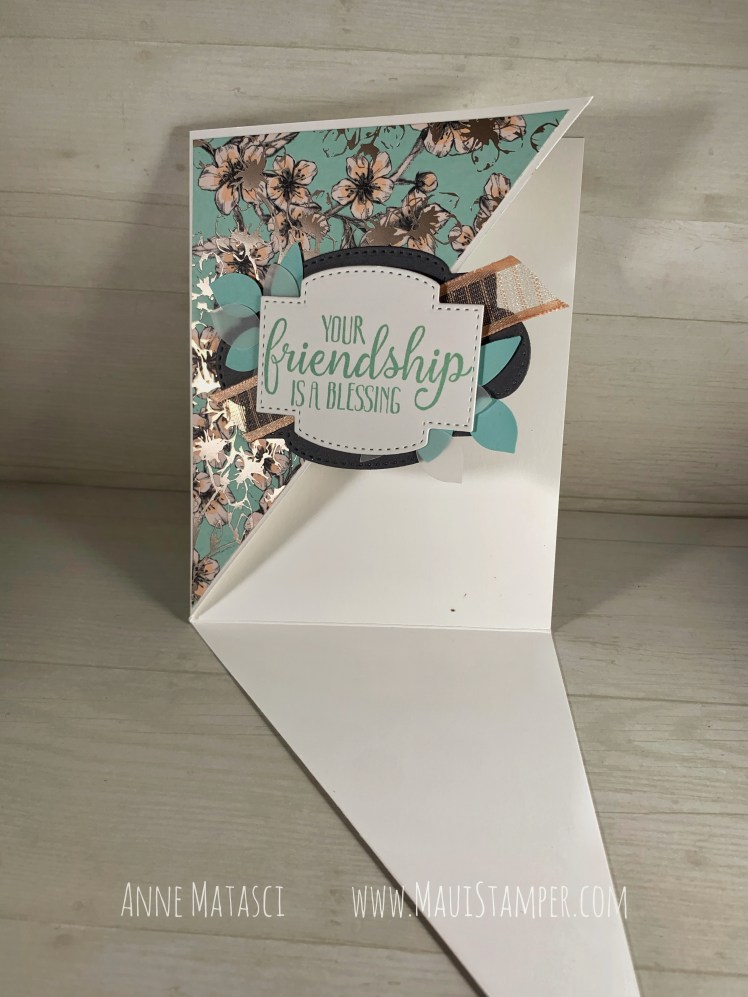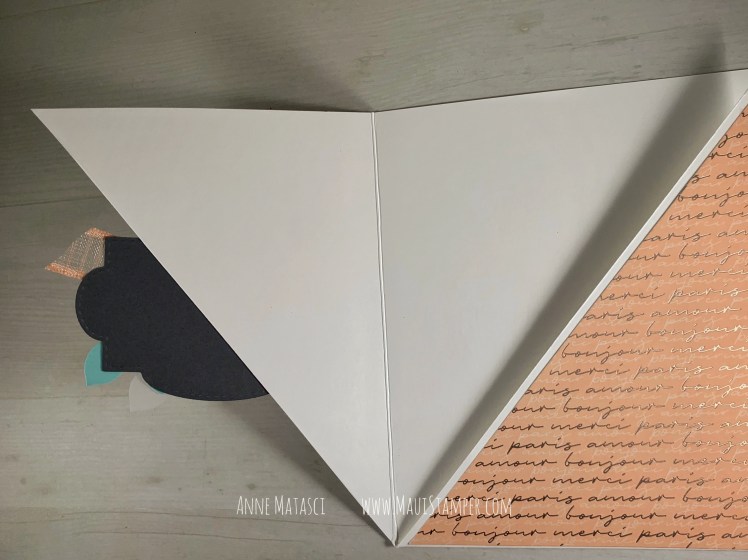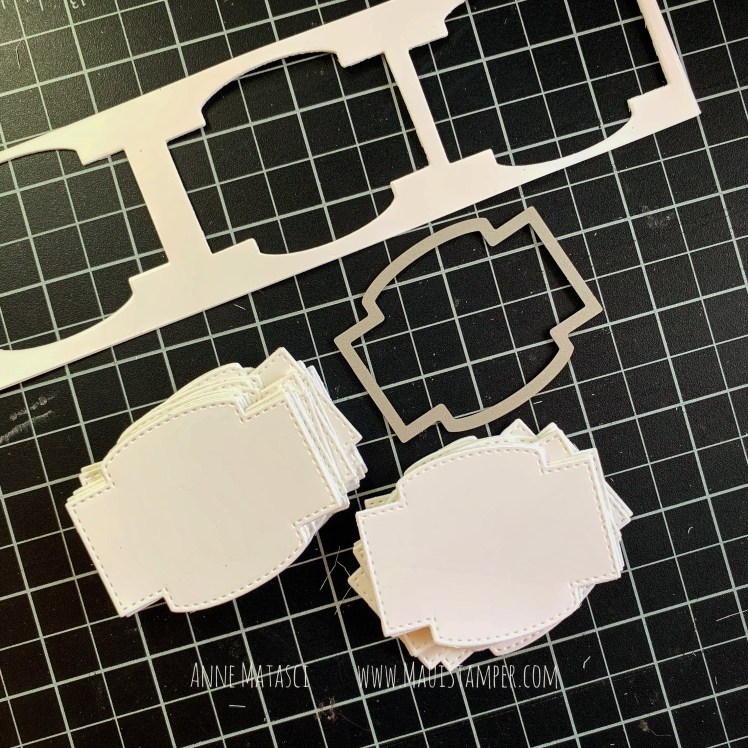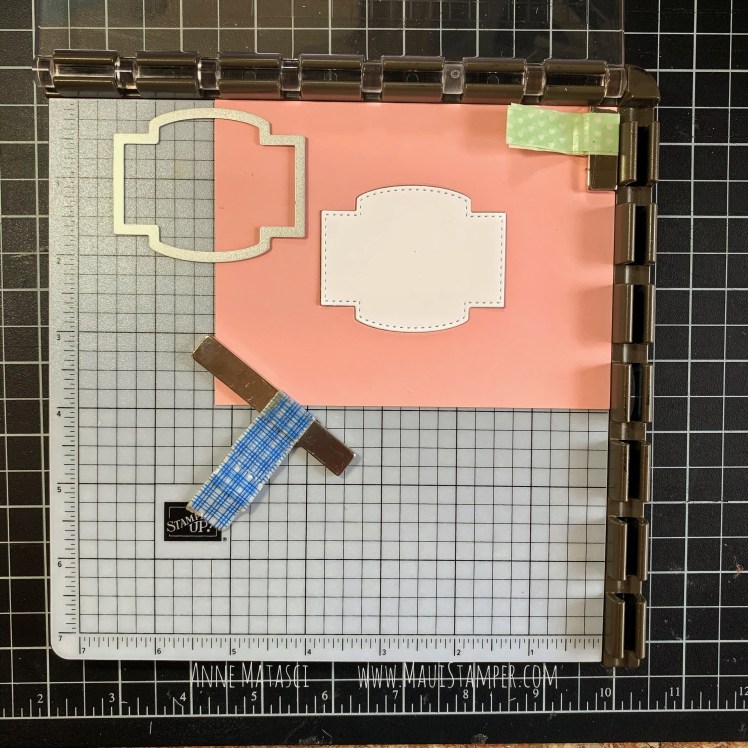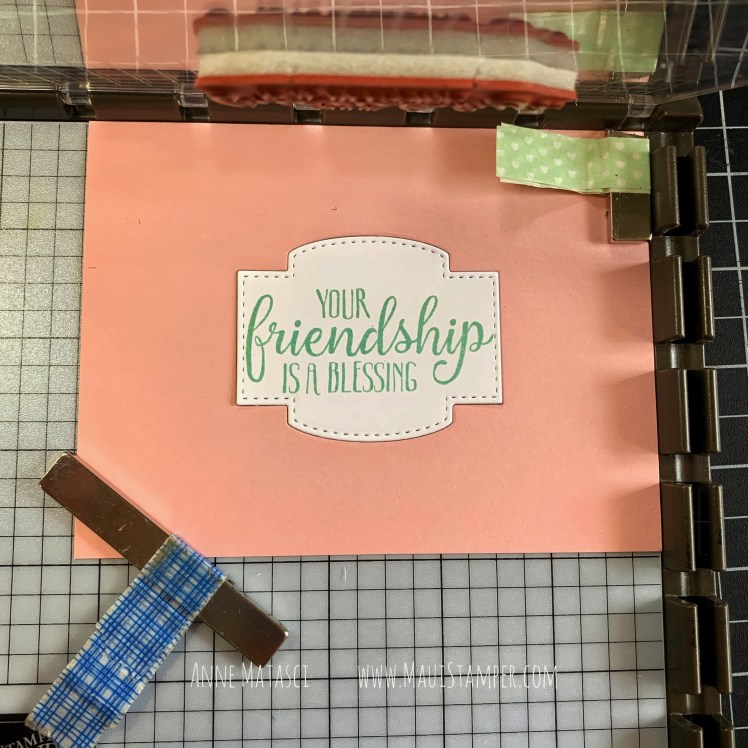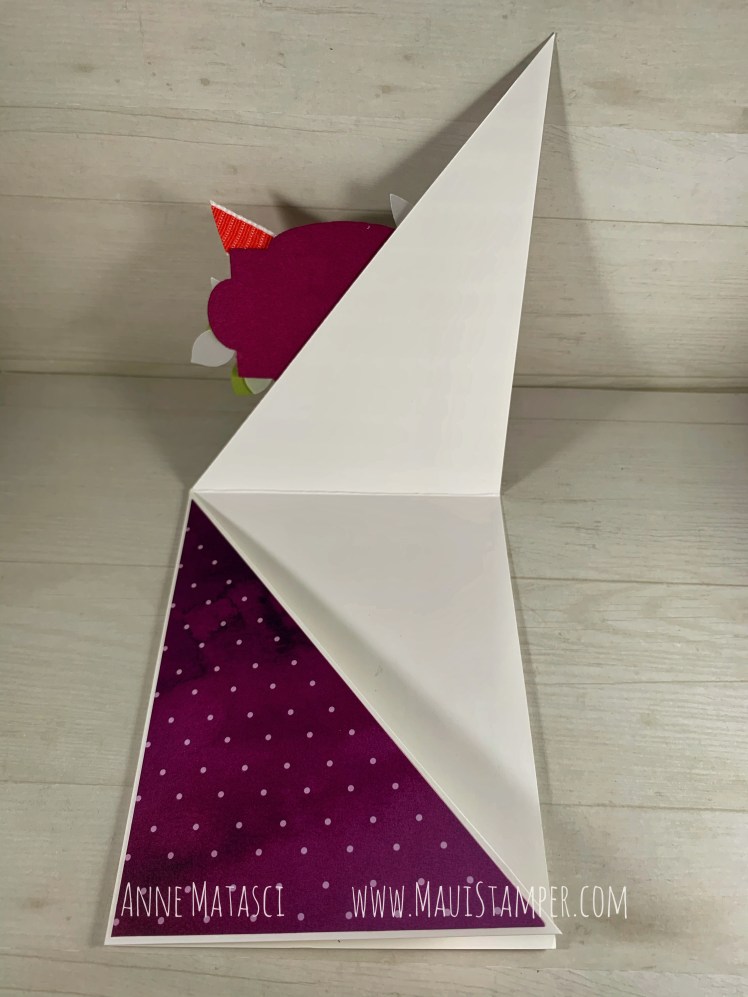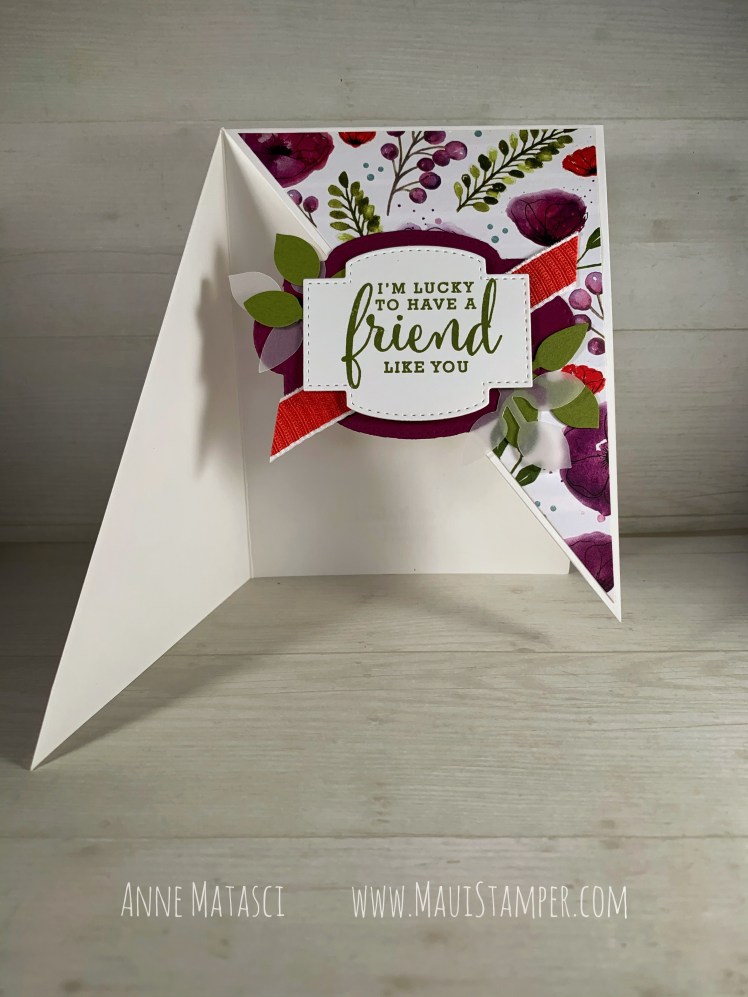
The Woodland is Rooted in Nature

It’s been a delightful summer in my craft room, and I’m ready to get the show back on the road and share some of it with you. Would you like to see what I’ve been doing?

Maui Stamper Stampin Up Woodland is Rooted in Nature

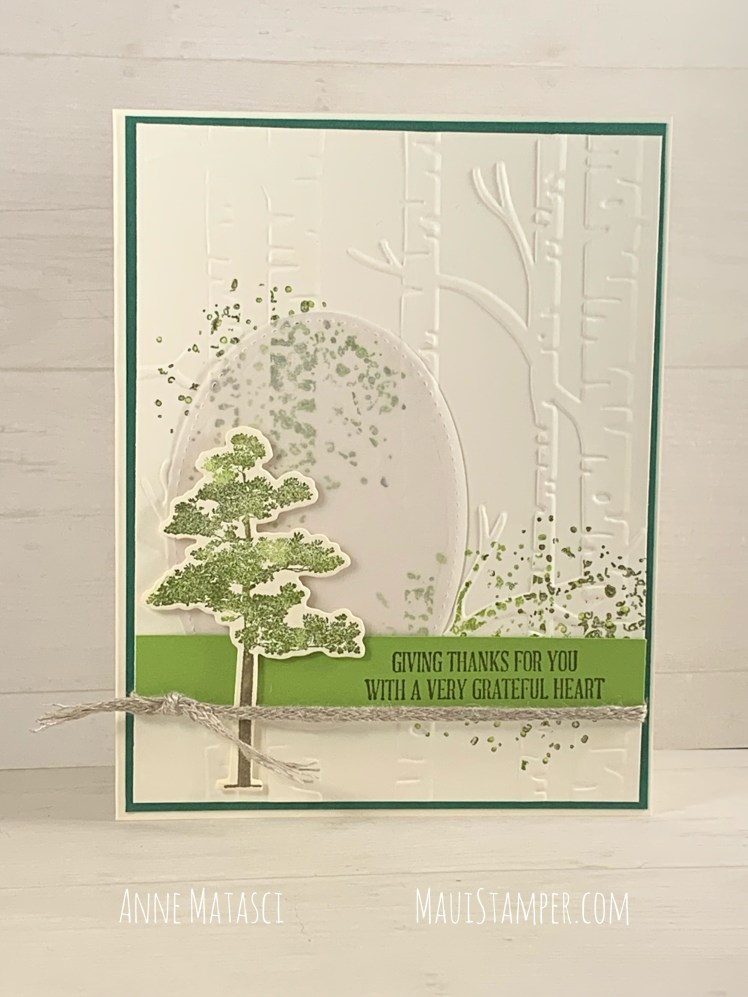
I seldom use Very Vanilla card bases, and when I look at this one I wonder why! I especially like the way it works with the braided linen, which is just an abundance of linen thread – and you know I love linen thread!!

I have a few great tips for you when you’re working with vellum:

  • The Fine Tip Glue Pen is VELLUM MAGIC. Use it to adhere vellum to any project and it doesn’t show through!!!
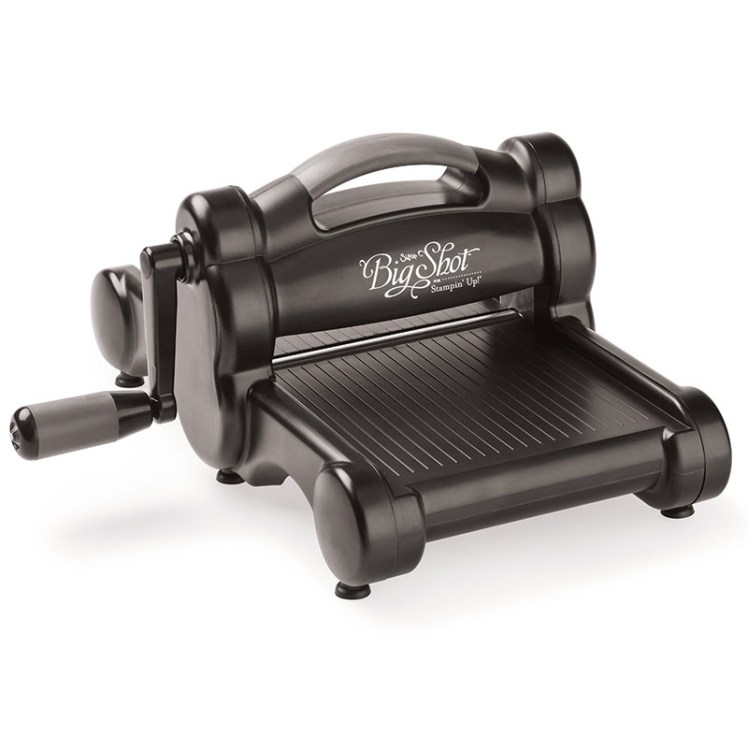
  • When I run it through my die cut machine I layer a piece of waxed paper between the paper and the die (and yes, I have a Big Shot, which Stampin’ Up! no longer sells – but something BIGGER is coming!) It helps to release the vellum from the die, especially the Stitched Shapes, which have a tendency to hang onto the die cut.
  • I use my trusty Bone Folder when I’m removing a vellum die cut from the die, since it’s thin and helps to avoid creases in the vellum.
Maui Stamper Stampin Up Woodland is Rooted in Nature

I used sponge daubers to ink the foliage in Granny Apple Green and Shaded Spruce. Once they were inky, I colored the trunk with the Soft Suede Stampin’ Write marker. If you try to color the trunk first, it’s easy to accidentally cover the ink with the daubers. Coloring it second allows you to push off any GAG or SS ink (yup. That’s what I call it. GAG. Love that color.)

Maui Stamper Stampin Up Bonus Days July 2019

Today is the FINAL BONUS DAY!! Skedaddle on over to my Online Store to earn your savings – a $5 voucher for every $50 in merchandise you choose! You’ll be glad you did.

SO MUCH NEWS. But first, the Cling Wrap Technique

This technique has been making the rounds again as the Press’n’Seal Floating Frame card, and if I had Press’n’Seal I would have used it…but my entire kitchen is Furnished By Costco, so it’s the Kirkland Cling Wrap technique today, my friends!

Maui Stamper Stampin' Up! Wonderful Romance Cling Wrap Technique

This is a really enjoyable technique, but it takes time and patience to color all of the elements you need to create the floating frame. It’s a great project for when you’re at home recovering from the flu (ahem). One of the complaints I read when crafters used Press ‘n Seal was that it stuck too well to the card stock, causing the surface to tear. Trust me, that’s not a problem with the Kirkland wrap!

Maui Stamper Stampin' Up! Wonderful Romance Cling Wrap Technique

As you can see, when I ran everything through the Big Shot it cut the pieces quite nicely, but things moved around quite a bit once I removed the cutting plates. I had to be patient when I adhered the pieces to the frame, but by using the corner shapes as anchors everything else fell into place nicely. It’s quite similar to assembling a puzzle! You’ll want to be VERY VERY generous with the Stampin’ Dimensionals on this one – be prepared to find a lot of those little paper hexagons floating around your craft room!

Maui Stamper Stampin' Up! Big Shot

Speaking of the Big Shot, you may have heard the announcement that Stampin’ Up! is terminating its relationship with Sizzex at the end of the 2018-2019 Annual Catalog period, effective June 3, 2019. This change will streamline design and production, and allow Stampin’ Up! to work directly with a manufacturer. This in turn will provide a more nimble response to inspiration, supply and demand. While Stampin’ Up! will still sell dies and embossing folders that are compatible with the Big Shot, we will no longer market the machine itself or any accessories (cutting pads, specialized platforms, etc). A new die cutting machine is in development, but it is not ready for the 2019-2020 catalog. If you need any accessories, I encourage you to shop soon, as supplies of retiring products are not guaranteed.

Maui Stamper Stampin' Up! Stampin' Trimmer

Similarly, Stampin’ Up! is also discontinuing the Stampin’ Trimmer. While this product has been extremely popular, recent concerns with blade quality have caused Stampin’ Up! to seek an alternate supplier. Again, a new Trimmer is in development but will not be available in time for the 2019-2020 Annual Catalog. If you would like to stock up on cutting blades, I urge you to act quickly as these accessories will also retire at the end of the catalog. As we all know too well, supplies of retiring items are not guaranteed! There is currently a limit of 3 packages of cutting blades per order, but that limit will be raised to 6 when the Retiring Products List is released on April 15, 2019.

2019-2021 InColor What Do You Think

If you’ve made it this far, congratulations – you get a bonus question! Lyssa Zwolaneck, a generous demo friend, created a fun graphic now that demonstrators have seen the NAMES of the 2019-2020 In Colors but not the shades!! What do YOU think???

Cling Wrap Part Two: Wonderful Romance

One of the serendipities of the Cling Wrap Frame technique is that it’s a “two-fer”: when you cut the frame, you get an extra piece that functions as a beautiful focal point on a second card. Today I’m sharing that card!

Maui Stamper Stampin' Up! Wonderful Romance Cling Wrap Technique Wonderful Romance

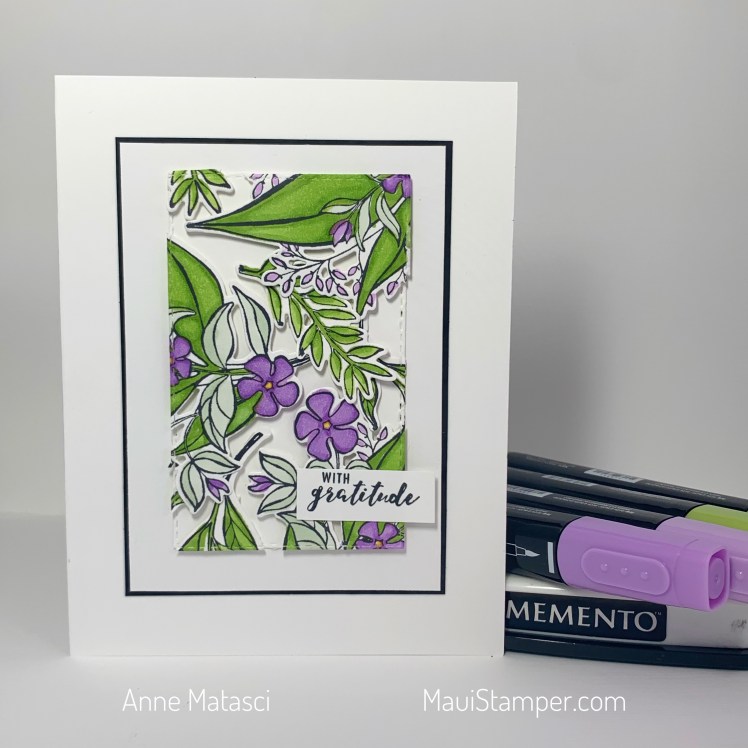
The Stitched Rectangle shape was the middle of the frame from THIS post, and I was pleased with the balance of color and shape. It really didn’t need much embellishment, but I decided to emphasize it a bit by adding a narrow black mat.

Maui Stamper Stampin' Up! Wonderful Romance Cling Wrap Technique Wonderful Romance

The sentiment was stamped on a little strip of paper and trimmed to fit. I kept it small and simple to offset the detailed design and images from the focal panel.

Are you ready to try this for yourself? It’s not hard and the results are so satisfying.

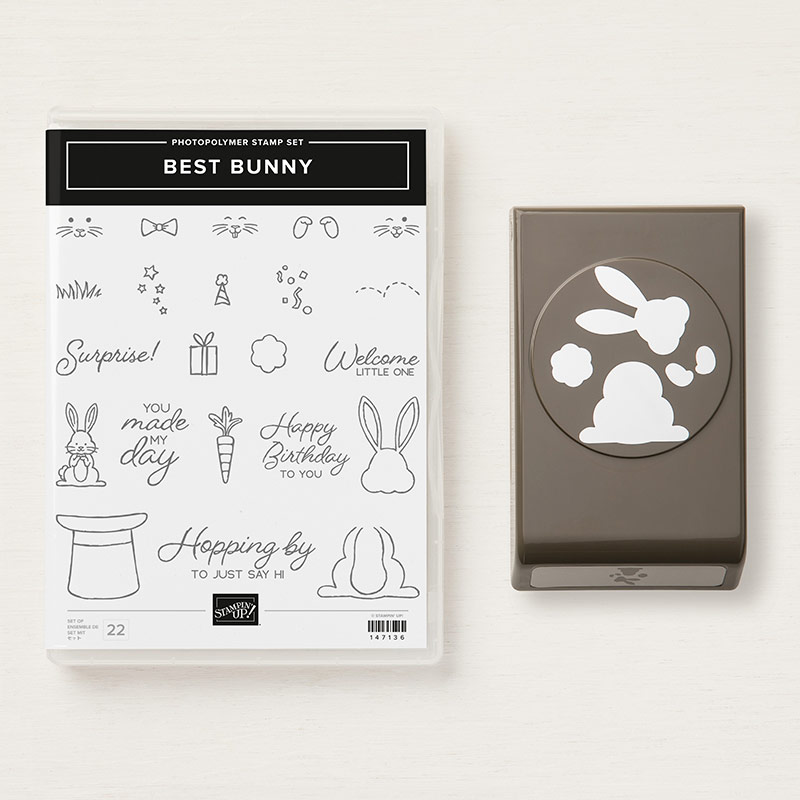
And there’s more good news! The Bunny Builder Punch and the Best Bunny Bundle are back in stock, just in time for your Easter crafting. Shop HERE!

Making my own Bokeh

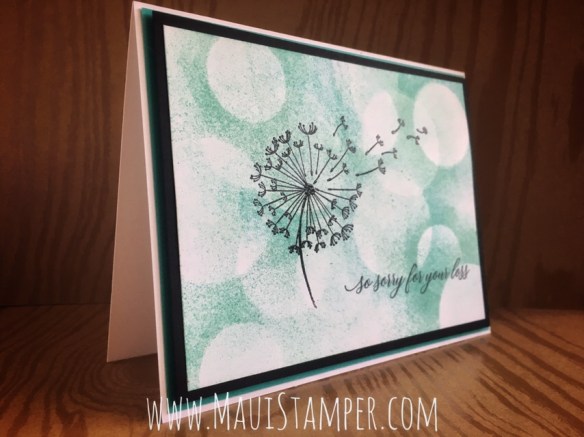
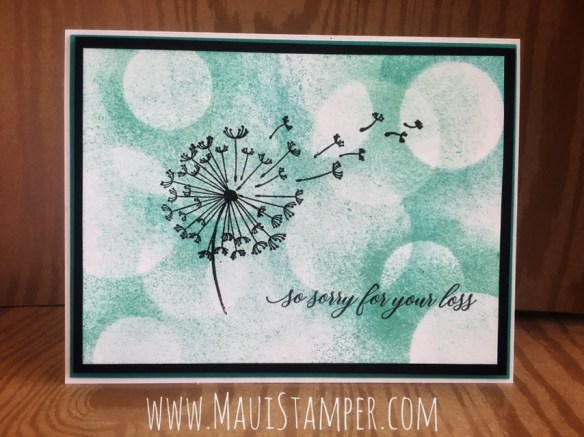
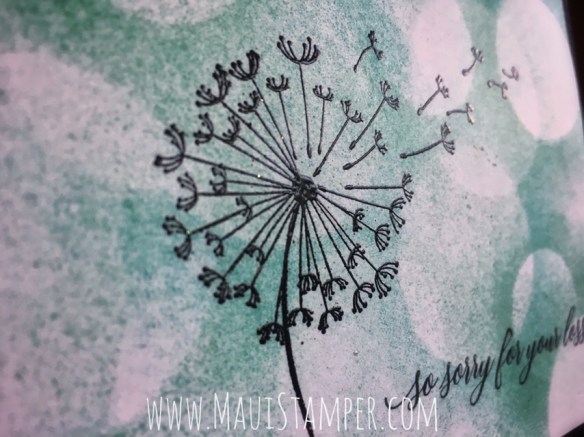
The bokeh technique has been a very hot look for quite a while, and I wanted to try to create it on my own. Stampin’ Up! does have a stamp that creates this technique, but it’s not quite a full card size and I’m stubborn about things like that.

Maui Stamper Stampin' Up! Dandelion Wishes Bokeh Technique

Maui Stamper Stampin' Up! Dandelion Wishes Bokeh Technique

I punched a number of circles from scrap card stock and put some SNAIL on the back of them. (You could cut them with framelits, but punches are faster. I recommend card stock over sticky notes because you’re going to accumulate ink on them, and the sticky notes get saturated.) Then I tapped the SNAIL with my fingers so it wouldn’t stick fast, but would be tacky and hold in place. Then it was sponge, sponge, move the circles, repeat!

Maui Stamper Stampin' Up! Dandelion Wishes Bokeh Technique

You can do this with multiple colors, but I chose to stay monochromatic. I embossed the image and sentiment with Black Embossing Powder to make it pop a little. (When was the last time you re-inked your Versamark Ink Pad? Seriously…it makes a HUGE difference!)  Since I chose to make this into a sympathy card, I kept it very, very plain. (Maybe too plain. I’m still debating.)

Want to play with your own version? Shop HERE.


A little Brusho experiment

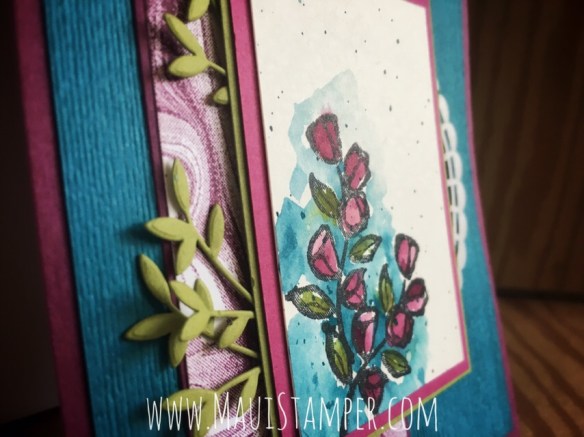
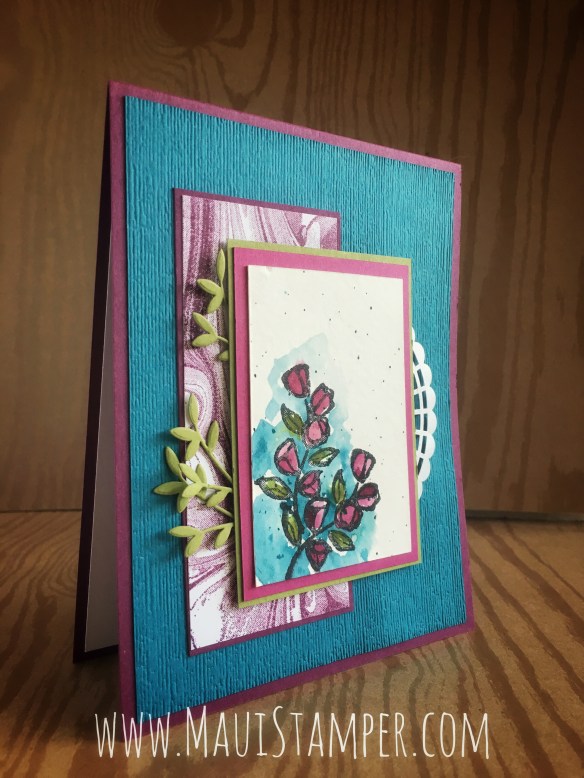
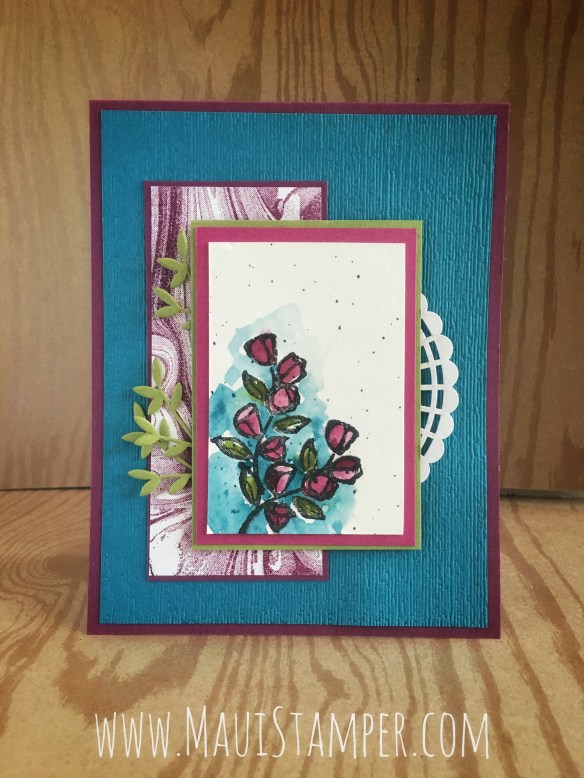
WEEKS ago, Crystal and I got out some watercolor paper and the Brusho and experimented. We were both a little unsure and apprehensive, and you’ll see we started pretty small. We stamped a bunch of small flower branches from Petal Palette (still one of the best stamp sets in the entire catalog) and started playing with the concept of watercolor. I’ve had the results sitting on my desk ever since, waiting to become something greater.

Maui Stamper Stampin' Up! Petal Palette with Brusho

Maui Stamper Stampin' Up! Petal Palette with Brusho

I know I’ve mentioned the Subtle Dynamic TIEF before, but friends, YOU NEED THIS.

We used Ink Refills to watercolor the images, and then used Brusho to create a background. We were really experimenting more with the concept of a watercolored background than with Brusho as a product, but it ended up working extremely well and we were pleased with the control we achieved.

Maui Stamper Stampin' Up! Petal Palette with Brusho

Adding the doily and the leaf embellishments takes this card up a notch while still making it absolutely mailable. I love ribbon, but I’m frustrated when any embellishment makes a card hard to mail. I don’t hand deliver many cards and they really need to go in an envelope and go out in the world!

Don’t miss that Marbled background stamp. It’s another sleeper. Shop HERE.

CASEing the Piggy

July 1 brings Bonus Days back to Stampin’ Up!  Spend $50 in July and earn a $5 reward to spend as you choose in August – with no limit. What’s on your list?

Maui Stamper Stampin' Up! July 2017 Bonus Days

If I didn’t have it already, I’ll tell you what would be on my list:  This Little Piggy.
Maui Stamper This Little Piggy Stampin' Up!

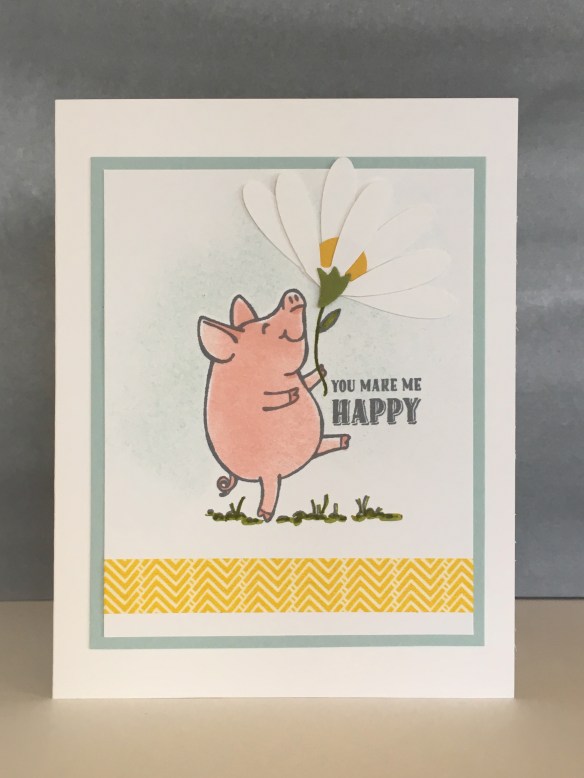
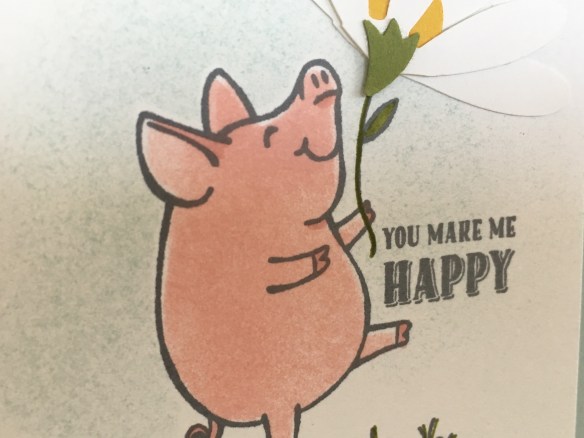
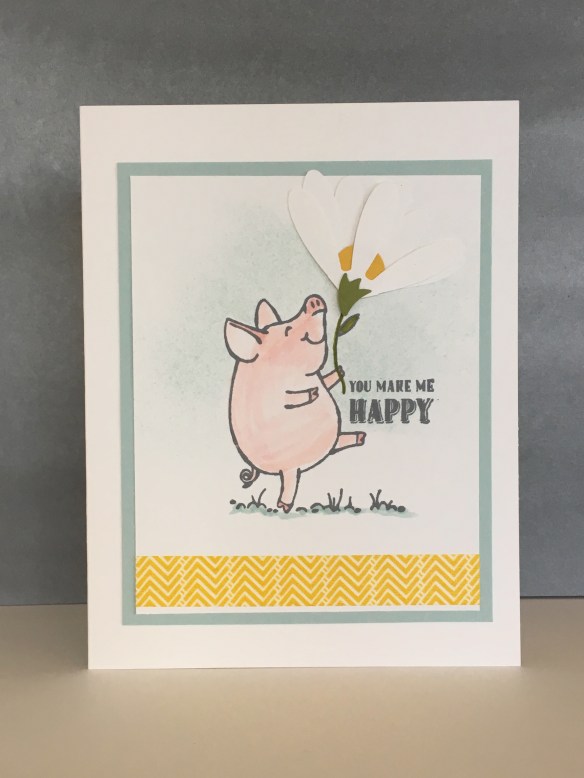
This piggy makes me happy! Today’s card is a CASE (Copy And Share with Everyone) of the talented Rachel Tessman. I loved her design, and made just a couple of small changes to her creation.

Maui Stamper This Little Piggy Stampin' Up!

Coloring the Piggy was a learning experience for me – and in a good way. I was certain I wanted to use Whisper White card stock, but I haven’t had good experience using the Aquapainter with either ink or the Coloring Pencils on large images on Whisper White card stock. I was looking for another option and thought I’d try sponging. This first pig got a little sunburned, but the second one has a lovely, pale complexion:

Maui Stamper This Little Piggy Stampin' Up!

I used Powder Pink to sponge, and the Blushing Bride Stampin’ Write marker to add shadows.

Maui Stamper This Little Piggy Stampin' Up!

Maui Stamper This Little Piggy Stampin' Up!

This is the first card I made using the Aquapainter and ink. You can’t see the distortion of the paper, but it’s there. I also wasn’t successful in getting even coverage:
Maui Stamper This Little Piggy Stampin' Up!

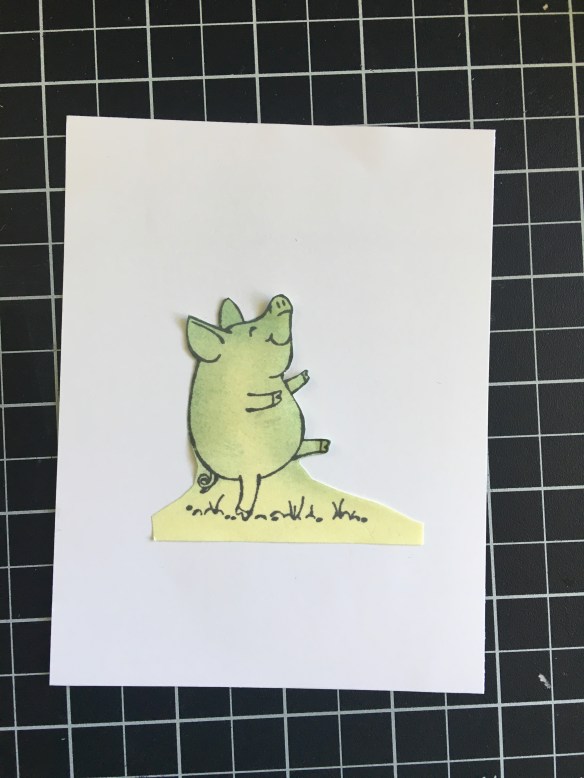
A Post It note creates the perfect mask for sponging, because it sticks in place and the paper is thin. I stamped the Piggy and trimmed him out of the center:

Maui Stamper This Little Piggy Stampin' Up!

I suppose I could have been really tricky and used the insides for the Soft Sky sponging, but it wouldn’t have had any “stick”. I stamped the Piggy again and cut out around the image so I could sponge in the sky:

Maui Stamper This Little Piggy Stampin' Up!

Has your wishlist grown? If it’s near $100, consider joining the Maui Stamper team. There’s no obligation, and in July, Stampin’ Up! is making the deal even sweeter. Your $99 (no additional tax or shipping) always includes your choice of $125 in Stampin’ Up! product. In July, it will include an additional $52 in essential tools – snail, snips, bone folder, grid paper, and two D blocks – PLUS the not-yet-released Carols of Christmas stamps from the Holiday 2017 catalog. Check it out!

Maui Stamper Stampin' Up! July 2017 Christmas in July Join My Team

Going Ombre with the Blendabilities

The Irresistably Yours Specialty DSP available as a Sale-a-bration choice was my A-Number-One choice this year – this card popped into my head immediately:

Maui Stamper Ombre Blendabilities Best.Day.Ever.Can I tell you how many things I love about it?

  • I love the ombre effect with the Blendabilities
  • I love the Black + White + Color palette
  • I love the new White Jute Ribbon
  • And I LOVE LOVE LOVE this paper!!

Maui Stamper Ombre Blendabilities Best.Day.Ever.The white jute…it has a little bit of shimmer…I can envision so many uses for it!!

  • Color Palette:  Whisper White, Basic Black and Coastal Cabana
  • Stamps:  Best Day Ever 2015 SAB
  • Accessories:  Irresistably Yours Specialty DSP SAB 2015, Coastal Cabana Blendabilities, Blendabilities Color Remover, White Jute, Silver Buttons, Soft Sky Twine (Painted Blooms set)

Maui Stamper Ombre Blendabilities Best.Day.Ever.I used the Coastal Cabana Blendabilities.  I began at the top with the lightest color, working to about halfway down.  I dropped to the bottom with the darkest color and filled up about 1/3 of the card face .  I used the middle tone from the middle of the darkest color to blend up to just above the point where the light color began, then switched back to the light color to blend down into the mid-range tone.  Clear as mud?  Just play with it.  And if you have a little ink on the white resist portion of the paper, use the Color Remover to wipe it away.  Have fun with this technique!  There are so many possibilities.
Stop by tomorrow for the RemARKable Blog Tour – we’re stampin’ LOVE this month.


Flower Shop and the Pansy Punch 101

Did you stamp some Flower Shop images and try to punch them out?  Did you discover what I learned – the images aren’t symmetrical!  Took me a while, but I have a system to make it easier.

Grab your stamps, your punch and a Sharpie and let’s get started!  I HIGHLY recommend you follow this procedure for ONE image and your punch.  Make sure you’ve got everything lined up, and THEN add the marks to the rest of the images.  Saves a lot of “erasing”.

Stampin' Up! Maui Stamper How to Punch the Flower Shop PansySee those little black dots?  We’re going to mark each image with a Sharpie.  You’ll notice I’m storing my stamps inside the die cut negative rubber.  I started doing that a while ago and find it keeps them from slipping unnoticed out of the case, especially when the stamps are small.

I began the process by putting dots on the stamps and the negative image just so I could line them up easily to put them back!  Later on I realized the dots could help me line up the punch.

Stampin' Up! Maui Stamper How to Punch the Flower Shop PansyIf you happen to put the dot in the wrong place, never fear – it wipes off quite easily with Staz-on ink cleaner and a cotton swab.  You can put the dots wherever you like, but this whole process will be much easier and go much more quickly if you put them in the same place on the flower that I did.  (The easiest flowers to work with for that purpose is the one on the top left in the first photo or the one with the different patterns for each petal – you can see it peeking on the left side of the photo directly above.)

If you’ve already taken your stamps out of the negative rubber and discarded it, you can still make your dots.  Just be sure they are in the same place on each stamp.  Here’s a little tool to help you:

Stampin' Up! Maui Stamper How to Punch the Flower Shop PansyNot very high tech, but it works!  I keep this little “tool” in the box with my stamps for Senior Moments when I forget my system 🙂  Using the punched out image will allow you to quickly align all your Flower Shop images in the same position.  Use it on the rubber side, not the sticker side.  It will slip right over the rubber when it’s aligned correctly.

Stampin' Up! Maui Stamper How to Punch the Flower Shop PansyI went ahead and marked the dot on the “sticker side” of my stamps as well so that I could see it through the clear block.  That allows me to be sure a row of pansies are stamped in the same orientation each time if I want to punch out a whole bunch (oh, say 60 or so!)  Be careful here – when you flip the stamp over, be sure you don’t reverse it and put the dot on the opposite side!  Check the rubbah!

Stampin' Up! Maui Stamper How to Punch the Flower Shop PansyNext step is to mark the punch.  I’ve marked both the top and the bottom of the punch (go ahead, call me OCD or whatever other name you want.  I’m used to it.)  Again, use your paper template to line up the image, and keep in mind that top-side and bottom-side aren’t the same.

At this point you’ll want to check your work.  Stamp a few flowers in a row, keeping the mark in the same position each time.  My stamps are set up so that it’s easiest if I have the dot on the left side of the image as I stamp along the bottom edge of a strip of cardstock.  There’s a little trial and error involved in how you orient the image, but it’s only a big deal if you’re punch a whole bunch of pansies.

One more little hint…I store my punches on their side in a pull-out drawer, so having the name of the  punch on the side makes it much easier for me to choose the right one the first time!  (Go ahead, say it – I’m a little label crazy.)

Stampin' Up! Maui Stamper How to Punch the Flower Shop PansyHope this helps!  As I read through it, it seems about as clear as mud.  Once you get started, it falls into place.  Enjoy your Flower Shop!

Keeping track of stamps

Keeping stamps with their respective sets used to drive me crazy.  I realize that driving me crazy isn’t a difficult thing to accomplish.  There are a number of people in this world who are experts at it (and may or may not be living in my home).  The point is that when I take a stamp out of it’s cozy little plastic box and mix it up with a bunch of other stamps on my workspace, when it’s time to put everything away my brain inevitably shorts out.  Where does this “thank you” belong?  Is that snowflake from Snow Swirled or Delightful Decorations?  And worst of all,  how do I get all these stamps back into that box???

I found a trick, a simple trick designed to avoid such a minor crisis.  Before I assemble my new stamps, I photocopy the sheet of decals that identify the set.  I trim the image to the size of the box and put it in the bottom facing out.  If I’m looking for particular stamp I can flip the box over and see what should be there, even if it’s not where it belongs.

Pattern_Pines_Stampset_crop

I can’t tell you how often this simple step has saved me.  I’m kind of picky about organization.  I like to be able to find things.  Strange, I know.  Having a record in the box works for me.  I hope it will work for you, too.

Why you should invest in Ink Refills Part I

Remember this card?  When I started stamping, I began by embossing the cupcakes with clear embossing powder over Chocolate Chip Classic ink with a little Versamark thrown in to make it sticky.  When I was finished with the heat tool, I looked at the image and thought it seemed a little, well, wimpy.  So I pulled out my Ink Refill and gave my Chocolate Chip ink pad a li’l nip.  Same process – Chocolate Chip Classic ink, Versamark, clear embossing powder and heat gun – and WOW.

Which one got the li'l nip?  (Actual Unretouched Photo!!)

Which one got the li'l nip? (Actual Unretouched Photo!!)

Next time you sit down to stamp, take a look at your images.  It might be time to take your ink pads out for a drink!